

Growing Chili Peppers can seem daunting, I know! You might think you need a sprawling farm or a greenhouse to cultivate those fiery little gems. But guess what? You absolutely don’t! This DIY guide is your secret weapon to unlocking a bountiful chili pepper harvest, right in your own backyard (or even on your balcony!).
For centuries, chili peppers have been more than just a spice; they’ve been a vital part of cultures around the globe. From the ancient Aztecs using them in rituals to the vibrant curries of India, these peppers have a rich and fascinating history. Now, you can be a part of that story, adding your own chapter with homegrown chilies.
Why bother with the effort, you ask? Well, store-bought chili peppers often lack the intense flavor and satisfying heat of homegrown varieties. Plus, you have complete control over the growing process, ensuring they’re free from harmful pesticides and chemicals. Imagine the satisfaction of adding a pinch of your own freshly picked chili to your favorite dish! This DIY guide will walk you through every step, from selecting the right seeds to harvesting your fiery bounty. So, let’s get started and learn all about growing chili peppers like a pro!
Growing Chili Peppers: From Seed to Sizzling Harvest!
Okay, chili pepper enthusiasts, gather ’round! I’m going to walk you through everything you need to know to grow your own fiery peppers, right from seed. Trust me, there’s nothing quite like the satisfaction of harvesting peppers you nurtured yourself, ready to spice up your favorite dishes. Let’s get started!
Section 1: Starting Your Chili Pepper Seeds
This is where the magic begins! Starting your seeds indoors gives them a head start, especially if you live in a region with a shorter growing season.
* Timing is Key: Start your seeds indoors about 6-8 weeks before the last expected frost in your area. This gives them ample time to germinate and grow into strong seedlings.
* Choosing Your Seeds: The world of chili peppers is vast! From mild bell peppers to scorching ghost peppers, the choice is yours. Consider your heat tolerance and what you plan to use the peppers for. Reputable seed suppliers are your best bet for quality seeds.
* The Right Medium: Use a seed-starting mix, not regular potting soil. Seed-starting mix is lighter and provides better drainage, which is crucial for germination.
* Containers: You can use seed trays, small pots, or even recycled egg cartons (with drainage holes!). Just make sure they’re clean to prevent disease.
Step-by-Step Instructions:
1. Prepare Your Containers: Fill your chosen containers with seed-starting mix, leaving about half an inch of space at the top. Gently tap the containers to settle the mix.
2. Sow the Seeds: Place 2-3 seeds in each container, about ¼ inch deep. This increases your chances of at least one seed germinating.
3. Cover and Water: Lightly cover the seeds with more seed-starting mix. Gently water the soil using a spray bottle to avoid disturbing the seeds. You want the soil to be moist, but not soggy.
4. Create a Humid Environment: Cover the containers with a clear plastic lid or plastic wrap to create a humid environment. This helps with germination.
5. Provide Warmth: Chili pepper seeds need warmth to germinate. The ideal temperature is between 75-85°F (24-29°C). A heat mat designed for seed starting is a great investment, but you can also place the containers in a warm spot in your house, like on top of the refrigerator.
6. Monitor and Water: Check the soil moisture daily. Keep the soil consistently moist, but not waterlogged. Remove the plastic lid or wrap once the seeds start to germinate.
7. Provide Light: Once the seedlings emerge, they need plenty of light. If you don’t have a sunny windowsill, use grow lights. Position the lights a few inches above the seedlings and keep them on for 14-16 hours a day.
8. Thin the Seedlings: Once the seedlings have their first true leaves (the second set of leaves that appear after the initial seed leaves), thin them out, leaving only the strongest seedling in each container. Snip off the weaker seedlings at the soil line with scissors to avoid disturbing the roots of the remaining seedling.
Section 2: Transplanting Your Chili Pepper Seedlings
Once your seedlings are strong and the weather is warm enough, it’s time to move them outdoors! This is a crucial step, so let’s do it right.
* Hardening Off: Before transplanting, you need to “harden off” your seedlings. This gradually acclimates them to outdoor conditions, preventing shock.
* Choosing the Right Location: Chili peppers need at least 6-8 hours of sunlight per day. Choose a sunny spot with well-draining soil.
* Soil Preparation: Amend your soil with compost or other organic matter to improve drainage and fertility.
* Spacing: Space your pepper plants 18-24 inches apart, depending on the variety. Larger varieties need more space.
Step-by-Step Instructions:
1. Hardening Off (The Gradual Introduction): Start by placing your seedlings outdoors in a sheltered location (like a porch or patio) for just an hour or two each day. Gradually increase the amount of time they spend outdoors each day, exposing them to more sunlight and wind. After about a week, they should be ready to be transplanted.
2. Prepare the Planting Hole: Dig a hole that is slightly larger than the root ball of your seedling.
3. Gently Remove the Seedling: Carefully remove the seedling from its container, being careful not to damage the roots. Gently loosen the root ball if it’s tightly packed.
4. Plant the Seedling: Place the seedling in the hole, making sure the top of the root ball is level with the surrounding soil.
5. Fill and Water: Fill the hole with soil, gently firming it around the base of the plant. Water thoroughly.
6. Mulch (Optional but Recommended): Apply a layer of mulch around the base of the plant to help retain moisture, suppress weeds, and regulate soil temperature. Organic mulches like straw or wood chips are great choices.
7. Support (If Needed): Taller pepper varieties may need support, especially when they start producing fruit. Use stakes or cages to prevent them from falling over.
Section 3: Caring for Your Chili Pepper Plants
Now that your peppers are in the ground, it’s time to provide them with the care they need to thrive.
* Watering: Water deeply and regularly, especially during hot, dry weather. Avoid overhead watering, which can promote disease. Aim to water at the base of the plant.
* Fertilizing: Chili peppers are heavy feeders. Fertilize them regularly with a balanced fertilizer, following the instructions on the package. You can also use organic fertilizers like compost tea or fish emulsion.
* Pest and Disease Control: Keep an eye out for pests like aphids, whiteflies, and spider mites. Treat infestations promptly with insecticidal soap or neem oil. Prevent fungal diseases by providing good air circulation and avoiding overhead watering.
* Pruning (Optional): Pruning can help improve air circulation and encourage bushier growth. Remove any yellowing or dead leaves.
Step-by-Step Instructions:
1. Watering Schedule: Check the soil moisture regularly. Water when the top inch of soil feels dry to the touch. Water deeply, allowing the water to soak into the soil. Avoid watering lightly and frequently, as this can lead to shallow root growth.
2. Fertilizing Regimen: Start fertilizing your pepper plants about 2-3 weeks after transplanting. Use a balanced fertilizer (like 10-10-10) every 2-3 weeks. Once the plants start flowering, switch to a fertilizer that is higher in phosphorus (the middle number) to promote fruit production.
3. Pest Patrol: Inspect your plants regularly for signs of pests. Aphids are small, pear-shaped insects that cluster on new growth. Whiteflies are tiny, white, flying insects that suck sap from the leaves. Spider mites are tiny, spider-like creatures that create webs on the undersides of leaves. Treat infestations promptly with insecticidal soap or neem oil, following the instructions on the package.
4. Disease Prevention: Good air circulation is key to preventing fungal diseases. Space your plants properly and prune any dense foliage. Avoid overhead watering, which can create a humid environment that promotes fungal growth. If you notice any signs of disease, such as spots on the leaves or wilting, treat the plants with a fungicide.
5. Pruning Techniques (If Desired): Pruning is optional, but it can help improve air circulation and encourage bushier growth. Remove any yellowing or dead leaves. You can also pinch off the tips of the branches to encourage the plant to branch out.
Section 4: Harvesting Your Chili Peppers
The moment you’ve been waiting for! Harvesting your peppers is the most rewarding part of the process.
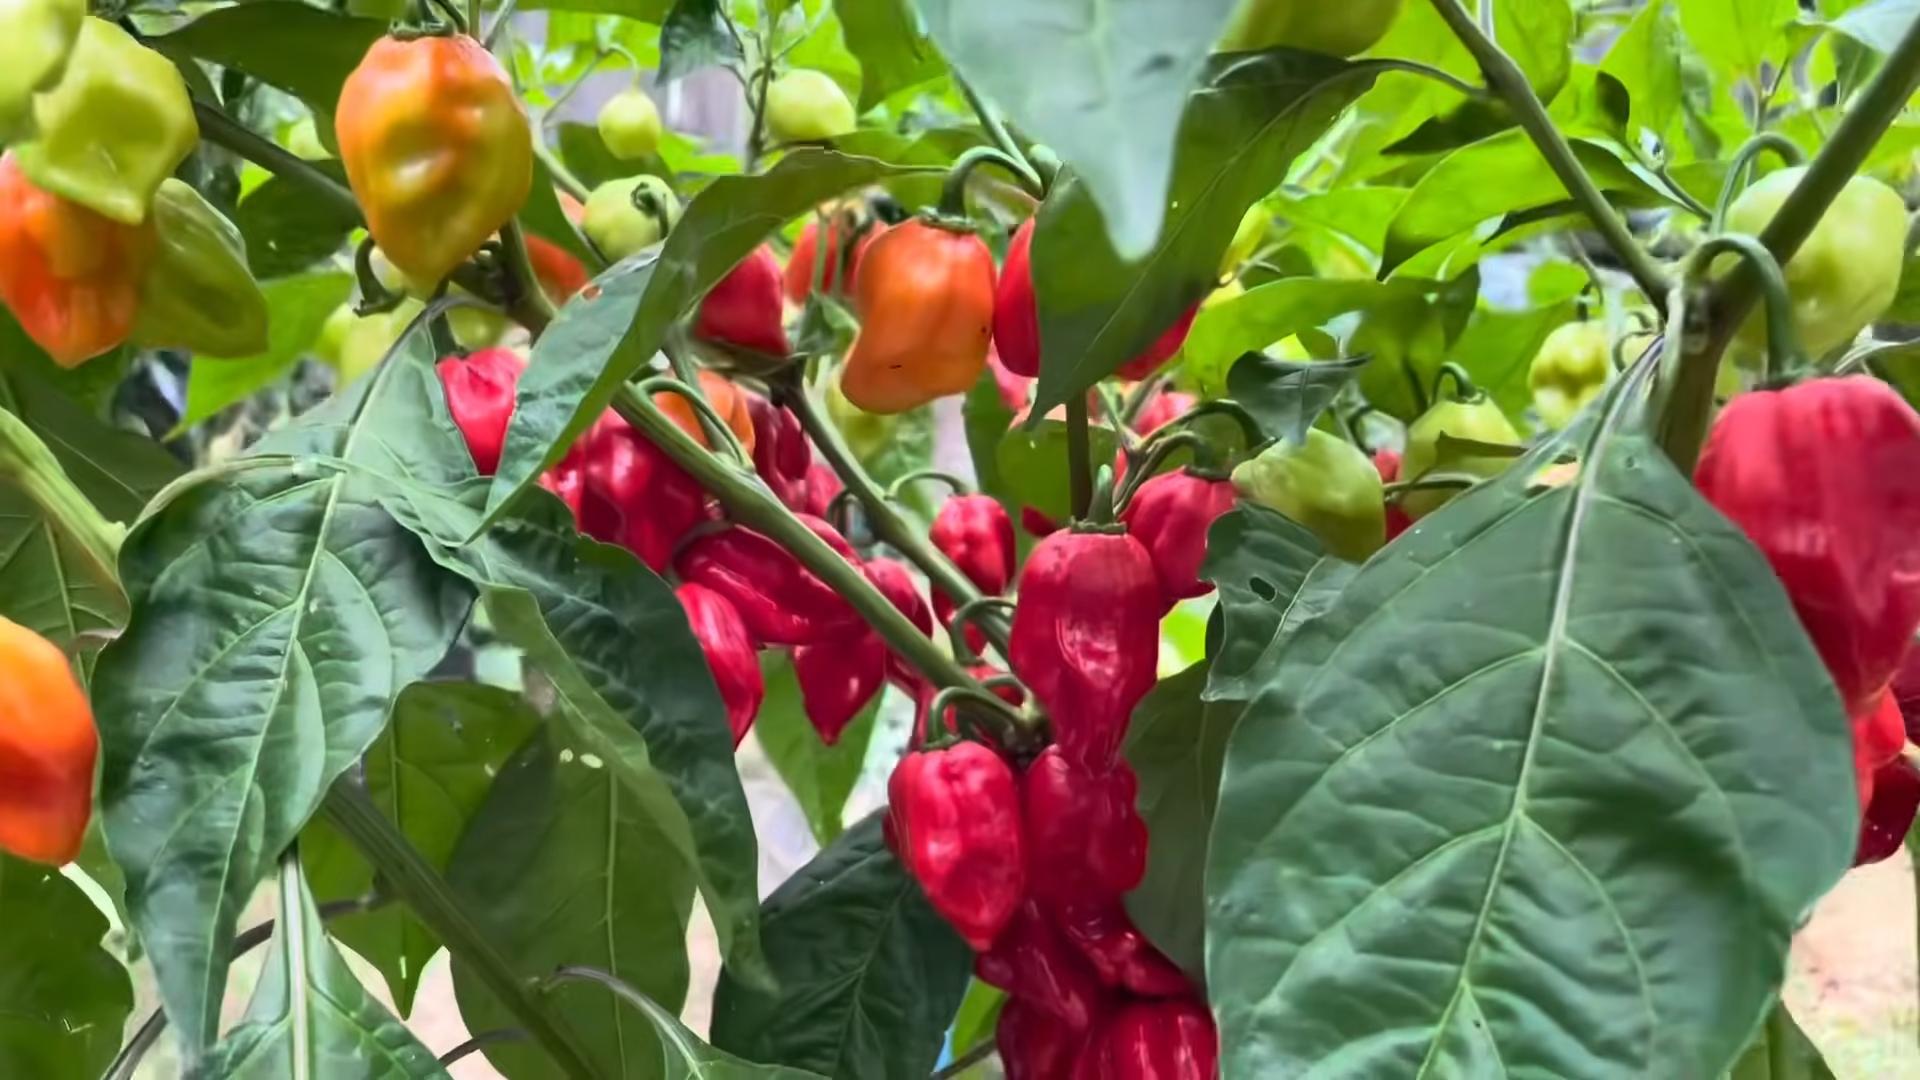
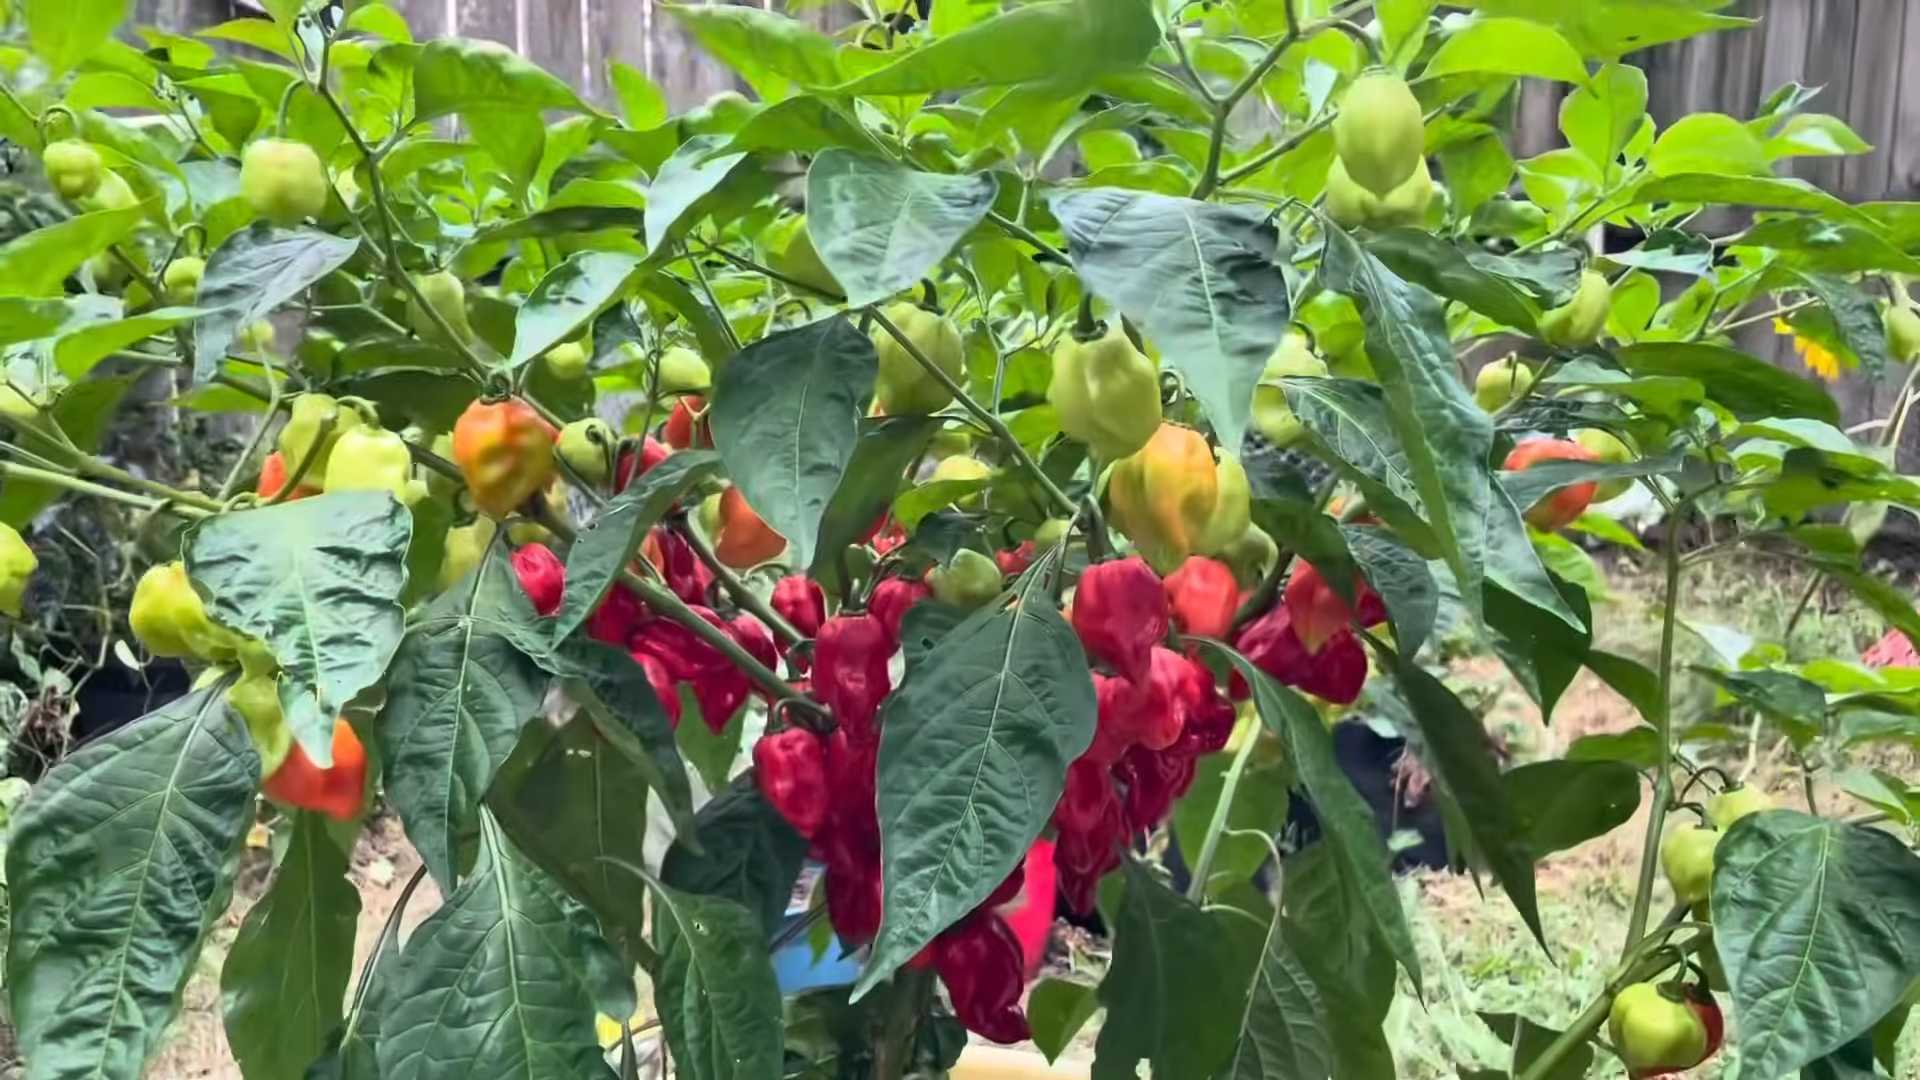
* Knowing When to Harvest: The color of the pepper is a good indicator of ripeness. Most peppers will turn from green to red, yellow, orange, or brown when they are ripe. However, some varieties are ripe when they are still green. Check the seed packet or plant tag for specific information about your variety.
* Harvesting Technique: Use pruning shears or scissors to cut the peppers from the plant. Avoid pulling them off, as this can damage the plant.
* Handling Hot Peppers: Wear gloves when handling hot peppers to avoid burning your skin. Avoid touching your eyes or face after handling hot peppers.
Step-by-Step Instructions:
1. Observe the Color: Check the color of your peppers regularly. Most peppers will change color as they ripen.
2. Check the Firmness: Ripe peppers should be firm to the touch.
3. Use Pruning Shears or Scissors: Use pruning shears or scissors to cut the peppers from the plant, leaving a small stem
Conclusion
So, there you have it! Growing chili peppers at home, while it might seem daunting at first, is incredibly rewarding and, with these simple DIY tricks, surprisingly achievable. We’ve walked you through the essentials, from seed starting to harvesting, highlighting the key steps to ensure a bountiful crop of fiery goodness. But why is this DIY approach a must-try?
Firstly, it gives you complete control over the growing process. You know exactly what goes into your plants, avoiding harmful pesticides and ensuring organic, healthy peppers. This is especially important if you plan on using your chili peppers in dishes where their flavor truly shines. Store-bought peppers, while convenient, often lack the intense flavor and heat that homegrown varieties can deliver.
Secondly, it’s incredibly cost-effective. Once you have your initial supplies, you can save a significant amount of money compared to buying chili peppers regularly. Plus, you can propagate your own seeds, creating a sustainable cycle of chili pepper production.
Thirdly, and perhaps most importantly, it’s incredibly satisfying. There’s nothing quite like the feeling of nurturing a tiny seed into a thriving plant and then harvesting your own delicious chili peppers. It’s a connection to nature that can be incredibly grounding and rewarding.
But don’t stop there! Experiment with different varieties of chili peppers to find your favorites. Try growing them in different containers or locations to see what works best in your environment. Consider companion planting with herbs like basil or oregano, which can help deter pests and enhance the flavor of your peppers. You can also explore different methods of preserving your harvest, such as drying, pickling, or making your own hot sauce. Imagine the possibilities! A homemade chili oil infused with garlic and rosemary, a spicy chili jam to accompany cheese and crackers, or a fiery salsa to spice up your tacos. The options are endless.
Growing chili peppers is not just about producing food; it’s about creating an experience. It’s about connecting with nature, learning new skills, and enjoying the fruits (or rather, the peppers!) of your labor.
We encourage you to give this DIY trick a try. Start small, be patient, and don’t be afraid to experiment. And most importantly, share your experience with us! We’d love to hear about your successes, your challenges, and your favorite ways to use your homegrown chili peppers. Post pictures of your plants, share your recipes, and let us know what you’ve learned. Together, we can create a community of chili pepper enthusiasts and inspire others to embrace the joy of growing their own food. So, grab your seeds, get your hands dirty, and get ready to experience the thrill of growing your own chili peppers! You won’t regret it.
Frequently Asked Questions (FAQ)
Q: What are the best chili pepper varieties for beginners?
A: For beginners, milder varieties like Jalapeños, Poblano, or Anaheim peppers are excellent choices. They are relatively easy to grow and offer a good balance of flavor and heat. As you gain experience, you can then venture into hotter varieties like Serrano, Cayenne, or even Habanero. Remember to always handle hot peppers with care and wear gloves when handling the seeds or peppers themselves.
Q: How much sunlight do chili peppers need?
A: Chili peppers thrive in full sunlight, requiring at least 6-8 hours of direct sunlight per day. If you’re growing them indoors, supplement with grow lights to ensure they receive adequate light. Insufficient sunlight can lead to leggy plants with fewer peppers.
Q: What kind of soil is best for growing chili peppers?
A: Chili peppers prefer well-draining soil that is rich in organic matter. A good potting mix for containers should include a combination of peat moss, perlite, and vermiculite. You can also amend your garden soil with compost or aged manure to improve its fertility and drainage. Avoid heavy clay soils, as they can retain too much moisture and lead to root rot.
Q: How often should I water my chili pepper plants?
A: Water your chili pepper plants regularly, especially during hot and dry weather. The soil should be consistently moist but not waterlogged. Check the soil moisture by sticking your finger about an inch deep. If the soil feels dry, it’s time to water. Avoid overwatering, as this can lead to root rot. During cooler weather, you can reduce the frequency of watering.
Q: What are some common pests and diseases that affect chili pepper plants?
A: Common pests that affect chili pepper plants include aphids, spider mites, and whiteflies. These pests can be controlled with insecticidal soap or neem oil. Diseases that can affect chili pepper plants include blossom end rot, fungal leaf spot, and powdery mildew. Blossom end rot is caused by a calcium deficiency and can be prevented by adding calcium to the soil. Fungal leaf spot and powdery mildew can be prevented by ensuring good air circulation and avoiding overhead watering.
Q: How do I fertilize my chili pepper plants?
A: Fertilize your chili pepper plants regularly with a balanced fertilizer. A fertilizer with an NPK ratio of 10-10-10 or 14-14-14 is a good choice. Apply the fertilizer according to the package instructions. You can also use organic fertilizers like compost tea or fish emulsion. Avoid over-fertilizing, as this can lead to excessive foliage growth and fewer peppers.
Q: When should I harvest my chili peppers?
A: The time to harvest your chili peppers depends on the variety and your personal preference. Most chili peppers are ready to harvest when they have reached their mature color and size. For example, Jalapeños are typically harvested when they are dark green and about 2-3 inches long. Habaneros are typically harvested when they are bright orange or red. You can also harvest chili peppers when they are green, but they will be less spicy. Use pruning shears or scissors to cut the peppers from the plant, leaving a small stem attached.
Q: How can I make my chili peppers hotter?
A: Several factors can influence the heat level of your chili peppers. Stressing the plants slightly by withholding water or fertilizer can sometimes increase their heat. Also, allowing the peppers to fully ripen on the plant will generally result in a hotter pepper. The variety of chili pepper is the most significant factor, so if you want hotter peppers, choose a hotter variety.
Q: Can I grow chili peppers indoors?
A: Yes, you can grow chili peppers indoors, but you’ll need to provide them with adequate light and warmth. Place your plants near a sunny window or use grow lights to supplement the natural light. Maintain a consistent temperature of around 70-80°F (21-27°C). You’ll also need to pollinate the flowers manually, as there won’t be any bees or other insects to do it for you.
Q: How do I save seeds from my chili peppers?
A: To save seeds from your chili peppers, allow the peppers to fully ripen on the plant. Once they are ripe, cut them open and remove the seeds. Spread the seeds out on a paper towel and allow them to dry completely. Once the seeds are dry, store them in an airtight container in a cool, dark place. Be sure to label the container with the variety of chili pepper and the date you saved the seeds. Remember that hybrid varieties may not produce true-to-type seeds.

Leave a Comment