

Clean Ceiling Fan Fast? Yes, you read that right! I know, I know, cleaning ceiling fans is probably right up there with cleaning the oven on the list of everyone’s least favorite chores. Dust bunnies swirling down like tiny tumbleweeds, the awkward balancing act on a chair – it’s a recipe for frustration. But what if I told you there’s a way to conquer this dusty beast quickly and efficiently, without breaking your back or showering yourself in grime?
For generations, keeping our homes clean has been a symbol of pride and well-being. While the tools have evolved, the desire for a dust-free haven remains constant. Think about it: a clean ceiling fan not only looks better, but it also improves air quality, circulating fresh air instead of allergens. Plus, a clean fan operates more efficiently, potentially saving you money on energy bills!
This DIY trick is a game-changer because it addresses the core problem: the awkwardness and mess of traditional cleaning methods. Forget climbing precariously with a duster and hoping for the best. I’m going to share a simple, effective method that will have your ceiling fans sparkling in minutes. So, ditch the dust mask and get ready to learn how to clean ceiling fan fast and easily – you’ll wonder why you didn’t try this sooner!
DIY: Sparkling Clean Ceiling Fan in Minutes!
Okay, let’s be honest, cleaning ceiling fans is one of those chores we all dread. It’s awkward, dusty, and feels like you’re just redistributing the grime all over the room. But fear not! I’ve got a super simple, super effective DIY hack that will have your ceiling fan sparkling clean in just a few minutes, with minimal mess. Forget climbing on wobbly chairs with a duster – this method is a game-changer!
What You’ll Need:
Before we dive in, let’s gather our supplies. You probably already have most of these lying around the house:
* An old pillowcase: This is the star of the show! The dirt will stay inside the pillowcase instead of raining down on you.
* All-purpose cleaner: Your favorite brand will do. I personally like using a gentle, eco-friendly cleaner.
* Spray bottle: For diluting and applying the cleaner.
* Step stool or ladder: Only if needed to comfortably reach your ceiling fan. Safety first!
* Microfiber cloth (optional): For a final polish, if desired.
* Gloves (optional): If you prefer to protect your hands.
Step-by-Step Cleaning Guide:
Alright, let’s get this fan sparkling!
1. Prepare Your Cleaning Solution: In your spray bottle, mix your all-purpose cleaner with water according to the manufacturer’s instructions. Usually, it’s a pretty diluted solution, but check the label to be sure. I usually go for a ratio of about 1 part cleaner to 10 parts water.
2. Prep the Pillowcase: Lightly dampen the inside of your old pillowcase with your cleaning solution. You don’t want it soaking wet, just slightly moist. This will help trap the dust and grime.
3. Position Yourself Safely: If you need a step stool or ladder, make sure it’s stable and secure before you climb up. Safety is paramount!
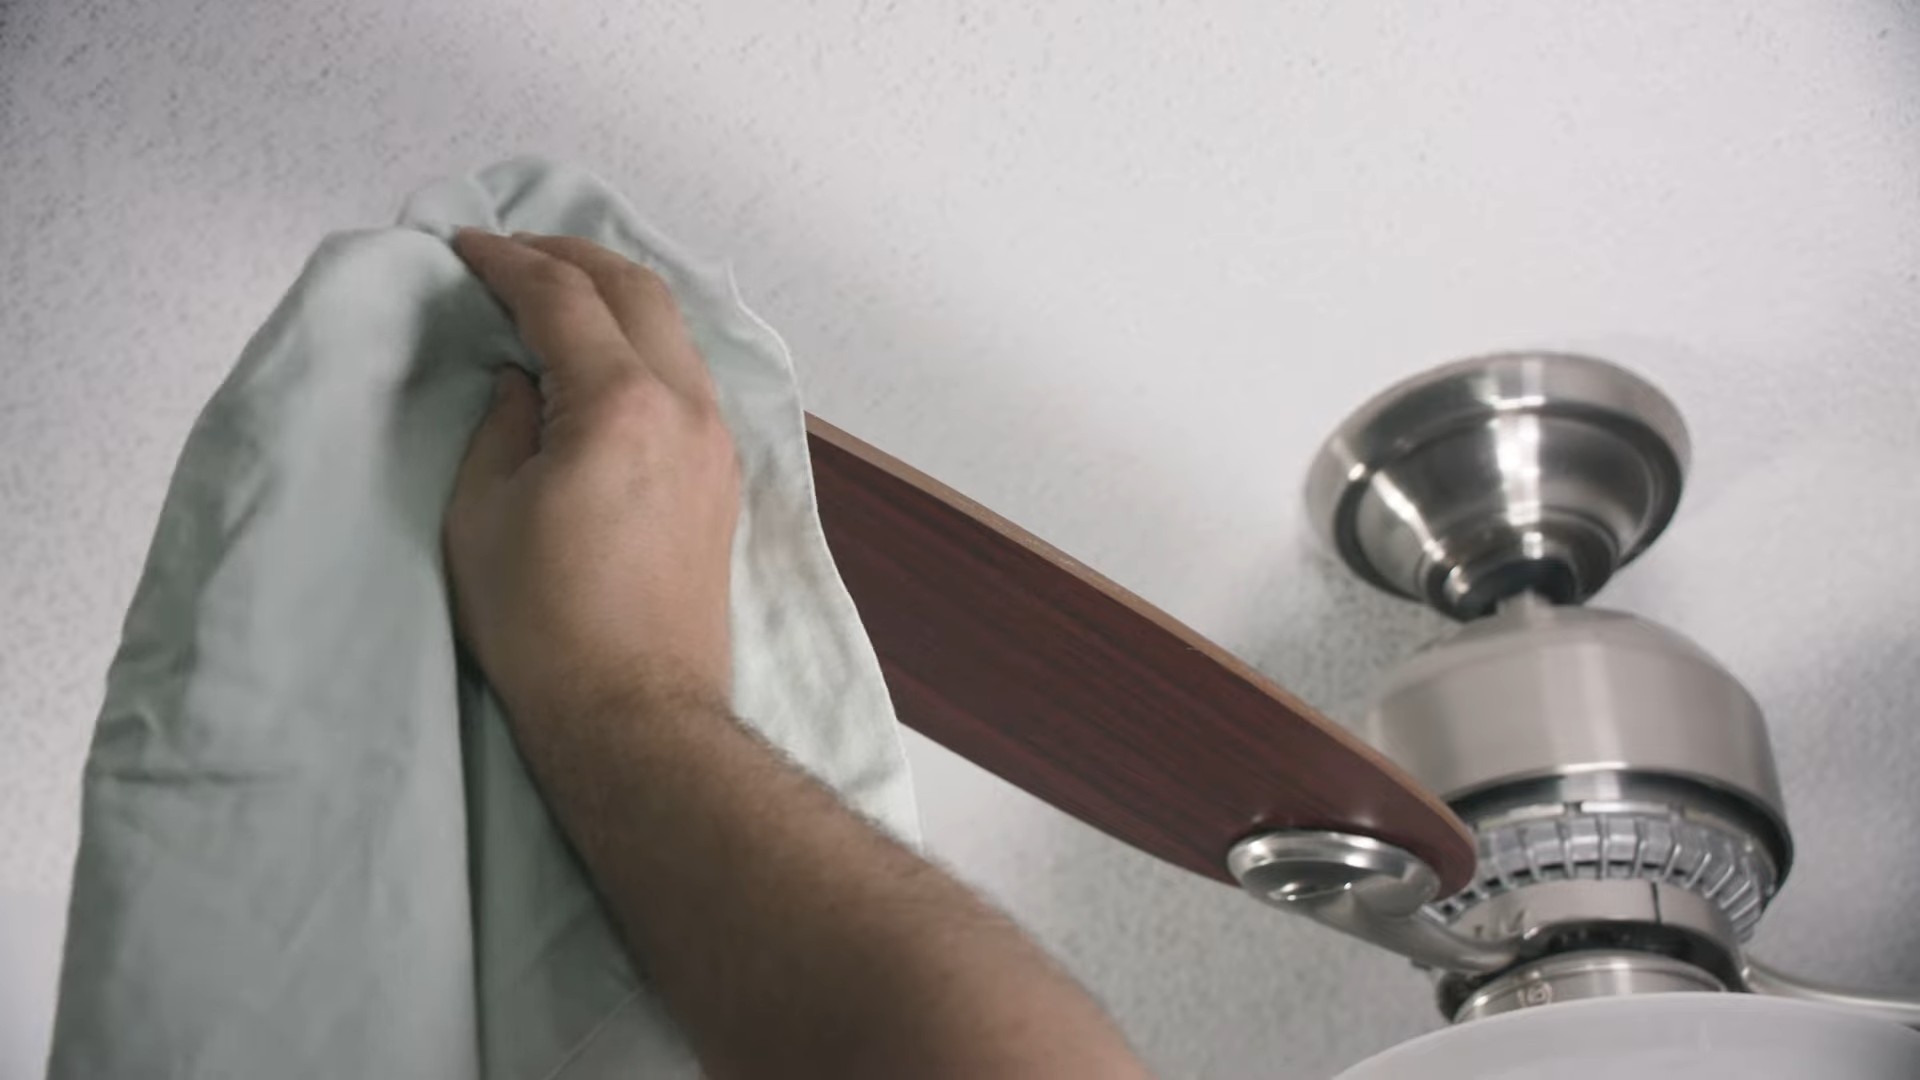
4. Encase Each Blade: This is the magic step! Carefully slide the open end of the pillowcase over one of the fan blades, encasing the entire blade inside the fabric.
5. Wipe and Trap: With the pillowcase snugly around the blade, gently press down on the top of the pillowcase and slowly pull it back towards you, effectively wiping the blade clean as it slides out of the pillowcase. The dust and dirt will be trapped inside the pillowcase!
6. Repeat for Each Blade: Repeat steps 4 and 5 for each blade of your ceiling fan. You’ll be amazed (and maybe a little disgusted!) at how much dirt accumulates on those blades.
7. Inspect and Repeat (If Necessary): Once you’ve cleaned all the blades, take a look inside the pillowcase. If it’s super dirty, you might want to shake it out (outside!) or even use a fresh pillowcase for a second pass. If the blades still look a little grimy, repeat the process.
8. Clean the Fan Motor Housing: Now that the blades are clean, let’s tackle the fan motor housing. Lightly spray your microfiber cloth with the cleaning solution (don’t spray directly onto the motor!) and gently wipe down the housing to remove any dust or grime.
9. Final Polish (Optional): For an extra-sparkly finish, use a clean, dry microfiber cloth to buff the blades and housing. This will remove any streaks and leave your fan looking brand new.
10. Launder the Pillowcase: Once you’re finished, toss the dirty pillowcase in the washing machine. You’ll want to wash it separately from your other clothes, just in case there’s a lot of dust and grime.
Extra Tips and Tricks:
* Frequency is Key: To keep your ceiling fan clean and prevent excessive dust buildup, try to clean it every month or two.
* Use a Vacuum Attachment: If you have a vacuum cleaner with a brush attachment, you can use it to pre-clean the blades before using the pillowcase method. This will help remove loose dust and debris.
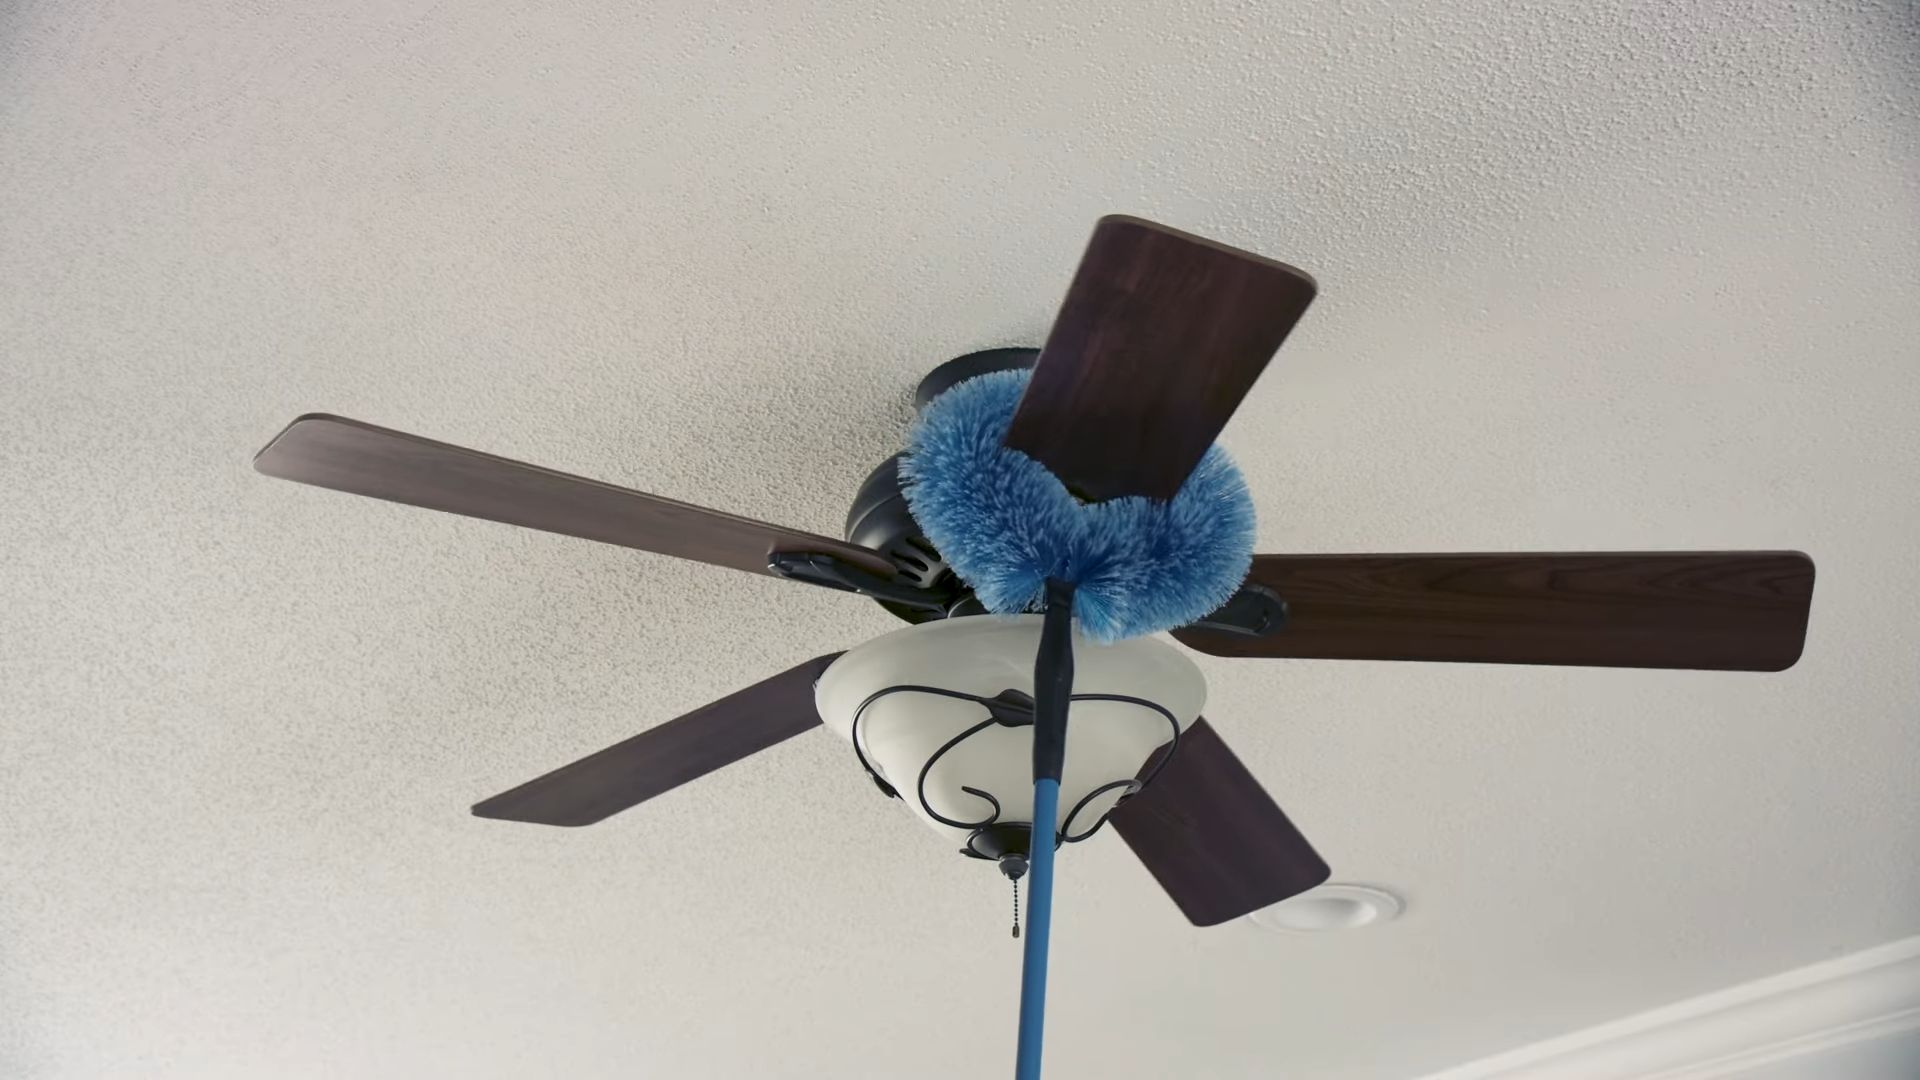
* Consider a Ceiling Fan Duster: While I prefer the pillowcase method, there are also specialized ceiling fan dusters available that can be effective. Look for one with a microfiber head that can be easily washed.
* Don’t Forget the Light Fixture: If your ceiling fan has a light fixture, be sure to clean it as well. Turn off the power to the fan before cleaning the light fixture, and use a damp cloth to wipe down the glass or plastic components.
* For Stubborn Grime: If you encounter any stubborn grime or sticky spots, you can try using a slightly stronger cleaning solution or a gentle scrub brush. Just be careful not to scratch the finish of the fan blades.
* Safety First: Always use a stable step stool or ladder when cleaning your ceiling fan. Never stand on a chair or other unstable surface. And be sure to turn off the power to the fan before cleaning the light fixture.
* Preventative Measures: To minimize dust buildup, consider using an air purifier in the room where the ceiling fan is located. This will help remove dust and other airborne particles from the air.
* Check for Loose Screws: While you’re up there cleaning, take a moment to check for any loose screws or bolts on the fan. Tighten them as needed to prevent the fan from wobbling or making noise.
* Blade Material Matters: The type of material your fan blades are made of can affect how you clean them. For example, wooden blades may require a different cleaning solution than metal or plastic blades. Always check the manufacturer’s instructions for specific cleaning recommendations.
* Consider the Season: If you live in an area with distinct seasons, you may want to adjust the direction of your ceiling fan blades to optimize airflow. In the summer, the blades should rotate counterclockwise to create a cooling breeze. In the winter, they should rotate clockwise to circulate warm air.
* Don’t Overlook the Remote: If your ceiling fan has a remote control, don’t forget to clean it as well. Use a damp cloth to wipe down the remote and remove any fingerprints or smudges.
* Make it a Family Affair: Cleaning the ceiling fan doesn’t have to be a solo mission. Enlist the help of your family members to make the task go by faster. You can assign different tasks to each person, such as preparing the cleaning solution, holding the step stool, or wiping down the blades.
* Reward Yourself: After you’ve finished cleaning the ceiling fan, reward yourself with a treat or a relaxing activity. You deserve it!
Why This Method Works So Well:
The beauty of this pillowcase method is that it contains the dust and dirt as you clean. No more sneezing fits or having to vacuum the floor afterward! It’s also incredibly quick and easy, making it a chore you’ll actually be willing to do regularly. Plus, it’s a great way to repurpose old pillowcases!
This simple DIY hack will leave your ceiling fan looking sparkling clean and your room feeling fresher. Give it a try – you won’t be disappointed!
Conclusion
So, there you have it! Cleaning your ceiling fan doesn’t have to be a dreaded chore. This simple, effective DIY trick transforms the task from a dusty battle into a quick and satisfying win. Forget precariously balancing on ladders with spray bottles and cloths – this method is safer, faster, and leaves your ceiling fan sparkling clean with minimal effort.
Why is this a must-try? Because it saves you time, energy, and potential back pain! It’s also incredibly cost-effective, utilizing materials you likely already have around the house. Think about all the things you could do with the time you save – finally finishing that book, spending quality time with family, or simply relaxing in a dust-free environment. And let’s be honest, a clean ceiling fan not only looks better, but it also improves the air quality in your home by preventing dust from circulating.
But don’t just take our word for it. We encourage you to give this DIY ceiling fan cleaning method a try. You might be surprised at how easy and effective it is.
Looking for variations? Absolutely! For stubborn grime, consider adding a few drops of dish soap to your cleaning solution. If you have wooden fan blades, be sure to use a wood-friendly cleaner and avoid excessive moisture. You can also use a microfiber cloth instead of an old pillowcase for an even more thorough clean. Experiment and find what works best for you and your specific ceiling fan.
We’re confident that once you try this method, you’ll never go back to the old way of cleaning your ceiling fan. It’s a game-changer!
Now, we want to hear from you! Have you tried this DIY trick? What were your results? Do you have any tips or variations to share? Leave a comment below and let us know. Your feedback will help other readers discover the best way to keep their ceiling fans clean and their homes dust-free. Let’s create a community of clean ceiling fan enthusiasts! Sharing your experiences will not only help others but also inspire new and innovative cleaning solutions. So, grab your pillowcase, get cleaning, and then come back and tell us all about it! We can’t wait to hear your success stories and learn from your experiences. Remember, a clean ceiling fan is a happy ceiling fan (and a happy home!).
Frequently Asked Questions (FAQ)
Q: What kind of pillowcase should I use?
A: An old, clean pillowcase is ideal. You don’t want to use a new or favorite pillowcase, as it will get dusty. A cotton or microfiber pillowcase works best. Avoid using pillowcases with embellishments or zippers that could scratch the fan blades. The key is to have a pillowcase that’s large enough to comfortably fit over each fan blade.
Q: What if my ceiling fan blades are really dusty and greasy?
A: For heavily soiled fan blades, pre-treating them is a good idea. Before using the pillowcase method, gently wipe the blades with a damp cloth or paper towel to remove the bulk of the dust and grime. You can also use a mild degreasing cleaner specifically designed for the material of your fan blades (wood, metal, etc.). Be sure to follow the manufacturer’s instructions for the cleaner. After pre-treating, proceed with the pillowcase method for a final, thorough clean.
Q: Is this method safe for all types of ceiling fans?
A: This method is generally safe for most ceiling fans. However, it’s always a good idea to check the manufacturer’s instructions for your specific fan model. If your fan has delicate or intricate details, you may want to use a softer cloth or brush to avoid damaging them. Also, be extra careful when cleaning fans with electrical components to avoid getting them wet.
Q: How often should I clean my ceiling fan?
A: The frequency of cleaning depends on several factors, such as the location of your home, the amount of dust in the air, and whether you have pets. As a general rule, cleaning your ceiling fan every one to three months is a good practice. If you live in a dusty area or have pets, you may need to clean it more frequently. Regular cleaning will prevent dust buildup and keep your fan running efficiently.
Q: Can I use this method on other types of fans?
A: While this method is primarily designed for ceiling fans, it can also be adapted for other types of fans with similar blade structures. For example, you could use it on some standing fans or even certain types of industrial fans. However, be sure to adjust the size of the pillowcase or cloth accordingly. Always exercise caution and avoid getting electrical components wet.
Q: What if I don’t have a pillowcase?
A: If you don’t have a pillowcase, you can use a large microfiber cloth or an old t-shirt. Simply wrap the cloth or t-shirt around each fan blade and wipe. Be sure to use a clean cloth or t-shirt to avoid spreading dust and grime. You may need to use multiple cloths or t-shirts if your fan blades are particularly dirty.
Q: Will this method scratch my ceiling fan blades?
A: This method is unlikely to scratch your ceiling fan blades, as long as you use a soft pillowcase or cloth. Avoid using abrasive materials or harsh chemicals, as these can damage the finish of your fan blades. If you’re concerned about scratching, test the method on a small, inconspicuous area of the fan blade first.
Q: How do I reach the ceiling fan if it’s very high?
A: If your ceiling fan is too high to reach comfortably, use a sturdy step stool or ladder. Be sure to place the step stool or ladder on a level surface and have someone spot you for safety. You can also use an extension pole with a microfiber duster attached to reach the fan blades. Always prioritize safety when working at heights.
Q: What are the benefits of having a clean ceiling fan?
A: There are several benefits to having a clean ceiling fan. First, it improves the air quality in your home by preventing dust from circulating. Second, it helps your fan run more efficiently, which can save you money on energy bills. Third, it makes your home look cleaner and more inviting. Finally, it can extend the lifespan of your ceiling fan by preventing dust buildup from damaging the motor and other components.
Q: Can I use cleaning solutions other than water?
A: Yes, you can use other cleaning solutions besides water. A mixture of water and a mild dish soap is effective for removing grease and grime. You can also use a commercial ceiling fan cleaner or a solution of vinegar and water. However, avoid using harsh chemicals or abrasive cleaners, as these can damage the finish of your fan blades. Always test the cleaning solution on a small, inconspicuous area of the fan blade first to ensure it doesn’t cause any discoloration or damage.

Leave a Comment