

Defog Mirror Shaving Cream: Say goodbye to steamy bathroom mirrors and hello to a clear reflection with this incredibly simple DIY trick! How many times have you hopped out of the shower, ready to shave or apply makeup, only to be met with a foggy, useless mirror? I know, it’s frustrating! But what if I told you the solution was already sitting in your bathroom cabinet?
The quest for a fog-free mirror is nothing new. In fact, throughout history, people have experimented with various methods, from simply wiping the mirror (a temporary fix, at best!) to more elaborate solutions. But this shaving cream hack? It’s a game-changer. It’s quick, easy, and uses a product most of us already have on hand. Plus, it’s far more eco-friendly and cost-effective than constantly buying commercial defogging sprays.
Why do you need this DIY trick? Because life’s too short to spend precious minutes waiting for your mirror to clear! This defog mirror shaving cream method will save you time, reduce frustration, and give you a perfectly clear surface for all your grooming needs. Imagine: a perfectly clear mirror, ready when you are. Let’s dive in and learn how to make this simple magic happen!

DIY Defog Your Bathroom Mirror with Shaving Cream
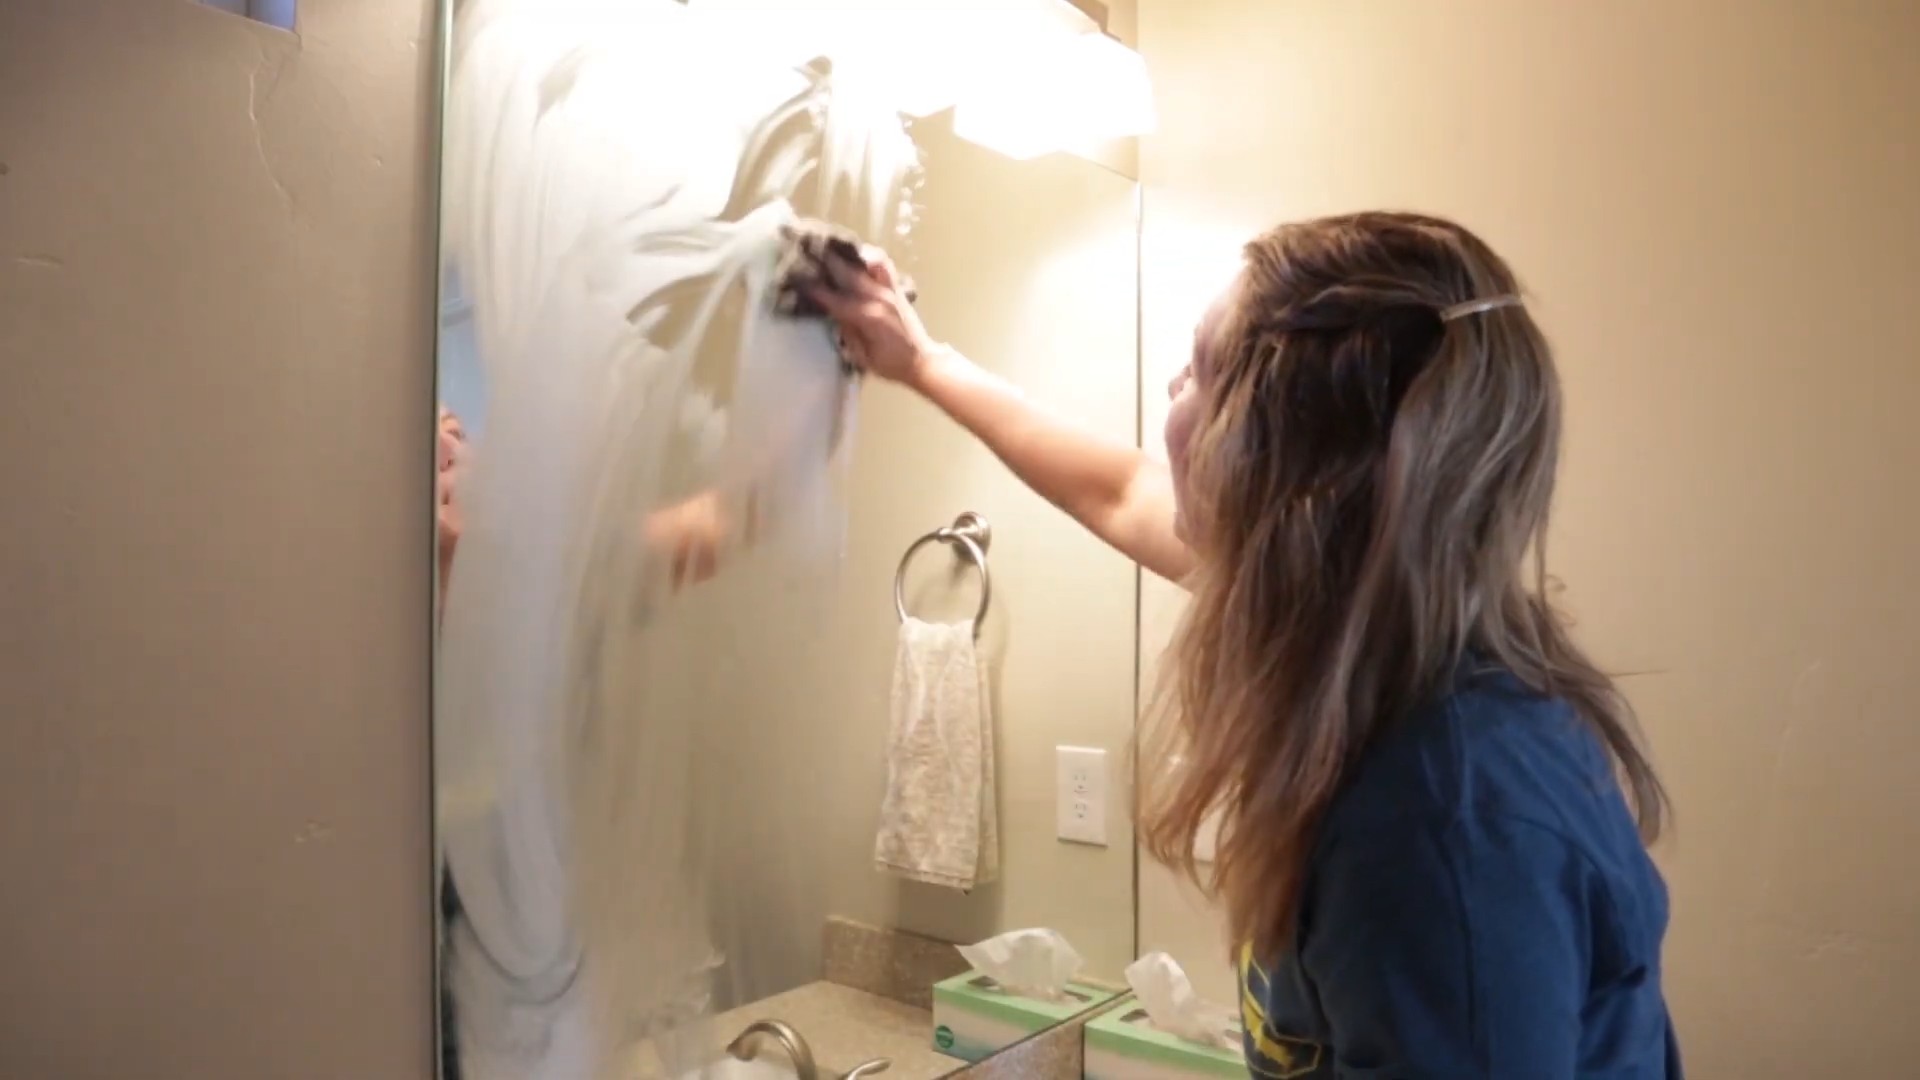
Okay, friends, let’s talk about a universal bathroom annoyance: the foggy mirror after a hot shower. It’s frustrating, right? You’re all clean and ready to face the day, but you can’t even see yourself! Well, I’ve got a super simple, super cheap, and super effective DIY hack for you: using shaving cream to defog your bathroom mirror. Yes, you read that right! This isn’t some old wives’ tale; it actually works, and I’m going to walk you through exactly how to do it.
Why Shaving Cream?
You might be wondering, “Why shaving cream? What’s the magic?” The secret lies in the ingredients. Shaving cream contains surfactants, which are substances that reduce the surface tension of water. This means that instead of water droplets clinging to your mirror and creating fog, the surfactants help the water spread out into a thin, transparent film. It’s like a microscopic rain-x for your mirror! Plus, it’s something most of us already have in our bathrooms, making it a super convenient solution.
Materials You’ll Need
* Shaving cream (any kind will do, but I prefer the foamy kind)
* A clean, dry cloth (microfiber works best, but a soft cotton cloth will also do)
* Water (optional, for rinsing if needed)
Step-by-Step Instructions
Here’s the breakdown of how to defog your mirror using shaving cream. It’s so easy, you’ll be kicking yourself for not trying it sooner!
1. Prepare Your Mirror: Make sure your mirror is clean and dry before you start. If there’s any dust, grime, or water spots, wipe them away with a clean cloth. This will ensure the shaving cream adheres properly and you get the best results.
2. Apply the Shaving Cream: Now, the fun part! Take your shaving cream and apply a small amount directly onto the mirror. You don’t need a ton – a thin layer is all you need. I usually squirt a dollop about the size of a golf ball onto the mirror and then spread it around.
3. Spread the Shaving Cream: Using your fingers or a clean cloth, spread the shaving cream evenly over the entire surface of the mirror. Make sure you cover every inch, but don’t glob it on too thick. You want a thin, consistent layer.
4. Let it Sit: This is important! Let the shaving cream sit on the mirror for a few minutes. I usually give it about 2-3 minutes. This allows the surfactants in the shaving cream to do their work and create that protective barrier.
5. Wipe it Off: Now, grab your clean, dry cloth and gently wipe away the shaving cream. Use circular motions and apply light pressure. You want to remove the shaving cream without leaving any streaks or residue.
6. Buff the Mirror: After you’ve wiped away most of the shaving cream, use a clean, dry section of your cloth to buff the mirror. This will remove any remaining residue and leave your mirror sparkling clean and fog-free.
7. Check for Streaks: Take a step back and inspect your mirror. If you see any streaks or smudges, use a clean, dry cloth to buff them out. You want a crystal-clear finish!
8. (Optional) Rinse if Needed: In some cases, you might find that the shaving cream leaves a slight residue that’s difficult to buff away. If this happens, you can lightly dampen your cloth with water and wipe the mirror again, followed by a dry buff.
Tips and Tricks for the Best Results
Okay, now that you know the basic steps, let’s dive into some tips and tricks to ensure you get the absolute best results from this DIY hack.
* Type of Shaving Cream Matters (Sort Of): While any shaving cream will technically work, I’ve found that the foamy kind tends to be the easiest to apply and wipe away. Gel shaving creams can sometimes leave a slightly stickier residue, so you might need to rinse them off more thoroughly.
* Don’t Use Too Much: Less is more! Applying too much shaving cream can make it harder to wipe away and increase the chances of streaks. Start with a small amount and add more if needed.
* Use a Microfiber Cloth: Microfiber cloths are fantastic for cleaning mirrors and glass because they’re super absorbent and don’t leave behind any lint. If you don’t have a microfiber cloth, a soft cotton cloth will also work, but be sure it’s clean and lint-free.
* Buff, Buff, Buff: The key to a streak-free finish is buffing. Don’t be afraid to spend a little extra time buffing the mirror after you’ve wiped away the shaving cream. This will remove any remaining residue and leave your mirror sparkling.
* Reapply as Needed: This treatment isn’t permanent. Depending on how often you shower and how steamy your bathroom gets, you’ll need to reapply the shaving cream every few weeks or months. I usually reapply mine about once a month.
* Test in a Small Area First: While I’ve never had any issues, it’s always a good idea to test the shaving cream in a small, inconspicuous area of your mirror before applying it to the entire surface. This will ensure that it doesn’t damage or discolor the mirror.
* Ventilate Your Bathroom: While the shaving cream trick works wonders, it’s always a good idea to ventilate your bathroom while you shower. This will help reduce the amount of steam and moisture in the air, which will, in turn, reduce the amount of fog on your mirror.
Troubleshooting Common Issues
Even with the best instructions, sometimes things don’t go exactly as planned. Here are some common issues you might encounter and how to fix them:
* Streaks: If you’re seeing streaks after wiping away the shaving cream, it’s likely due to residue. Try buffing the mirror with a clean, dry cloth. If that doesn’t work, lightly dampen your cloth with water and wipe the mirror again, followed by a dry buff.
* Sticky Residue: If the shaving cream is leaving a sticky residue, it could be because you used too much or because you’re using a gel shaving cream. Try rinsing the mirror with water and then buffing it dry.
* Uneven Coverage: If you’re noticing that some areas of your mirror are still fogging up while others aren’t, it could be because you didn’t apply the shaving cream evenly. Next time, make sure you spread the shaving cream over the entire surface of the mirror, paying attention to the edges and corners.
* Mirror Damage: While rare, some shaving creams might contain ingredients that could potentially damage certain types of mirrors. That’s why it’s always a good idea to test the shaving cream in a small, inconspicuous area first. If you notice any discoloration or damage, discontinue use immediately.
Beyond the Bathroom Mirror: Other Uses for This Hack
The beauty of this shaving cream trick is that it’s not just limited to bathroom mirrors. You can use it on other glass surfaces that tend to fog up, such as:
* Car Windows: Apply a thin layer of shaving cream to the inside of your car windows to prevent them from fogging up in cold or humid weather.
* Eyeglasses: A tiny dab of shaving cream can prevent your eyeglasses from fogging up when you’re wearing a mask or exercising.
* Swimming Goggles: Apply a small amount of shaving cream to the inside of your swimming goggles to prevent them from fogging up while you’re swimming.
* Camera Lenses: If you’re shooting in humid conditions, a thin layer of shaving cream can prevent your camera lens from fogging up.
Why This Hack is Awesome
I’m telling you, this shaving cream trick is a game-changer. It’s:
* Affordable: You probably already have shaving cream in your bathroom, so it’s essentially free!
* Easy: It takes just a few minutes to apply and wipe away.
* Effective: It really works! Say goodbye to foggy mirrors.
* Versatile: You can use it on other glass surfaces too.
So, there you have it! My super simple, super cheap, and super effective DIY hack for defogging your bathroom mirror with shaving cream. Give it a try, and I promise you won’t be disappointed. Happy defogging!
Conclusion
So, there you have it! This simple, yet incredibly effective, DIY defogging mirror trick using shaving cream is a game-changer for anyone tired of battling foggy mirrors after a hot shower. Forget expensive commercial defoggers filled with harsh chemicals; this method is not only budget-friendly but also utilizes a product you likely already have in your bathroom.
Why is this a must-try? Because it saves you time, money, and frustration. Imagine stepping out of a relaxing shower and immediately being able to see your reflection clearly. No more waiting for the fog to dissipate, no more wiping streaks across the mirror, and no more squinting to apply makeup or shave. This shaving cream hack provides instant clarity, allowing you to seamlessly transition from shower to your daily routine.
Beyond its practicality, this trick is also remarkably versatile. While we’ve focused on using shaving cream, you can experiment with different types to find what works best for your mirror and your skin. For instance, those with sensitive skin might prefer a fragrance-free or hypoallergenic shaving cream. You could even try using a shaving gel, although the results may vary slightly. The key is to apply a thin, even layer and buff it away completely.
Consider these variations to personalize your defogging experience:
* Essential Oil Infusion: Add a drop or two of your favorite essential oil to the shaving cream before applying it to the mirror. Lavender, eucalyptus, or tea tree oil can provide a subtle aromatherapy boost while you shower.
* Lemon Juice Boost: For extra cleaning power and a fresh scent, mix a teaspoon of lemon juice into the shaving cream before application. This can help remove any lingering soap scum or hard water stains.
* Microfiber Magic: While a soft cloth works well, using a microfiber cloth to buff the shaving cream off the mirror can result in an even clearer, streak-free finish.
We are confident that once you try this defog mirror hack, you’ll wonder how you ever lived without it. It’s a simple solution to a common problem, and the results are truly remarkable.
Don’t just take our word for it, though! We highly encourage you to give this DIY trick a try and see the difference for yourself. We are eager to hear about your experiences. Did you find a particular type of shaving cream that worked exceptionally well? Did you experiment with any variations? Share your tips, tricks, and photos in the comments below! Your feedback will not only help other readers but also contribute to a community of resourceful individuals who are always looking for clever ways to simplify their lives. Let’s banish foggy mirrors together!
Frequently Asked Questions (FAQ)
Q: How does shaving cream actually prevent mirrors from fogging up?
A: Shaving cream contains ingredients that create a thin, protective layer on the mirror’s surface. This layer acts as a surfactant, reducing the surface tension of water droplets. Instead of forming tiny droplets that scatter light and create fog, the water spreads out into a thin, transparent film. This allows you to see your reflection clearly, even in a humid environment. Think of it like a microscopic rain repellent for your mirror!
Q: What kind of shaving cream works best for this defogging trick?
A: Most types of shaving cream will work, but the classic, foamy kind tends to be the most effective. Avoid using shaving creams that are heavily scented or contain a lot of oils, as these can leave a residue on the mirror. Gel-based shaving creams can also work, but you may need to experiment with the application to achieve the same level of clarity. Ultimately, the best shaving cream is the one that you already have on hand and that doesn’t irritate your skin.
Q: How often do I need to reapply the shaving cream to keep my mirror defogged?
A: The frequency of reapplication depends on several factors, including the humidity levels in your bathroom and how often you shower. Generally, a single application of shaving cream can keep your mirror defogged for several weeks. You’ll know it’s time to reapply when you start to notice fog forming on the mirror again.
Q: Will this trick work on other surfaces besides mirrors, like shower doors or windows?
A: Yes, this trick can also work on other glass surfaces, such as shower doors and windows. However, the results may vary depending on the type of glass and the level of humidity. For shower doors, you may need to reapply the shaving cream more frequently due to the direct exposure to water.
Q: Is it safe to use shaving cream on all types of mirrors?
A: In most cases, it is safe to use shaving cream on mirrors. However, if you have an antique or particularly delicate mirror, it’s always a good idea to test the shaving cream on a small, inconspicuous area first to ensure that it doesn’t damage the surface. Avoid using abrasive cleaners or harsh chemicals on your mirrors, as these can scratch or damage the reflective coating.
Q: What if I accidentally leave too much shaving cream on the mirror?
A: If you accidentally leave too much shaving cream on the mirror, don’t worry! Simply dampen a clean cloth with water and gently wipe away the excess. You may need to repeat this process a few times to remove all of the residue. Once the mirror is clean, buff it with a dry cloth to restore its shine.
Q: Can I use this trick on my car’s rearview mirror to prevent fogging?
A: While the principle is the same, using shaving cream on your car’s rearview mirror is not recommended. Shaving cream can leave a greasy residue that can distort your vision, especially at night. There are specialized defogging products designed specifically for car windows and mirrors that are a safer and more effective option.
Q: I have sensitive skin. Is it safe to use shaving cream on my mirror if I’m concerned about fumes or residue?
A: If you have sensitive skin, choose a fragrance-free and hypoallergenic shaving cream. Ensure the bathroom is well-ventilated during application and buff the mirror thoroughly to remove all traces of shaving cream. This minimizes any potential for skin irritation from lingering fumes or residue. You can also wear gloves during application for added protection.
Q: My mirror has a film or streaks after using the shaving cream. What did I do wrong?
A: Streaks or film usually indicate that the shaving cream wasn’t buffed off completely. Try using a clean, dry microfiber cloth and buff the mirror again with more pressure. Ensure you’re using a circular motion. If the streaks persist, lightly dampen the microfiber cloth and try again, followed by a final buff with a dry cloth. The key is thorough removal of the shaving cream residue.
Q: Are there any alternatives to shaving cream for defogging mirrors?
A: Yes, there are several alternatives to shaving cream. Some popular options include:
* White Vinegar: Mix equal parts white vinegar and water in a spray bottle. Spray the mixture onto the mirror and wipe it clean with a cloth.
* Dish Soap: Add a few drops of dish soap to a bowl of water. Dip a cloth into the soapy water and wipe the mirror clean.
* Commercial Defogging Sprays: These sprays are specifically designed to prevent mirrors from fogging up and can be found at most drugstores and home improvement stores.
While these alternatives can be effective, shaving cream is often the most readily available and cost-effective option.


Leave a Comment