

Growing Parsley for Beginners can seem daunting, but trust me, it’s easier than you think! Imagine stepping outside your door and snipping fresh, vibrant parsley to elevate your dishes. No more bland meals – just a burst of fresh, herbaceous flavor at your fingertips. For centuries, parsley has been more than just a garnish; it’s been a symbol of spring, celebration, and even good health in various cultures. From ancient Roman feasts to modern-day kitchens, parsley has consistently held a place of honor.
But why should you bother with growing your own parsley? Well, store-bought parsley often lacks the intense flavor and freshness of homegrown. Plus, let’s be honest, those little bunches can be surprisingly expensive! This DIY guide will unlock the secrets to successfully growing parsley for beginners, even if you don’t have a green thumb. I’ll share simple tricks and hacks that will have you harvesting a bountiful supply of this versatile herb in no time. Get ready to ditch the wilted grocery store parsley and embrace the joy of fresh, homegrown flavor!
Growing Parsley: A Beginner’s Guide to Fresh Herbs at Home
Hey there, fellow gardening enthusiasts! I’m so excited to share my experience with growing parsley. It’s one of the easiest and most rewarding herbs to cultivate, even if you’re a complete beginner. Fresh parsley adds a burst of flavor to so many dishes, and having it readily available in your own garden (or even a pot on your windowsill!) is incredibly satisfying. Let’s dive into how you can grow your own thriving parsley patch.
Choosing Your Parsley Variety
First things first, let’s talk about the different types of parsley. There are two main varieties you’ll encounter:
* Curly Parsley: This is the classic parsley you see most often in grocery stores. It has a slightly more robust flavor and is often used as a garnish.
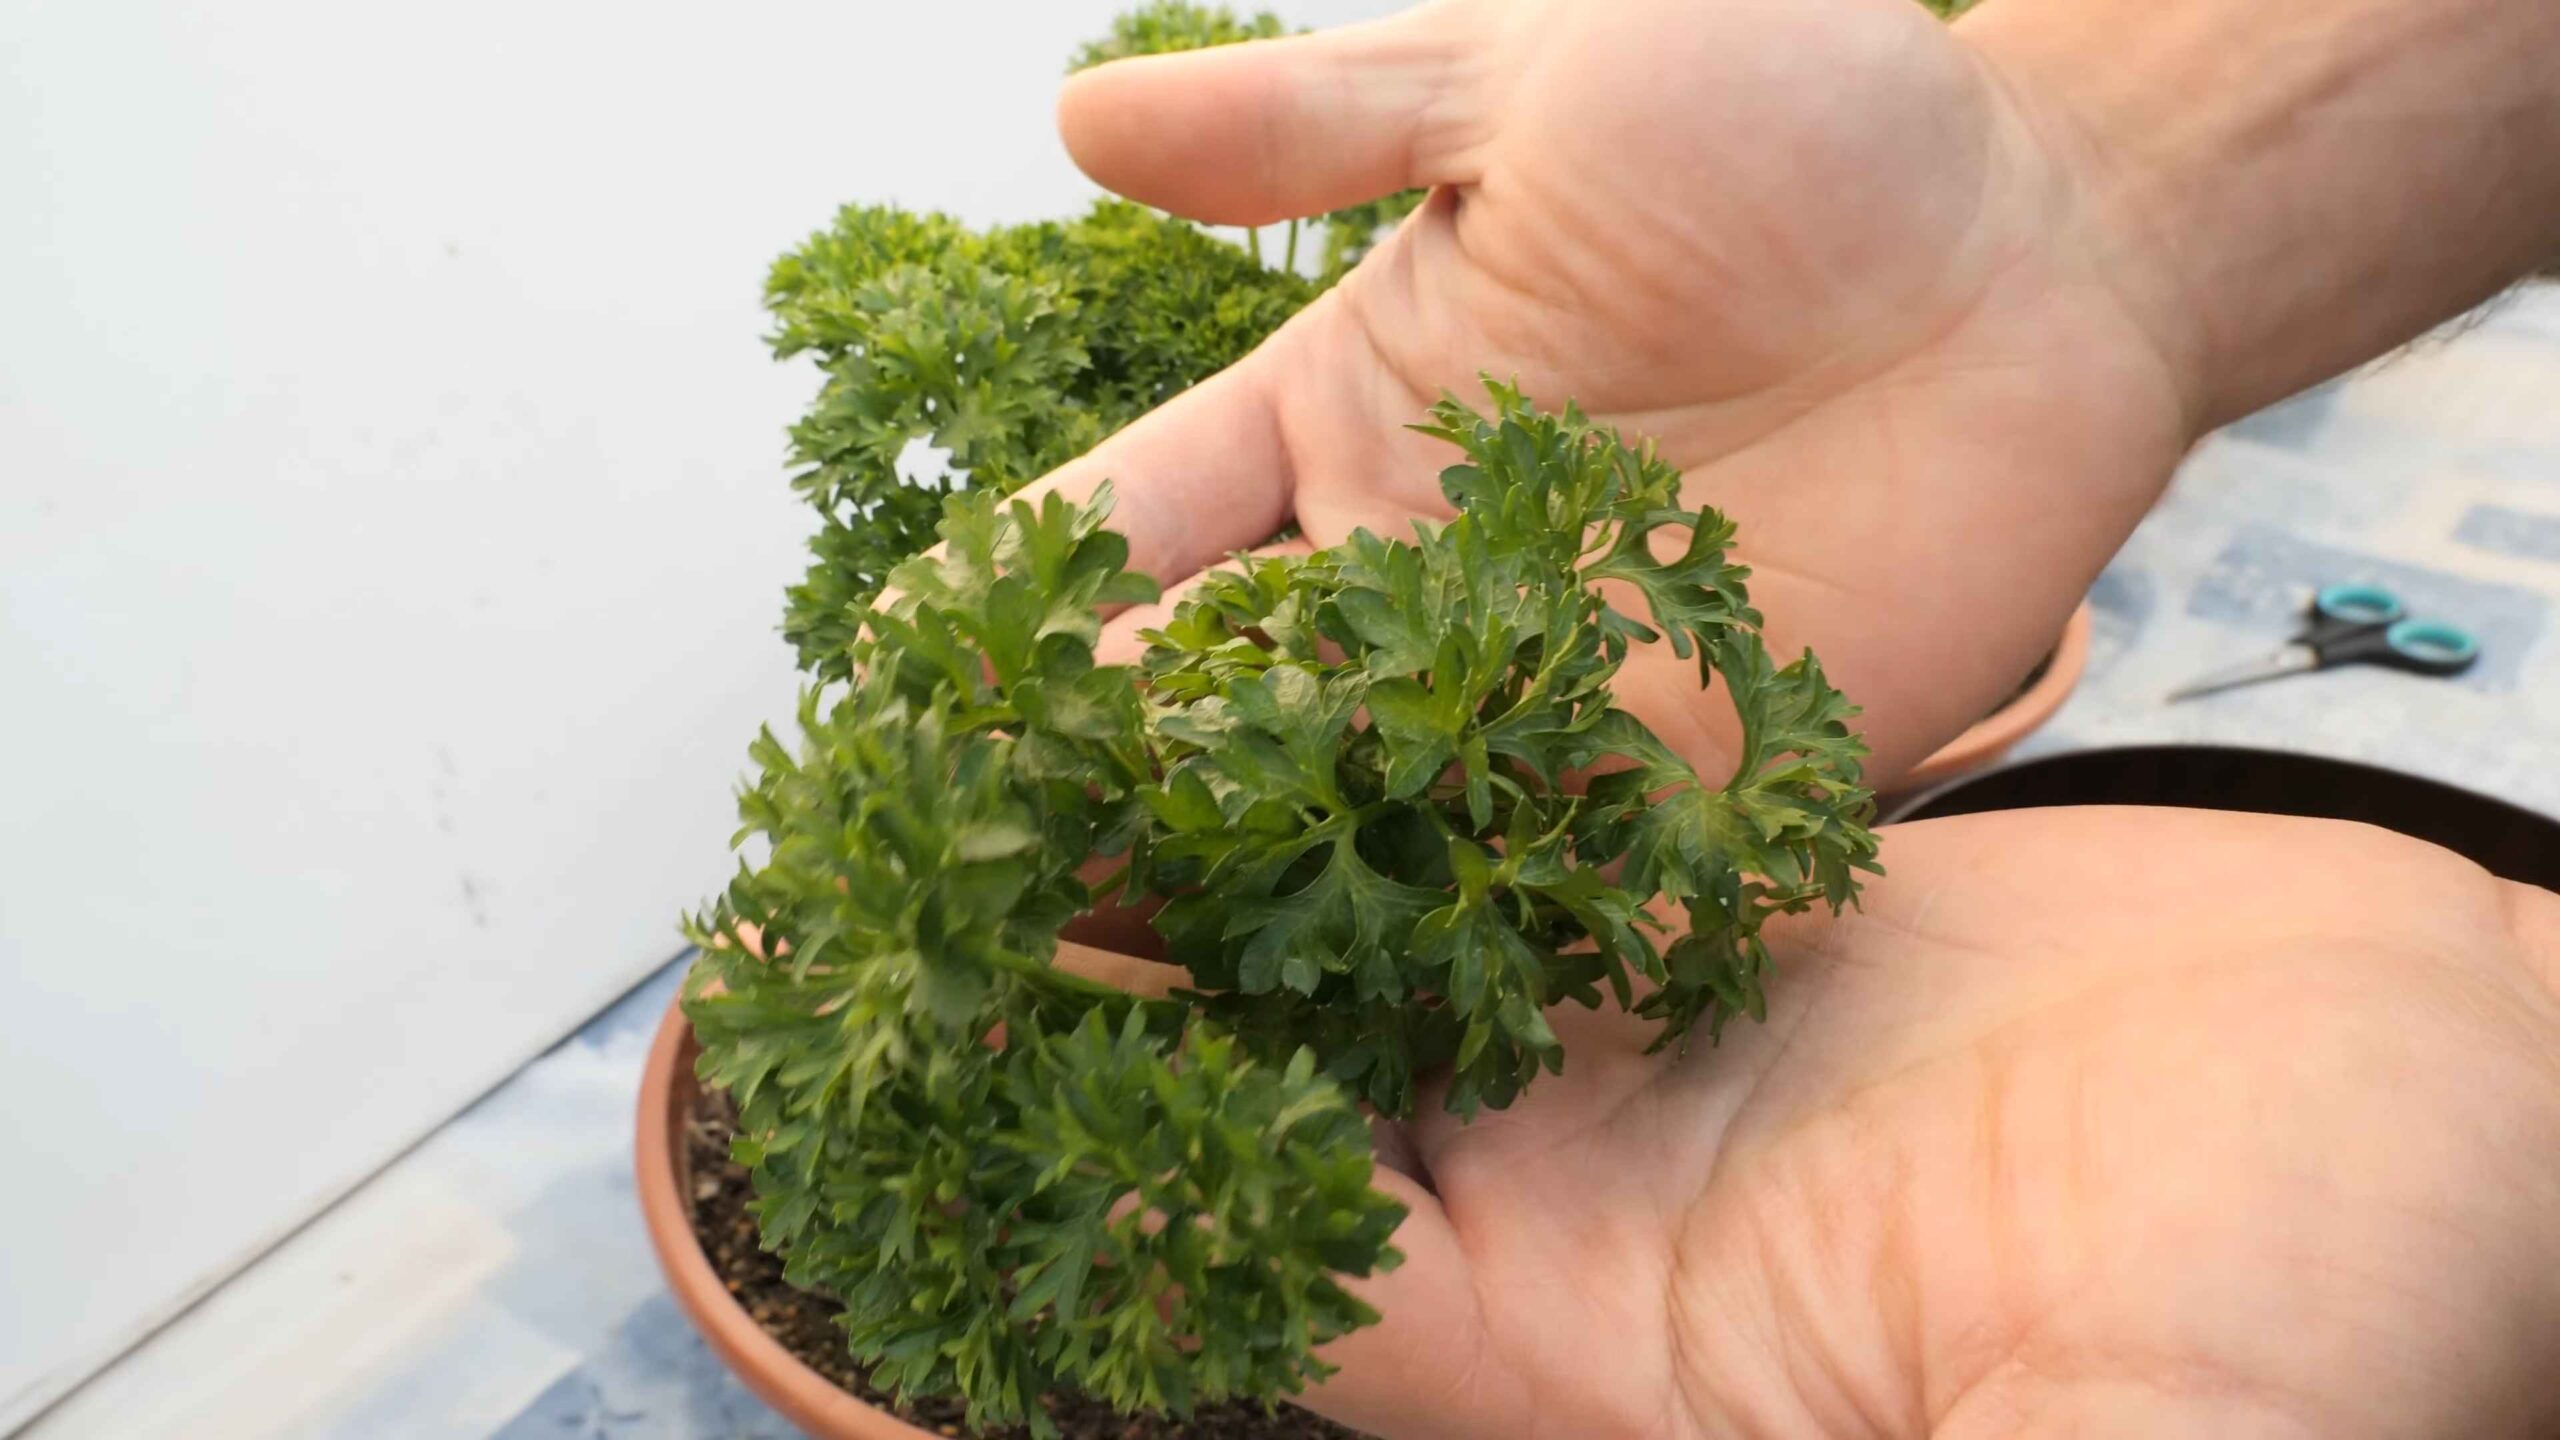
* Flat-Leaf (Italian) Parsley: This variety has a stronger, more pronounced flavor than curly parsley. Many chefs prefer it for cooking because its flavor holds up better under heat.
Personally, I love growing both! They each have their own unique qualities and uses.
Getting Started: Seeds vs. Seedlings
You have two options when starting your parsley journey: seeds or seedlings.
* Seeds: Starting from seed is more economical, but parsley seeds can be a bit slow to germinate. Be patient!
* Seedlings: Buying seedlings from a nursery gives you a head start. You’ll have parsley ready to harvest much sooner.
I’ve tried both methods, and honestly, both work well. If you’re short on time and want instant gratification, go for seedlings. If you enjoy the process of nurturing a plant from its earliest stages, seeds are the way to go.
Planting Your Parsley
Okay, let’s get our hands dirty! Here’s a step-by-step guide to planting your parsley, whether you’re starting from seeds or seedlings.
Planting from Seeds:
1. Prepare the Soil: Parsley thrives in well-draining soil that’s rich in organic matter. Amend your garden soil with compost or aged manure. If you’re planting in containers, use a good-quality potting mix. I like to add a little perlite to my potting mix to improve drainage.
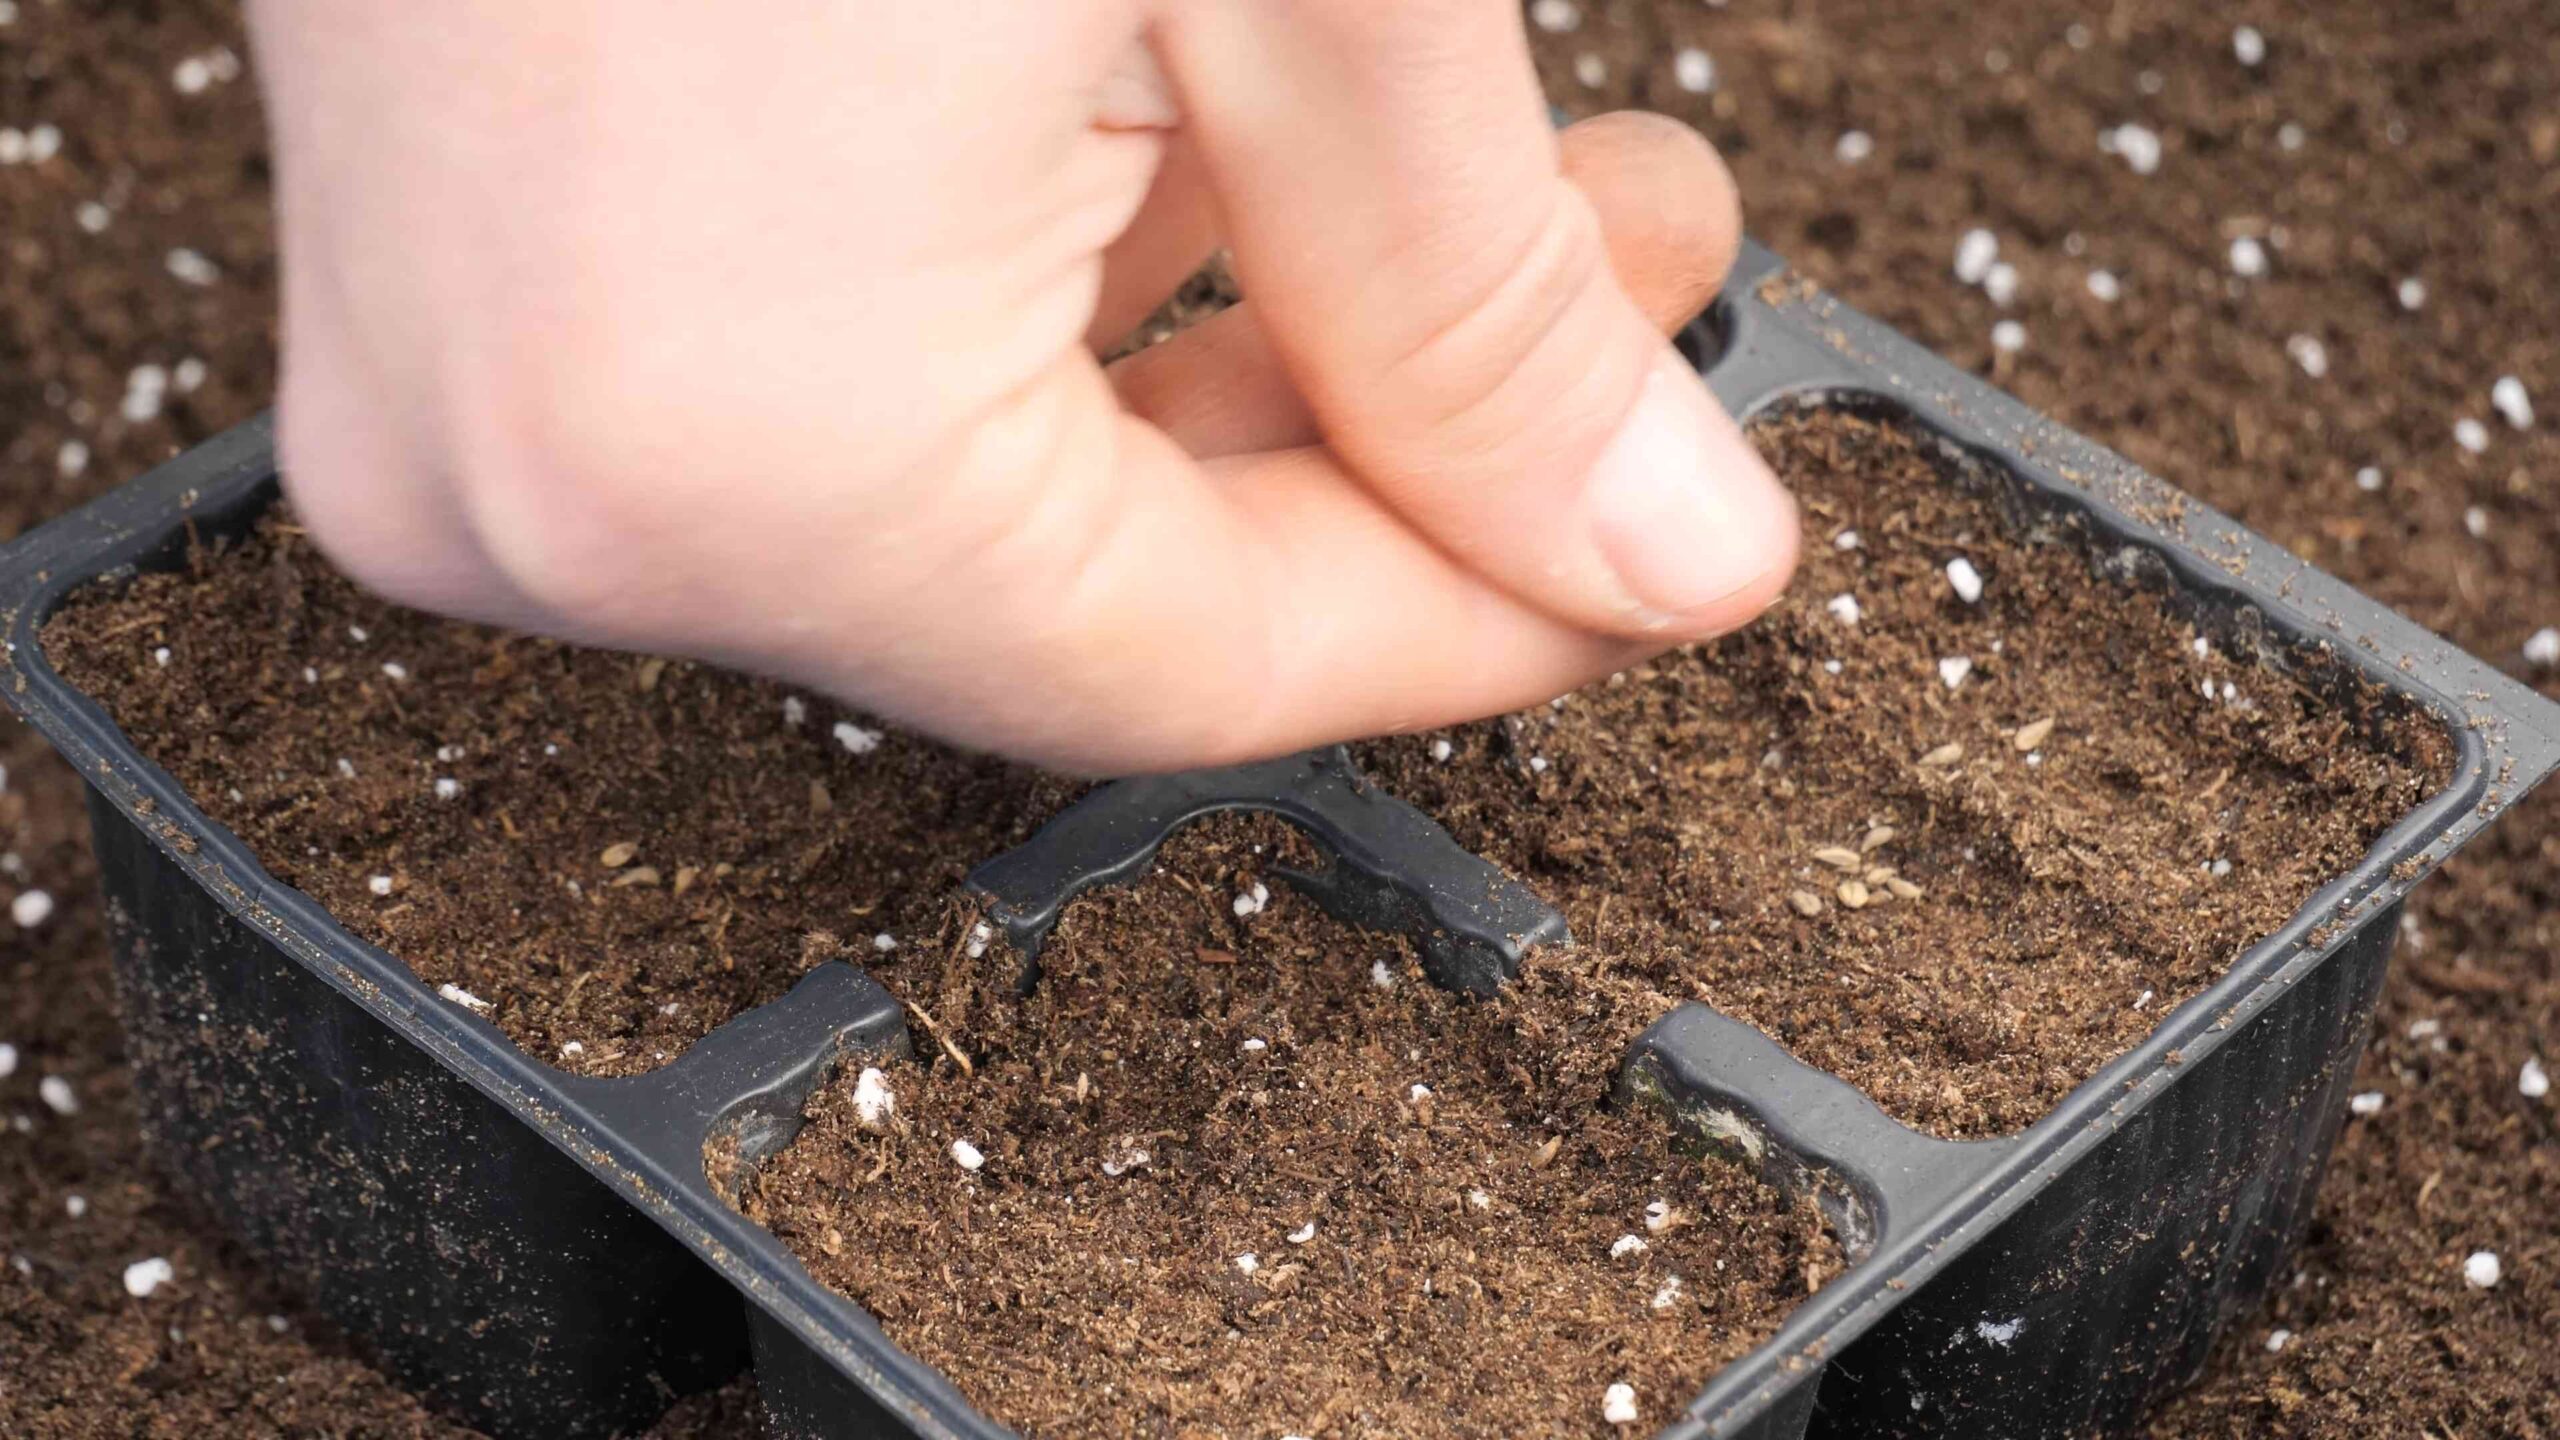
2. Sow the Seeds: Parsley seeds have a reputation for being slow to germinate. To speed things up, you can soak them in warm water for 24 hours before planting. Sow the seeds about ¼ inch deep and 1 inch apart.
3. Water Gently: Water the soil gently after sowing, being careful not to dislodge the seeds. Keep the soil consistently moist but not waterlogged.
4. Be Patient: Germination can take anywhere from 2 to 4 weeks. Don’t give up! Keep the soil moist and the area weed-free.
5. Thin Seedlings: Once the seedlings emerge and have a few sets of true leaves, thin them to about 6-8 inches apart. This gives them enough room to grow and thrive.
Planting Seedlings:
1. Prepare the Soil: Just like with seeds, make sure your soil is well-draining and rich in organic matter.
2. Dig a Hole: Dig a hole that’s slightly larger than the root ball of the seedling.
3. Gently Remove the Seedling: Carefully remove the seedling from its container, being careful not to damage the roots. Gently loosen the roots if they’re tightly packed.
4. Plant the Seedling: Place the seedling in the hole and backfill with soil. Make sure the top of the root ball is level with the surrounding soil.
5. Water Thoroughly: Water the seedling thoroughly after planting.
Caring for Your Parsley
Once your parsley is planted, it’s time to provide it with the care it needs to flourish.
1. Sunlight: Parsley needs at least 6 hours of sunlight per day. If you’re growing it indoors, place it near a sunny window.
2. Watering: Water your parsley regularly, especially during hot, dry weather. The soil should be consistently moist but not waterlogged. Check the soil moisture by sticking your finger about an inch into the soil. If it feels dry, it’s time to water.
3. Fertilizing: Parsley is a relatively light feeder, but it will benefit from occasional fertilization. Use a balanced liquid fertilizer every few weeks during the growing season. I like to use a fish emulsion fertilizer, which is a natural and gentle option.
4. Weeding: Keep the area around your parsley free of weeds. Weeds compete with parsley for nutrients and water.
5. Pest Control: Parsley is generally pest-resistant, but it can occasionally be bothered by aphids or spider mites. If you notice any pests, you can try spraying them with a strong stream of water or using an insecticidal soap.
6. Pruning: Regular pruning encourages bushier growth and prevents your parsley from going to seed (bolting). Simply snip off the outer leaves as needed, leaving the inner leaves to continue growing.
Harvesting Your Parsley
Harvesting parsley is the best part! You can start harvesting once the plants are about 6 inches tall.
1. Harvesting Technique: Use scissors or pruning shears to snip off the outer leaves near the base of the plant. Avoid cutting the entire plant back at once, as this can weaken it.
2. Harvesting Frequency: Harvest parsley regularly to encourage continued growth. The more you harvest, the more it will produce!
3. Storing Parsley: Freshly harvested parsley is best used immediately. However, you can store it in the refrigerator for a few days. To keep it fresh, wrap it in a damp paper towel and place it in a plastic bag. You can also freeze parsley for longer storage. To freeze it, chop it up and place it in ice cube trays with water or olive oil. Once frozen, transfer the cubes to a freezer bag.
Troubleshooting Common Parsley Problems
Even with the best care, you might encounter a few problems along the way. Here are some common issues and how to address them:
* Yellowing Leaves: Yellowing leaves can be caused by overwatering, underwatering, or nutrient deficiencies. Check the soil moisture and adjust your watering accordingly. If the problem persists, try fertilizing with a balanced fertilizer.
* Bolting (Going to Seed): Bolting occurs when parsley is exposed to high temperatures or stress. Once parsley bolts, the leaves become bitter. To prevent bolting, provide your parsley with shade during the hottest part of the day and water it regularly. If your parsley does bolt, you can still harvest the seeds for future planting.
* Slow Germination: As mentioned earlier, parsley seeds can be slow to germinate. Make sure the soil is consistently moist and the temperature is warm enough. You can also try scarifying the seeds (gently scratching the outer coating) before planting to improve germination rates.
Parsley in Containers
Growing parsley in containers is a great option if you have limited space or want to keep it close at hand.
1. Choosing a Container: Select a container that’s at least 6 inches deep and wide. Make sure it has drainage holes to prevent waterlogging.
2. Potting Mix: Use a good-quality potting mix that’s well-draining.
3. Planting: Follow the same planting instructions as for planting in the ground.
4. Care: Container-grown parsley tends to dry out more quickly than parsley grown in the ground, so water it more frequently. Fertilize regularly with a balanced liquid fertilizer.
5. Location: Place the container in a sunny location that receives at least 6 hours of sunlight per day.
Enjoying Your Homegrown Parsley
Now that you’ve successfully grown your own parsley, it’s time to enjoy the fruits (or rather, the leaves!) of your labor. Here are just a few ways to use your fresh parsley:
* Garnish: Sprinkle chopped parsley over soups, salads, and main dishes for a pop of color and flavor.
* Ingredient: Add parsley to sauces, pesto, and other dishes for a fresh, herbaceous flavor.
* Salads: Parsley is a delicious addition to salads, especially tabbouleh.
* Smoothies: Add a handful of parsley to your smoothies for a boost of vitamins and minerals.
* Herbal Tea: Steep fresh parsley in hot water for a refreshing and healthy herbal tea.
Growing parsley is a simple and rewarding experience that anyone can enjoy. With a little bit of care and attention, you can have a constant supply of fresh, flavorful parsley right at your fingertips. Happy gardening!
Conclusion
So, there you have it! Growing your own parsley isn’t just a fun gardening project; it’s a gateway to fresher, more flavorful meals and a more sustainable lifestyle. We’ve covered everything from seed selection and soil preparation to harvesting and troubleshooting common issues. The benefits of having a readily available supply of this versatile herb are undeniable. Imagine the vibrant green garnish adorning your next pasta dish, the burst of fresh flavor in your homemade pesto, or the comforting aroma of parsley simmering in your favorite soup. All of this, just steps away from your kitchen door!
But the real magic lies in the experience itself. There’s a unique satisfaction in nurturing a plant from seed to harvest, witnessing its growth, and then using its bounty to create something delicious. It connects you to the natural world in a tangible way and reminds you of the simple pleasures in life.
Why is growing your own parsley a must-try? Because it’s economical, environmentally friendly, and incredibly rewarding. Store-bought parsley often wilts quickly and lacks the intense flavor of freshly picked herbs. By growing your own, you’re guaranteed a constant supply of vibrant, flavorful parsley, free from pesticides and unnecessary packaging. Plus, it’s a fantastic way to reduce your carbon footprint and support sustainable practices.
Don’t be afraid to experiment with different varieties of parsley. Curly parsley is a classic choice, known for its decorative appeal and slightly milder flavor. Flat-leaf parsley, also known as Italian parsley, boasts a more robust and peppery taste, making it ideal for cooking. Consider growing both to have a range of flavors at your fingertips. You can also try growing parsley in containers on your balcony or patio if you have limited garden space. Just ensure they receive adequate sunlight and drainage.
And remember, growing parsley is a journey, not a destination. There will be successes and challenges along the way. Don’t be discouraged by setbacks. Learn from your mistakes, adapt your approach, and keep experimenting. The more you grow, the more you’ll learn, and the more rewarding the experience will become.
We encourage you to take the plunge and start growing your own parsley today. It’s easier than you think, and the rewards are well worth the effort. Once you’ve harvested your first batch, we’d love to hear about your experience. Share your tips, tricks, and favorite parsley recipes in the comments below. Let’s build a community of parsley enthusiasts and inspire others to discover the joy of growing their own herbs! Let us know if you have found this guide on growing parsley helpful.
Frequently Asked Questions (FAQ)
1. What is the best time of year to plant parsley?
The best time to plant parsley depends on your climate. In regions with mild winters, you can sow seeds directly into the ground in early spring or late summer. In colder climates, it’s best to start seeds indoors 6-8 weeks before the last expected frost and transplant them outdoors once the weather warms up. Parsley prefers cooler temperatures, so avoid planting during the hottest months of summer.
2. How much sunlight does parsley need?
Parsley thrives in full sun, which means it needs at least 6-8 hours of direct sunlight per day. However, in hotter climates, it can benefit from some afternoon shade to prevent the leaves from scorching. If you’re growing parsley indoors, place it near a sunny window or use a grow light to provide adequate illumination.
3. What type of soil is best for growing parsley?
Parsley prefers well-drained, fertile soil that is rich in organic matter. Amend your garden soil with compost or aged manure before planting to improve its drainage and nutrient content. A slightly acidic to neutral soil pH (6.0-7.0) is ideal. You can test your soil pH using a home testing kit or by sending a sample to your local agricultural extension office.
4. How often should I water parsley?
Parsley needs consistent moisture to thrive. Water deeply whenever the top inch of soil feels dry to the touch. Avoid overwatering, as this can lead to root rot. During hot, dry weather, you may need to water more frequently. Mulching around the plants can help retain moisture in the soil and suppress weeds.
5. How do I harvest parsley?
You can start harvesting parsley once the plants have reached a height of 6-8 inches. Use scissors or pruning shears to cut the outer stems near the base of the plant. Avoid cutting more than one-third of the plant at a time, as this can weaken it. Regular harvesting encourages new growth and keeps the plants productive.
6. How do I store fresh parsley?
Freshly harvested parsley can be stored in the refrigerator for up to a week. Wrap the stems in a damp paper towel and place them in a plastic bag or container. You can also store parsley in a glass of water, like a bouquet of flowers. Change the water every day or two to keep the parsley fresh. For longer storage, you can dry or freeze parsley.
7. What are some common pests and diseases that affect parsley?
Parsley is generally resistant to pests and diseases, but it can be susceptible to aphids, spider mites, and parsley worms. Aphids and spider mites can be controlled with insecticidal soap or neem oil. Parsley worms are the larvae of swallowtail butterflies and can be handpicked off the plants. Root rot can occur in poorly drained soil. To prevent root rot, ensure your soil is well-draining and avoid overwatering.
8. Can I grow parsley indoors?
Yes, parsley can be successfully grown indoors, provided it receives adequate sunlight and drainage. Choose a pot that is at least 6 inches in diameter and has drainage holes. Use a well-draining potting mix and place the pot near a sunny window or under a grow light. Water regularly and fertilize every few weeks with a balanced liquid fertilizer.
9. Is parsley a perennial or an annual?
Parsley is a biennial, which means it completes its life cycle in two years. In the first year, it produces foliage, and in the second year, it flowers, sets seed, and then dies. However, in colder climates, parsley is often grown as an annual because it may not survive the winter. To ensure a continuous supply of parsley, sow new seeds every year.
10. Can I save seeds from my parsley plants?
Yes, you can save seeds from your parsley plants, but be aware that the seeds may not be true to type, especially if you are growing multiple varieties of parsley. Allow the flower heads to dry completely on the plant. Once dry, shake the seeds out of the flower heads and store them in an airtight container in a cool, dry place.

Leave a Comment