

Whiten pillows at home easily? Absolutely! I know, I know, it sounds like a Herculean task, right? Those dingy, yellowed pillows staring back at you from the bed – they’re a silent testament to countless nights of sleep, drool (we’ve all been there!), and maybe even a midnight snack or two. But fear not, my friend! You don’t need to resign yourself to a lifetime of less-than-sparkling pillows or shell out a fortune on replacements.
For centuries, people have been searching for ways to keep their linens fresh and clean. Think about our grandmothers, meticulously hand-washing and sun-drying their bedding – a true labor of love! While we may not have the time (or the inclination!) for such intensive methods, we can still achieve amazing results with some clever DIY tricks.
Why is this so important? Well, beyond the obvious aesthetic appeal of bright, white pillows, keeping them clean is crucial for hygiene. Pillows can harbor dust mites, allergens, and even mold, which can trigger allergies and respiratory issues. Plus, let’s be honest, sleeping on a clean, fresh pillow just feels better! In this article, I’m going to share my favorite, tried-and-true methods to whiten pillows at home easily, using ingredients you probably already have in your pantry. Get ready to say goodbye to those yellow stains and hello to a brighter, fresher sleep sanctuary!
DIY Pillow Whitening: Banish Yellow Stains and Restore Fluffiness!
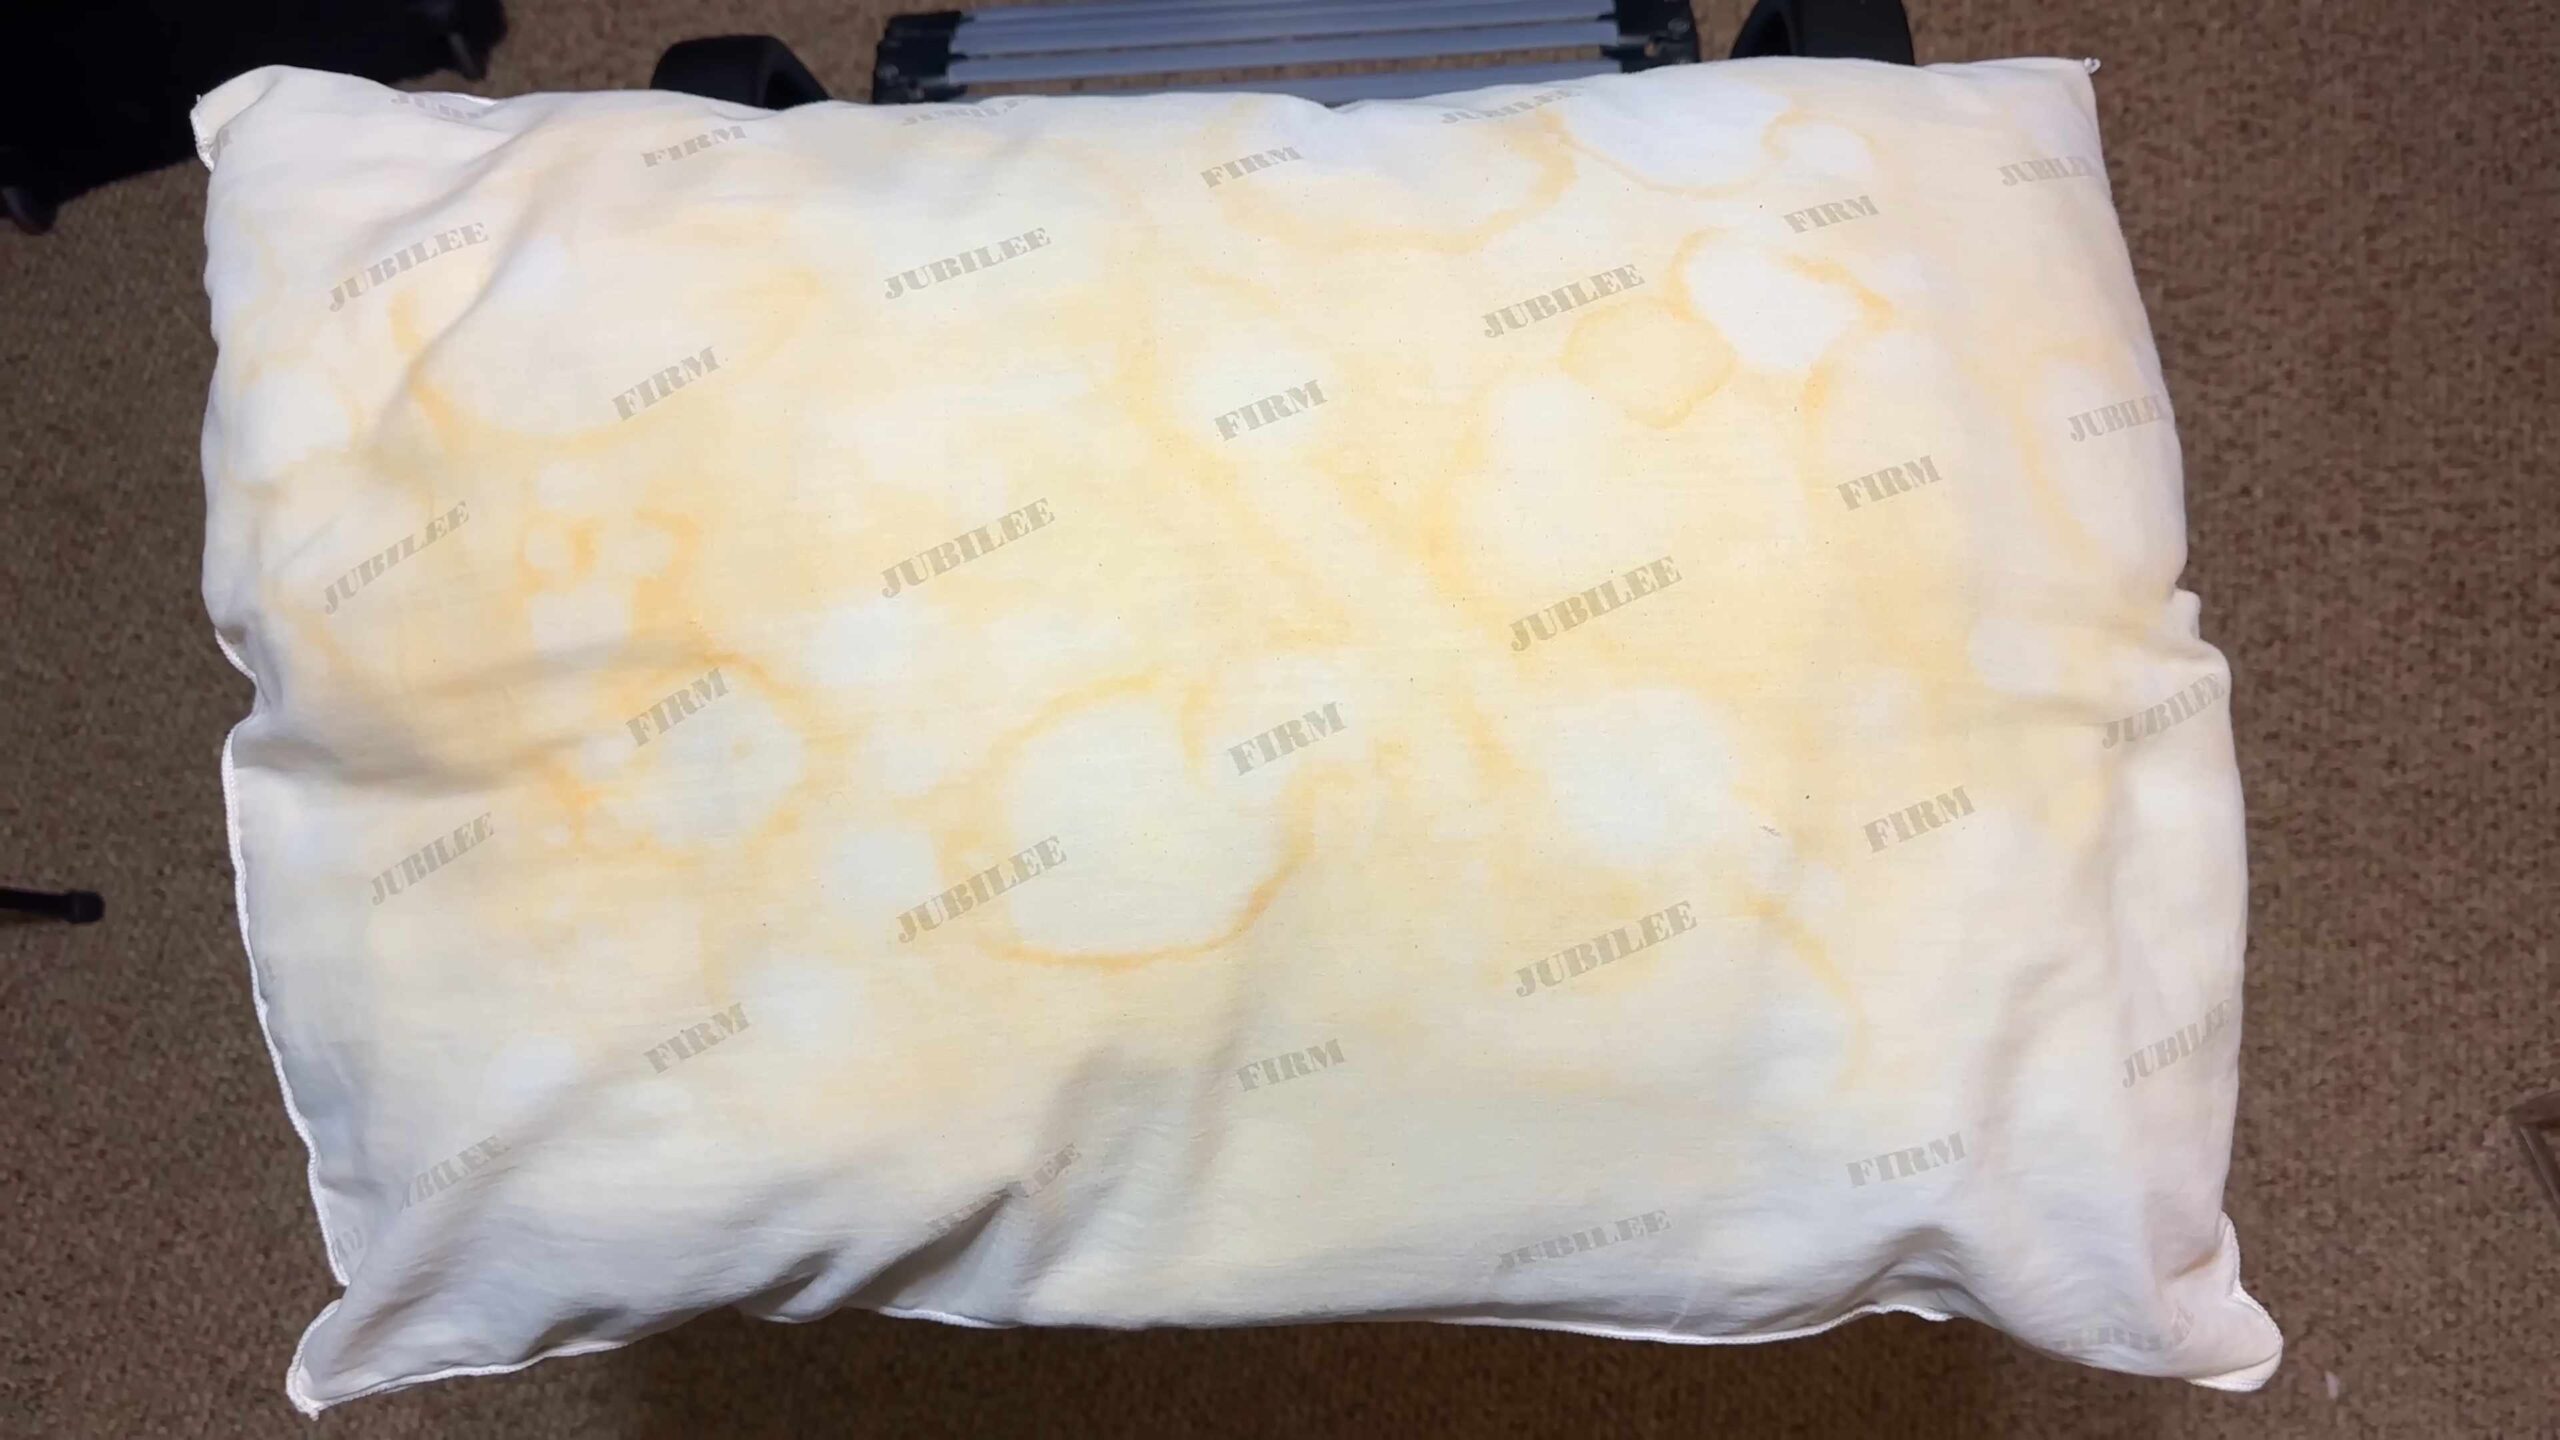
Okay, let’s face it: pillows are magnets for sweat, drool, dust mites, and all sorts of icky stuff. Over time, that pristine white pillowcase starts to look, well, not so pristine. Yellow stains creep in, and suddenly your comfy headrest looks more like a science experiment gone wrong. But don’t despair! You don’t have to toss those pillows and buy new ones just yet. I’m going to show you a super easy and effective DIY method to whiten your pillows at home, using ingredients you probably already have in your laundry room. Get ready to say goodbye to those yellow stains and hello to fresh, fluffy pillows!
What You’ll Need: The Whitening Arsenal
Before we dive in, let’s gather our supplies. This is a pretty straightforward process, and you likely have most of these items already.
* **Laundry Detergent:** Use your regular laundry detergent. I prefer a powder detergent for this project, but liquid works too.
* **Borax:** This is a laundry booster that helps to whiten and deodorize.
* **Washing Soda (Sodium Carbonate):** This is different from baking soda! Washing soda is a stronger cleaner and helps to remove tough stains. You can usually find it in the laundry aisle.
* **White Vinegar:** Vinegar is a natural brightener and deodorizer. Plus, it helps to soften fabrics.
* **Hydrogen Peroxide (3%):** This is a mild bleaching agent that will help to lift stains. Make sure it’s the standard 3% solution you find at the drugstore.
* **Hot Water:** Hot water is essential for activating the cleaning agents and loosening stains.
* **Washing Machine:** Obviously! A top-loading machine works best, but a front-loader can also be used (with a slight modification to the process, which I’ll explain later).
* **Dryer:** For fluffing and drying your pillows.
* **Tennis Balls or Dryer Balls (Optional):** These help to keep your pillows fluffy while they dry.
* **Clothes Pins or Drying Rack (Optional):** If you prefer to air dry your pillows.
Step-by-Step Pillow Whitening Guide
Now for the fun part! Follow these steps carefully, and you’ll be amazed at the difference.
1. **Check the Care Label:** Before you do anything, check the care label on your pillows. Make sure they are machine washable. Most down and feather pillows, as well as synthetic pillows, can be washed, but it’s always best to double-check. If the label says “dry clean only,” you’ll need to take them to a professional.
2. **Remove Pillowcases and Protectors:** Take off all pillowcases and pillow protectors. Wash these separately, following their care instructions.
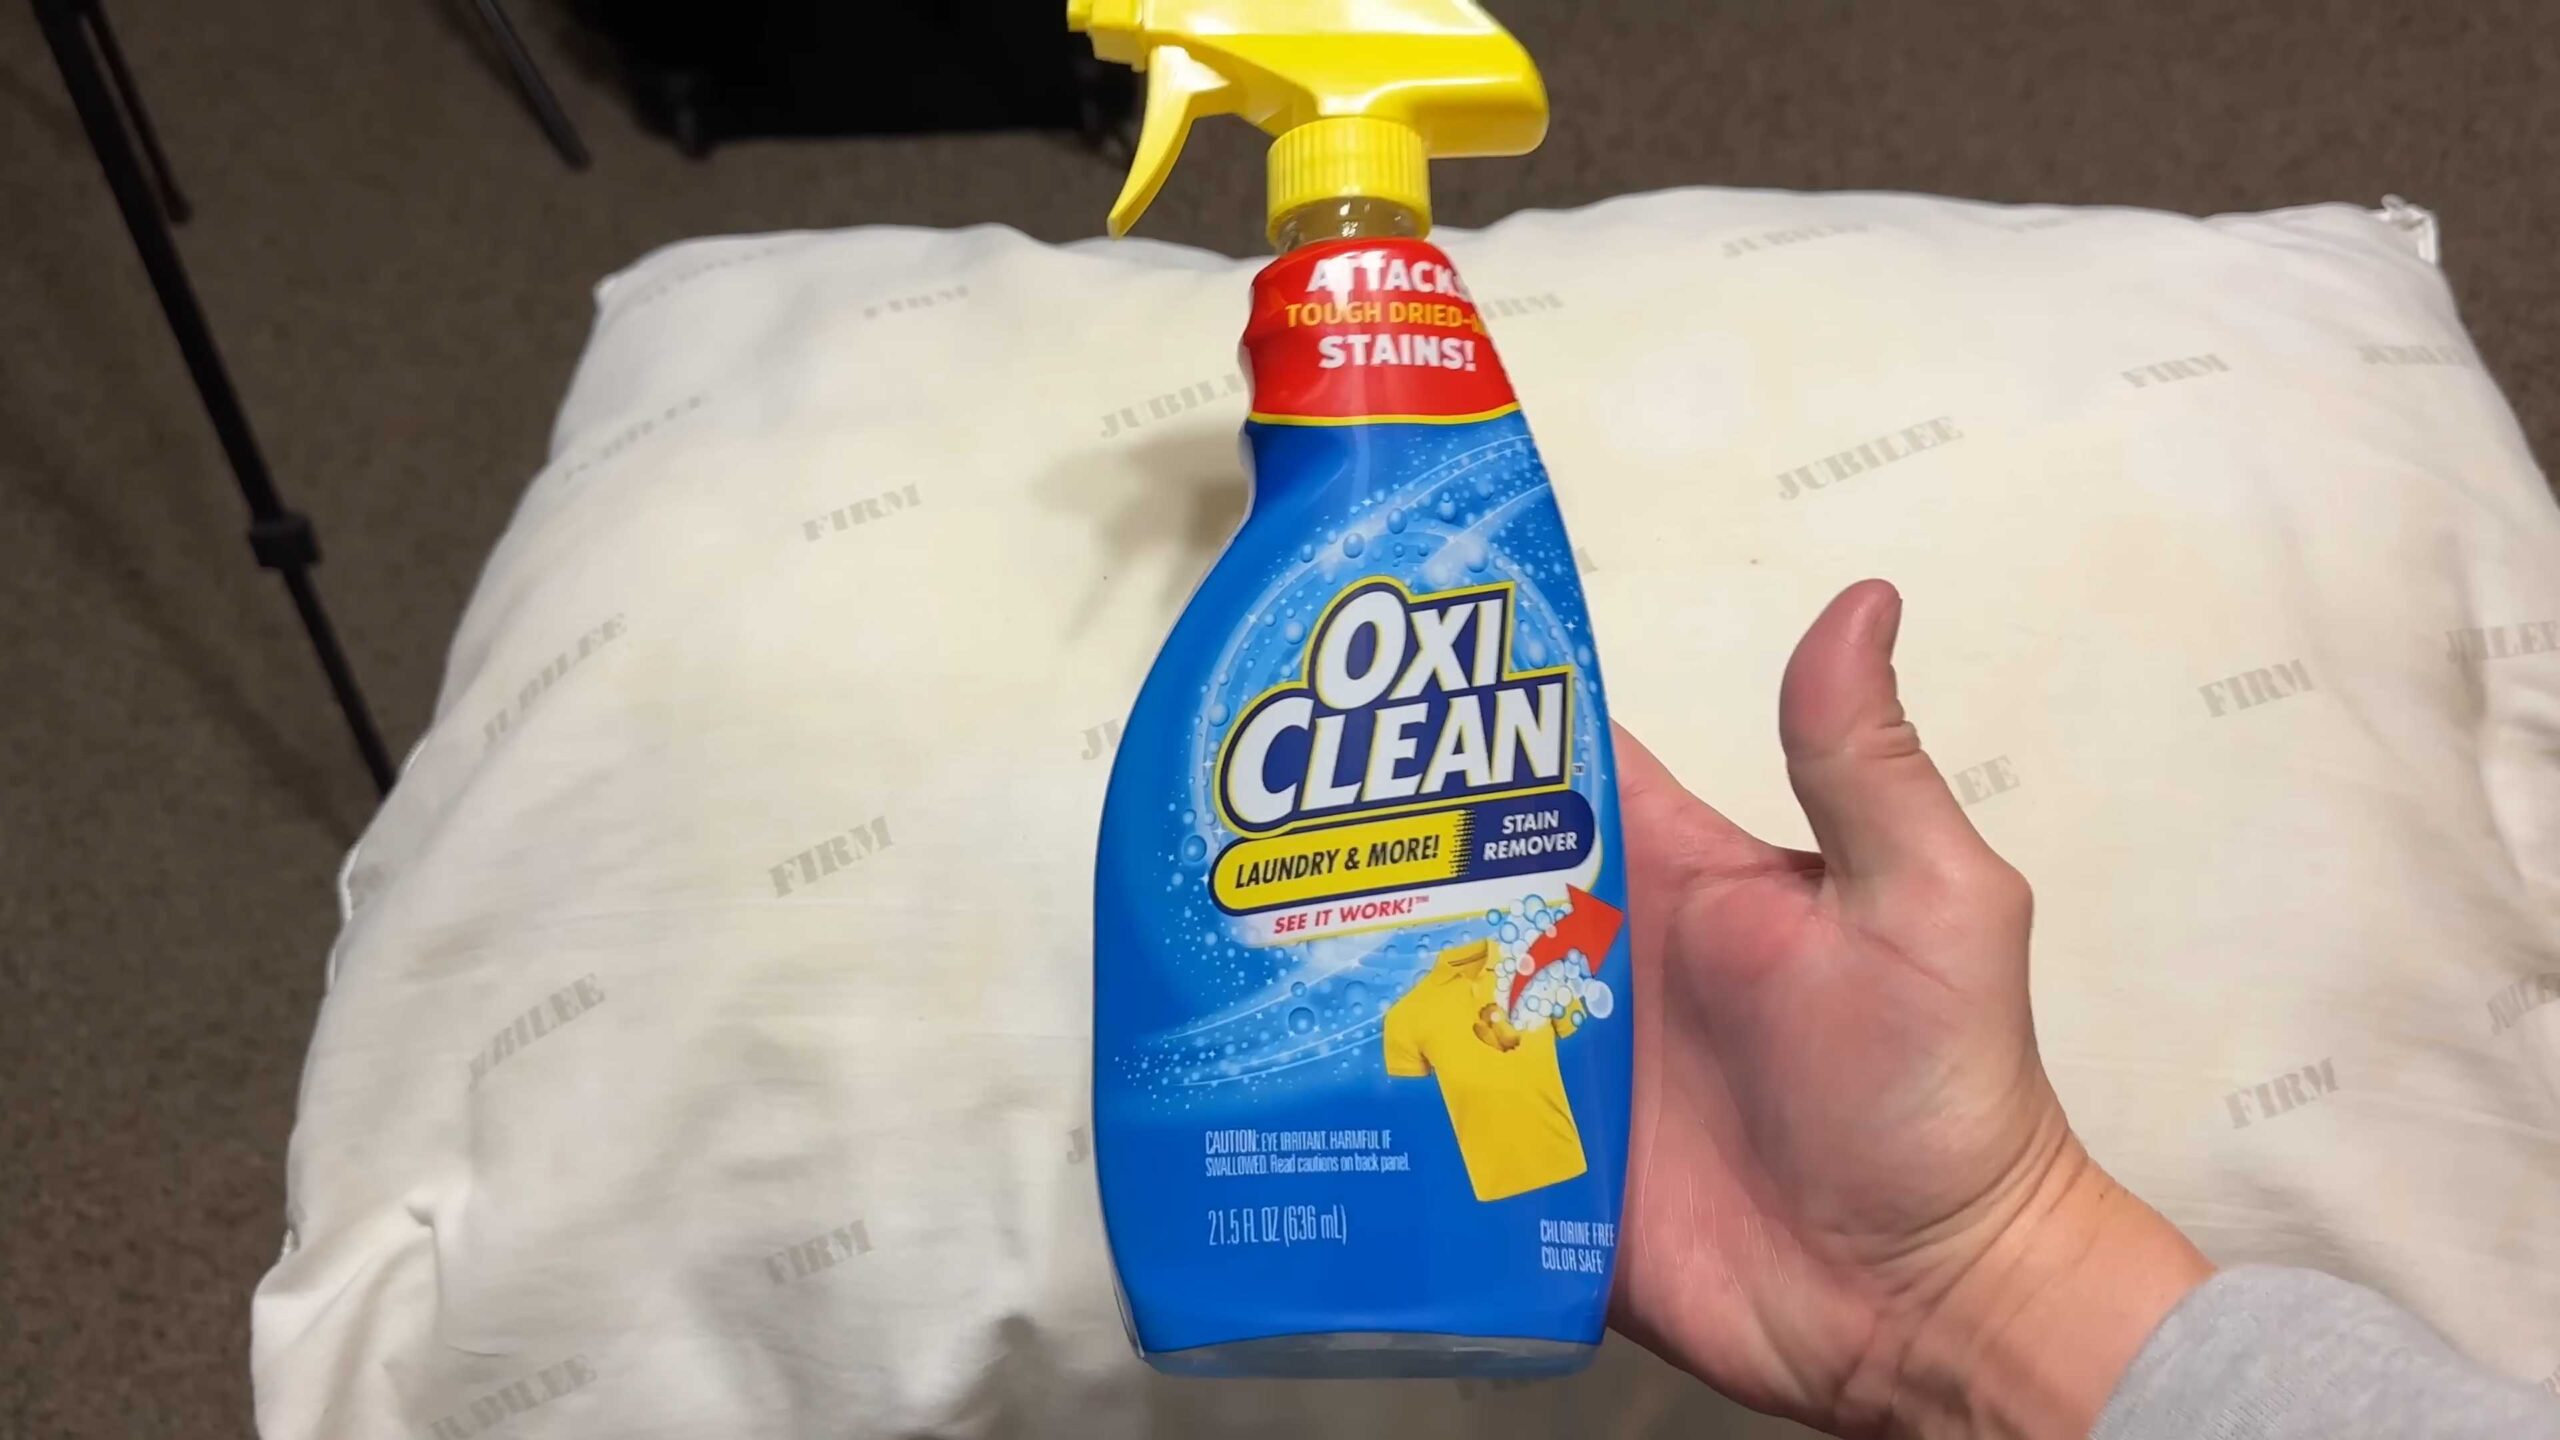
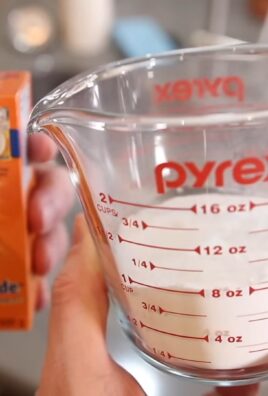
3. **Pre-Treat Stubborn Stains (Optional):** If your pillows have particularly stubborn stains, you can pre-treat them with a stain remover or a paste made from baking soda and water. Apply the paste to the stain, let it sit for about 30 minutes, and then rinse it off before washing.
4. **Load the Washing Machine:** Place two pillows in the washing machine at a time. This helps to balance the load and ensures that the pillows are cleaned evenly. If you only have one pillow to wash, add a couple of towels to balance the load.
5. **Add the Whitening Ingredients:** This is where the magic happens! Add the following ingredients to the washing machine:
* 1 cup laundry detergent
* 1 cup Borax
* 1 cup washing soda
* 1/2 cup white vinegar
* 1 cup hydrogen peroxide
Important Note: Always add the hydrogen peroxide *after* the other ingredients. This prevents it from reacting with the other ingredients before it has a chance to work on the stains.
6. **Set the Water Temperature and Cycle:** Set the water temperature to hot. Choose the longest and most gentle wash cycle available on your machine. This will give the cleaning agents plenty of time to work their magic. For top-loading machines, allow the machine to fill with water before adding the pillows. For front-loading machines, add the ingredients to the dispenser drawers.
7. **Run the Wash Cycle:** Let the washing machine run through the entire cycle.
8. **Extra Rinse Cycle (Highly Recommended):** Once the wash cycle is complete, run an extra rinse cycle to ensure that all the cleaning agents are completely removed from the pillows. This is especially important for people with sensitive skin.
Drying Your Pillows: The Key to Fluffiness
Proper drying is just as important as washing when it comes to restoring your pillows to their former glory. Here’s how to do it right:
1. **Check for Remaining Stains:** Before you put your pillows in the dryer, take a close look at them. If you see any remaining stains, repeat the washing process. It’s better to address the stains now than to set them in the dryer.
2. **Tumble Dry on Low Heat:** Place the pillows in the dryer and set the heat to low. High heat can damage the filling and cause the pillows to become lumpy.
3. **Add Tennis Balls or Dryer Balls:** Toss in a few clean tennis balls or dryer balls. These will help to fluff the pillows and prevent them from clumping together.
4. **Dry for an Extended Period:** Drying pillows can take a long time, especially down or feather pillows. Be patient and allow them to dry completely. This may take several hours. Check the pillows periodically to make sure they are not overheating.
5. **Air Dry (Optional):** If you prefer, you can air dry your pillows. Place them on a drying rack or hang them outside on a clothesline. Make sure they are in a well-ventilated area and protected from direct sunlight. Turn them regularly to ensure even drying.
6. **Fluff Regularly:** While the pillows are drying, fluff them regularly to help them maintain their shape.
7. **Ensure Complete Dryness:** Before you put your pillows back on your bed, make absolutely sure they are completely dry. Damp pillows can attract mold and mildew.
Front-Loading Washing Machine Considerations
If you have a front-loading washing machine, the process is slightly different because you can’t just add the ingredients directly to the drum. Here’s how to adapt the method:
1. **Pre-Dissolve the Powders:** In a large bowl, dissolve the Borax and washing soda in a small amount of hot water. This will help them to dissolve properly in the washing machine.
2. **Add to Dispenser Drawers:** Pour the dissolved Borax and washing soda into the detergent dispenser drawer. Add the laundry detergent to the same drawer.
3. **Add Vinegar to Fabric Softener Dispenser:** Pour the white vinegar into the fabric softener dispenser.
4. **Add Hydrogen Peroxide Directly to the Drum:** After you load the pillows into the washing machine, carefully pour the hydrogen peroxide directly into the drum.
5. **Follow the Remaining Steps:** Continue with the remaining steps as described above.
Tips and Tricks for Pillow Whitening Success
Here are a few extra tips to help you achieve the best possible results:
* Wash Pillows Regularly: To prevent yellowing and staining, wash your pillows at least twice a year. If you sweat a lot or have allergies, you may want to wash them more frequently.
* Use Pillow Protectors: Pillow protectors are a great way to keep your pillows clean and fresh. They create a barrier between your pillow and your pillowcase, preventing sweat, oil, and other contaminants from seeping into the pillow.
* Sunlight is Your Friend: If possible, hang your pillows outside in the sun to dry. Sunlight is a natural disinfectant and can help to further whiten and brighten your pillows.
* Don’t Overload the Washing Machine: Overloading the washing machine can prevent the pillows from being cleaned properly. Stick to washing two pillows at a time.
* Be Patient: Pillow whitening can take time and effort. Don’t get discouraged if your pillows don’t look perfect after the first wash. You may need to repeat the process to achieve the desired results.
* Consider the Pillow Filling: While this method works well for most synthetic and down/feather pillows, always check the care label. Memory foam pillows, for example, usually cannot be machine washed. Spot clean those instead.
* Vinegar Smell: Don’t worry about the vinegar smell! It will dissipate completely during the drying process.
* Hard Water: If you have hard water, you may need to use a bit more detergent and Borax to get the best results.
Troubleshooting Common Issues
* Pillows Still Yellow: If your pillows are still yellow after washing, try repeating the process. You can also try pre-treating the stains with a stain remover or a paste made from baking soda and water.
* Pillows are Lumpy: If your pillows are lumpy after drying, try fluffing them vigorously. You can
Conclusion
So, there you have it! No more hiding those dingy, yellowed pillows under decorative shams. This simple, effective, and surprisingly affordable DIY method for whiten pillows at home easily is a game-changer. We’ve walked you through the process, highlighting the key ingredients and steps to achieve that fresh, bright, and inviting look for your bedding.
Why is this a must-try? Because it saves you money! Think about how often you’ve considered replacing your pillows simply because they looked old and unclean. This method breathes new life into them, extending their lifespan and keeping them out of landfills. Plus, you likely already have most of the ingredients in your laundry room.
Beyond the cost savings, this DIY approach offers a level of control you just don’t get with store-bought solutions. You know exactly what’s going into the wash, avoiding harsh chemicals and potential allergens that can irritate sensitive skin. This is especially important for those with allergies or young children.
Looking for variations? Absolutely! For extra stubborn stains, consider pre-treating the affected areas with a paste made from baking soda and water. Let it sit for 30 minutes before adding the pillows to the washing machine. You can also add a few drops of your favorite essential oil, like lavender or eucalyptus, to the wash for a subtle, refreshing scent. Just be sure to use essential oils that are safe for fabrics and won’t cause discoloration. Another variation is to use oxygen bleach instead of chlorine bleach, especially for colored pillow covers or if you’re concerned about the harshness of chlorine. Oxygen bleach is gentler but still effective at whitening.
Don’t be intimidated by the process. It’s much easier than it sounds, and the results are truly rewarding. Imagine sinking into a bed of fluffy, white pillows every night – a small luxury that makes a big difference in your overall sleep quality and bedroom ambiance.
We are confident that this DIY trick will transform your pillows and your sleep experience. So, gather your supplies, follow the steps, and prepare to be amazed.
Now, we want to hear from you! Have you tried this method for whiten pillows at home easily? What were your results? Did you make any modifications or discover any helpful tips along the way? Share your experiences in the comments below. Your insights could help other readers achieve even better results. Let’s create a community of pillow-whitening experts! We can’t wait to see your before-and-after photos and hear your success stories. Happy washing!
Frequently Asked Questions (FAQ)
1. What type of pillows can I use this method on?
This method is generally safe for most types of pillows, including those filled with down, feathers, cotton, or synthetic materials like polyester. However, it’s crucial to check the care label on your pillows before proceeding. Some pillows may have specific washing instructions or restrictions. If the label says “dry clean only,” it’s best to follow those instructions to avoid damaging the pillow. For memory foam pillows, this method is not recommended. Memory foam should be spot cleaned only.
2. How often should I whiten my pillows?
The frequency of whitening your pillows depends on how often you use them and how quickly they become stained or discolored. As a general guideline, whitening your pillows every 3-6 months is a good practice. However, if you notice significant yellowing or staining sooner, you may need to whiten them more frequently. Regular washing of your pillowcases can also help prevent discoloration and extend the time between whitening treatments.
3. Can I use this method on colored pillowcases?
This method is primarily designed for white pillows and pillowcases. Using bleach on colored fabrics can cause fading or discoloration. If you have colored pillowcases, it’s best to wash them separately using a color-safe detergent. You can also try using oxygen bleach, which is gentler than chlorine bleach and may be suitable for some colored fabrics. Always test a small, inconspicuous area first to ensure that the color doesn’t fade.
4. What if my pillows have very stubborn stains?
For very stubborn stains, pre-treating the affected areas is essential. Create a paste of baking soda and water and apply it directly to the stain. Let it sit for at least 30 minutes, or even longer for heavily stained areas. You can also try using a stain remover specifically designed for laundry. After pre-treating, proceed with the regular whitening method. If the stain persists after washing, you may need to repeat the process or consider using a stronger stain remover.
5. Is bleach safe to use on pillows?
When used properly and in moderation, bleach can be a safe and effective way to whiten pillows. However, it’s crucial to follow the instructions carefully and use the recommended amount of bleach. Overusing bleach can damage the pillow fibers and potentially cause skin irritation. Always dilute the bleach with water as instructed in the recipe. If you’re concerned about the harshness of bleach, you can use oxygen bleach as a gentler alternative. Always ensure proper ventilation when using bleach and avoid direct contact with skin and eyes.
6. How do I dry my pillows after washing?
Proper drying is essential to prevent mildew and ensure that your pillows are completely dry. Tumble dry your pillows on low heat, adding a few clean tennis balls or dryer balls to help fluff them up and prevent clumping. You can also air dry your pillows outdoors in the sun, but be sure to turn them frequently to ensure even drying. Avoid drying your pillows on high heat, as this can damage the fibers and cause them to shrink. Before using your pillows, make sure they are completely dry to prevent mold and mildew growth.
7. Can I use this method on down pillows?
Yes, this method can be used on down pillows, but it’s important to take extra care. Use a gentle detergent specifically designed for down and feathers. When drying down pillows, use low heat and add dryer balls to help fluff them up. It may take several cycles to completely dry down pillows, so be patient. Ensure that the pillows are completely dry before using them to prevent mildew.
8. What are the benefits of using this DIY method compared to buying new pillows?
The primary benefit is cost savings. Replacing pillows can be expensive, especially if you need to replace multiple pillows. This DIY method allows you to extend the lifespan of your existing pillows, saving you money. Additionally, this method is more environmentally friendly than throwing away old pillows and buying new ones. It also gives you more control over the ingredients used, allowing you to avoid harsh chemicals and potential allergens.
9. What if my washing machine doesn’t have a bleach dispenser?
If your washing machine doesn’t have a bleach dispenser, you can add the diluted bleach solution directly to the wash drum after the machine has filled with water. Be sure to dilute the bleach properly before adding it to the drum to avoid damaging the fabrics.
10. How do I prevent my pillows from yellowing in the first place?
Regular washing of your pillowcases is the best way to prevent yellowing. Wash your pillowcases at least once a week, or more often if you sweat heavily or use a lot of skincare products. Using a pillow protector underneath your pillowcase can also help prevent stains and discoloration. Additionally, avoid eating or drinking in bed, as spills can lead to stains.

Leave a Comment