

DIY Kitchen Drain Fix: Is your kitchen sink backing up faster than you can say “plumber”? I know that feeling, and trust me, you’re not alone! A clogged kitchen drain is a common household headache, and often, the solution is simpler (and cheaper!) than you might think. Before you reach for the phone and brace yourself for a hefty bill, let’s explore some easy and effective DIY kitchen drain fix methods you can try yourself.
For generations, resourceful homeowners have relied on clever tricks and hacks to maintain their homes. Think about it – our grandparents didn’t have access to the same array of specialized products and services we do today. They relied on ingenuity and elbow grease, passing down valuable knowledge from one generation to the next. This spirit of self-sufficiency is something I truly admire, and it’s what inspired me to compile these DIY solutions for you.
Why is a DIY kitchen drain fix so important? Well, aside from the obvious inconvenience of a clogged sink, a slow or blocked drain can lead to unpleasant odors, attract unwanted pests, and even cause damage to your plumbing system over time. By tackling the problem early with these simple techniques, you can save yourself time, money, and a whole lot of frustration. So, grab your rubber gloves, and let’s get started! I’m confident that with a little effort, you can conquer that clogged drain and restore your kitchen sink to its former glory.
DIY Kitchen Drain Fix: Unclogging Your Sink Like a Pro
Okay, so your kitchen sink is backed up. We’ve all been there! It’s frustrating, messy, and can bring your whole kitchen routine to a screeching halt. But before you call a plumber and shell out a ton of money, let’s try some DIY magic. I’m going to walk you through several methods, from the super simple to the slightly more involved, to get that drain flowing freely again.
What You’ll Need: The Essential Toolkit
Before we dive in, let’s gather our supplies. Having everything on hand will make the process much smoother.
* Rubber Gloves: Trust me, you’ll want these. The stuff lurking in your drain isn’t pretty.
* Bucket or Bowl: To catch any water or debris that comes out.
* Plunger: A good old-fashioned cup plunger is a must-have. Make sure it’s a *cup* plunger, not a flange plunger (the kind used for toilets).
* Baking Soda: Our trusty natural cleaner.
* White Vinegar: The baking soda’s partner in crime.
* Boiling Water: Be careful when handling boiling water!
* Pliers or Wrench: For loosening pipes, if necessary.
* Screwdriver: For removing drain covers and accessing pipes.
* Old Toothbrush: For scrubbing stubborn grime.
* Wire Coat Hanger (or Drain Snake): For dislodging stubborn clogs.
* Shop Vac (Optional): For sucking out debris, especially if you’re dealing with standing water.
Method 1: The Boiling Water Blitz
This is the simplest method, and sometimes it’s all you need. It’s best for grease clogs.
1. Clear the Sink: Remove any dishes, utensils, or debris from the sink.
2. Boil Water: Heat a kettle or pot of water until it’s boiling.
3. Pour Slowly: Carefully pour the boiling water down the drain in stages. Give the water a few seconds to work its magic between pours.
4. Repeat if Necessary: If the water doesn’t drain immediately, repeat the process a couple of times.
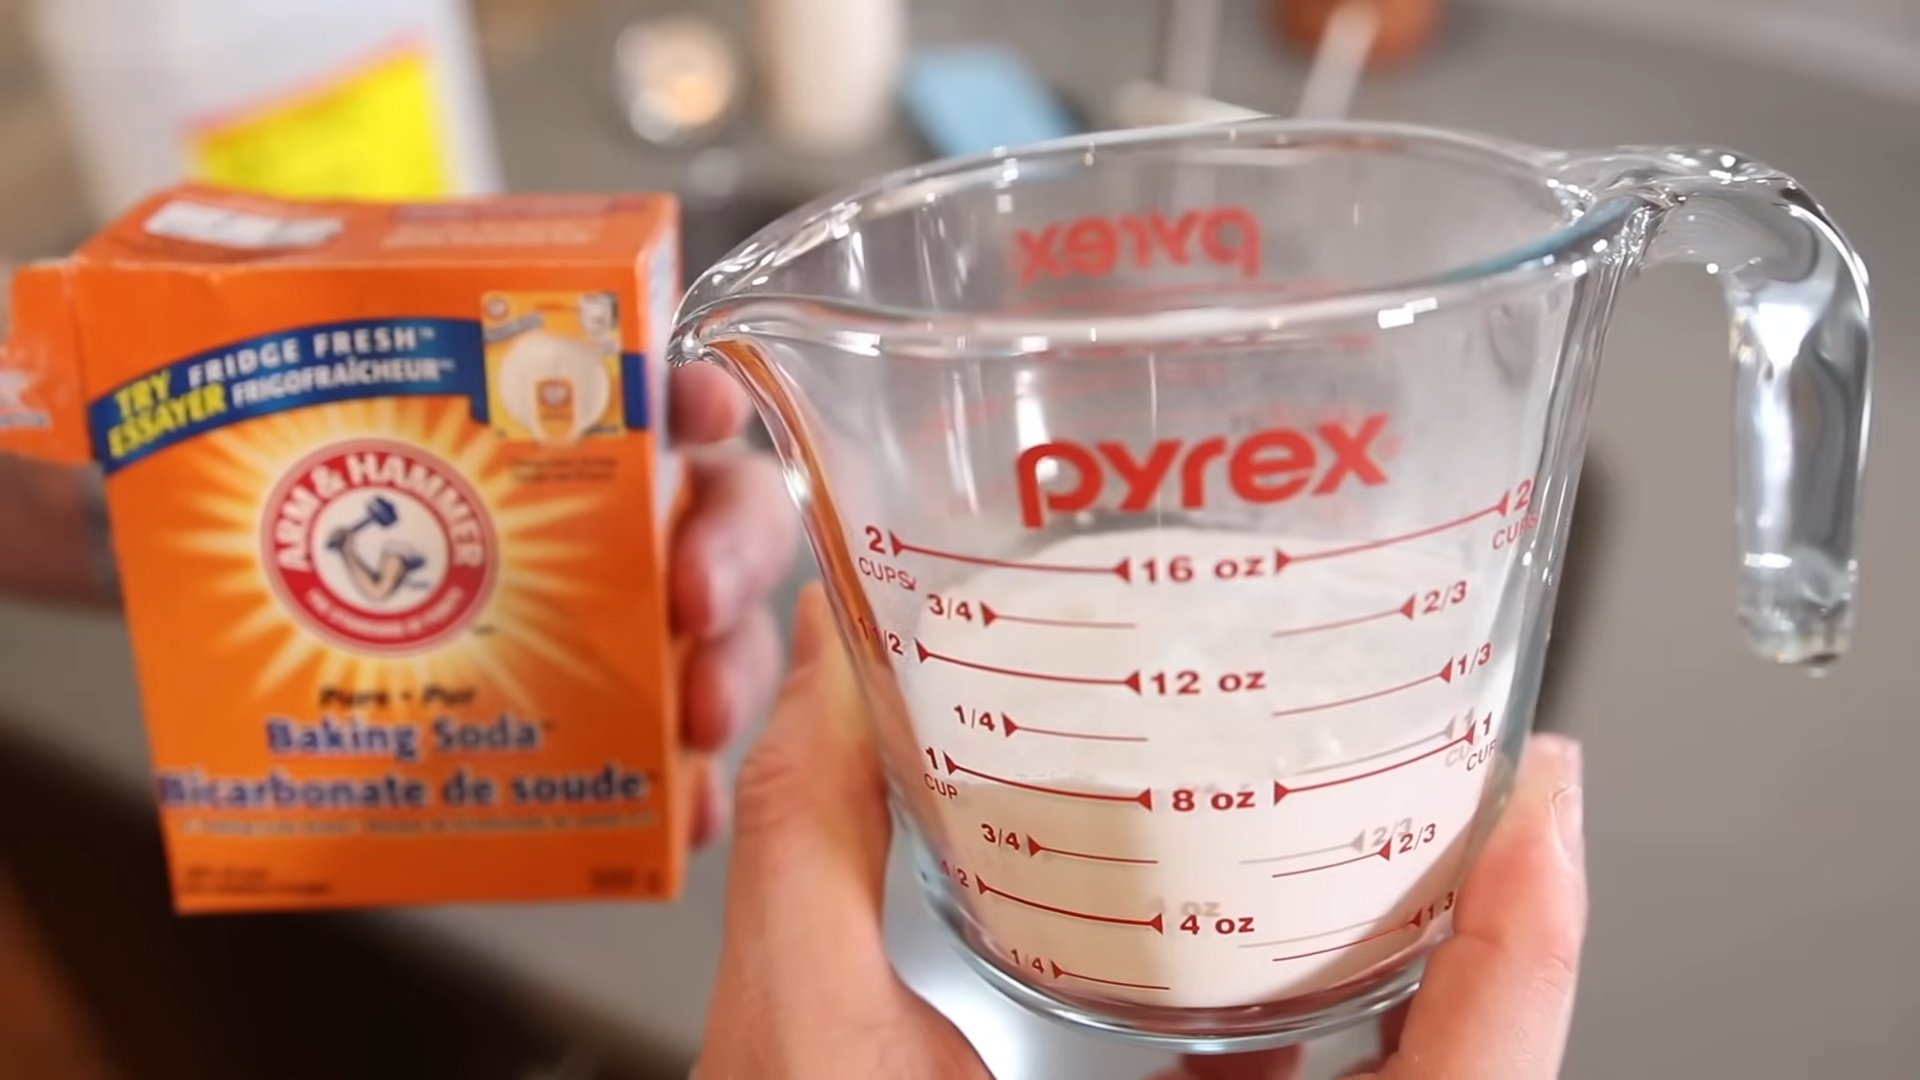
Method 2: The Baking Soda and Vinegar Volcano
This is a classic DIY drain cleaner that’s surprisingly effective.
1. Clear the Sink: Again, make sure the sink is empty.
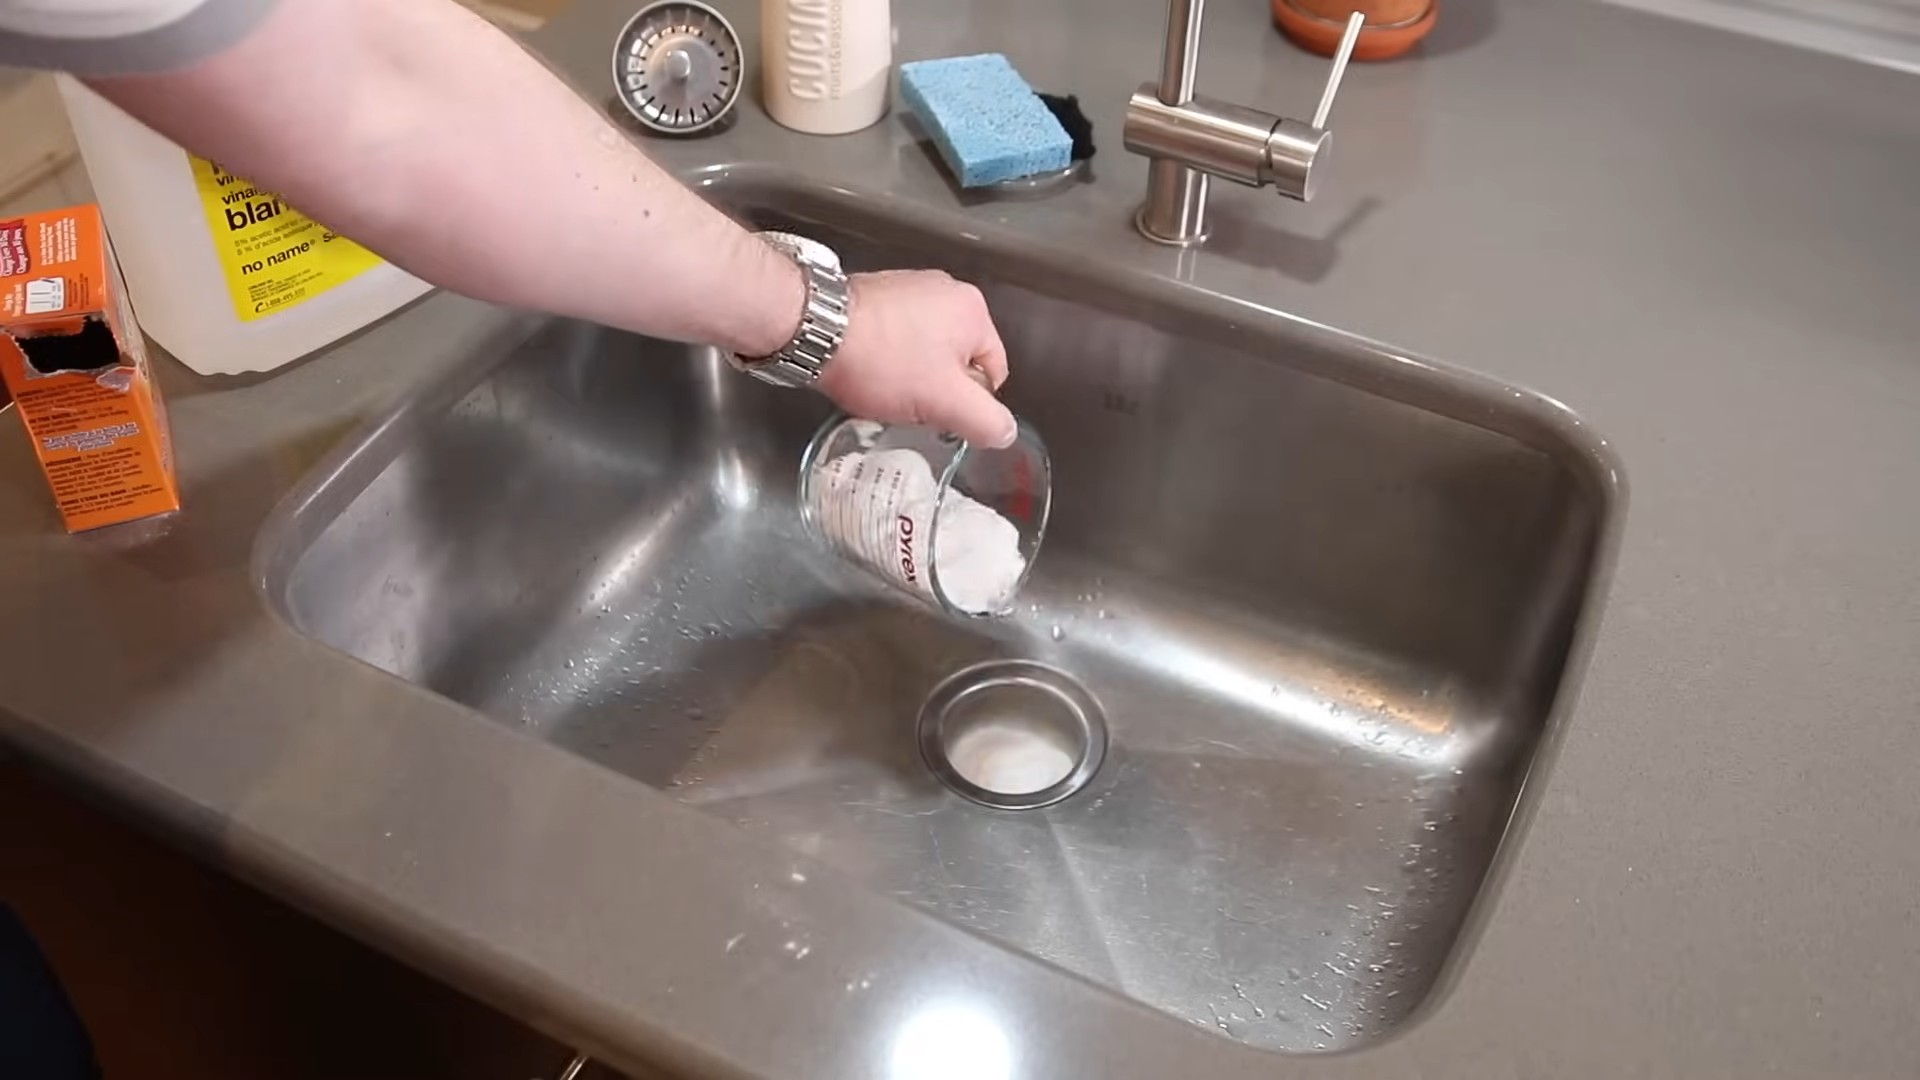
2. Pour Baking Soda: Pour about one cup of baking soda down the drain.
3. Add Vinegar: Immediately follow with one cup of white vinegar.
4. Let it Fizz: The mixture will fizz and bubble. Let it sit for at least 30 minutes, or even better, overnight.
5. Flush with Boiling Water: After the waiting period, flush the drain with a kettle or pot of boiling water.
Method 3: The Plunger Power Play
The plunger is your best friend when it comes to dislodging clogs.
1. Remove Standing Water: If there’s standing water in the sink, remove most of it, leaving just enough to cover the cup of the plunger.
2. Create a Seal: Place the plunger over the drain opening, ensuring a tight seal. You might need to add a little water to help create a better seal.
3. Plunge Vigorously: Push and pull the plunger up and down with force, maintaining the seal. Do this for several minutes.
4. Check the Drain: Remove the plunger and see if the water drains. If not, repeat the process.
5. Plug the Overflow: If your sink has an overflow drain, plug it with a wet cloth to create better suction.
Method 4: The Coat Hanger Rescue Mission
This method is for those stubborn clogs that are within reach.
1. Straighten the Hanger: Unwind a wire coat hanger and straighten it out as much as possible.
2. Create a Hook: Bend one end of the hanger into a small hook.
3. Probe the Drain: Carefully insert the hooked end of the hanger into the drain opening.
4. Fish for Debris: Gently probe around, trying to hook and pull out any hair, food scraps, or other debris.
5. Dispose of Debris: Remove the hanger and dispose of the debris in a trash can.
6. Flush with Water: After removing as much debris as possible, flush the drain with hot water.
Method 5: Diving Underneath: Inspecting and Cleaning the P-Trap
This is where things get a little more involved, but it’s often necessary for stubborn clogs. The P-trap is the curved pipe under your sink that traps debris and prevents sewer gases from entering your home. It’s a prime location for clogs to form.
Safety First!
Before you start, make sure you have a bucket or bowl underneath the P-trap to catch any water that will spill out. Also, wear your rubber gloves!
1. Locate the P-Trap: Look under your sink and identify the curved pipe (the P-trap).
2. Loosen the Slip Nuts: There are slip nuts connecting the P-trap to the drain pipes. Use pliers or a wrench to carefully loosen these nuts. Don’t remove them completely yet!
3. Position the Bucket: Place the bucket directly under the P-trap.
4. Remove the P-Trap: Now, carefully remove the slip nuts completely and detach the P-trap. Be prepared for water and debris to spill out.
5. Clean the P-Trap: Thoroughly clean the P-trap, removing any accumulated debris. You can use an old toothbrush or a small brush to scrub the inside.
6. Inspect the Drain Pipes: While the P-trap is removed, take a look inside the drain pipes that connect to it. You might find more debris lurking there. Use the coat hanger or drain snake to remove any blockages.
7. Reassemble the P-Trap: Once everything is clean, reattach the P-trap, making sure the slip nuts are tightened securely. Don’t overtighten them, as you could damage the pipes.
8. Test for Leaks: Run water down the drain to check for any leaks. If you see any leaks, tighten the slip nuts a little more.
Method 6: The Shop Vac Suction Solution (Optional)
If you have a shop vac, it can be a powerful tool for clearing drain clogs.
1. Wet/Dry Vac: Make sure your shop vac is designed for wet and dry use.
2. Remove Standing Water: Remove as much standing water from the sink as possible.
3. Seal the Drain: Create a tight seal between the shop vac hose and the drain opening. You can use duct tape or a rubber adapter to achieve this.
4. Turn on the Vac: Turn on the shop vac and let it suck out any debris from the drain.
5. Check the Drain: After a few minutes, turn off the vac and check if the drain is clear. Repeat if necessary.
Preventing Future Clogs: A Few Tips
Once you’ve successfully unclogged your drain, here are a few tips to help prevent future clogs:
* Avoid Pouring Grease Down the Drain: Grease is a major culprit when it comes to drain clogs. Always dispose of grease in a separate container.
* Use a Drain Strainer: A drain strainer will catch hair, food scraps, and other debris before they enter the drain.
* Flush with Hot Water Regularly: Periodically flush your drain with hot water to help prevent grease buildup.
* Baking Soda and Vinegar Maintenance: Use the baking soda and vinegar method every month or so to keep your drains clean.
* Be Mindful of What You Put Down the Drain: Avoid putting coffee grounds, eggshells, and other bulky items down the drain.
Important Note: If you’ve tried all of these methods and your drain is still clogged, it’s time to call a professional plumber. There might be a more serious problem that requires specialized equipment and expertise. Don’t hesitate to seek professional help if needed!
Conclusion
So, there you have it! A simple, effective, and budget-friendly way to tackle that slow-draining kitchen sink without resorting to harsh chemicals or expensive plumbing bills. This DIY kitchen drain fix is more than just a temporary solution; it’s a proactive approach to maintaining a healthy plumbing system and preventing future clogs. We’ve shown you how to harness the power of readily available household ingredients to break down grease, hair, and other common culprits that contribute to drain blockage.
Why is this a must-try? Because it’s empowering! You’re taking control of your home maintenance, saving money, and avoiding the potential environmental impact of chemical drain cleaners. Plus, the satisfaction of unclogging your drain yourself is surprisingly rewarding.
But don’t stop there! Feel free to experiment and adapt this method to suit your specific needs. For instance, if you suspect a particularly stubborn clog, you could try letting the baking soda and vinegar mixture sit overnight before flushing with hot water. You could also add a few drops of your favorite essential oil, like lemon or tea tree, to the baking soda for a refreshing scent boost. Another variation involves using washing soda (sodium carbonate) instead of baking soda (sodium bicarbonate) for a slightly stronger cleaning action, but be sure to wear gloves and eye protection when handling washing soda.
Remember, prevention is key. Regularly flushing your drain with hot water after washing greasy dishes can help prevent buildup in the first place. Consider using a drain strainer to catch hair and food particles before they enter the pipes. These simple habits, combined with occasional use of this DIY drain cleaning method, will keep your kitchen sink flowing smoothly for years to come.
We’re confident that this DIY kitchen drain fix will become your go-to solution for minor drain issues. It’s quick, easy, and effective. Now, it’s your turn! Give it a try and let us know how it works for you. Share your experiences, tips, and variations in the comments below. We’re eager to hear your success stories and learn from your insights. Together, we can conquer those pesky kitchen clogs and keep our homes running smoothly! Don’t forget to share this article with your friends and family so they can benefit from this simple yet powerful solution too. Let’s spread the word about this fantastic DIY kitchen drain fix and empower everyone to take control of their home maintenance!
Frequently Asked Questions (FAQ)
What causes kitchen drain clogs?
Kitchen drain clogs are typically caused by a combination of factors, including:
* **Grease and fats:** These solidify as they cool and stick to the inside of pipes, trapping other debris.
* **Food scraps:** Even small particles of food can accumulate over time and contribute to clogs.
* **Hair:** While more common in bathroom drains, hair can also find its way into kitchen drains, especially if you wash pets or clean hairbrushes in the sink.
* **Soap scum:** Certain types of soap can leave behind a residue that builds up and restricts water flow.
* **Mineral buildup:** In areas with hard water, mineral deposits can accumulate inside pipes, narrowing the passageway.
How often should I use this DIY drain cleaning method?
The frequency depends on how often your drain clogs and how much you use your sink. As a general guideline:
* **Preventative maintenance:** Use this method once a month to keep your drain clear and prevent clogs from forming.
* **For slow drains:** Use it every week or two until the drain flows freely again.
* **For stubborn clogs:** You may need to repeat the process several times, possibly letting the mixture sit overnight.
Is this DIY drain cleaner safe for all types of pipes?
This method is generally safe for most types of pipes, including PVC, copper, and cast iron. However, if you have very old or fragile pipes, it’s always a good idea to test a small amount of the mixture in an inconspicuous area first. Avoid using this method on pipes that are already severely damaged or corroded.
Can I use this method on other drains in my house?
Yes, this method can be used on other drains in your house, such as bathroom sinks, showers, and bathtubs. However, keep in mind that the causes of clogs may differ in different areas. For example, bathroom drains are more likely to be clogged with hair and soap scum, while kitchen drains are more likely to be clogged with grease and food scraps.
What if the DIY drain cleaner doesn’t work?
If this DIY kitchen drain fix doesn’t work, there are a few other things you can try:
* **Plunger:** Use a plunger to try to dislodge the clog. Make sure there’s enough water in the sink to cover the cup of the plunger.
* **Drain snake:** A drain snake (also called an auger) is a flexible tool that can be inserted into the drain to break up or remove clogs.
* **Check the P-trap:** The P-trap is the curved section of pipe under your sink. It’s designed to trap debris and prevent sewer gases from entering your home. Sometimes, clogs can accumulate in the P-trap. You can remove the P-trap and clean it out. Be sure to place a bucket underneath to catch any water.
* **Call a plumber:** If you’ve tried all of these methods and your drain is still clogged, it’s time to call a professional plumber. They have the tools and expertise to diagnose and fix more complex plumbing problems.
Can I use more vinegar or baking soda for a stronger effect?
While it might seem logical to increase the amounts of vinegar and baking soda, doing so won’t necessarily make the solution more effective. The chemical reaction between the two ingredients is what breaks down the clog. Using excessive amounts can actually create more pressure in the pipes and potentially cause damage. Stick to the recommended proportions for the best results.
Is it safe to use chemical drain cleaners after trying this DIY method?
It’s generally not recommended to use chemical drain cleaners after trying this DIY method, especially if the drain is still clogged. The chemical reaction between the baking soda and vinegar can create pressure, and adding chemical drain cleaner on top of that could be dangerous. If the DIY method doesn’t work, try a plunger or drain snake before resorting to chemicals. If you do decide to use a chemical drain cleaner, be sure to follow the instructions carefully and wear appropriate safety gear.
How can I prevent future kitchen drain clogs?
Prevention is always better than cure! Here are some tips to prevent future kitchen drain clogs:
* **Avoid pouring grease down the drain:** Pour grease into a container and dispose of it in the trash.
* **Scrape food scraps into the trash or compost:** Don’t rinse food scraps down the drain.
* **Use a drain strainer:** A drain strainer will catch hair and food particles before they enter the pipes.
* **Flush the drain with hot water after each use:** This will help to prevent grease and food particles from building up.
* **Regularly clean the drain with this DIY method:** This will help to keep your drain clear and prevent clogs from forming.
What kind of vinegar should I use?
White distilled vinegar is the best choice for this DIY kitchen drain fix. It’s inexpensive, readily available, and effective at breaking down grease and grime. Other types of vinegar, such as apple cider vinegar or balsamic vinegar, may not be as effective and could potentially stain your sink.


Leave a Comment