

Faucet Cleaning Hack: Are you tired of staring at a dull, grimy faucet every time you wash your hands? I know I was! It’s amazing how quickly those once-shiny fixtures can become magnets for water spots, soap scum, and mineral buildup. But don’t despair, because I’m about to share a simple, yet incredibly effective, DIY faucet cleaning hack that will restore your faucets to their former glory.
For generations, keeping our homes clean and sparkling has been a source of pride and a reflection of our care. While modern cleaning products offer convenience, sometimes the best solutions are the simplest and most natural. Think about your grandmother’s cleaning rituals – often relying on everyday ingredients like vinegar and baking soda. This faucet cleaning hack draws inspiration from that time-tested wisdom, offering a budget-friendly and eco-conscious alternative to harsh chemicals.
Why is this DIY trick so essential? Because a clean faucet isn’t just about aesthetics; it’s about hygiene too! Grime and buildup can harbor bacteria, which is definitely not something you want near your water source. Plus, a sparkling faucet instantly elevates the look of your kitchen or bathroom, making the entire space feel fresher and more inviting. So, ditch the expensive cleaners and get ready to learn a game-changing trick that will leave your faucets gleaming!
“`html
DIY Faucet Cleaning Hack: Sparkling Faucets with Everyday Items
Okay, let’s face it, faucets are magnets for grime, water spots, and that annoying white buildup. Store-bought cleaners can be harsh and expensive, so I’m going to share my go-to DIY faucet cleaning hack that uses items you probably already have in your kitchen! Get ready to say goodbye to dull, dirty faucets and hello to a sparkling clean shine.
What You’ll Need:
Before we dive in, let’s gather our supplies. This is a pretty low-key project, so you won’t need anything fancy.
* **White Vinegar:** This is the star of the show! Vinegar’s acidity helps dissolve mineral deposits and grime.
* **Baking Soda:** A gentle abrasive that helps scrub away stubborn stains.
* **Dish Soap:** Cuts through grease and grime.
* **Old Toothbrush:** Perfect for getting into those hard-to-reach crevices.
* **Microfiber Cloths:** These are lint-free and won’t scratch your faucets.
* **Plastic Bag or Sandwich Bag:** For soaking the faucet head.
* **Rubber Band or Twist Tie:** To secure the bag.
* **Optional: Lemon Essential Oil:** For a fresh, clean scent (totally optional, but I love it!).
* **Optional: Cleaning Gloves:** To protect your hands, especially if you have sensitive skin.
The Cleaning Process: Step-by-Step
Alright, let’s get down to business! Follow these steps for a sparkling clean faucet.
1. **Prepare the Vinegar Soak:** Fill your plastic bag (sandwich bag size is usually perfect for most faucet heads) with white vinegar. You want enough vinegar to fully submerge the faucet head.
2. **Soak the Faucet Head:** Carefully place the bag of vinegar over the faucet head, ensuring it’s completely submerged. Secure the bag with a rubber band or twist tie around the faucet neck. This is crucial to keep the vinegar in contact with the buildup.
3. **Wait Patiently (at least 1 hour, preferably overnight):** This is the most important part! The longer the vinegar soaks, the better it will dissolve the mineral deposits. I usually let it soak overnight for really tough buildup. If you’re short on time, an hour will still make a difference.
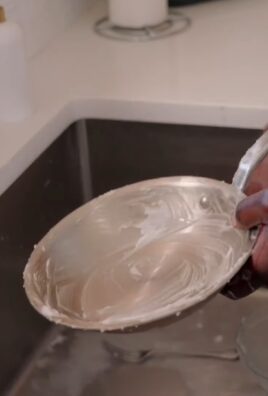
4. **Prepare the Baking Soda Paste:** While the faucet head is soaking, let’s make our cleaning paste. In a small bowl, mix baking soda with a few drops of dish soap and a tiny bit of water. You want to create a thick paste, similar to toothpaste.
5. **Apply the Baking Soda Paste:** Using your old toothbrush, apply the baking soda paste to the rest of the faucet – the handles, the base, and any other areas with visible grime or water spots.
6. **Scrub Gently:** Gently scrub the faucet with the toothbrush, paying extra attention to areas with stubborn stains. The baking soda acts as a mild abrasive, helping to lift the dirt and grime. Be careful not to scrub too hard, as you don’t want to scratch the finish.
7. **Remove the Vinegar Bag:** After the soaking time is up, carefully remove the plastic bag from the faucet head. Be prepared – the vinegar might have dissolved some pretty gross stuff!
8. **Scrub the Faucet Head:** Now, use the toothbrush and baking soda paste to scrub the faucet head. The vinegar soak should have loosened most of the mineral deposits, making them easier to remove.
9. **Rinse Thoroughly:** Rinse the entire faucet thoroughly with warm water, making sure to remove all traces of baking soda paste and vinegar.
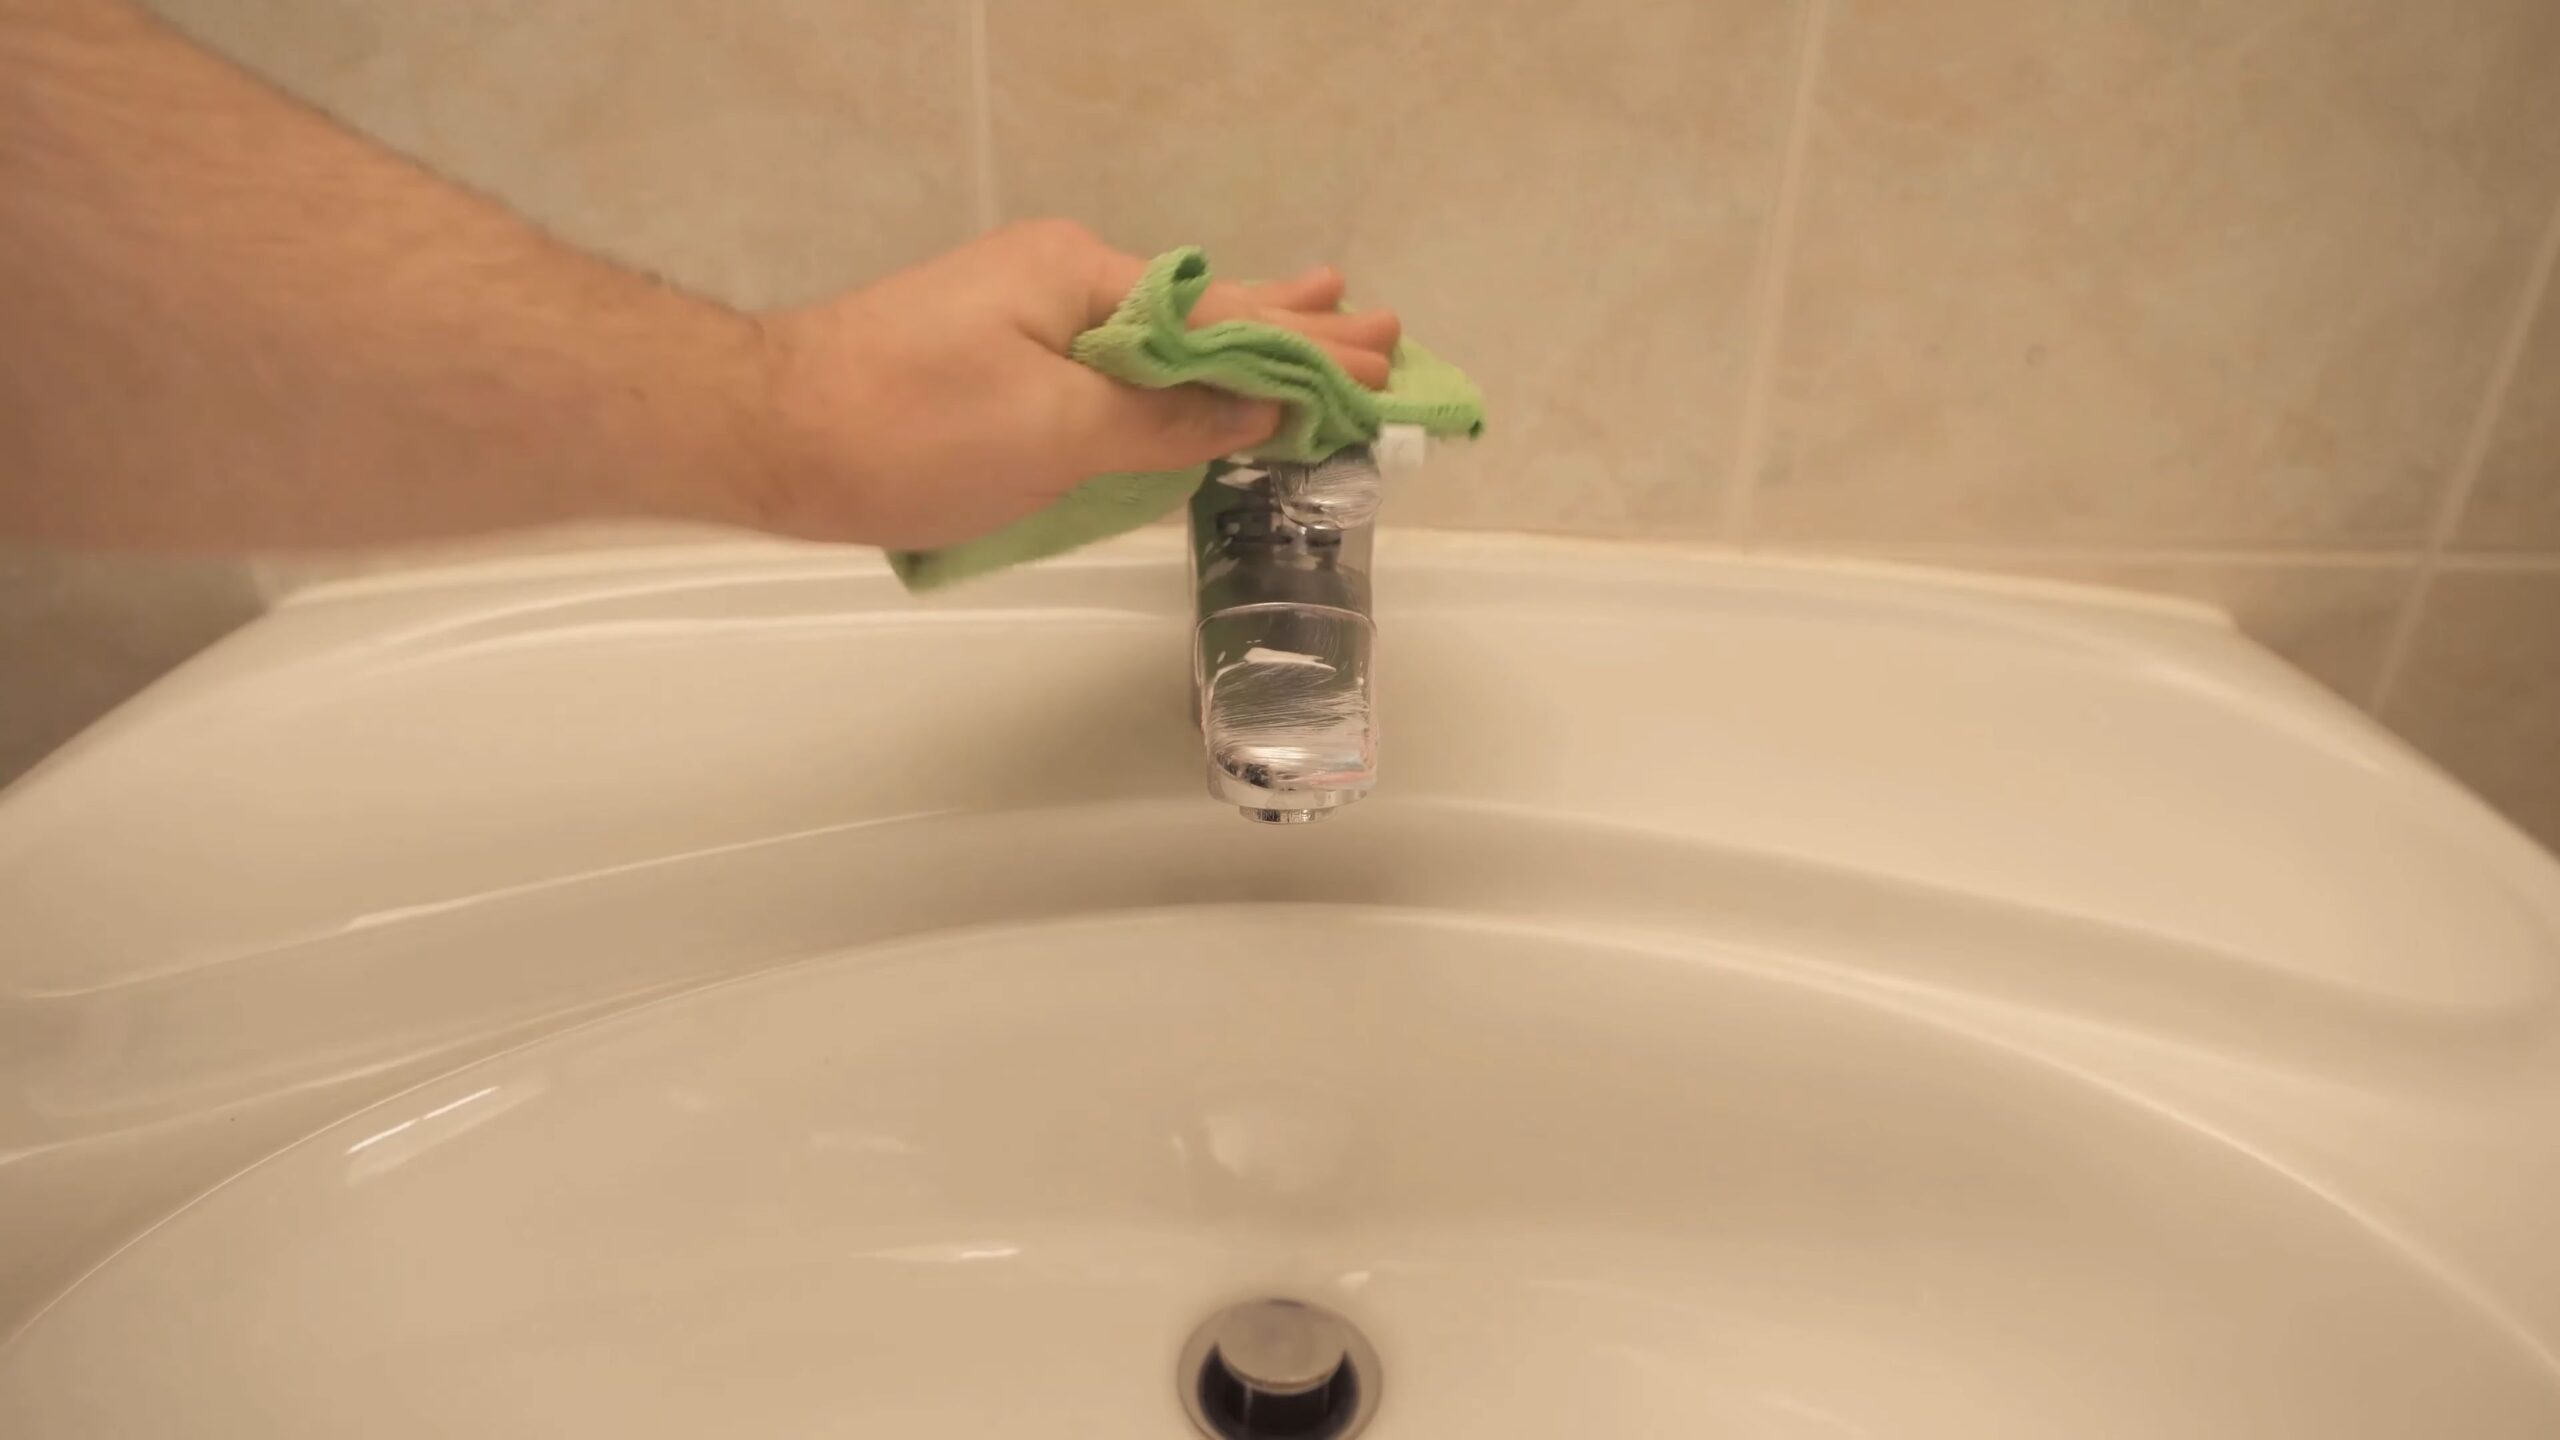
10. **Dry and Polish:** Use a clean microfiber cloth to dry the faucet completely. This is important to prevent new water spots from forming. For an extra shine, you can buff the faucet with a dry microfiber cloth.
11. **Optional: Add Lemon Essential Oil:** If you want a fresh, clean scent, add a drop or two of lemon essential oil to a clean microfiber cloth and wipe down the faucet. This will leave a subtle, pleasant aroma.
Dealing with Stubborn Stains:
Sometimes, you might encounter stains that are particularly stubborn. Don’t worry, I’ve got a few tricks up my sleeve!
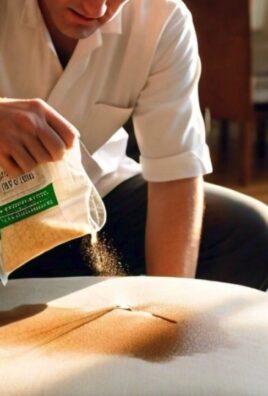
* **For Hard Water Stains:** If you have hard water, you might notice persistent white stains. For these, try making a paste of vinegar and salt. The salt acts as a stronger abrasive. Apply the paste, let it sit for a few minutes, and then scrub gently.
* **For Rust Stains:** Rust stains can be tricky. Try using a paste of baking soda and lemon juice. The citric acid in the lemon juice helps to dissolve the rust. Apply the paste, let it sit for about 15 minutes, and then scrub.
* **For Really Tough Buildup:** If you’ve tried everything and still have stubborn buildup, you can try using a commercial limescale remover. However, be sure to follow the instructions carefully and test it in an inconspicuous area first to make sure it doesn’t damage the finish of your faucet.
Maintaining Your Sparkling Faucets:
Now that your faucets are sparkling clean, let’s talk about how to keep them that way!
* **Wipe Down Regularly:** The easiest way to prevent buildup is to wipe down your faucets after each use. This only takes a few seconds and can make a huge difference.
* **Use a Water Softener:** If you have hard water, consider investing in a water softener. This will help to reduce mineral deposits throughout your home, including on your faucets.
* **Clean Regularly:** Aim to clean your faucets at least once a week, even if they don’t look dirty. This will prevent buildup from becoming too severe.
* **Avoid Abrasive Cleaners:** Harsh abrasive cleaners can scratch the finish of your faucets. Stick to gentle cleaners like baking soda and vinegar.
* **Dry After Use:** Make it a habit to dry your faucets after each use. This will prevent water spots from forming.
Why This Hack Works: The Science Behind the Sparkle
So, why does this simple hack work so well? It’s all about the chemistry!
* **Vinegar’s Acidity:** White vinegar is a mild acid (acetic acid). This acidity helps to dissolve mineral deposits like calcium and lime, which are the main culprits behind faucet buildup.
* **Baking Soda’s Abrasiveness:** Baking soda is a mild abrasive. This means it has tiny particles that help to scrub away dirt and grime without scratching the surface.
* **Dish Soap’s Grease-Cutting Power:** Dish soap contains surfactants, which are molecules that help to break down grease and oil. This is important for removing greasy fingerprints and other oily residues from your faucets.
A Note on Different Faucet Finishes:
While this hack is generally safe for most faucet finishes, it’s always a good idea to test it in an inconspicuous area first, especially if you have a delicate or antique faucet.
* **Chrome:** Chrome faucets are generally very durable and can withstand most cleaning methods.
* **Brushed Nickel:** Brushed nickel faucets are more prone to scratching than chrome faucets. Be sure to use a gentle touch when scrubbing.
* **Oil-Rubbed Bronze:** Oil-rubbed bronze faucets have a special finish that can be damaged by harsh cleaners. Avoid using abrasive cleaners or scrubbing too hard.
* **Gold-Plated:** Gold-plated faucets are very delicate and should only be cleaned with a mild soap and water solution. Avoid using vinegar or baking soda.
Troubleshooting: Common Problems and Solutions
Even with the best instructions, sometimes things don’t go exactly as planned. Here are a few common problems you might encounter and how to solve them:
* **Problem: The vinegar bag keeps falling off.**
* **Solution:** Make sure the bag is securely fastened with a rubber band or twist tie. You can also try using a larger bag or a stronger rubber band.
* **Problem: The baking soda paste is too dry.**
* **Solution:** Add a little more water to the paste until it reaches the desired consistency.
* **Problem: I’m still seeing water spots after cleaning.**
* **Solution:** Make sure you’re drying the faucet thoroughly with a clean microfiber cloth. You can also try using a water spot remover specifically designed for faucets.
* **Problem: The faucet finish looks dull after cleaning.**
* **Solution:** Try buffing the faucet with a dry microfiber cloth to restore its shine. You can also use a faucet polish specifically designed for your faucet’s finish.
Beyond Faucets: Other Uses for This Cleaning Hack
The great thing about this cleaning hack is that it’s not just for faucets! You can use it to clean other fixtures in your bathroom and kitchen, such as:
* **Showerheads:** Soak your showerhead in a bag of vinegar to remove mineral deposits and improve water flow.
* **Sink Drains:** Pour a mixture of baking soda and vinegar down your sink drain to unclog it and freshen it up.
* **Toilet Bowls:** Sprinkle baking soda into your toilet bowl and then pour
Conclusion
So, there you have it! This simple, yet incredibly effective, faucet cleaning hack is a game-changer for anyone tired of battling stubborn hard water stains, soap scum, and the general grunginess that accumulates on our faucets. Forget spending a fortune on harsh chemical cleaners that often leave behind unpleasant odors and can even damage the finish of your fixtures. This DIY method utilizes readily available household ingredients, making it not only budget-friendly but also environmentally conscious.
Why is this a must-try? Because it works! You’ll be amazed at how easily this method lifts away even the most persistent buildup, restoring your faucets to their former glory. Imagine the satisfaction of seeing your bathroom and kitchen sparkle, all thanks to a few simple steps and ingredients you likely already have in your pantry. Plus, it’s a fantastic way to extend the life of your faucets by preventing corrosion and damage caused by harsh chemicals.
But the beauty of this faucet cleaning hack lies in its adaptability. Feel free to experiment with variations to suit your specific needs and preferences. For instance, if you’re dealing with particularly stubborn stains, you can increase the concentration of vinegar in your solution. Or, if you prefer a more fragrant cleaning experience, add a few drops of your favorite essential oil, such as lemon or tea tree, to the mixture. Just be sure to test the essential oil on an inconspicuous area first to ensure it doesn’t damage the faucet’s finish.
Another variation involves using baking soda as a gentle abrasive. After soaking the faucet in the vinegar solution, sprinkle a small amount of baking soda onto a soft cloth or sponge and gently scrub away any remaining residue. The baking soda will help to lift away stubborn stains without scratching the surface. Remember to rinse thoroughly with water after scrubbing.
For faucets with intricate designs or hard-to-reach areas, consider using an old toothbrush to scrub away grime. The bristles will help to get into those tight spaces and dislodge any trapped dirt or debris. You can also use cotton swabs dipped in the vinegar solution to clean around the base of the faucet and other delicate areas.
We’re confident that once you try this faucet cleaning hack, you’ll be hooked. It’s a simple, effective, and affordable way to keep your faucets looking their best. So, ditch the harsh chemicals and give this DIY method a try. You won’t be disappointed!
We encourage you to try this simple yet effective faucet cleaning hack and see the difference for yourself. Don’t just take our word for it – experience the sparkling results firsthand! And most importantly, we want to hear about your experience. Share your before-and-after photos, tips, and variations in the comments below. Let’s create a community of sparkling clean faucets! Your insights could help others discover the magic of this easy and effective cleaning solution. Let us know if you found this faucet cleaning hack helpful!
Frequently Asked Questions (FAQ)
What exactly is hard water, and why does it cause stains on my faucets?
Hard water contains high levels of minerals, primarily calcium and magnesium. When hard water evaporates, it leaves behind these minerals as a white, chalky residue, commonly known as limescale or hard water stains. These stains can be difficult to remove and can make your faucets look dull and dirty.
Is vinegar safe to use on all types of faucet finishes?
While vinegar is generally safe for most faucet finishes, it’s always a good idea to test it on an inconspicuous area first, especially if you have a faucet with a delicate or antique finish. Prolonged exposure to vinegar can potentially damage certain finishes, such as brushed nickel or oil-rubbed bronze. If you’re unsure, consult the manufacturer’s instructions or contact a professional plumber. For most chrome and stainless steel faucets, vinegar is a safe and effective cleaning solution.
How often should I clean my faucets using this method?
The frequency of cleaning depends on the hardness of your water and how often you use your faucets. In areas with very hard water, you may need to clean your faucets as often as once a week to prevent buildup. In areas with softer water, you may only need to clean them once a month or even less frequently. A good rule of thumb is to clean your faucets whenever you notice the appearance of hard water stains or soap scum.
Can I use this method to clean other bathroom and kitchen fixtures, such as showerheads and sinks?
Yes, this method can be used to clean other bathroom and kitchen fixtures that are affected by hard water stains and soap scum. For showerheads, you can soak them in a vinegar solution in a similar way to cleaning faucets. For sinks, you can pour the vinegar solution directly onto the surface and let it sit for a few minutes before scrubbing and rinsing. Just be sure to test the solution on an inconspicuous area first to ensure it doesn’t damage the finish.
What if I don’t have vinegar? Are there any alternative cleaning solutions I can use?
If you don’t have vinegar, you can try using lemon juice as an alternative. Lemon juice contains citric acid, which is a natural cleaning agent that can help to dissolve hard water stains and soap scum. You can use lemon juice in the same way as vinegar, diluting it with water and soaking the faucet or fixture in the solution. Another alternative is to use a commercial limescale remover, but be sure to choose one that is specifically designed for use on faucets and fixtures and follow the manufacturer’s instructions carefully.
The stains are really stubborn. What can I do to remove them?
For extremely stubborn stains, you can try making a paste of baking soda and water. Apply the paste to the stained area and let it sit for a few minutes before scrubbing gently with a soft cloth or sponge. The baking soda will act as a mild abrasive, helping to lift away the stains without scratching the surface. You can also try using a stronger vinegar solution, but be sure to test it on an inconspicuous area first to ensure it doesn’t damage the finish. Another option is to use a commercial limescale remover specifically designed for tough stains.
How can I prevent hard water stains from forming on my faucets in the first place?
Preventing hard water stains is often easier than removing them. Consider installing a water softener in your home to reduce the mineral content of your water. You can also wipe down your faucets after each use to remove any water droplets before they have a chance to evaporate and leave behind mineral deposits. Applying a sealant or wax to your faucets can also help to protect them from hard water stains and make them easier to clean.
Is it safe to mix vinegar with other cleaning products?
No, it is generally not safe to mix vinegar with other cleaning products, especially bleach. Mixing vinegar with bleach can create toxic chlorine gas, which can be harmful to your health. Always use vinegar on its own and avoid mixing it with other cleaning agents.
My faucet has a water spot even after cleaning. What should I do?
After cleaning and rinsing, dry your faucet thoroughly with a soft, clean cloth. This will prevent water spots from forming as the water evaporates. For extra shine, you can use a microfiber cloth to buff the faucet after drying. You can also apply a thin layer of car wax or furniture polish to the faucet to help repel water and prevent future spots.
Where can I share my before-and-after photos and tips?
We encourage you to share your before-and-after photos and tips in the comments section below this article. You can also share them on social media using a relevant hashtag, such as #FaucetCleaningHack or #DIYCleaning. We’d love to see your results and hear about your experiences!
Leave a Comment