

Sweet Potato Greens Growing might sound like an exotic culinary adventure, but trust me, it’s easier than you think! Have you ever looked at your sweet potato slips and thought, “There has to be more I can do with these?” Well, you’re absolutely right! For generations, resourceful gardeners around the world, particularly in Asian and African cultures, have savored the delicious and nutritious leaves of the sweet potato plant. They understood that these vibrant greens are not just a byproduct, but a valuable crop in their own right.
I’m here to tell you that you don’t need a sprawling farm to enjoy fresh, homegrown sweet potato greens. In fact, with a few simple tricks and a little DIY spirit, you can cultivate a bountiful supply right in your own backyard, balcony, or even on a sunny windowsill! Imagine adding these tender, slightly sweet greens to your salads, stir-fries, or soups. Not only will you be adding a unique flavor dimension to your meals, but you’ll also be reducing food waste and saving money.
This article is your ultimate guide to mastering sweet potato greens growing. We’ll explore easy-to-follow DIY techniques, from propagating slips to harvesting your first batch of greens. So, ditch the store-bought spinach and get ready to unlock the hidden potential of your sweet potato plants. Let’s get growing!
Growing Sweet Potato Greens: A Delicious and Easy DIY Project
Hey there, fellow gardeners! Have you ever looked at your sweet potato slips and thought, “Hmm, I wonder if I can eat those leaves?” Well, the answer is a resounding YES! Sweet potato greens are not only edible but also incredibly nutritious and delicious. Plus, growing them is a super easy DIY project that anyone can tackle, even if you don’t have a huge garden. I’m going to walk you through everything you need to know to get started.
What You’ll Need
Before we dive in, let’s gather our supplies. This is a pretty low-key project, so you probably have most of this stuff already.
* Sweet Potatoes: Obviously! Choose organic ones if possible, as they’re less likely to be treated with sprout inhibitors.
* Glass Jars or Containers: Wide-mouthed jars work best, but any container that can hold water and support the sweet potato will do.
* Toothpicks: These are crucial for suspending the sweet potato in the water.
* Water: Tap water is fine, but filtered water is even better.
* Potting Soil: If you plan to transplant your slips into pots or the garden.
* Pots or Garden Space: Again, only if you’re transplanting.
* Sharp Knife or Pruning Shears: For harvesting the greens.
* Optional: Liquid Fertilizer: For boosting growth, especially if you’re growing in pots.
Sprouting Your Sweet Potatoes: The Water Method
This is the most common and easiest method for sprouting sweet potatoes. It’s like a science experiment you can eat!
1. Prepare the Sweet Potato: Wash your sweet potato thoroughly to remove any dirt or debris. You can cut the sweet potato in half if it’s very large. This isn’t strictly necessary, but it can speed up the sprouting process.
2. Insert Toothpicks: Insert 3-4 toothpicks around the middle of the sweet potato, spacing them evenly. These toothpicks will act as supports, allowing you to suspend the potato in the water.
3. Suspend in Water: Place the sweet potato in your jar or container, pointy end down (if it has one), and fill the container with water until the bottom half of the potato is submerged. Make sure the toothpicks are resting on the rim of the jar, holding the potato in place.
4. Find a Sunny Spot: Place the jar in a warm, sunny location. A windowsill is perfect. Sweet potatoes need light and warmth to sprout.
5. Change the Water Regularly: Change the water every 2-3 days to prevent mold and keep the water fresh. This is important for healthy sprout development.
6. Wait and Watch: Be patient! It can take anywhere from a few weeks to a month for sprouts (slips) to appear. You’ll start to see small roots growing from the bottom of the potato and green shoots emerging from the top.
Sprouting Your Sweet Potatoes: The Soil Method
This method is a bit more involved, but some people find it more reliable. It mimics the natural growing environment more closely.
1. Prepare a Container: Choose a pot or container with drainage holes. Fill it with well-draining potting soil.
2. Bury the Sweet Potato: Plant the sweet potato horizontally in the soil, covering about two-thirds of it. Leave the top third exposed.
3. Water Thoroughly: Water the soil well, making sure it’s evenly moist but not waterlogged.
4. Find a Warm Spot: Place the pot in a warm location, ideally around 75-85°F (24-29°C). You can use a heat mat to help speed up the process.
5. Keep the Soil Moist: Keep the soil consistently moist, but avoid overwatering. Check the soil moisture regularly and water when the top inch feels dry.
6. Wait for Sprouts: Again, patience is key. It may take several weeks for sprouts to emerge.
Transplanting Your Slips (Optional)
Once your slips are about 6-8 inches long, you can either harvest the greens directly from the potato or transplant the slips into pots or the garden. Transplanting allows you to grow more greens and potentially even harvest sweet potatoes later on.
1. Prepare the Slips: Gently twist or cut the slips off the sweet potato, being careful not to damage the potato. You can also root the slips in water before planting. To do this, place the cut end of the slip in a glass of water and wait for roots to develop (usually a week or two).
2. Prepare the Soil: Choose a sunny location with well-draining soil. Amend the soil with compost or other organic matter to improve fertility. If you’re planting in pots, use a good quality potting mix.
3. Plant the Slips: Dig a small hole and plant the slip, burying the bottom few inches of the stem. Space the slips about 12-18 inches apart.
4. Water Thoroughly: Water the newly planted slips well.
5. Keep the Soil Moist: Keep the soil consistently moist, especially during the first few weeks after transplanting.
Caring for Your Sweet Potato Greens
Whether you’re growing your greens directly from the potato or from transplanted slips, here are a few tips to keep them healthy and productive.
* Sunlight: Sweet potato greens need at least 6 hours of sunlight per day.
* Watering: Water regularly, especially during dry periods. The soil should be consistently moist but not waterlogged.
* Fertilizing: If you’re growing in pots, fertilize every few weeks with a liquid fertilizer. For garden plants, you can side-dress with compost or other organic fertilizer.
* Pest Control: Keep an eye out for pests like aphids and spider mites. Treat infestations promptly with insecticidal soap or neem oil.
* Support: As the vines grow, they may need support. You can use stakes or a trellis to keep them off the ground.
Harvesting Your Sweet Potato Greens
Now for the fun part – harvesting! You can start harvesting your sweet potato greens once the vines are established and have plenty of leaves.
1. Choose Young Leaves: Select young, tender leaves for the best flavor and texture. Older leaves can be a bit tough and bitter.
2. Cut or Pinch: Use a sharp knife or pruning shears to cut the leaves from the stem. You can also pinch off the leaves with your fingers.
3. Don’t Over-Harvest: Avoid harvesting more than one-third of the leaves at a time, as this can stress the plant.
4. Regular Harvesting Encourages Growth: Regular harvesting actually encourages the plant to produce more leaves, so don’t be shy!
Cooking with Sweet Potato Greens
Sweet potato greens are incredibly versatile and can be used in a variety of dishes. They have a mild, slightly sweet flavor that’s similar to spinach or kale.
* Sautéed: Sautéed with garlic and olive oil is a simple and delicious way to enjoy sweet potato greens.
* Steamed: Steaming is another healthy way to cook them.
* Soups and Stews: Add them to soups and stews for extra nutrients and flavor.
* Salads: Young, tender leaves can be added to salads.
* Stir-fries: They’re a great addition to stir-fries.
* Smoothies: Believe it or not, you can even add them to smoothies for a nutritional boost!
Important Note: Always cook sweet potato greens before eating them. Raw sweet potato greens contain oxalic acid, which can cause digestive upset in some people. Cooking reduces the oxalic acid content and makes them safe to eat.
Troubleshooting
Even with the best intentions, things don’t always go according to plan. Here are a few common problems you might encounter and how to fix them.
* No Sprouts: If your sweet potato isn’t sprouting, make sure it’s getting enough light and warmth. Also, check the water regularly and change it if it’s cloudy or smelly. Sometimes, sweet potatoes are treated with sprout inhibitors, so try a different potato.
* Yellowing Leaves: Yellowing leaves can be a sign of overwatering or nutrient deficiency. Make sure the soil is well-draining and fertilize regularly.
* Pests: Keep an eye out for pests like aphids and spider mites. Treat infestations promptly with insecticidal soap or neem oil.
* Slow Growth: Slow growth can be caused by lack of sunlight, water, or nutrients. Make sure your plants are getting enough of all three.
Enjoy Your Homegrown Greens!
Growing sweet potato greens is a rewarding and easy DIY project that anyone can enjoy. Not only will you have a delicious and nutritious source of food
Conclusion
So, there you have it! Transforming your leftover sweet potato into a vibrant, leafy green source is not just a fun experiment; it’s a sustainable way to add fresh, nutritious greens to your diet. This simple DIY trick for sweet potato greens growing is a game-changer for anyone looking to reduce food waste, embrace urban gardening, or simply enjoy the satisfaction of nurturing something from scrap.
Why is this a must-try? Because it’s incredibly easy, cost-effective, and rewarding. You’re taking something destined for the compost bin and turning it into a source of delicious, edible greens. Think about it: no more throwing away those sprouting sweet potatoes! Instead, you’re unlocking their potential to provide you with a continuous supply of fresh, healthy leaves.
But the beauty of this method lies in its adaptability. Feel free to experiment with different varieties of sweet potatoes. Some varieties might produce more vigorous growth or have slightly different flavor profiles in their leaves. You can also play around with the growing medium. While water propagation is a great starting point, you can eventually transplant your sprouted sweet potato into soil for even more robust growth. Consider adding a balanced liquid fertilizer to the water or soil to boost leaf production.
Another variation to consider is the growing environment. While sweet potatoes thrive in warm, sunny locations, you can also successfully grow them indoors with the help of grow lights. This is especially useful if you live in a colder climate or have limited outdoor space. You can even train the vines to climb a trellis or support structure, creating a beautiful and functional green wall.
Don’t be afraid to get creative with how you use your sweet potato greens. They’re delicious in salads, stir-fries, soups, and even smoothies. Their mild, slightly sweet flavor makes them a versatile addition to a wide range of dishes. Think of them as a more nutritious and sustainable alternative to spinach or kale.
We wholeheartedly encourage you to give this DIY trick a try. It’s a fantastic way to connect with nature, reduce your environmental impact, and enjoy fresh, homegrown produce. And most importantly, we want to hear about your experience! Share your photos, tips, and stories with us in the comments below. Let’s build a community of sweet potato green growers and inspire others to embrace this simple yet powerful technique. What variety of sweet potato did you use? What dishes did you incorporate the greens into? What challenges did you face, and how did you overcome them? Your feedback is invaluable and will help us refine and improve this guide for future growers. Let’s all learn and grow together!
Frequently Asked Questions (FAQ)
What exactly are sweet potato greens, and are they safe to eat?
Yes, sweet potato greens are absolutely safe to eat! They are the leaves of the sweet potato plant and are a nutritious and delicious vegetable. They are packed with vitamins, minerals, and antioxidants. However, it’s crucial to distinguish them from regular potato leaves, which contain toxic compounds called glycoalkaloids and are not safe for consumption. Sweet potato leaves have a distinct shape and texture, and they grow from the sweet potato itself, not from a regular potato.
How do I start growing sweet potato greens from a sweet potato?
The easiest method is water propagation. Simply suspend a sweet potato (organic is best) in a jar or glass of water, ensuring that the bottom half is submerged. You can use toothpicks to hold it in place. Place the jar in a warm, sunny location. Within a few weeks, you should see sprouts emerging from the top of the sweet potato. Once the sprouts have developed leaves, you can either continue growing them in water or transplant them into soil.
How much sunlight do sweet potato greens need?
Sweet potato greens thrive in bright, indirect sunlight. Aim for at least 6 hours of sunlight per day. If you’re growing them indoors, you may need to supplement with grow lights, especially during the winter months. Insufficient sunlight can result in leggy growth and reduced leaf production.
How often should I water my sweet potato greens?
If you’re growing them in water, change the water every few days to prevent algae growth and ensure that the sweet potato remains submerged. If you’ve transplanted them into soil, water them regularly, keeping the soil consistently moist but not waterlogged. Overwatering can lead to root rot.
When can I start harvesting the greens?
You can start harvesting the greens once they are a few inches long. Simply snip off the leaves as needed, leaving the main stem intact. This will encourage the plant to produce more leaves. Avoid harvesting more than one-third of the leaves at a time, as this can stress the plant.
How do I store harvested sweet potato greens?
Store harvested sweet potato greens in the refrigerator in a plastic bag or container. They will stay fresh for several days. You can also blanch and freeze them for longer storage.
Can I grow sweet potato greens from a sweet potato that has already sprouted?
Absolutely! In fact, sprouted sweet potatoes are ideal for growing greens. The sprouts are already a sign that the sweet potato is ready to grow. Simply follow the same steps as you would with an unsprouted sweet potato.
What are some common problems I might encounter when growing sweet potato greens?
Some common problems include pests, diseases, and nutrient deficiencies. Pests such as aphids and spider mites can be controlled with insecticidal soap or neem oil. Diseases such as fungal infections can be prevented by ensuring good air circulation and avoiding overwatering. Nutrient deficiencies can be addressed by adding a balanced liquid fertilizer to the water or soil.
Are there any specific varieties of sweet potatoes that are better for growing greens?
While any variety of sweet potato can be used to grow greens, some varieties are known for producing more vigorous growth and larger leaves. These include Beauregard, Centennial, and Japanese sweet potatoes. Experiment with different varieties to see which ones work best for you.
Can I grow sweet potato greens year-round?
Yes, you can grow sweet potato greens year-round, especially if you grow them indoors with the help of grow lights. In warmer climates, you can grow them outdoors year-round. In colder climates, you may need to bring them indoors during the winter months.
What can I do with the sweet potato after I’ve harvested all the greens?
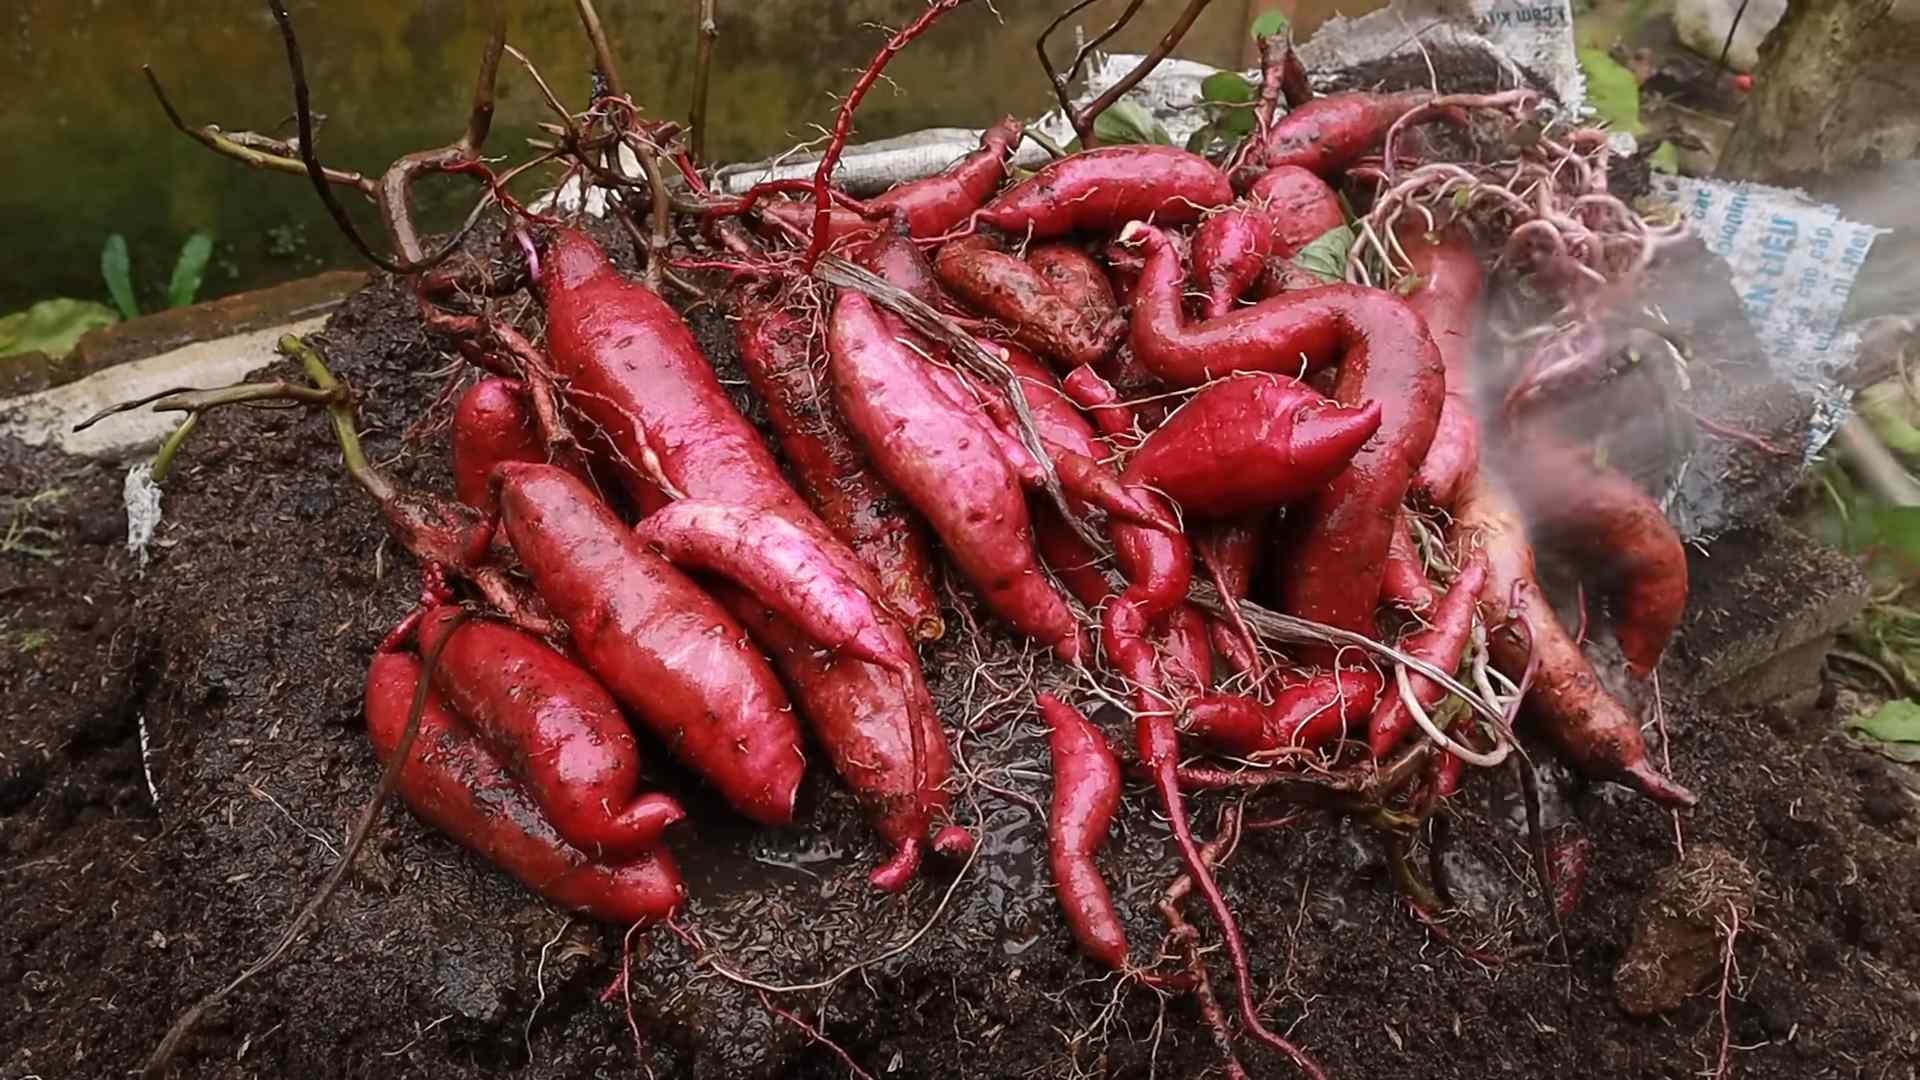
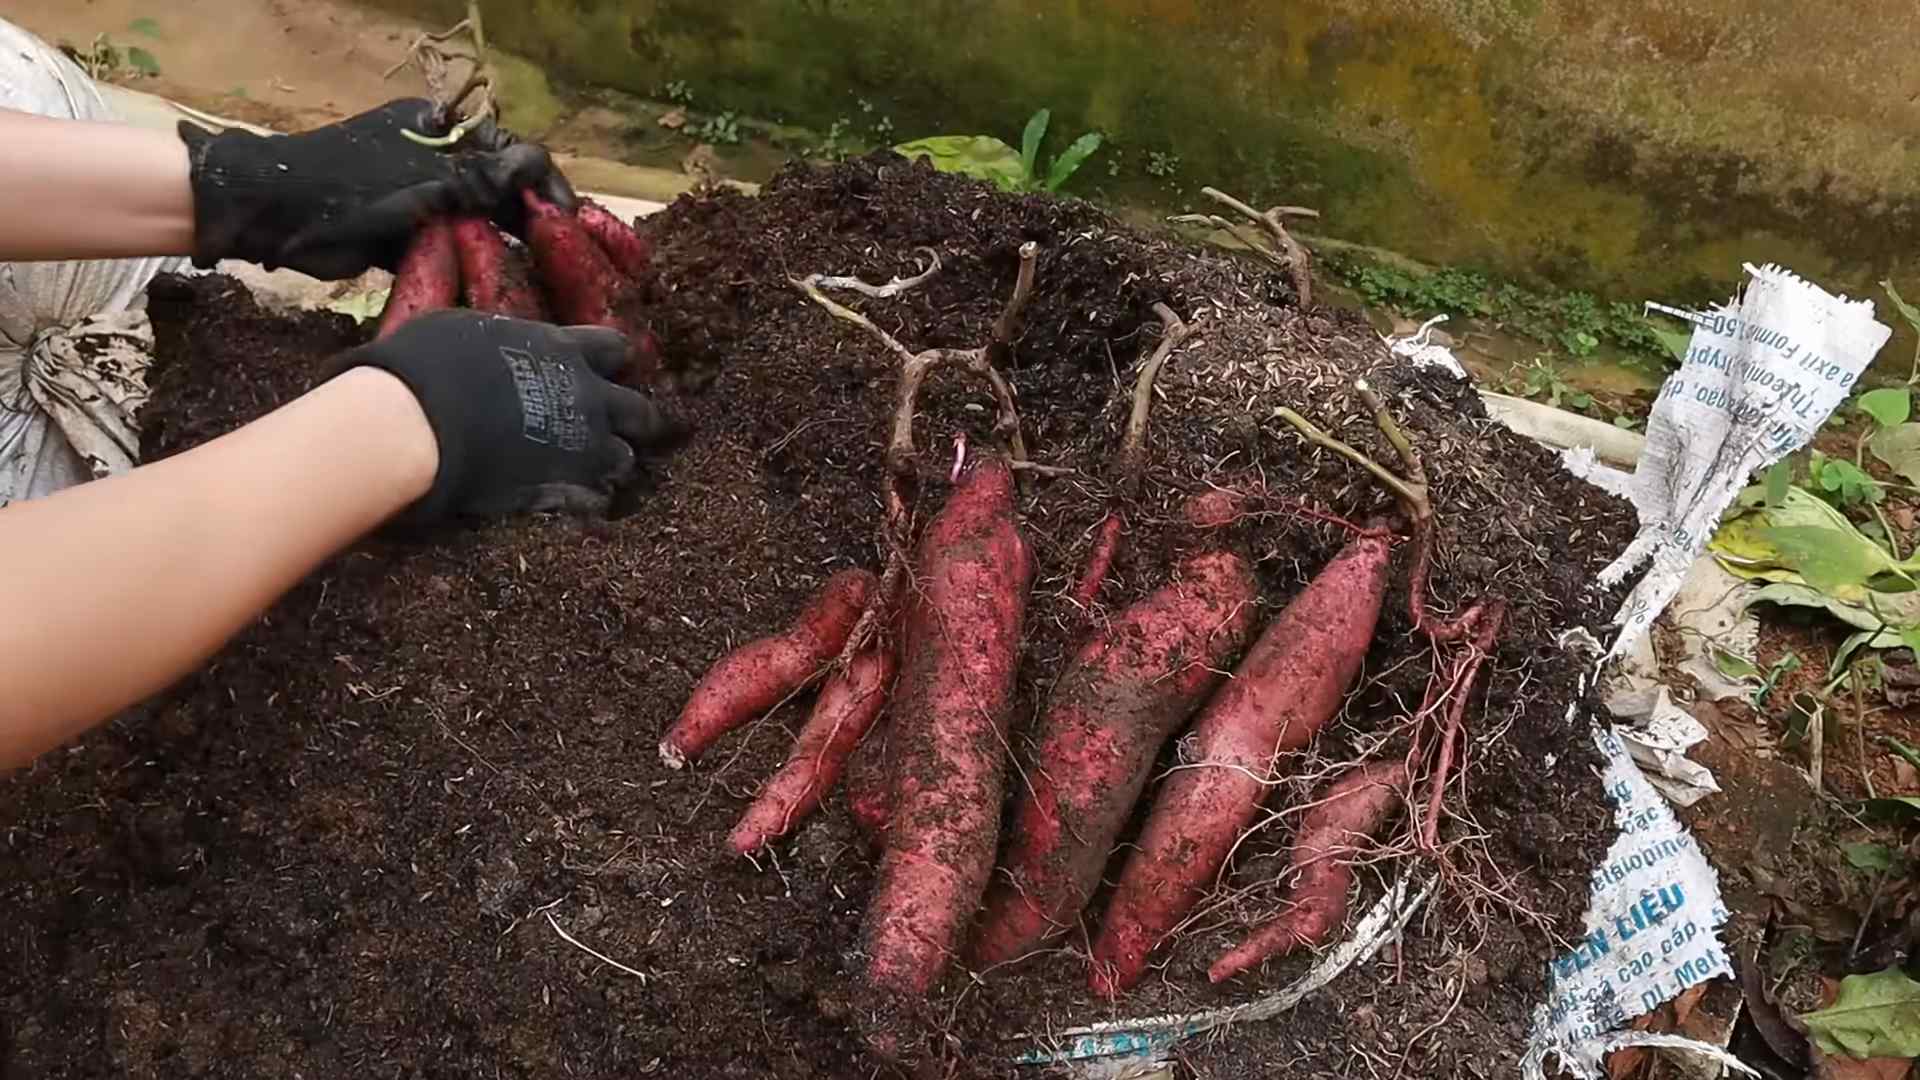
Once the sweet potato has exhausted its energy reserves and is no longer producing greens, you can compost it or discard it. Alternatively, if you’ve grown it in soil, you can try harvesting the sweet potatoes that have formed underground. However, keep in mind that sweet potatoes grown in this way may not be as large or flavorful as those grown specifically for their tubers.
Are sweet potato greens good for you?
Yes! Sweet potato greens are incredibly nutritious. They are a great source of vitamins A and C, as well as fiber and antioxidants. They are also low in calories and fat. Adding sweet potato greens to your diet is a great way to boost your overall health and well-being.
How do I know if my sweet potato greens are getting enough nutrients?
Healthy sweet potato greens should be a vibrant green color. If the leaves are yellowing or pale, it could be a sign of nutrient deficiency. Try adding a balanced liquid fertilizer to the water or soil to provide the plant with the nutrients it needs.
Can I eat the stems of sweet potato greens?
Yes, the stems of sweet potato greens are also edible, but they may be a bit tougher than the leaves. You can chop them up and add them to stir-fries or soups. Cooking them for a longer period of time will help to soften them.


Leave a Comment