

Growing Sweet Corn Backyard can seem like a daunting task, especially if you’re new to home gardening. But trust me, the reward of biting into a freshly picked, sun-ripened ear of sweet corn that you grew yourself is absolutely worth the effort! I remember my grandfather, a seasoned gardener, always had rows of sweet corn flourishing in his backyard. He’d tell stories of how corn, or maize, was a sacred crop to many indigenous cultures in the Americas, a staple that sustained civilizations for centuries.
Now, you might be thinking, “I don’t have a sprawling farm!” But that’s the beauty of these DIY tricks and hacks. You don’t need acres of land to enjoy the taste of homegrown sweet corn. Whether you have a small urban garden, a raised bed, or even just a few large containers, I’m here to show you how to successfully cultivate your own sweet corn patch.
Why should you bother? Well, store-bought corn simply can’t compare to the flavor of freshly harvested sweet corn. Plus, you’ll know exactly what went into growing it – no harmful pesticides or chemicals! And let’s be honest, there’s a certain satisfaction that comes from nurturing a plant from seed to harvest. So, let’s dive in and unlock the secrets to growing sweet corn backyard, transforming your space into a mini cornfield bursting with deliciousness!
Growing Sweet Corn in Your Backyard: A Comprehensive DIY Guide
Okay, corn lovers, let’s get down to business! Growing your own sweet corn is surprisingly rewarding, and trust me, there’s nothing quite like biting into a freshly picked ear, still warm from the sun. This guide will walk you through everything you need to know, from choosing the right variety to battling those pesky pests. Let’s get our hands dirty!
Choosing the Right Sweet Corn Variety
Before we even think about planting, we need to pick the perfect corn variety for our backyard. Not all corn is created equal, and factors like your climate, available space, and personal taste will play a big role in your decision.
* Consider your climate: Different corn varieties have different maturity dates. If you live in a region with a short growing season, you’ll want to choose a variety that matures quickly. Look for varieties labeled “early season” or with maturity dates under 75 days.
* Think about space: Corn needs to be planted in blocks, not rows, for proper pollination. If you have limited space, consider dwarf or compact varieties.
* Choose your sweetness level: Sweet corn varieties are classified based on their sugar content.
* Standard (su) varieties: These are the classic sweet corn varieties. They’re sweet, but the sugar converts to starch quickly after harvest, so you need to eat them soon after picking.
* Sugary enhanced (se) varieties: These are sweeter and hold their sweetness longer than standard varieties. They’re a good choice if you can’t eat all your corn immediately.
* Supersweet (sh2) varieties: These are the sweetest of the sweet corn varieties and hold their sweetness for several days after harvest. They require isolation from other corn types to prevent cross-pollination, which can result in starchy kernels.
* Disease resistance: Look for varieties that are resistant to common corn diseases in your area. This can save you a lot of headaches later on.
Some popular and reliable varieties include ‘Silver Queen’ (white, standard), ‘Honey Select’ (tri-sweet blend), ‘Ambrosia’ (bi-color, sugary enhanced), and ‘Miracle’ (yellow, supersweet). Do some research and see what grows well in your area!
Preparing the Soil
Corn is a heavy feeder, meaning it needs a lot of nutrients to grow properly. So, preparing the soil is crucial for a successful harvest.
* Timing is key: Start preparing your soil in the fall or early spring, well before planting time.
* Soil testing: The best way to know what your soil needs is to get it tested. You can usually get a soil testing kit from your local extension office or garden center.
* Amendments: Based on your soil test results, amend your soil with compost, aged manure, or other organic matter. Corn loves nitrogen, so consider adding a nitrogen-rich amendment like blood meal or feather meal.
* Tilling or digging: Till or dig the soil to a depth of at least 12 inches to loosen it up and improve drainage.
* pH level: Corn prefers a slightly acidic soil pH of around 6.0 to 6.8. If your soil is too alkaline, you can lower the pH by adding sulfur. If it’s too acidic, you can raise the pH by adding lime.
Planting Your Sweet Corn
Now for the fun part! Planting your sweet corn is relatively straightforward, but there are a few key things to keep in mind.
1. Wait for warm soil: Corn seeds won’t germinate in cold soil. Wait until the soil temperature is consistently above 60°F (15°C) before planting. I usually wait until a couple of weeks after the last expected frost.
2. Planting depth: Plant the seeds about 1 to 2 inches deep.
3. Spacing: Space the seeds about 6 to 12 inches apart in rows that are 2 to 3 feet apart. Remember to plant in blocks, not long single rows, for better pollination. A block of at least 4 rows is ideal.
4. Watering: Water the seeds thoroughly after planting. Keep the soil consistently moist until the seedlings emerge.
5. Succession planting: To extend your harvest, plant a new batch of corn every 2 to 3 weeks. This is called succession planting.
Caring for Your Corn Plants
Once your corn plants are up and growing, they’ll need regular care to thrive.
1. Watering: Corn needs about 1 inch of water per week, especially during tasseling and silking (when the tassels and silks appear). Water deeply and infrequently, rather than shallowly and frequently.
2. Fertilizing: Corn is a heavy feeder, so you’ll need to fertilize it regularly. Side-dress the plants with a nitrogen-rich fertilizer when they are about 1 foot tall and again when the tassels appear.
3. Weeding: Keep the area around your corn plants free of weeds. Weeds compete with the corn for water and nutrients. Hand-pull weeds or use a hoe to cultivate the soil. Be careful not to damage the corn roots.
4. Hilling: When the corn plants are about 1 foot tall, hill the soil around the base of the plants. This will help to support the plants and prevent them from falling over.
5. Pest control: Corn is susceptible to a variety of pests, including corn earworms, European corn borers, and aphids. Inspect your plants regularly for signs of pests and take action to control them if necessary. I prefer using organic methods like insecticidal soap or Bacillus thuringiensis (Bt).
Dealing with Common Corn Pests and Diseases
Okay, let’s talk about the not-so-fun part: pests and diseases. Here’s how to tackle some common problems:
* Corn Earworms: These little guys are probably the most common corn pest. They burrow into the ear and feed on the kernels.
* Prevention: Apply mineral oil to the silks of each ear after they emerge. This will suffocate the earworms. You can also use Bacillus thuringiensis (Bt), an organic insecticide.
* Treatment: If you find earworms in your corn, you can try to remove them by hand. Just peel back the husk and pick them out.
* European Corn Borers: These pests bore into the stalks and ears of corn, weakening the plants and reducing yields.
* Prevention: Plant resistant varieties. You can also use Bacillus thuringiensis (Bt).
* Treatment: Remove and destroy infested plants.
* Aphids: These tiny insects suck the sap from corn plants, weakening them and spreading diseases.
* Prevention: Encourage beneficial insects like ladybugs and lacewings, which prey on aphids.
* Treatment: Spray the plants with insecticidal soap or a strong stream of water.
* Corn Smut: This fungal disease causes large, gray galls to form on the ears and stalks of corn.
* Prevention: Plant resistant varieties.
* Treatment: Remove and destroy infected plants.
* Stewart’s Wilt: This bacterial disease causes wilting and yellowing of corn plants.
* Prevention: Plant resistant varieties. Control corn flea beetles, which spread the disease.
* Treatment: There is no cure for Stewart’s wilt. Remove and destroy infected plants.
Harvesting Your Sweet Corn
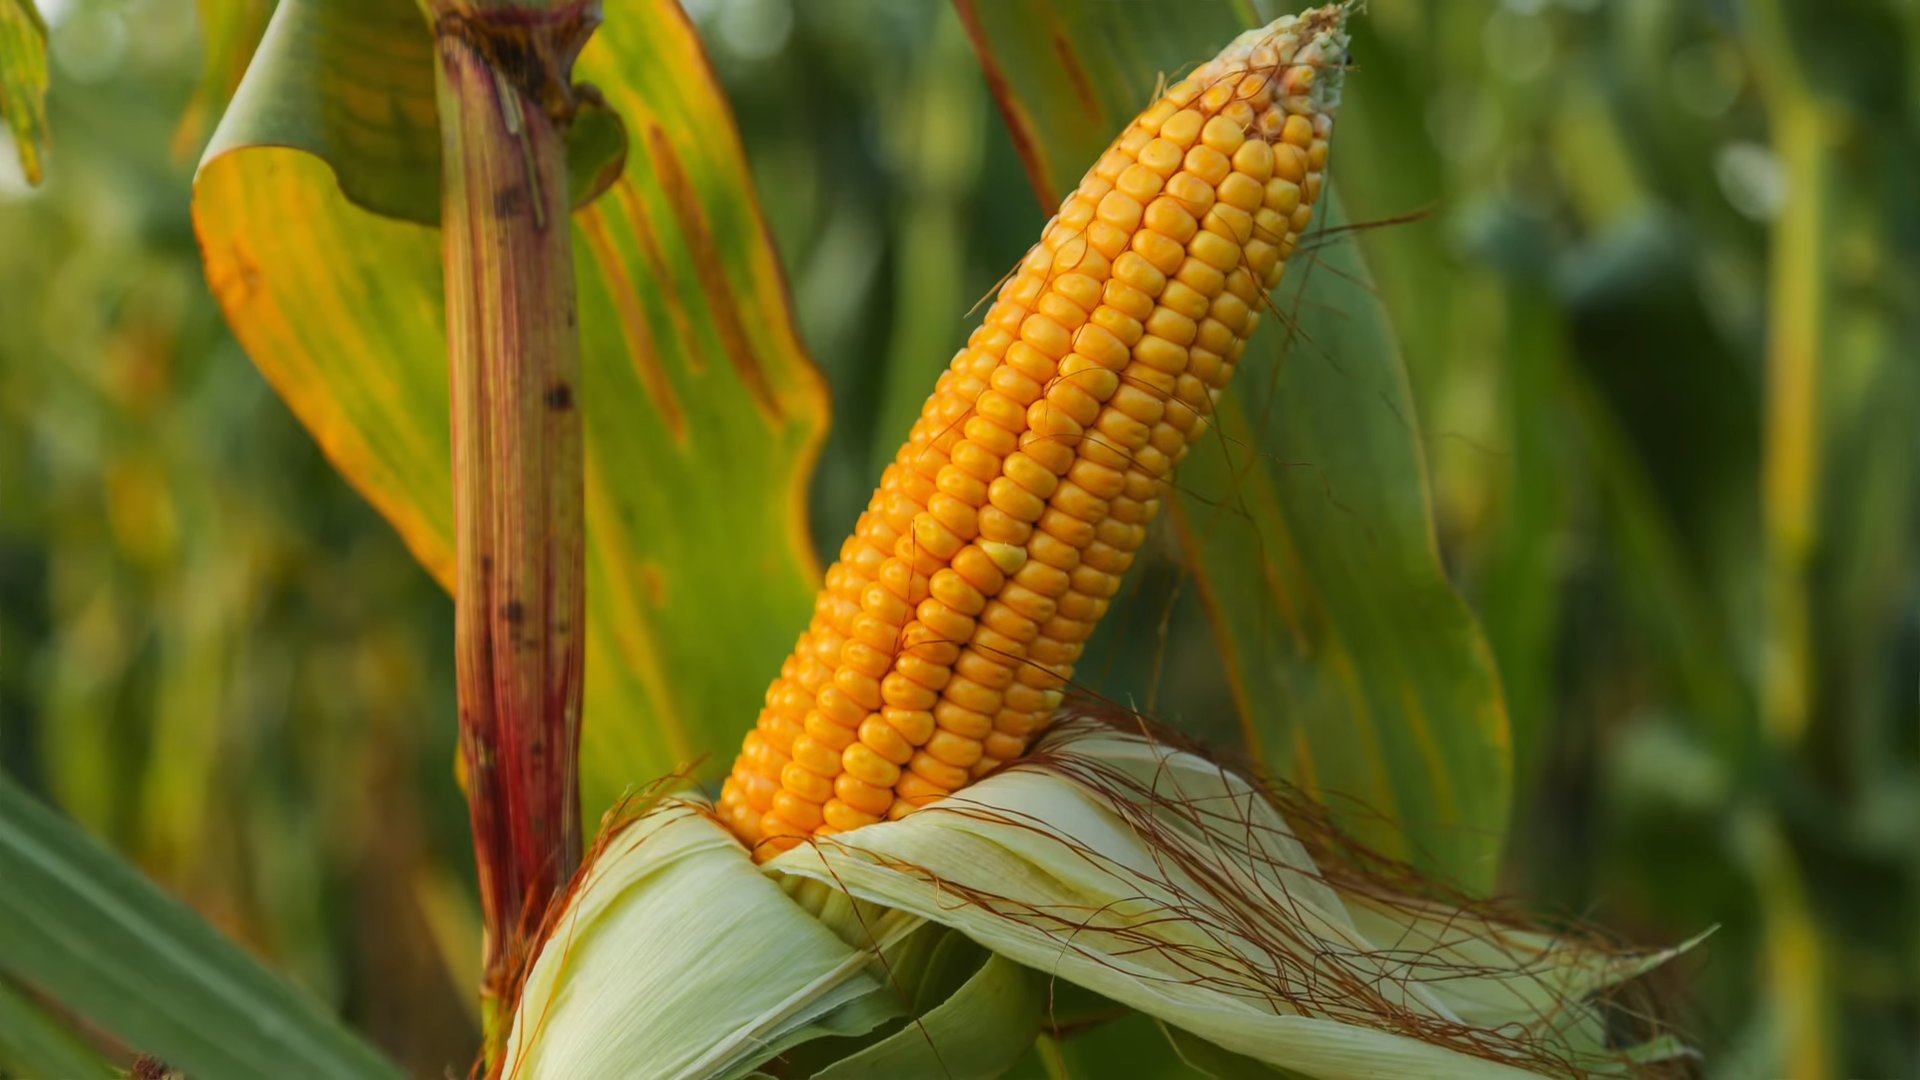
The moment we’ve all been waiting for! Harvesting your sweet corn at the peak of ripeness is essential for the best flavor.
1. Timing: Sweet corn is usually ready to harvest about 20 to 25 days after the silks emerge.
2. Check the silks: The silks should be dry and brown.
3. Feel the ear: The ear should feel plump and full.
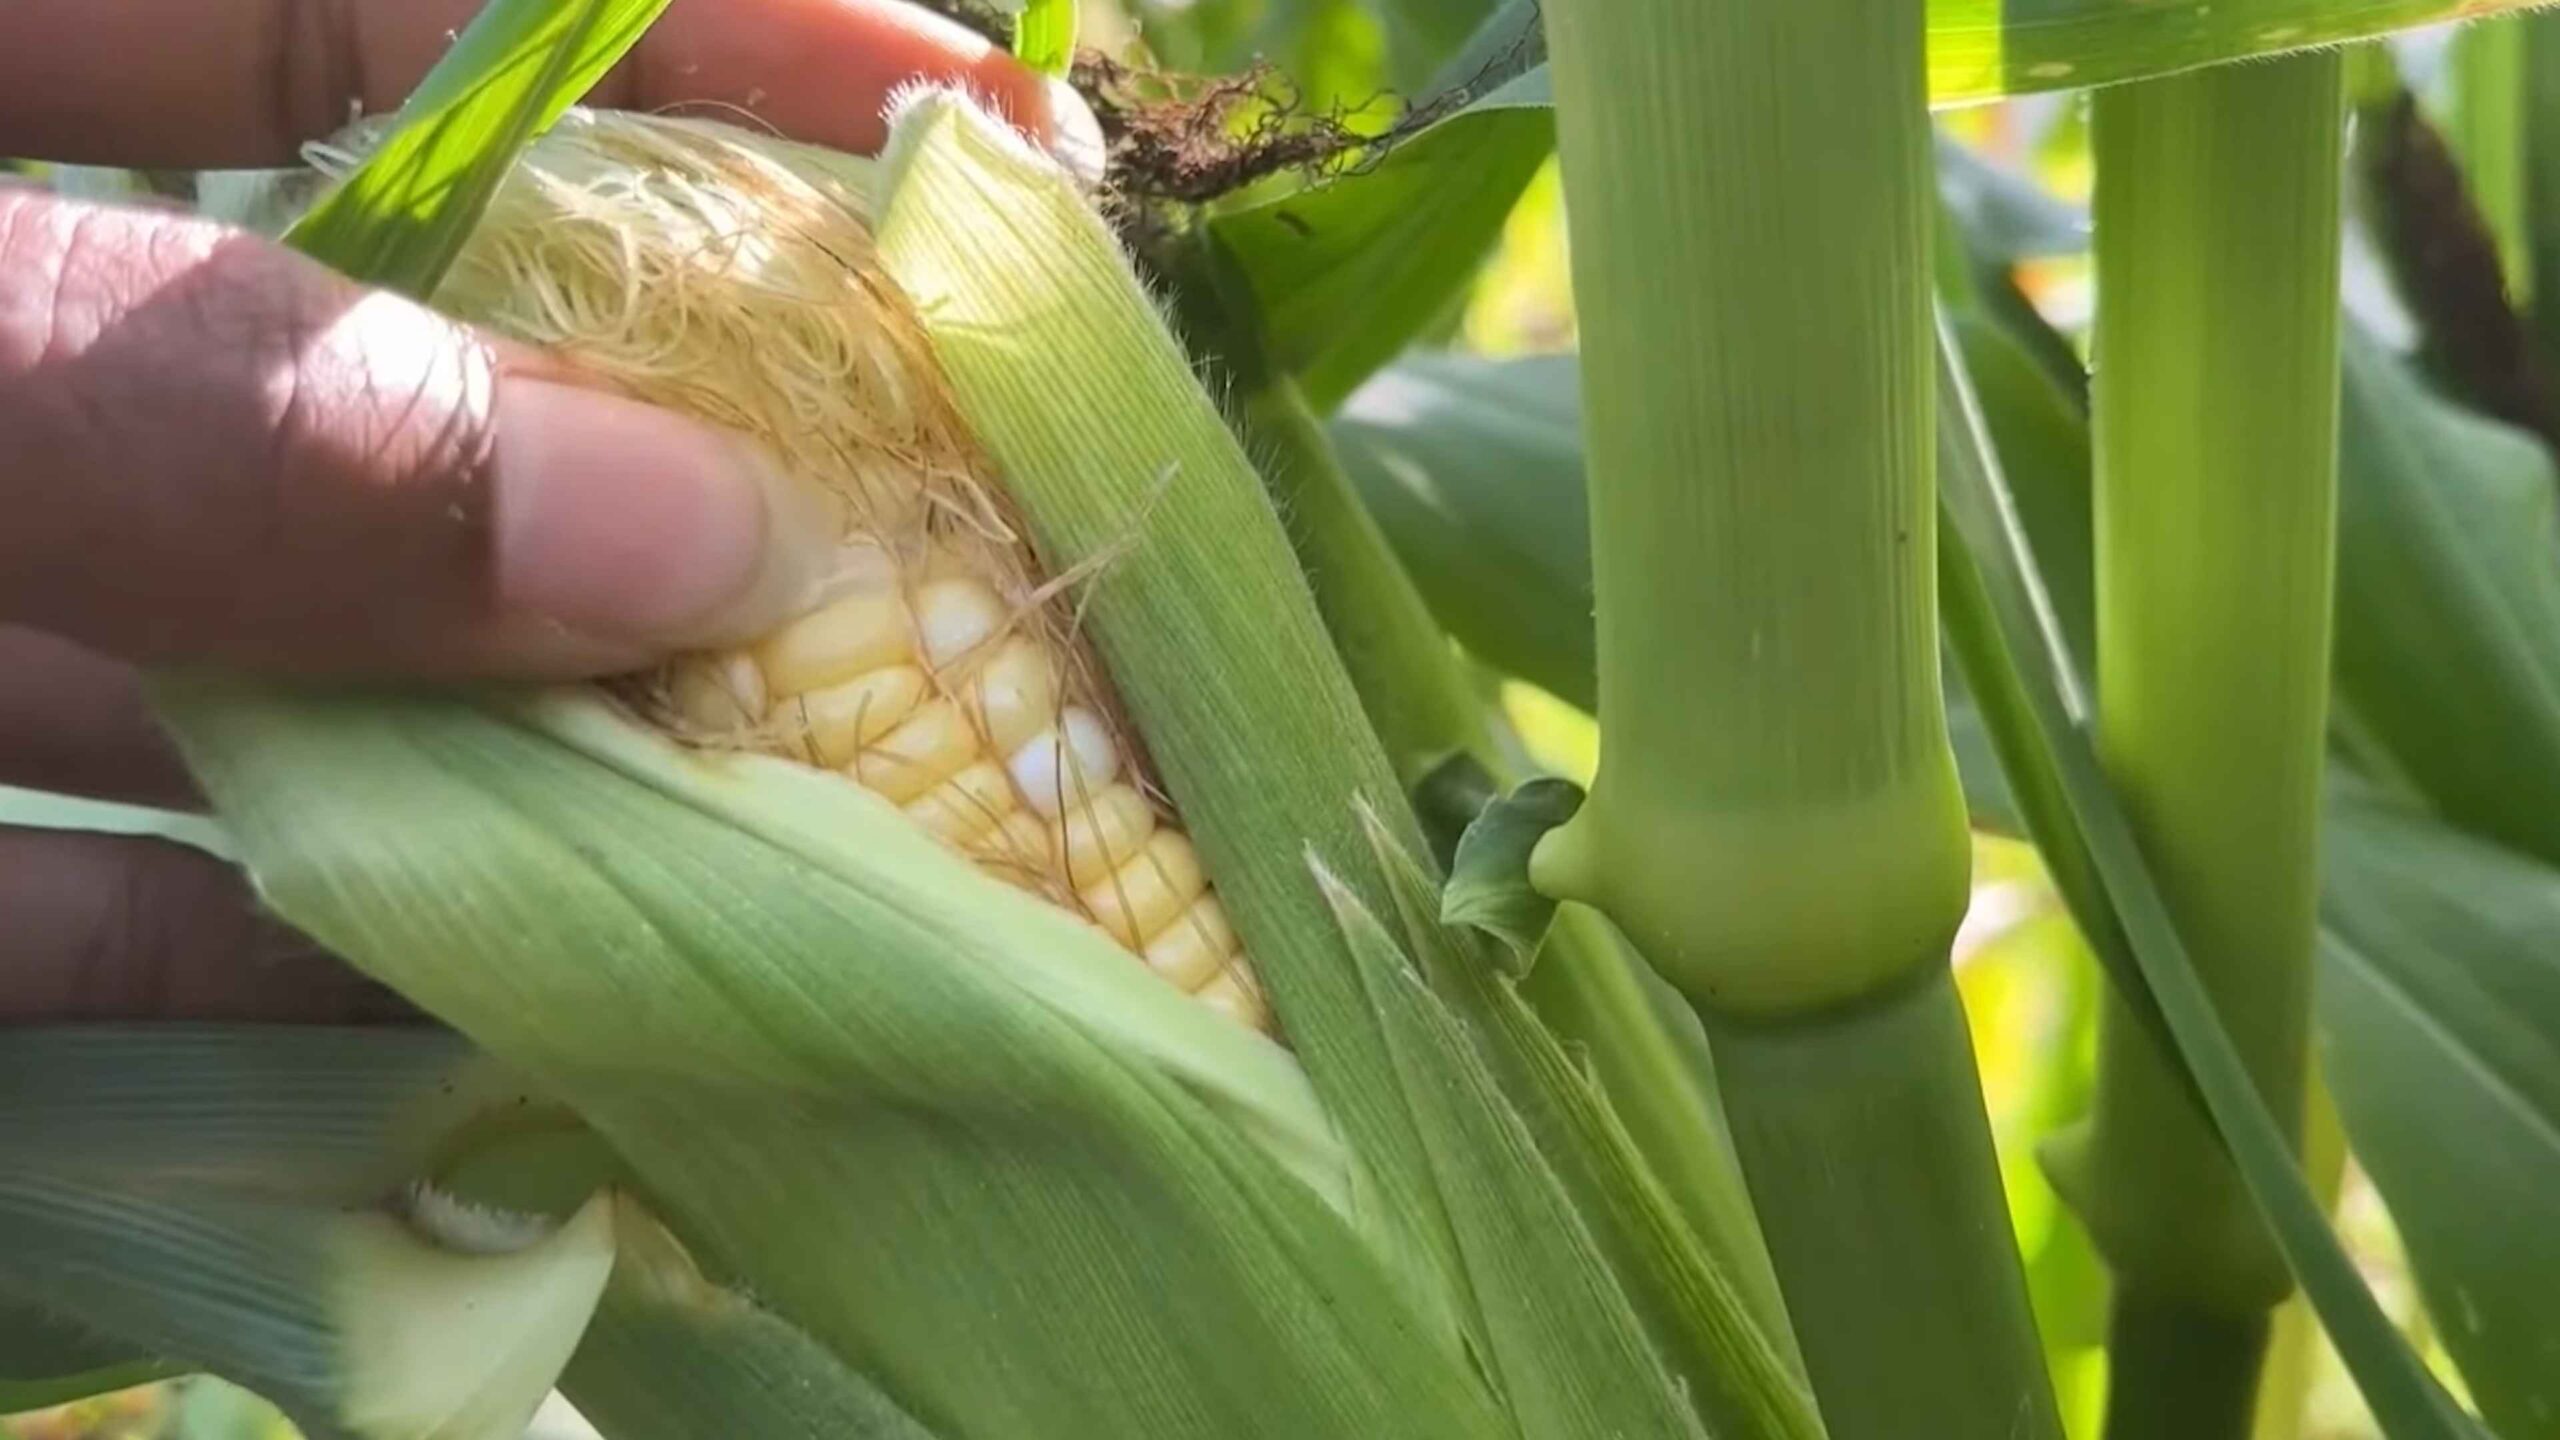
4. Peel back the husk: Gently peel back the husk and check the kernels. The kernels should be plump and milky. If they are watery, the corn is not ripe yet. If they are doughy, the corn is overripe.
5. Harvesting: To harvest the corn, grasp the ear firmly and twist it downward. The ear should snap off easily.
6. Enjoy! Eat your sweet corn as soon as possible after harvesting for the best flavor. The sugars in sweet corn start to convert to starch soon after picking.
Tips for Maximizing Your Sweet Corn Harvest
Here are a few extra tips to help you get the most out of your sweet corn crop:
* Plant in full sun: Corn needs at least 6 hours of sunlight per day.
* Provide good drainage: Corn doesn’t like to sit in wet soil. Make sure your soil drains well.
* Water deeply and infrequently: This encourages deep root growth.
* Fertilize regularly: Corn is
Conclusion
So, there you have it! Growing sweet corn in your backyard isn’t just a whimsical dream; it’s a tangible reality within your reach. We’ve walked through the essential steps, from selecting the perfect variety to warding off pesky critters, and hopefully, you’re feeling empowered to embark on this rewarding journey.
Why is this DIY trick a must-try? Because there’s simply nothing that compares to the taste of freshly picked, homegrown sweet corn. The sweetness is unparalleled, the texture is divine, and the satisfaction of nurturing your own food from seed to table is immeasurable. Forget the supermarket corn that’s been sitting in transit for days; this is about experiencing the true essence of summer, right in your own backyard.
Beyond the unparalleled flavor, growing your own sweet corn offers a host of other benefits. You’ll know exactly what’s gone into your food – no harmful pesticides or herbicides unless you choose to use them (and we encourage organic methods!). It’s a fantastic way to connect with nature, teach children about where their food comes from, and even save money in the long run. Plus, the vibrant green stalks of corn add a touch of rustic charm to any garden.
Looking to experiment? Consider planting different varieties of sweet corn to discover your personal favorite. There’s the classic yellow sweet corn, the bi-color varieties with a mix of yellow and white kernels, and even super-sweet varieties that retain their sweetness for longer after harvest. You can also try succession planting, staggering your planting dates by a few weeks to ensure a continuous harvest throughout the summer. Another fun variation is companion planting. Try planting beans or squash alongside your corn to help with nitrogen fixation and weed control. Sunflowers also make a beautiful and beneficial companion plant.
Don’t be intimidated by the prospect of growing sweet corn. While it does require some attention and care, the rewards are well worth the effort. With a little planning, preparation, and dedication, you can transform your backyard into a sweet corn haven.
We wholeheartedly encourage you to give this DIY trick a try. Imagine the joy of biting into a juicy ear of sweet corn that you’ve grown yourself. It’s an experience you won’t soon forget. And more than that, we want to hear about your experiences! Share your photos, tips, and triumphs with us in the comments below. Let’s create a community of backyard sweet corn growers and learn from each other. What varieties did you choose? What challenges did you face? What secrets did you discover? Your insights could help other aspiring gardeners achieve their sweet corn dreams. So, grab your seeds, get your hands dirty, and get ready to enjoy the sweetest summer yet! Remember, successful **growing sweet corn** is within your reach!
Frequently Asked Questions (FAQ)
Q: How much space do I really need to grow sweet corn?
A: Sweet corn needs to be planted in blocks, not rows, for proper pollination. A minimum of a 4×4 foot area is recommended, but larger is better. Each plant needs about 1 square foot of space. So, a 4×4 area would accommodate 16 plants. Remember, the more plants you have, the better the chances of successful pollination and full ears of corn. If you’re limited on space, consider a dwarf variety of sweet corn, but even those need to be planted in blocks.
Q: What kind of soil is best for growing sweet corn?
A: Sweet corn thrives in well-drained, fertile soil that is rich in organic matter. The ideal soil pH is between 6.0 and 6.8. Before planting, amend your soil with compost or well-rotted manure to improve its fertility and drainage. If your soil is heavy clay, consider adding sand or other amendments to improve drainage. A soil test can help you determine the specific nutrient needs of your soil.
Q: How often should I water my sweet corn?
A: Sweet corn needs consistent moisture, especially during germination and ear development. Water deeply and regularly, aiming for about 1 inch of water per week. Check the soil moisture regularly and water when the top inch feels dry. Avoid overhead watering, as this can promote fungal diseases. Drip irrigation or soaker hoses are ideal for delivering water directly to the roots.
Q: When is the best time to harvest my sweet corn?
A: Determining the perfect time to harvest sweet corn can be tricky, but there are a few key indicators. The silks on the end of the ear should be brown and dry. The ear should feel plump and full when you squeeze it gently. You can also peel back a portion of the husk and puncture a kernel with your fingernail. If the liquid that comes out is milky, the corn is ready to harvest. If it’s clear, it’s not quite ready. If it’s doughy, it’s overripe. Harvest in the morning for the best flavor.
Q: What are some common pests and diseases that affect sweet corn, and how can I control them?
A: Common pests include corn earworms, aphids, and Japanese beetles. Diseases include corn smut and rust. For earworms, you can apply mineral oil to the silks after pollination. Insecticidal soap can help control aphids and Japanese beetles. For diseases, choose disease-resistant varieties and practice good garden hygiene, such as removing infected plants promptly. Crop rotation can also help prevent disease buildup in the soil. Consider using organic pest control methods whenever possible.
Q: Can I grow sweet corn in containers?
A: While it’s possible to grow sweet corn in containers, it’s not ideal. Sweet corn requires a lot of space and nutrients, and containers can limit their growth. If you do choose to grow sweet corn in containers, select a large container (at least 20 gallons) and use a high-quality potting mix. Be sure to provide adequate support for the stalks, as they can become quite tall. You’ll also need to water and fertilize frequently. Dwarf varieties are better suited for container growing.
Q: How can I improve pollination in my sweet corn patch?
A: Pollination is crucial for developing full ears of corn. If you’re having pollination problems, you can try hand-pollinating. Gently shake the tassels (the male flowers at the top of the plant) to release pollen, and then brush the pollen onto the silks (the female flowers on the ears). You can also plant pollinator-attracting flowers nearby to encourage bees and other beneficial insects to visit your corn patch. Ensure adequate watering, as drought stress can affect pollination.
Q: How do I store sweet corn after harvesting?
A: Sweet corn is best eaten fresh, but you can store it for a few days in the refrigerator. Leave the husks on and wrap the ears in a plastic bag. For longer storage, you can freeze sweet corn. Blanch the ears in boiling water for a few minutes, then cool them in ice water. Cut the kernels off the cob and freeze them in airtight containers or freezer bags. You can also freeze whole ears of corn, but they may not be as flavorful after thawing.
Q: What are some good companion plants for sweet corn?
A: Companion planting can benefit sweet corn by providing nutrients, attracting beneficial insects, or repelling pests. Good companion plants include beans (which fix nitrogen in the soil), squash (which provides ground cover and helps suppress weeds), and sunflowers (which attract pollinators). Avoid planting tomatoes or brassicas (such as cabbage and broccoli) near sweet corn, as they can compete for nutrients.
Q: How long does it take for sweet corn to mature?
A: The time it takes for sweet corn to mature varies depending on the variety and growing conditions, but it typically takes between 60 and 100 days from planting to harvest. Check the seed packet for the specific maturity date of your chosen variety. Warmer temperatures and adequate sunlight can speed up the maturation process.
Leave a Comment