

Grow Radishes Fast? Absolutely! Imagine plucking crisp, peppery radishes from your own garden just weeks after planting. It’s not a gardening myth; it’s an achievable reality with a few clever tricks up your sleeve. For centuries, radishes have been a staple in diets across the globe, from ancient Egypt where they were a common offering to the gods, to modern-day salads and snacks. Their quick growth cycle made them a valuable crop, providing essential nutrients in a short amount of time.
But let’s be honest, who has time to wait around for months for a harvest? That’s where these DIY hacks come in. I’m going to share some of my favorite secrets to help you grow radishes fast, even if you’re a complete beginner. We’ll cover everything from soil preparation to watering techniques, ensuring you get a bountiful harvest in record time. These tricks are especially useful if you’re short on space or live in a region with a short growing season. Get ready to enjoy the satisfaction of homegrown radishes sooner than you ever thought possible!
Grow Radishes Fast: My Foolproof DIY Guide
Hey there, fellow gardening enthusiasts! I’m so excited to share my tried-and-true method for growing radishes faster than you ever thought possible. Forget waiting weeks; with a few simple tricks, you can be enjoying crisp, peppery radishes in as little as three weeks! I’ve experimented with countless techniques, and this is the one that consistently delivers the quickest and most satisfying results. Let’s get our hands dirty!
Understanding Radish Growth
Before we dive into the how-to, let’s quickly cover the basics. Radishes are cool-season crops, meaning they thrive in cooler temperatures. They need plenty of sunlight and well-drained soil to flourish. The key to fast growth lies in providing them with the optimal conditions right from the start.
Materials You’ll Need
* Radish seeds (I prefer ‘Cherry Belle’ for their quick maturity)
* Well-draining soil (a mix of compost, potting soil, and perlite works wonders)
* A sunny location (at least 6 hours of direct sunlight per day)
* A garden bed or container (at least 6 inches deep)
* Watering can or hose with a gentle spray nozzle
* Organic fertilizer (optional, but highly recommended)
* Row covers (optional, for pest protection and temperature regulation)
* A small hand trowel or gardening fork
Step-by-Step Planting Guide
Alright, let’s get planting! Follow these steps, and you’ll be harvesting radishes in no time.
1. Prepare the Soil: This is crucial! Radishes need loose, fertile soil to develop properly. I like to start by removing any rocks, weeds, or debris from the planting area. Then, I amend the soil with plenty of compost. Compost not only adds nutrients but also improves drainage. If you’re using a container, make sure it has drainage holes at the bottom. A good soil mix is equal parts compost, potting soil, and perlite. The perlite helps with drainage and aeration, which radishes love.
2. Sow the Seeds: Radish seeds are small, so don’t plant them too deep. I usually aim for about ½ inch deep and about 1 inch apart. You can sow them in rows or broadcast them evenly over the planting area. If you’re sowing in rows, space the rows about 6 inches apart. After sowing, gently cover the seeds with soil and lightly pat it down.
3. Water Thoroughly: After planting, water the soil thoroughly but gently. You don’t want to wash away the seeds. Use a watering can with a gentle spray nozzle or a hose with a diffuser attachment. The goal is to moisten the soil evenly without creating puddles.
4. Maintain Consistent Moisture: This is where the magic happens! Radishes need consistent moisture to germinate and grow quickly. I check the soil moisture every day and water whenever the top inch feels dry to the touch. Avoid overwatering, as this can lead to rot. Aim for consistently moist, but not soggy, soil.
5. Thin Seedlings (If Necessary): Once the seedlings emerge (usually within 3-7 days), you might need to thin them out if they’re too crowded. Thinning ensures that each radish has enough space to develop properly. I usually thin them to about 1-2 inches apart. Don’t just pull the unwanted seedlings; gently snip them off at the soil line to avoid disturbing the roots of the remaining plants.
6. Fertilize (Optional): While radishes don’t require heavy fertilization, a little boost can help them grow even faster. I like to use an organic fertilizer, such as fish emulsion or compost tea, diluted according to the package instructions. Apply the fertilizer every 1-2 weeks. Be careful not to over-fertilize, as this can lead to excessive foliage growth at the expense of root development.
7. Protect from Pests: Radishes are relatively pest-resistant, but they can be susceptible to flea beetles, which can chew small holes in the leaves. To protect your radishes, you can use row covers. Row covers are lightweight fabric covers that you place over the plants. They allow sunlight and water to pass through but prevent pests from reaching the plants. You can also use organic pest control methods, such as neem oil or insecticidal soap, if necessary.
Maximizing Growth Speed: My Secret Weapons
Okay, now for the real secrets to super-fast radish growth! These are the techniques I’ve found to make the biggest difference.
1. Pre-Sprouting Seeds: This is a game-changer! Pre-sprouting your radish seeds can shave days off the germination time. To pre-sprout, simply place the seeds in a damp paper towel, fold it over, and put it in a plastic bag. Keep the bag in a warm place (around 70-75°F) for 1-2 days, or until you see tiny sprouts emerging from the seeds. Then, carefully plant the sprouted seeds in the prepared soil. Be extra gentle when handling sprouted seeds, as they are delicate.
2. Choose the Right Variety: Not all radishes are created equal! Some varieties mature much faster than others. ‘Cherry Belle’ is my go-to for quick growth, but other fast-maturing varieties include ‘French Breakfast’ and ‘Sparkler’. Check the seed packet for the “days to maturity” information.
3. Consistent Watering is Key: I can’t stress this enough! Radishes need consistent moisture to grow quickly and develop a crisp, mild flavor. Inconsistent watering can lead to tough, bitter radishes. I check the soil moisture every day, especially during hot weather.
4. Provide Adequate Sunlight: Radishes need at least 6 hours of direct sunlight per day. If you’re growing them indoors, make sure they’re under grow lights. Insufficient sunlight can slow down their growth and affect their flavor.
5. Soil Temperature Matters: Radishes prefer cooler soil temperatures (around 60-70°F). If the soil is too warm, they may bolt (go to seed) prematurely. Mulching around the plants can help keep the soil cool.
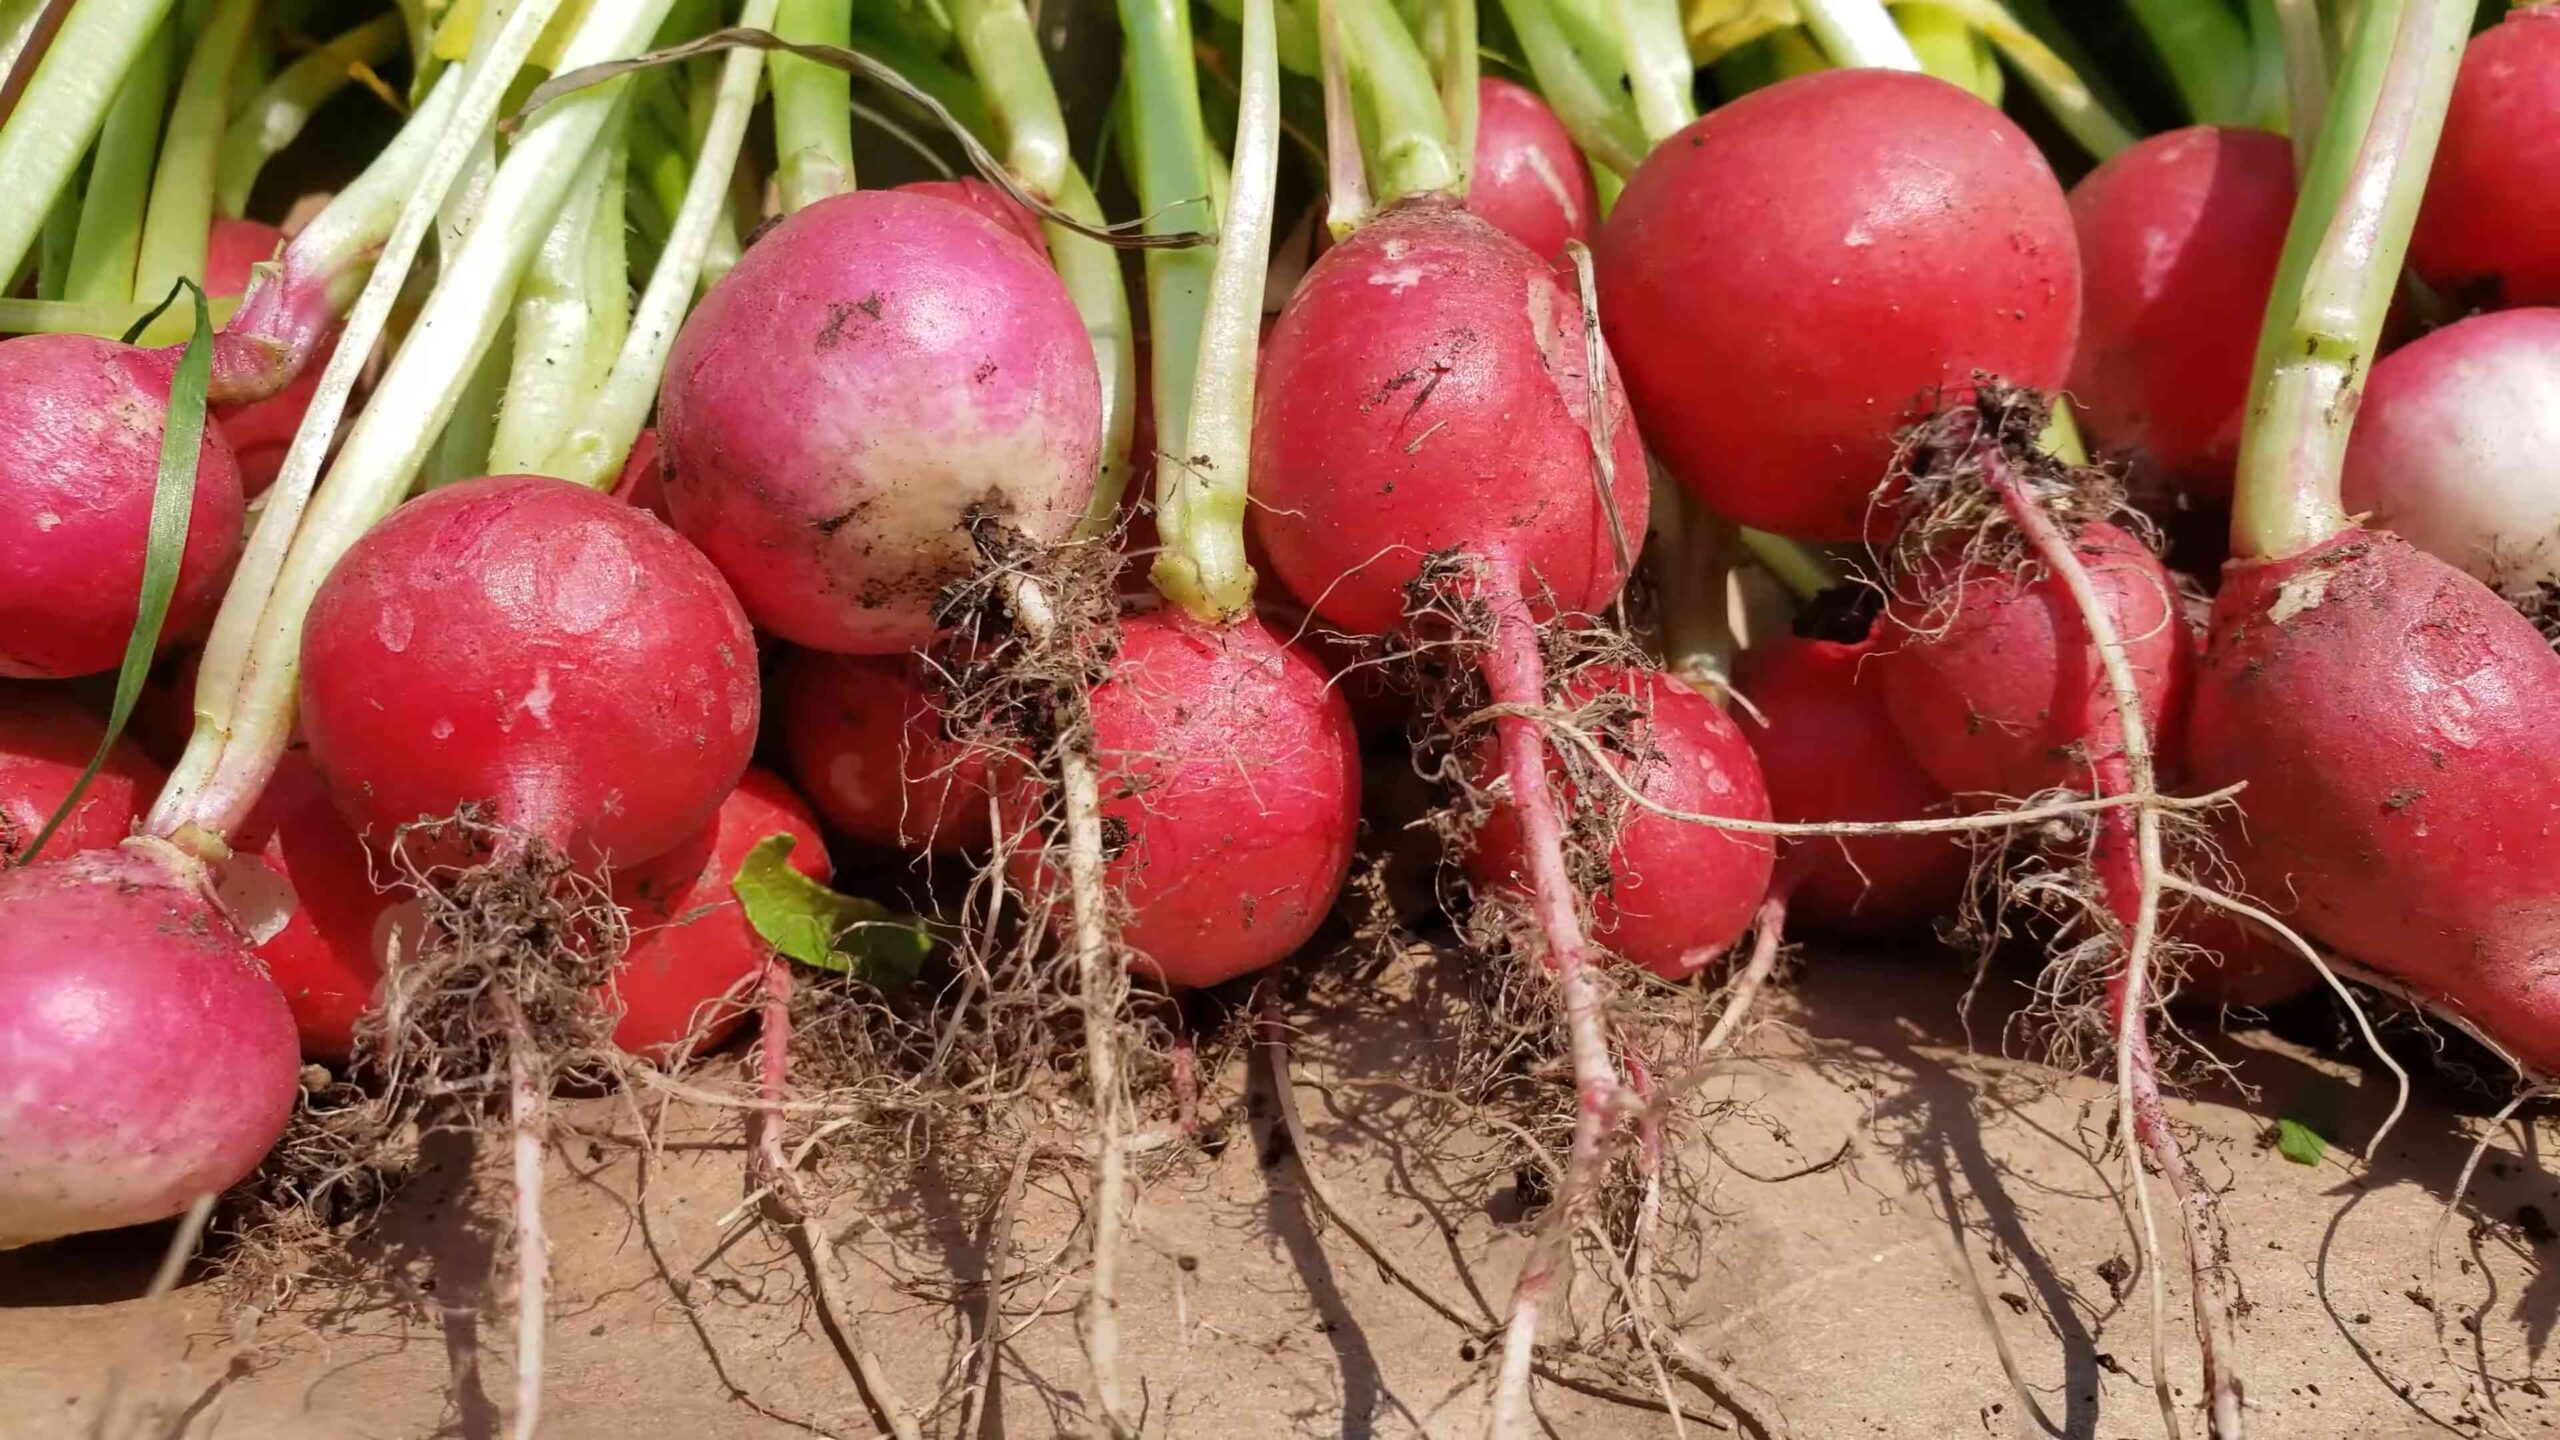
Harvesting Your Radishes
The moment we’ve all been waiting for! Radishes are typically ready to harvest in 3-4 weeks, depending on the variety and growing conditions.
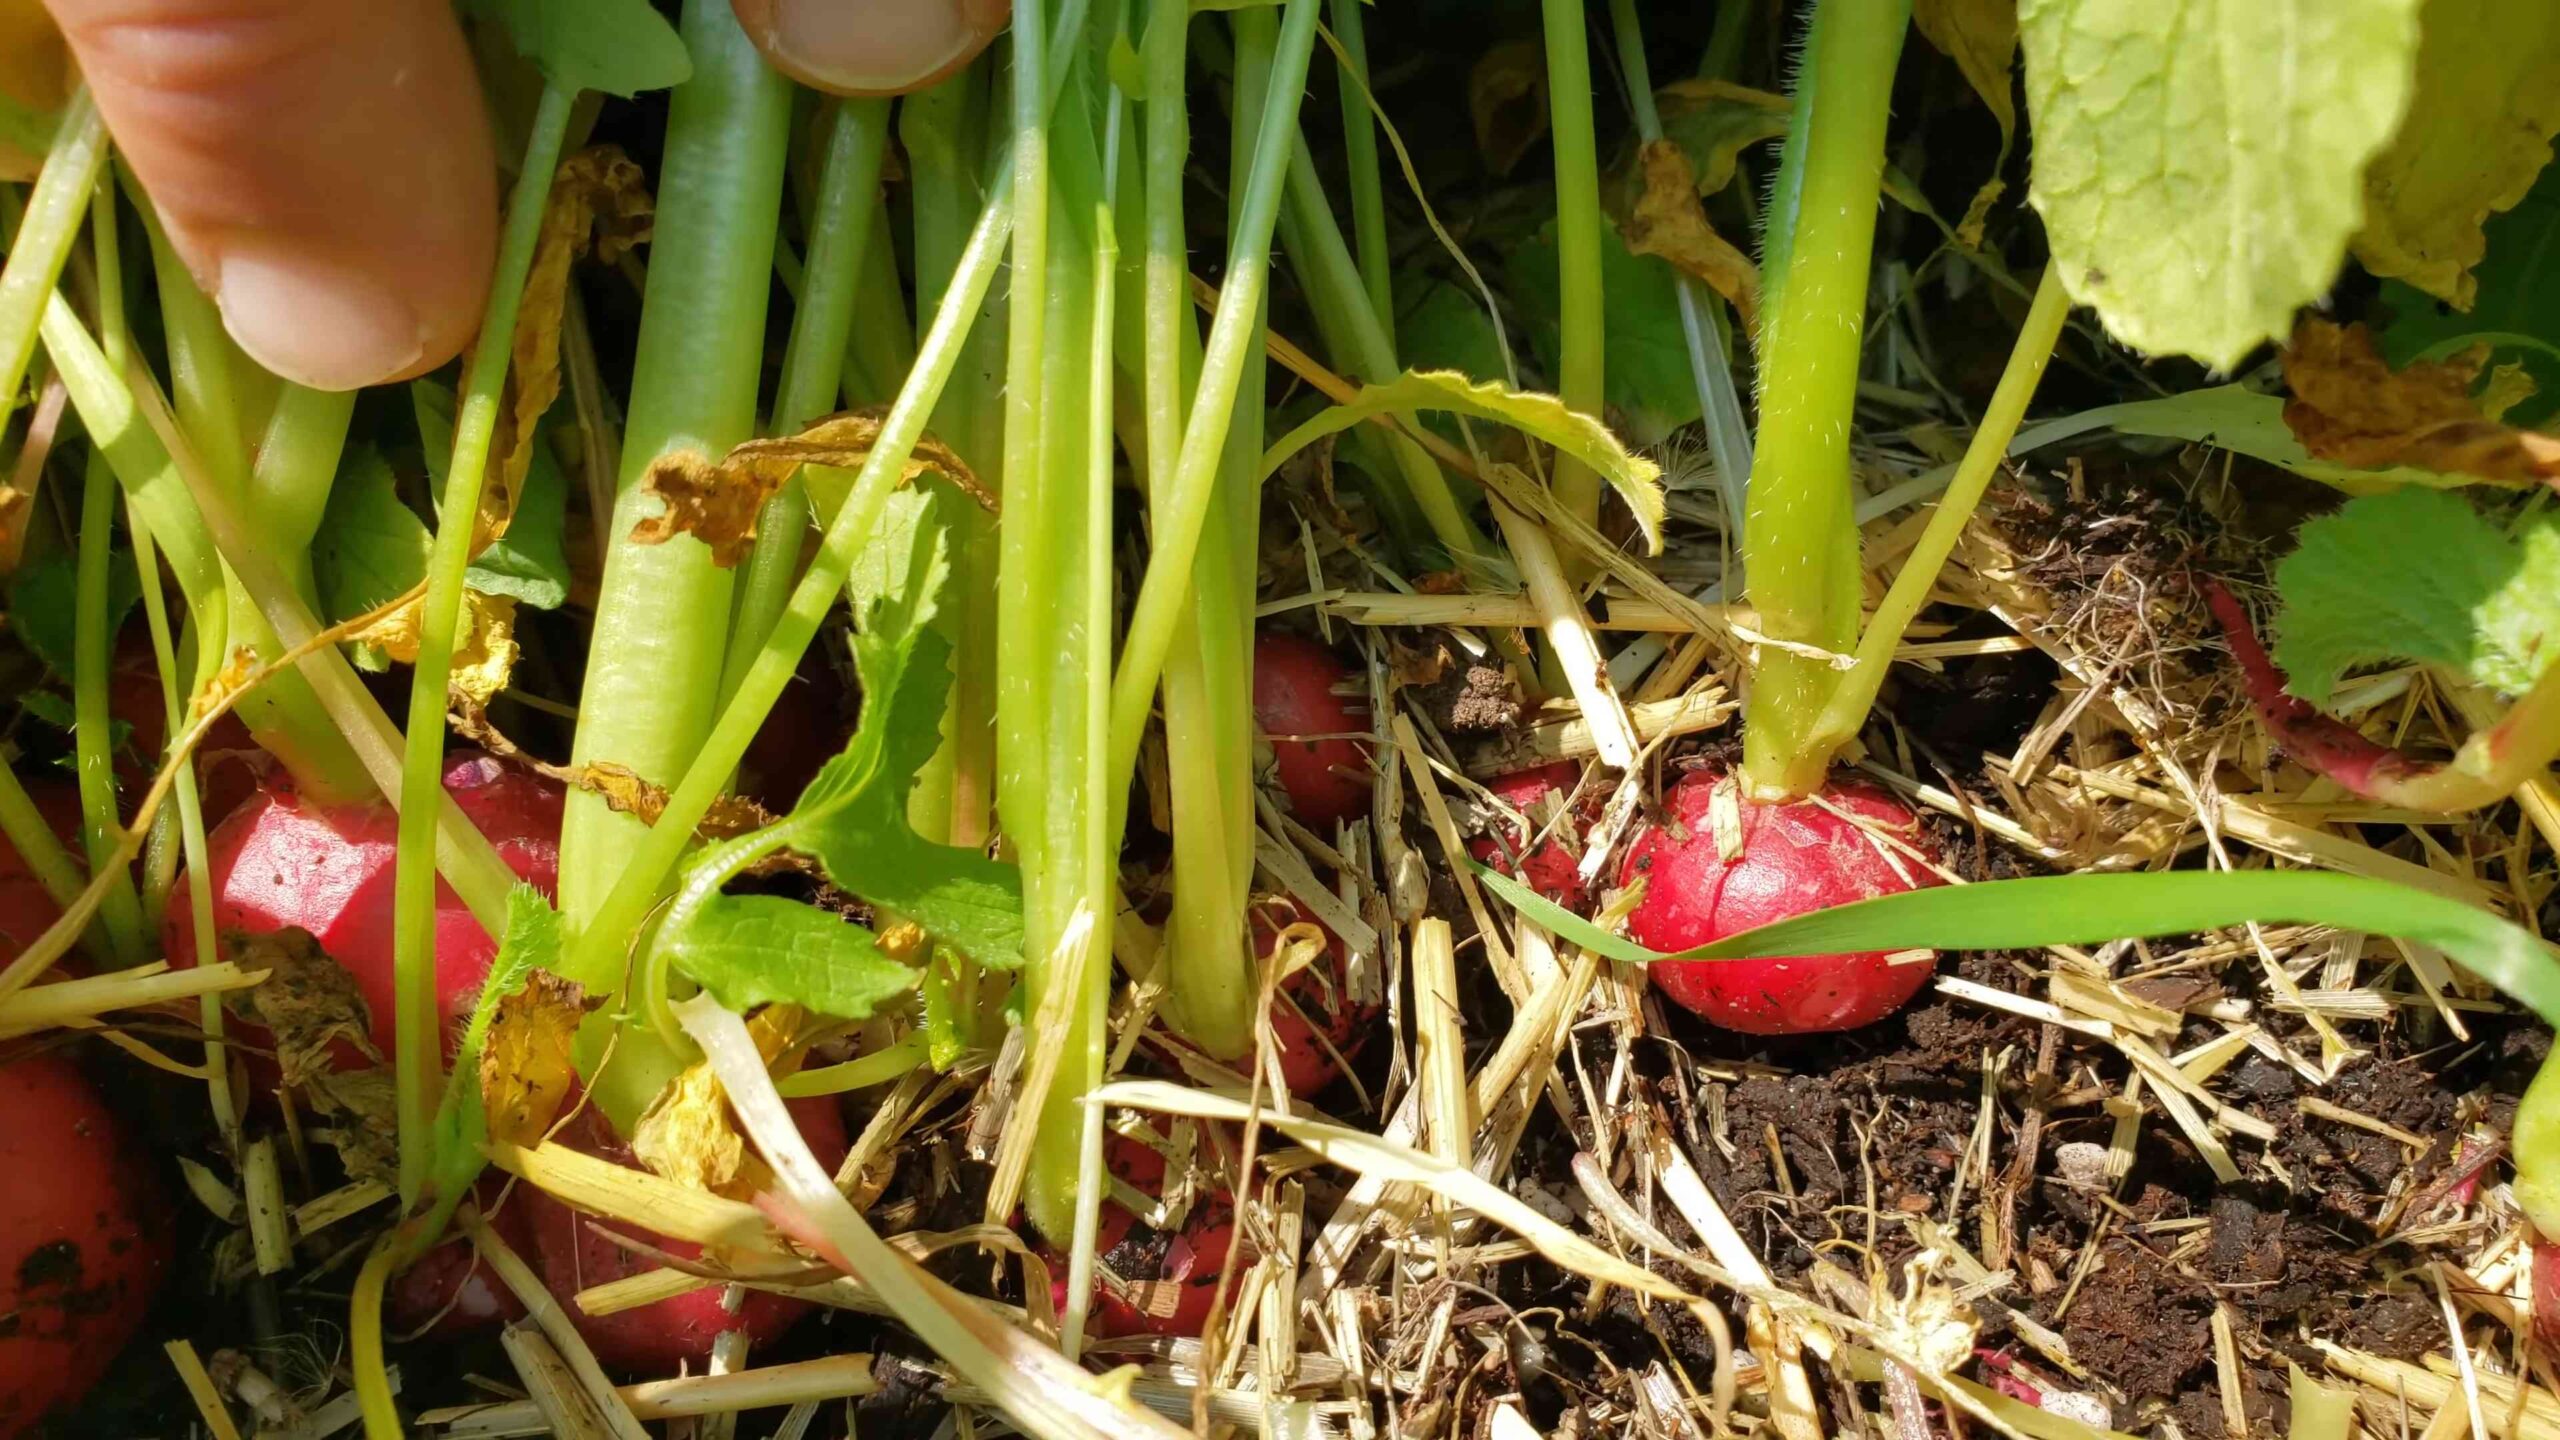
1. Check for Maturity: The best way to determine if your radishes are ready to harvest is to check their size. Most varieties are ready when the roots are about 1 inch in diameter. You can also gently brush away the soil around the base of the plant to get a better look at the root.
2. Harvest Carefully: To harvest, gently pull the radishes from the soil. If the soil is dry, you may need to loosen it with a hand trowel or gardening fork first. Be careful not to damage the roots.
3. Wash and Store: After harvesting, wash the radishes thoroughly to remove any dirt. You can store them in the refrigerator for up to a week. To keep them fresh, remove the greens and store them separately in a plastic bag.
Troubleshooting Common Problems
Even with the best planning, sometimes things don’t go exactly as expected. Here are a few common problems you might encounter and how to fix them:
* Radishes are Bitter: This is usually caused by inconsistent watering or growing them in hot weather. Make sure to water consistently and provide shade during the hottest part of the day.
* Radishes are Small: This could be due to overcrowding, poor soil, or insufficient sunlight. Thin the seedlings, amend the soil with compost, and make sure they’re getting enough sunlight.
* Radishes are Cracked: This is often caused by inconsistent watering. Water deeply and regularly, especially during dry spells.
* Flea Beetles: These tiny pests can chew holes in the leaves. Use row covers or organic pest control methods to protect your plants.
Enjoying Your Homegrown Radishes
Congratulations! You’ve successfully grown your own radishes. Now it’s time to enjoy the fruits (or rather, roots) of your labor. Radishes are delicious eaten raw in salads, as a crunchy snack with dips, or pickled. You can even roast them for a sweeter, milder flavor. Don’t forget to eat the greens too! They’re packed with nutrients and can be used in salads or stir-fries.
I hope this guide has inspired you to grow your own radishes. It’s a rewarding experience, and there’s nothing quite like the taste of homegrown produce. Happy gardening!
Conclusion
So, there you have it! Mastering the art of growing radishes fast is not only achievable but also incredibly rewarding. We’ve explored the key elements – from selecting the right radish variety and preparing the soil meticulously to ensuring optimal watering and providing adequate sunlight. By implementing these simple yet effective techniques, you’ll be harvesting crisp, peppery radishes in a matter of weeks, not months.
Why is this DIY trick a must-try? Because it puts you in control of your food source. Imagine the satisfaction of adding freshly harvested radishes to your salads, sandwiches, or even enjoying them as a crunchy snack, knowing you nurtured them from seed to table. Plus, growing your own radishes is significantly more cost-effective than buying them from the store, and you can be sure they are free from harmful pesticides and chemicals.
But the benefits extend beyond just taste and cost. Gardening, even on a small scale, is a fantastic stress reliever. The simple act of tending to your radish patch can be incredibly therapeutic, providing a much-needed break from the hustle and bustle of daily life. And let’s not forget the educational aspect – growing radishes is a great way to teach children about where their food comes from and the importance of sustainable practices.
Looking for variations? Consider interplanting your radishes with other fast-growing crops like lettuce or spinach. This maximizes your garden space and creates a mutually beneficial ecosystem. You can also experiment with different radish varieties to discover your personal favorites. From the classic Cherry Belle to the spicy French Breakfast, there’s a radish out there for every palate. For a unique twist, try pickling your radishes for a tangy and flavorful condiment. Or, roast them with a drizzle of olive oil and herbs for a surprisingly delicious side dish.
We’ve covered the essentials for growing radishes fast, but the real magic happens when you put these techniques into practice. Don’t be afraid to experiment, adapt, and learn from your experiences. Every garden is unique, and what works for one person may not work for another. The key is to be patient, observant, and willing to adjust your approach as needed.
Now, it’s your turn! We wholeheartedly encourage you to try this DIY trick and experience the joy of harvesting your own homegrown radishes. We’re confident that you’ll be amazed at how quickly and easily you can achieve success. And most importantly, we want to hear about your journey! Share your experiences, tips, and photos with us in the comments section below. Let’s create a community of radish enthusiasts and learn from each other. Happy gardening!
Frequently Asked Questions (FAQ)
What is the ideal soil pH for growing radishes?
Radishes thrive in slightly acidic to neutral soil, with a pH range of 6.0 to 7.0. You can test your soil’s pH using a home testing kit or by sending a sample to a local agricultural extension office. If your soil is too acidic, you can amend it with lime. If it’s too alkaline, you can add sulfur or organic matter like compost. Maintaining the correct pH is crucial for nutrient availability and healthy radish growth.
How often should I water my radishes?
Radishes need consistent moisture to grow quickly and develop crisp, flavorful roots. Aim to water them deeply whenever the top inch of soil feels dry to the touch. This usually translates to watering every 2-3 days, depending on the weather and soil type. Avoid overwatering, as this can lead to root rot. Using a soaker hose or drip irrigation can help deliver water directly to the roots and minimize water waste. Mulching around your radish plants can also help retain moisture in the soil.
What are some common pests and diseases that affect radishes, and how can I prevent them?
Radishes are generally resistant to pests and diseases, but they can be susceptible to flea beetles, root maggots, and fungal diseases like damping-off. To prevent flea beetles, cover your radish seedlings with row covers. To control root maggots, practice crop rotation and avoid planting radishes in the same spot year after year. Damping-off can be prevented by using well-draining soil and avoiding overwatering. You can also apply a fungicide if necessary. Regularly inspect your radish plants for signs of pests or diseases and take action promptly to prevent them from spreading.
How do I know when my radishes are ready to harvest?
The harvesting time for radishes depends on the variety, but most radishes are ready to harvest within 3-4 weeks of planting. Check the seed packet for specific maturity dates. A good indicator is the size of the radish root. Gently brush away some soil around the base of the plant to check the size. Most radishes are ready to harvest when they are about 1 inch in diameter. Don’t let them grow too large, as they can become woody and bitter. Harvest your radishes promptly for the best flavor and texture.
Can I grow radishes in containers?
Yes, radishes are excellent candidates for container gardening. Choose a container that is at least 6 inches deep and has drainage holes. Fill the container with a well-draining potting mix. Sow the radish seeds directly into the container, spacing them about 1 inch apart. Water regularly and fertilize with a balanced fertilizer every 2-3 weeks. Place the container in a sunny location that receives at least 6 hours of sunlight per day. Container-grown radishes can be harvested just like those grown in the ground.
What are the best radish varieties for growing in hot weather?
Some radish varieties are more heat-tolerant than others. If you live in a hot climate, consider growing varieties like ‘White Icicle,’ ‘Champion,’ or ‘French Breakfast.’ These varieties are less likely to bolt (go to seed) in hot weather. Provide shade during the hottest part of the day to help keep your radish plants cool. Water frequently to prevent the soil from drying out.
Can I eat the radish greens?
Yes, radish greens are edible and nutritious! They have a peppery flavor similar to the radish root. You can use them in salads, stir-fries, or soups. Wash the greens thoroughly before using them. Choose young, tender greens for the best flavor and texture. Radish greens are a good source of vitamins A and C, as well as calcium and iron.
How do I store radishes after harvesting?
To store radishes, remove the greens and wash the roots thoroughly. Place the radishes in a plastic bag or container lined with a damp paper towel. Store them in the refrigerator for up to 2 weeks. The damp paper towel will help keep the radishes crisp and prevent them from drying out. You can also store radish greens separately in a plastic bag in the refrigerator for up to 3 days.
My radishes are all tops and no roots. What am I doing wrong?
If your radishes are producing lots of leafy growth but small or non-existent roots, it could be due to several factors. First, ensure they are getting enough sunlight. Radishes need at least 6 hours of direct sunlight per day to develop properly. Second, check the soil fertility. Overly rich soil, especially with too much nitrogen, can promote leafy growth at the expense of root development. Avoid using high-nitrogen fertilizers. Third, make sure you are not overcrowding the plants. Thin the seedlings to allow adequate space for the roots to grow. Finally, ensure the soil is not too compacted. Compacted soil can restrict root growth.
Can I succession plant radishes for a continuous harvest?
Absolutely! Succession planting is a great way to enjoy a continuous supply of fresh radishes throughout the growing season. Sow a new batch of radish seeds every 1-2 weeks. This will ensure that you always have radishes ready to harvest. Choose different radish varieties with varying maturity dates to further extend your harvest window. Succession planting is especially effective in cooler climates where radishes can be grown throughout the spring and fall.
Leave a Comment