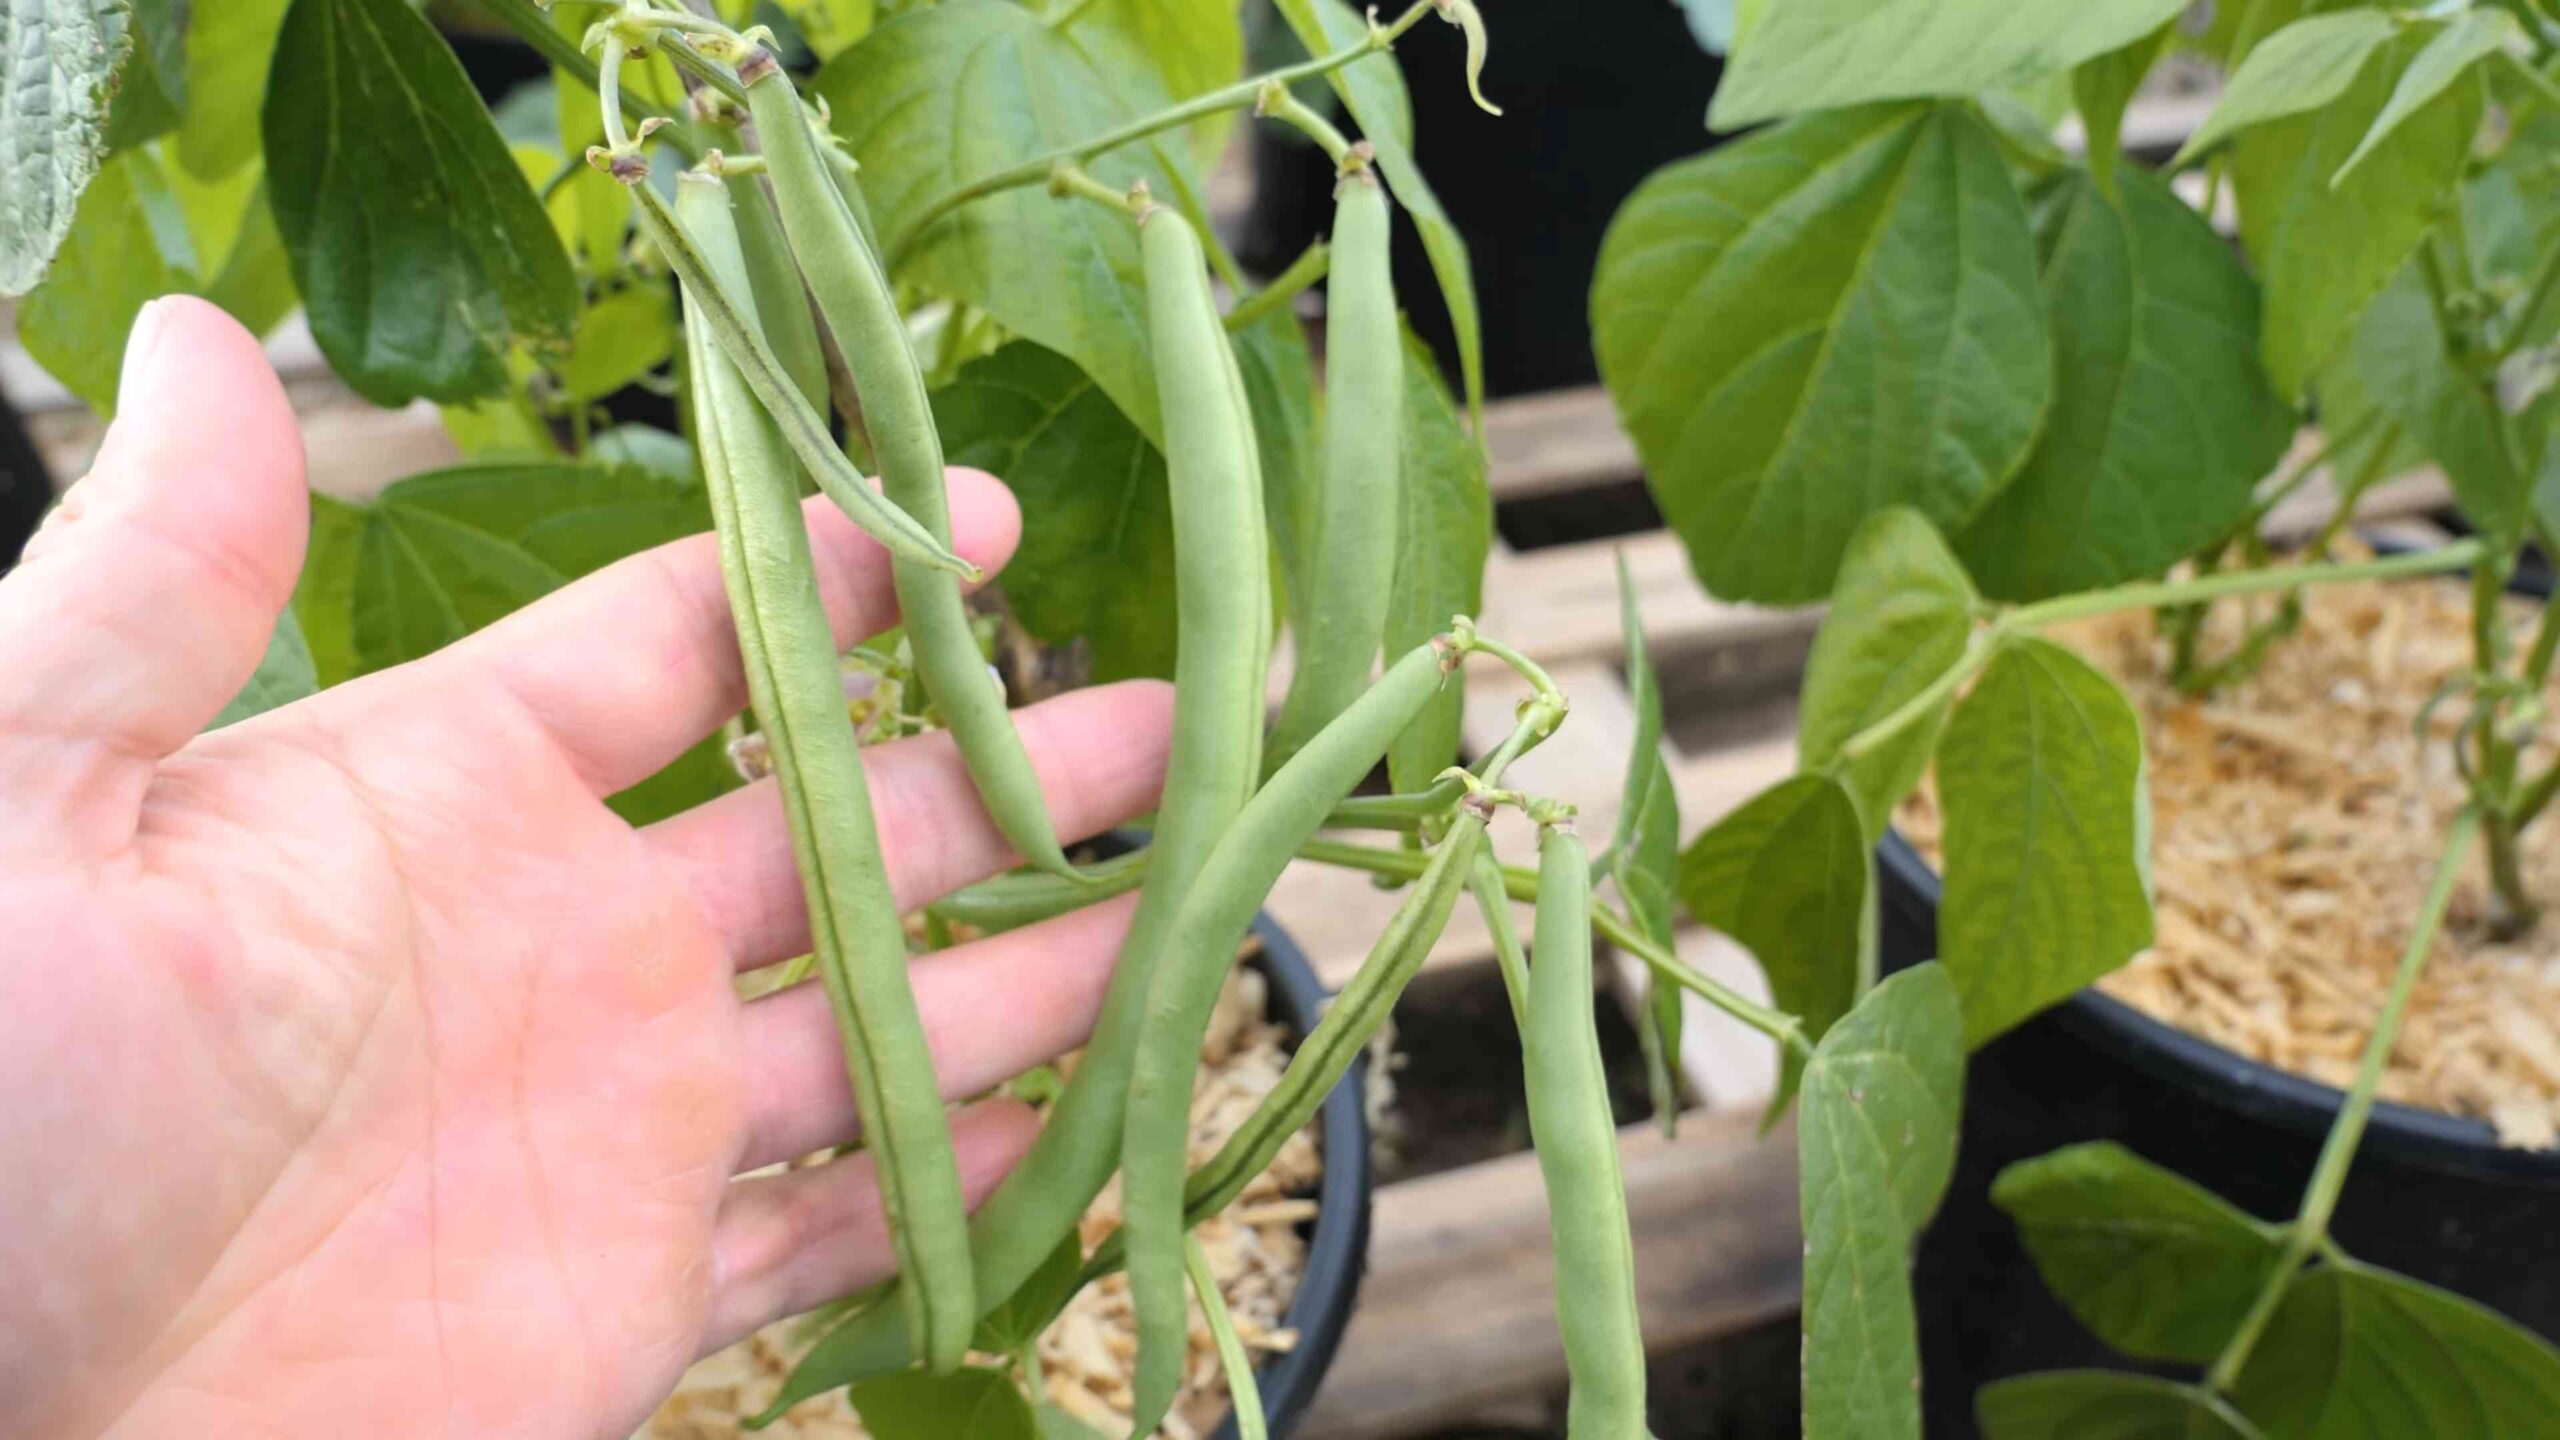
Growing bush beans can be incredibly rewarding, and let me tell you, there’s nothing quite like the taste of fresh, homegrown beans straight from your garden! Forget those bland, store-bought veggies – we’re talking about flavor explosions here. But let’s be honest, sometimes gardening feels more like a battle against pests, unpredictable weather, and confusing instructions than a relaxing hobby. That’s where these DIY tricks and hacks come in!
For centuries, beans have been a staple crop in cultures around the world, providing essential nutrients and playing a vital role in sustainable agriculture. From ancient civilizations in the Americas to traditional European gardens, the humble bean has nourished generations. Now, you can tap into that rich history and bring the joy of bean cultivation to your own backyard, even if you’re a complete beginner.
Why do you need these DIY tricks? Well, because growing bush beans successfully doesn’t have to be a daunting task. I’m going to share some simple, yet effective, methods to maximize your yield, protect your plants from common problems, and make the entire process more enjoyable. Think of it as your secret weapon for a bountiful bean harvest. So, grab your gardening gloves, and let’s dive into some amazing DIY hacks that will transform your bean-growing experience!

DIY: From Seed to Supper – Growing Bush Beans Like a Pro!
Okay, bean lovers, let’s get our hands dirty! I’m going to walk you through everything you need to know to grow a bumper crop of delicious bush beans right in your own backyard (or even in containers!). Trust me, there’s nothing quite like the taste of fresh, homegrown beans.
Choosing Your Bush Bean Variety
First things first, let’s talk about varieties. Bush beans are fantastic because they’re compact and don’t need trellises like their pole bean cousins. Here are a few of my personal favorites:
* Blue Lake Bush: A classic, reliable choice with excellent flavor. They’re known for their stringless pods and are great for canning or freezing.
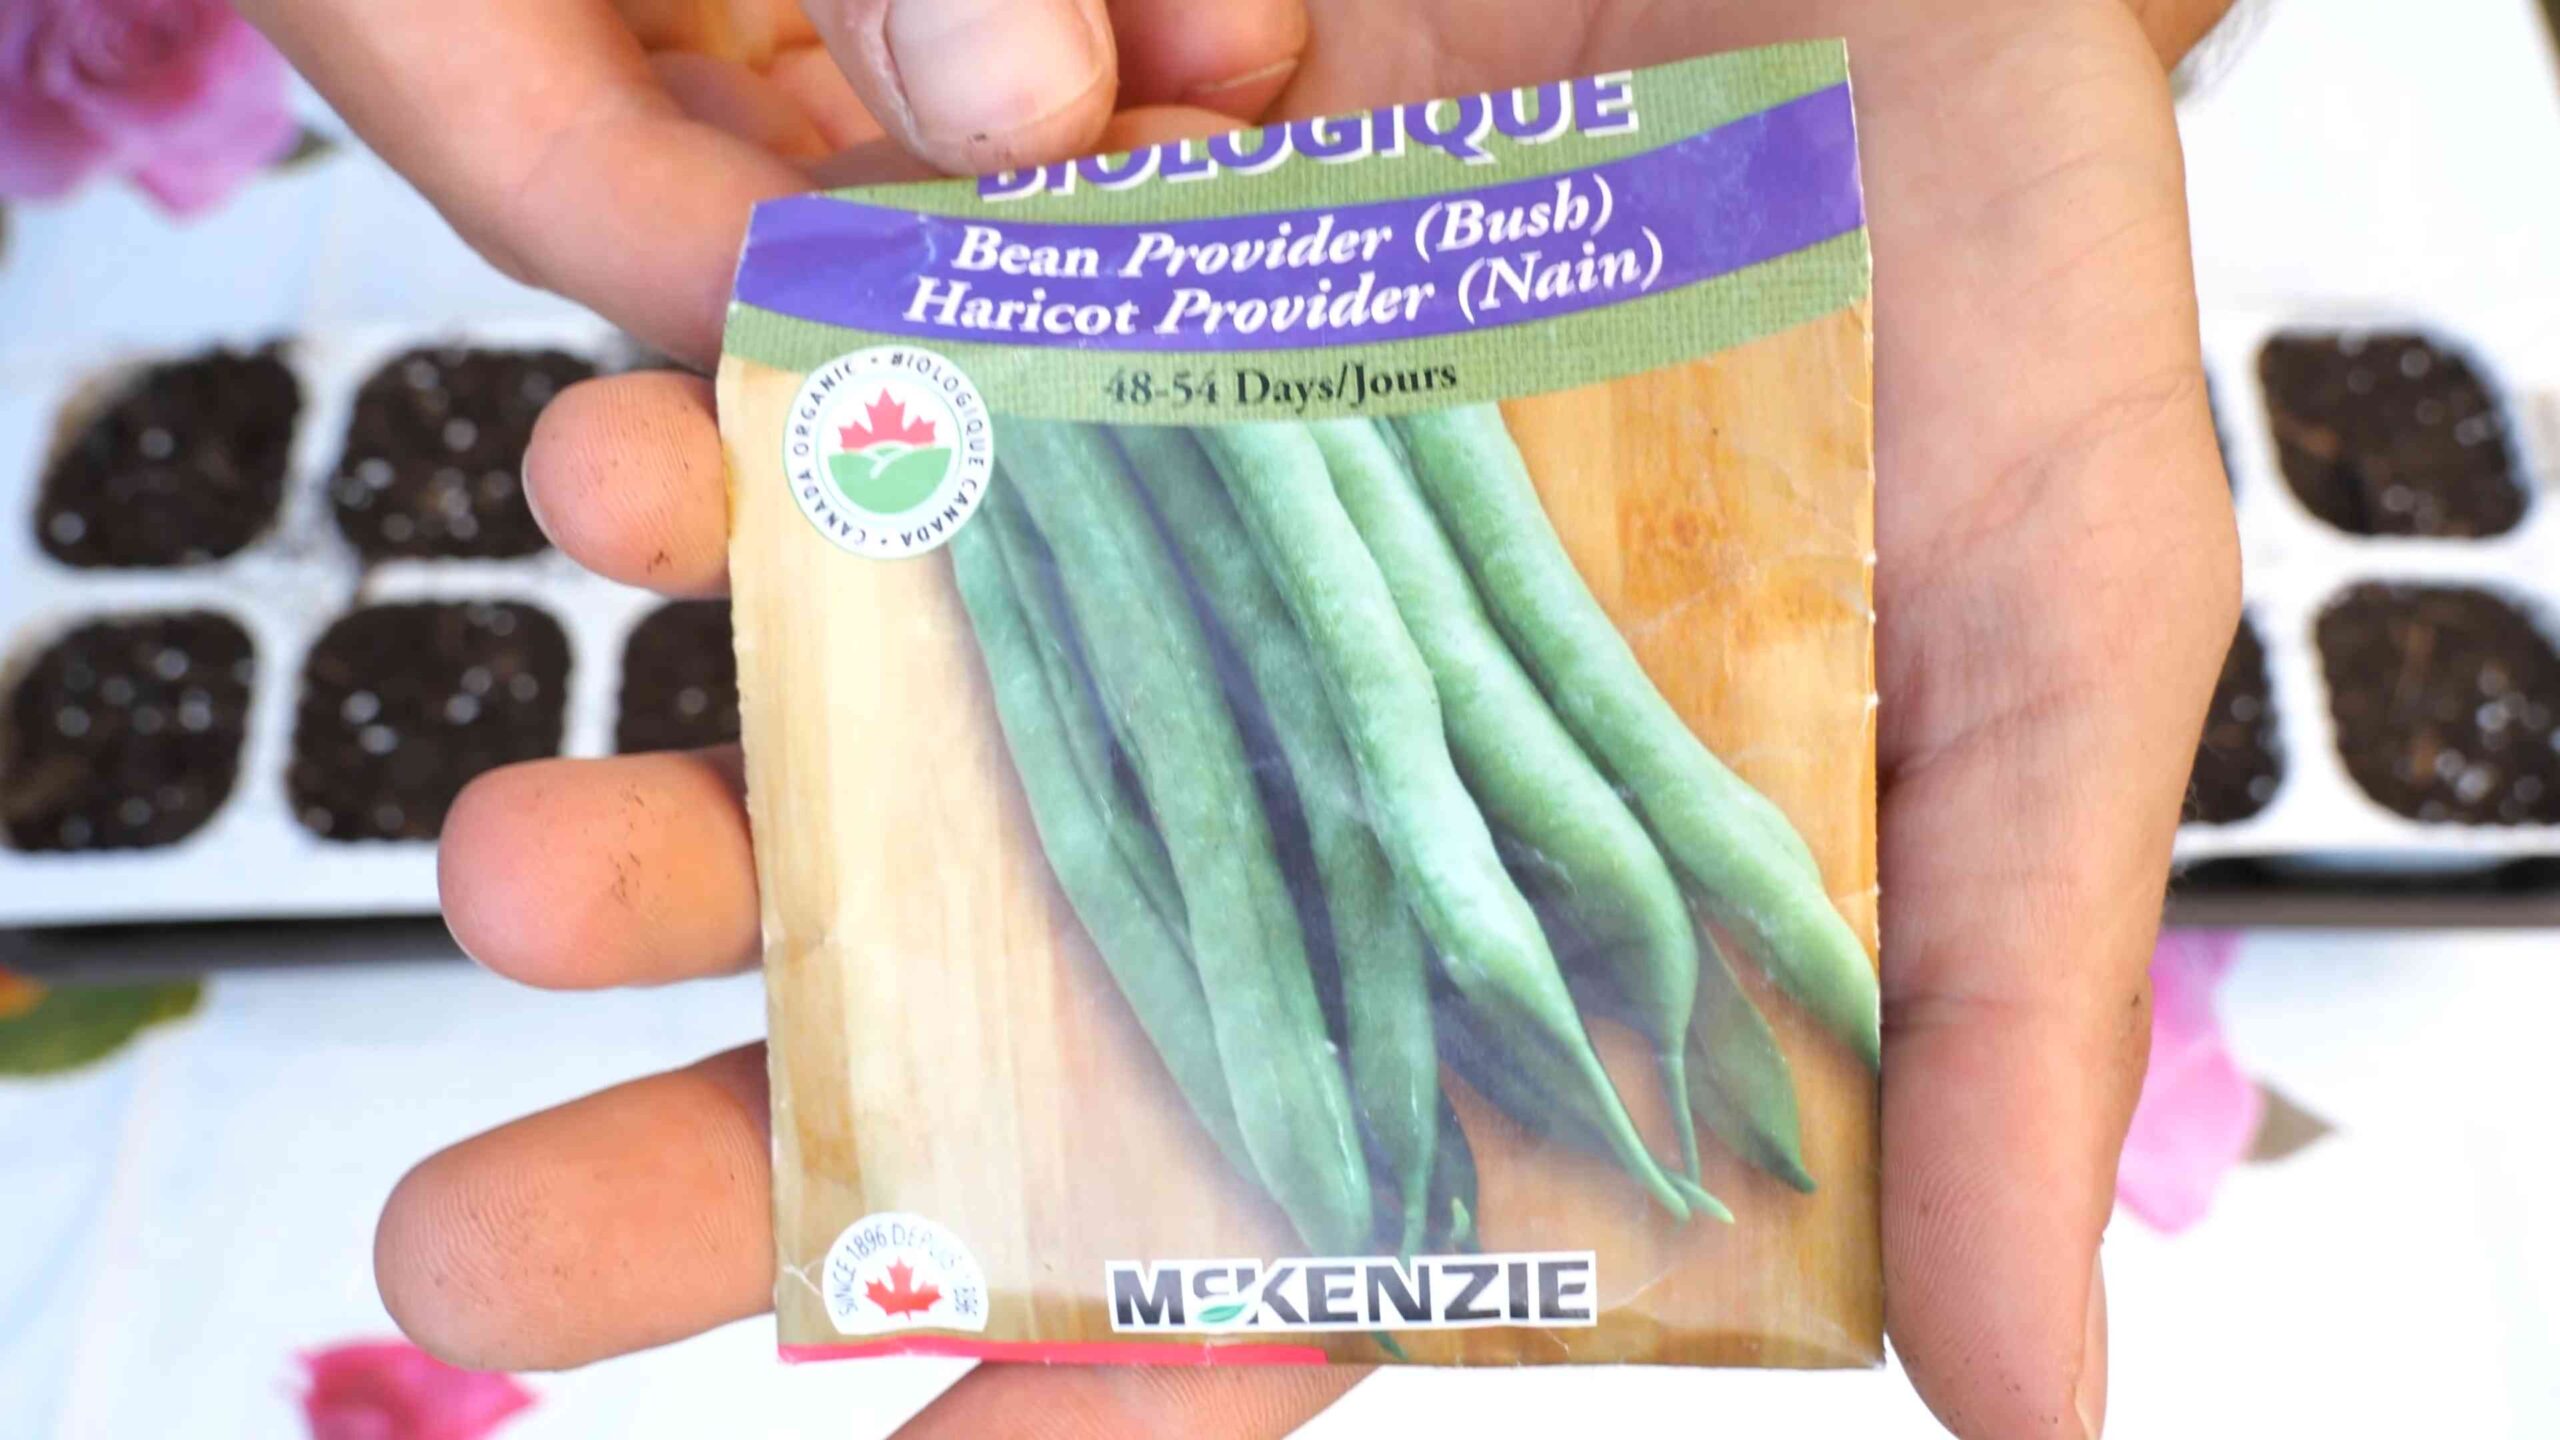
* Provider: As the name suggests, this variety is a prolific producer and matures early, making it a good option for shorter growing seasons.
* Contender: Another early producer with a slightly curved pod. They’re known for their disease resistance.
* Roma II: These flat, Italian-style beans are incredibly flavorful and perfect for sauteing.
* Golden Wax: If you want something a little different, try these yellow wax beans. They have a mild, buttery flavor.
Consider your local climate and growing season when making your choice. Check seed packets for information on days to maturity and disease resistance.
Preparing the Soil: Bean Nirvana
Beans aren’t super picky, but they do appreciate well-drained soil. Here’s how I get my soil ready for bean-growing success:
* Timing is Key: Wait until the danger of frost has passed and the soil has warmed up to at least 60°F (15°C). Beans hate cold soil!
* Sun’s Out, Beans Out: Choose a spot that gets at least 6-8 hours of sunlight per day. More sun equals more beans!
* Soil Test (Optional, but Recommended): A soil test will tell you the pH and nutrient levels of your soil. Beans prefer a slightly acidic to neutral pH (around 6.0-7.0).
* Amend, Amend, Amend!: I like to amend my soil with compost or well-rotted manure. This improves drainage, adds nutrients, and helps retain moisture. Work it in to a depth of about 6-8 inches.
* Avoid Nitrogen Overload: Beans are legumes, which means they can fix nitrogen from the air. Too much nitrogen in the soil can actually hinder their growth. So, go easy on the nitrogen-rich fertilizers.
* Level the Playing Field: Rake the soil smooth to create a nice, even planting surface.
Planting Your Bush Bean Seeds: The Magic Begins
Now for the fun part – planting! Here’s my step-by-step guide:
1. Spacing is Important: Plant seeds about 1-2 inches deep and 2-4 inches apart in rows that are 18-24 inches apart. This gives the plants enough room to grow without overcrowding.
2. Direct Sowing is Best: Bush beans don’t transplant well, so it’s best to sow the seeds directly into the garden.
3. Water Gently: After planting, water the soil gently but thoroughly. You want to keep the soil consistently moist until the seeds germinate.
4. Mark Your Rows: Use plant markers or labels to identify the bean variety you planted. Trust me, you’ll thank yourself later!
5. Patience, Young Padawan: Bean seeds usually germinate in 5-10 days, depending on the soil temperature and moisture levels.
Caring for Your Bush Bean Plants: Nurturing the Green
Once your bean plants emerge, it’s time to provide them with the care they need to thrive.
* Watering Wisely: Water deeply and regularly, especially during dry spells. Aim for about 1 inch of water per week. Avoid overhead watering, as this can lead to fungal diseases. Soaker hoses or drip irrigation are ideal.
* Weed Control: Keep the area around your bean plants free of weeds. Weeds compete with the beans for water, nutrients, and sunlight. Hand-pulling weeds is usually the best option, as hoeing can damage the shallow roots of the bean plants.
* Mulching Magic: Apply a layer of mulch around your bean plants to help retain moisture, suppress weeds, and regulate soil temperature. Straw, shredded leaves, or wood chips are all good options.
* Fertilizing (Maybe): As I mentioned earlier, beans don’t usually need a lot of fertilizer. However, if your soil is particularly poor, you can side-dress with a balanced fertilizer a few weeks after the plants emerge. Follow the instructions on the fertilizer package carefully.
* Pest Patrol: Keep an eye out for common bean pests like aphids, bean beetles, and spider mites. Hand-picking pests, using insecticidal soap, or introducing beneficial insects can help control infestations.
* Disease Prevention: Prevent fungal diseases by providing good air circulation, avoiding overhead watering, and removing any infected leaves promptly.
Harvesting Your Bush Beans: The Fruits (or Vegetables!) of Your Labor
The moment you’ve been waiting for – harvest time!
* Timing is Everything: Bush beans are usually ready to harvest about 50-60 days after planting, depending on the variety. The pods should be firm, plump, and snap easily when bent.
* Pick Regularly: Harvest your beans every few days to encourage continued production. The more you pick, the more they’ll grow!
* Handle with Care: Gently snap the beans off the plant, being careful not to damage the stems or leaves.
* Enjoy Fresh or Preserve: Freshly picked bush beans are delicious steamed, sauteed, or added to salads. You can also freeze, can, or pickle them for later enjoyment.
Troubleshooting: When Things Go Wrong
Even with the best planning, sometimes things don’t go exactly as expected. Here are a few common problems you might encounter and how to deal with them:
* Poor Germination: If your bean seeds aren’t germinating, the soil might be too cold or too wet. Make sure the soil temperature is at least 60°F (15°C) and avoid overwatering.
* Yellowing Leaves: Yellowing leaves can be a sign of nutrient deficiency, overwatering, or disease. Check the soil drainage and consider adding a balanced fertilizer.
* Pest Infestations: As mentioned earlier, keep an eye out for pests and take action promptly.
* Disease Problems: Prevent fungal diseases by providing good air circulation, avoiding overhead watering, and removing any infected leaves.
Growing Bush Beans in Containers: Small Space, Big Harvest
Don’t have a garden? No problem! You can easily grow bush beans in containers.
* Choose the Right Container: Select a container that is at least 12 inches deep and wide. Make sure it has drainage holes.
* Use a Good Potting Mix: Don’t use garden soil in containers, as it can become compacted and poorly drained. Use a high-quality potting mix instead.
* Planting and Care: Follow the same planting and care instructions as for growing beans in the garden.
* Water More Frequently: Containers tend to dry out more quickly than garden soil, so you’ll need to water your bean plants more frequently.
* Fertilize Regularly: Container-grown plants need to be fertilized more regularly than garden plants, as the nutrients are leached out more quickly. Use a balanced liquid fertilizer every few weeks.
Saving Bean Seeds: A Gift for Next Year
If you want to save seeds from your bush bean plants for next year, here’s how:
1. Choose Healthy Plants: Select seeds from the healthiest and most productive plants.
2. Allow Pods to Dry: Let the bean pods dry completely on the plant. They should turn brown and brittle.
3. Harvest the Seeds: Shell the dried pods and collect the seeds.
4. Dry the Seeds Further: Spread the seeds out on a tray and let them dry for a few more days.
5. Store in a Cool, Dry Place: Store the dried seeds in an airtight container in a cool, dry place. They should be viable for several years.
Enjoying Your Harvest: Bean Recipes Galore!
Now that you’ve grown a bountiful harvest of bush beans, it’s time to enjoy them! Here are a few of my favorite bean recipes:
* Steamed Green Beans with Lemon and Garlic: A simple and delicious side dish.
* Sauteed Green Beans with Almonds: A classic combination.
* Green Bean Salad with Tomatoes and Feta: A refreshing and flavorful salad.
* Green Bean Casserole: A holiday favorite.
* Pickled Green Beans

Conclusion
So, there you have it! Growing bush beans doesn’t have to be a daunting task. With a little preparation, the right techniques, and a dash of patience, you can enjoy a bountiful harvest of fresh, delicious bush beans right from your own backyard. This DIY approach to cultivating your own beans is not only rewarding but also allows you to control the quality of your food, ensuring it’s free from harmful pesticides and packed with nutrients.
Why is this DIY trick a must-try? Because it empowers you to take control of your food source, reduces your reliance on grocery stores, and provides you with incredibly fresh and flavorful beans that simply can’t be matched by store-bought varieties. Plus, it’s a fantastic way to connect with nature and enjoy the therapeutic benefits of gardening. Imagine stepping outside your door and picking fresh beans for dinner – it’s a truly satisfying experience.
But don’t stop there! Experiment with different varieties of bush beans to find your favorites. Try planting different colored beans, like purple or yellow, for a visually stunning harvest. You can also explore companion planting, pairing your bush beans with beneficial plants like marigolds (to deter pests) or carrots (which can help improve soil structure). Another variation to consider is succession planting, where you plant new seeds every few weeks to ensure a continuous harvest throughout the growing season. This is especially useful if you have a small garden and want to maximize your yield. You can also try growing them in containers if you have limited space. Just make sure the containers are large enough to accommodate the root systems of the mature plants.
We’ve covered the basics of growing bush beans, but the real magic happens when you put these techniques into practice. Don’t be afraid to get your hands dirty, experiment with different methods, and learn from your experiences. Remember, gardening is a journey, not a destination. There will be successes and setbacks along the way, but the rewards of fresh, homegrown beans are well worth the effort.
Now it’s your turn! We encourage you to try this DIY trick for growing bush beans and share your experiences with us. Let us know what varieties you planted, what challenges you faced, and what successes you celebrated. Share your photos and tips in the comments below – we’d love to hear from you! Together, we can create a community of passionate gardeners who are dedicated to growing their own food and enjoying the many benefits of fresh, homegrown produce. Happy gardening!
Frequently Asked Questions (FAQ)
What is the best time to plant bush beans?
The ideal time to plant bush beans is after the last frost of spring, when the soil has warmed to at least 60°F (15°C). Bush beans are sensitive to cold temperatures, so planting too early can result in poor germination or stunted growth. A good rule of thumb is to wait until the soil is warm enough to comfortably walk barefoot on it. You can also check with your local agricultural extension office for specific planting recommendations for your region. If you’re unsure about the last frost date, you can start seeds indoors a few weeks before the expected date and transplant them outdoors once the weather warms up.
How much sunlight do bush beans need?
Bush beans require at least 6-8 hours of direct sunlight per day to thrive. Choose a planting location that receives full sun throughout the day. If your garden doesn’t get enough sunlight, you can supplement with grow lights. Insufficient sunlight can lead to leggy plants with reduced yields. Observe your garden throughout the day to determine which areas receive the most sunlight and plant your bush beans accordingly.
What kind of soil is best for growing bush beans?
Bush beans prefer well-drained, fertile soil with a pH between 6.0 and 7.0. Amend your soil with compost or other organic matter to improve drainage and fertility. Avoid planting in heavy clay soil, as this can lead to root rot. Before planting, test your soil pH to ensure it’s within the optimal range. You can purchase a soil testing kit at most garden centers. If your soil is too acidic, you can add lime to raise the pH. If it’s too alkaline, you can add sulfur to lower the pH.
How often should I water bush beans?
Water bush beans regularly, especially during dry periods. Aim to keep the soil consistently moist but not waterlogged. Water deeply at the base of the plants to encourage deep root growth. Avoid overhead watering, as this can promote fungal diseases. Mulching around the plants can help retain moisture and suppress weeds. Check the soil moisture regularly by sticking your finger into the soil. If the top inch feels dry, it’s time to water.
What are some common pests and diseases that affect bush beans?
Common pests that affect bush beans include aphids, bean beetles, and spider mites. Common diseases include powdery mildew, bean rust, and anthracnose. Inspect your plants regularly for signs of pests or diseases. Treat infestations promptly with insecticidal soap or neem oil. Prevent diseases by providing good air circulation, avoiding overhead watering, and planting disease-resistant varieties. Crop rotation can also help prevent soilborne diseases.
How do I harvest bush beans?
Harvest bush beans when the pods are firm, plump, and snap easily. Pick the beans regularly to encourage continued production. Overripe beans will become tough and stringy. Use scissors or pruning shears to avoid damaging the plants. Harvest in the morning, when the beans are cool and crisp. Store harvested beans in the refrigerator for up to a week.
Can I grow bush beans in containers?
Yes, bush beans can be successfully grown in containers. Choose a container that is at least 12 inches deep and wide to accommodate the root systems of the mature plants. Use a well-draining potting mix and water regularly. Provide adequate sunlight and fertilize as needed. Container-grown bush beans may require more frequent watering and fertilization than those grown in the ground.
How can I improve the yield of my bush bean plants?
To improve the yield of your bush bean plants, ensure they receive adequate sunlight, water, and nutrients. Amend your soil with compost or other organic matter to improve fertility. Plant disease-resistant varieties and control pests promptly. Harvest the beans regularly to encourage continued production. Consider succession planting to extend the harvest season. You can also try using a foliar fertilizer to provide additional nutrients to the plants.
Are there different varieties of bush beans?
Yes, there are many different varieties of bush beans available, each with its own unique characteristics. Some popular varieties include Blue Lake, Contender, Provider, and Roma II. Choose varieties that are well-suited to your climate and growing conditions. Consider factors such as disease resistance, maturity date, and pod color when selecting varieties. Experiment with different varieties to find your favorites.
How do I save seeds from my bush bean plants?
To save seeds from your bush bean plants, allow the pods to dry completely on the plants. Once the pods are dry and brittle, remove the seeds and store them in an airtight container in a cool, dry place. Label the container with the variety name and date. Only save seeds from healthy, disease-free plants. Be aware that hybrid varieties may not produce true-to-type seeds.


Leave a Comment