

Grow Radishes Small Spaces? Absolutely! And I’m here to tell you it’s easier than you think. Forget sprawling acres; you can cultivate these peppery delights even if your “garden” is a sunny windowsill or a tiny balcony. For centuries, radishes have been a staple in gardens worldwide, prized for their quick growth and zesty flavor. From ancient Egypt, where they were a common food, to modern-day salads, radishes have earned their place at the table.
But let’s face it, not everyone has the luxury of a large garden. That’s where these DIY tricks and hacks come in. I’m going to show you how to maximize your limited space and enjoy a bountiful radish harvest. Imagine fresh, crisp radishes adding a vibrant kick to your meals, all grown by your own hand, even if you only have a few square feet to work with.
This article is packed with simple, effective strategies to grow radishes small spaces successfully. We’ll cover everything from choosing the right container and soil to mastering the art of succession planting. So, ditch the store-bought radishes and get ready to experience the satisfaction of growing your own! Let’s get started!
Growing Radishes in Small Spaces: A DIY Guide
Hey there, fellow gardening enthusiasts! So, you’re itching to grow some fresh, peppery radishes but are short on space? Don’t worry, I’ve got you covered! Radishes are fantastic for small-space gardening because they grow quickly and don’t need a ton of room. I’m going to walk you through everything you need to know to cultivate a thriving radish patch, even if all you have is a balcony or a sunny windowsill.
Choosing the Right Radish Variety
First things first, let’s talk about radish varieties. Not all radishes are created equal, especially when it comes to small-space gardening. Some varieties are larger and take longer to mature, while others are compact and ready to harvest in just a few weeks. Here are a few of my favorites for container gardening:
* **Cherry Belle:** These are classic, round, bright red radishes that mature super quickly – usually in about 22 days. They’re perfect for beginners!
* **French Breakfast:** These are elongated, red radishes with a white tip. They have a milder flavor than some other varieties and mature in around 25 days.
* **Easter Egg:** This is a mix of radishes in different colors – red, pink, purple, and white. They’re not only tasty but also add a splash of color to your garden. They mature in about 28 days.
* **Sparkler:** Similar to Cherry Belle, but with a small white tip. They are quick to mature and have a crisp, mild flavor.
Preparing Your Container
Okay, now that we’ve picked our radish varieties, let’s get our container ready. The right container is crucial for successful radish growing.
* **Container Size:** Radishes don’t need super deep containers, but they do need enough space to develop their roots. I recommend a container that’s at least 6 inches deep and wide. A rectangular planter box works great, or you can use individual pots for each radish plant.
* **Drainage:** This is super important! Radishes don’t like soggy soil, so make sure your container has drainage holes. If it doesn’t, you can drill some yourself.
* **Material:** You can use plastic, terracotta, or even repurposed containers like old buckets or tubs. Just make sure they’re clean and have good drainage.
* **Location:** Choose a spot that gets at least 6 hours of sunlight per day. Radishes need plenty of light to grow properly. A sunny balcony, patio, or windowsill is ideal.
Soil Preparation: The Foundation for Success
The type of soil you use is just as important as the container itself. Radishes prefer loose, well-draining soil that’s rich in organic matter.
* **Potting Mix:** I highly recommend using a good-quality potting mix. Avoid using garden soil, as it can be too heavy and compact for container gardening.
* **Amendments:** To improve drainage and fertility, you can amend your potting mix with compost, perlite, or vermiculite. I usually add about 1/3 compost to my potting mix.
* **pH Level:** Radishes prefer a slightly acidic to neutral soil pH (around 6.0 to 7.0). You can test your soil pH with a soil testing kit, which you can find at most garden centers.
Planting Your Radish Seeds
Alright, let’s get those radish seeds in the ground! This is the fun part.
1. **Moisten the Soil:** Before planting, lightly moisten the potting mix. You don’t want it to be soaking wet, just damp.
2. **Sowing the Seeds:** Sow the radish seeds about ½ inch deep and 1 inch apart. You can sow them in rows or scatter them evenly across the surface of the soil.
3. **Cover the Seeds:** Gently cover the seeds with a thin layer of potting mix.
4. **Water Gently:** Water the soil gently to avoid disturbing the seeds. I like to use a watering can with a rose head to provide a gentle shower.
5. **Label Your Container:** Don’t forget to label your container with the radish variety and the date you planted them. This will help you keep track of when to expect your harvest.
Caring for Your Radishes
Now that your radishes are planted, it’s time to give them the TLC they need to thrive.
1. **Watering:** Radishes need consistent moisture to grow quickly and develop crisp, flavorful roots. Water them regularly, especially during hot, dry weather. The soil should be moist but not waterlogged. I usually water my radishes every other day, but you may need to water them more frequently depending on the weather.
2. **Thinning:** Once your radish seedlings emerge, you’ll need to thin them out to give them enough space to grow. Thin the seedlings to about 2 inches apart. This will prevent overcrowding and ensure that each radish has enough room to develop. You can use small scissors to snip off the extra seedlings at the soil line.
3. **Fertilizing:** Radishes don’t need a lot of fertilizer, but a light feeding can help them grow faster and produce larger roots. I like to use a balanced liquid fertilizer diluted to half strength. Apply the fertilizer every two weeks, following the instructions on the label.
4. **Weed Control:** Keep your radish patch free of weeds. Weeds can compete with your radishes for nutrients and water. Hand-pull any weeds that you see.
5. **Pest Control:** Radishes are generally pest-resistant, but they can sometimes be bothered by flea beetles or aphids. If you notice any pests, you can try spraying them with insecticidal soap or neem oil.
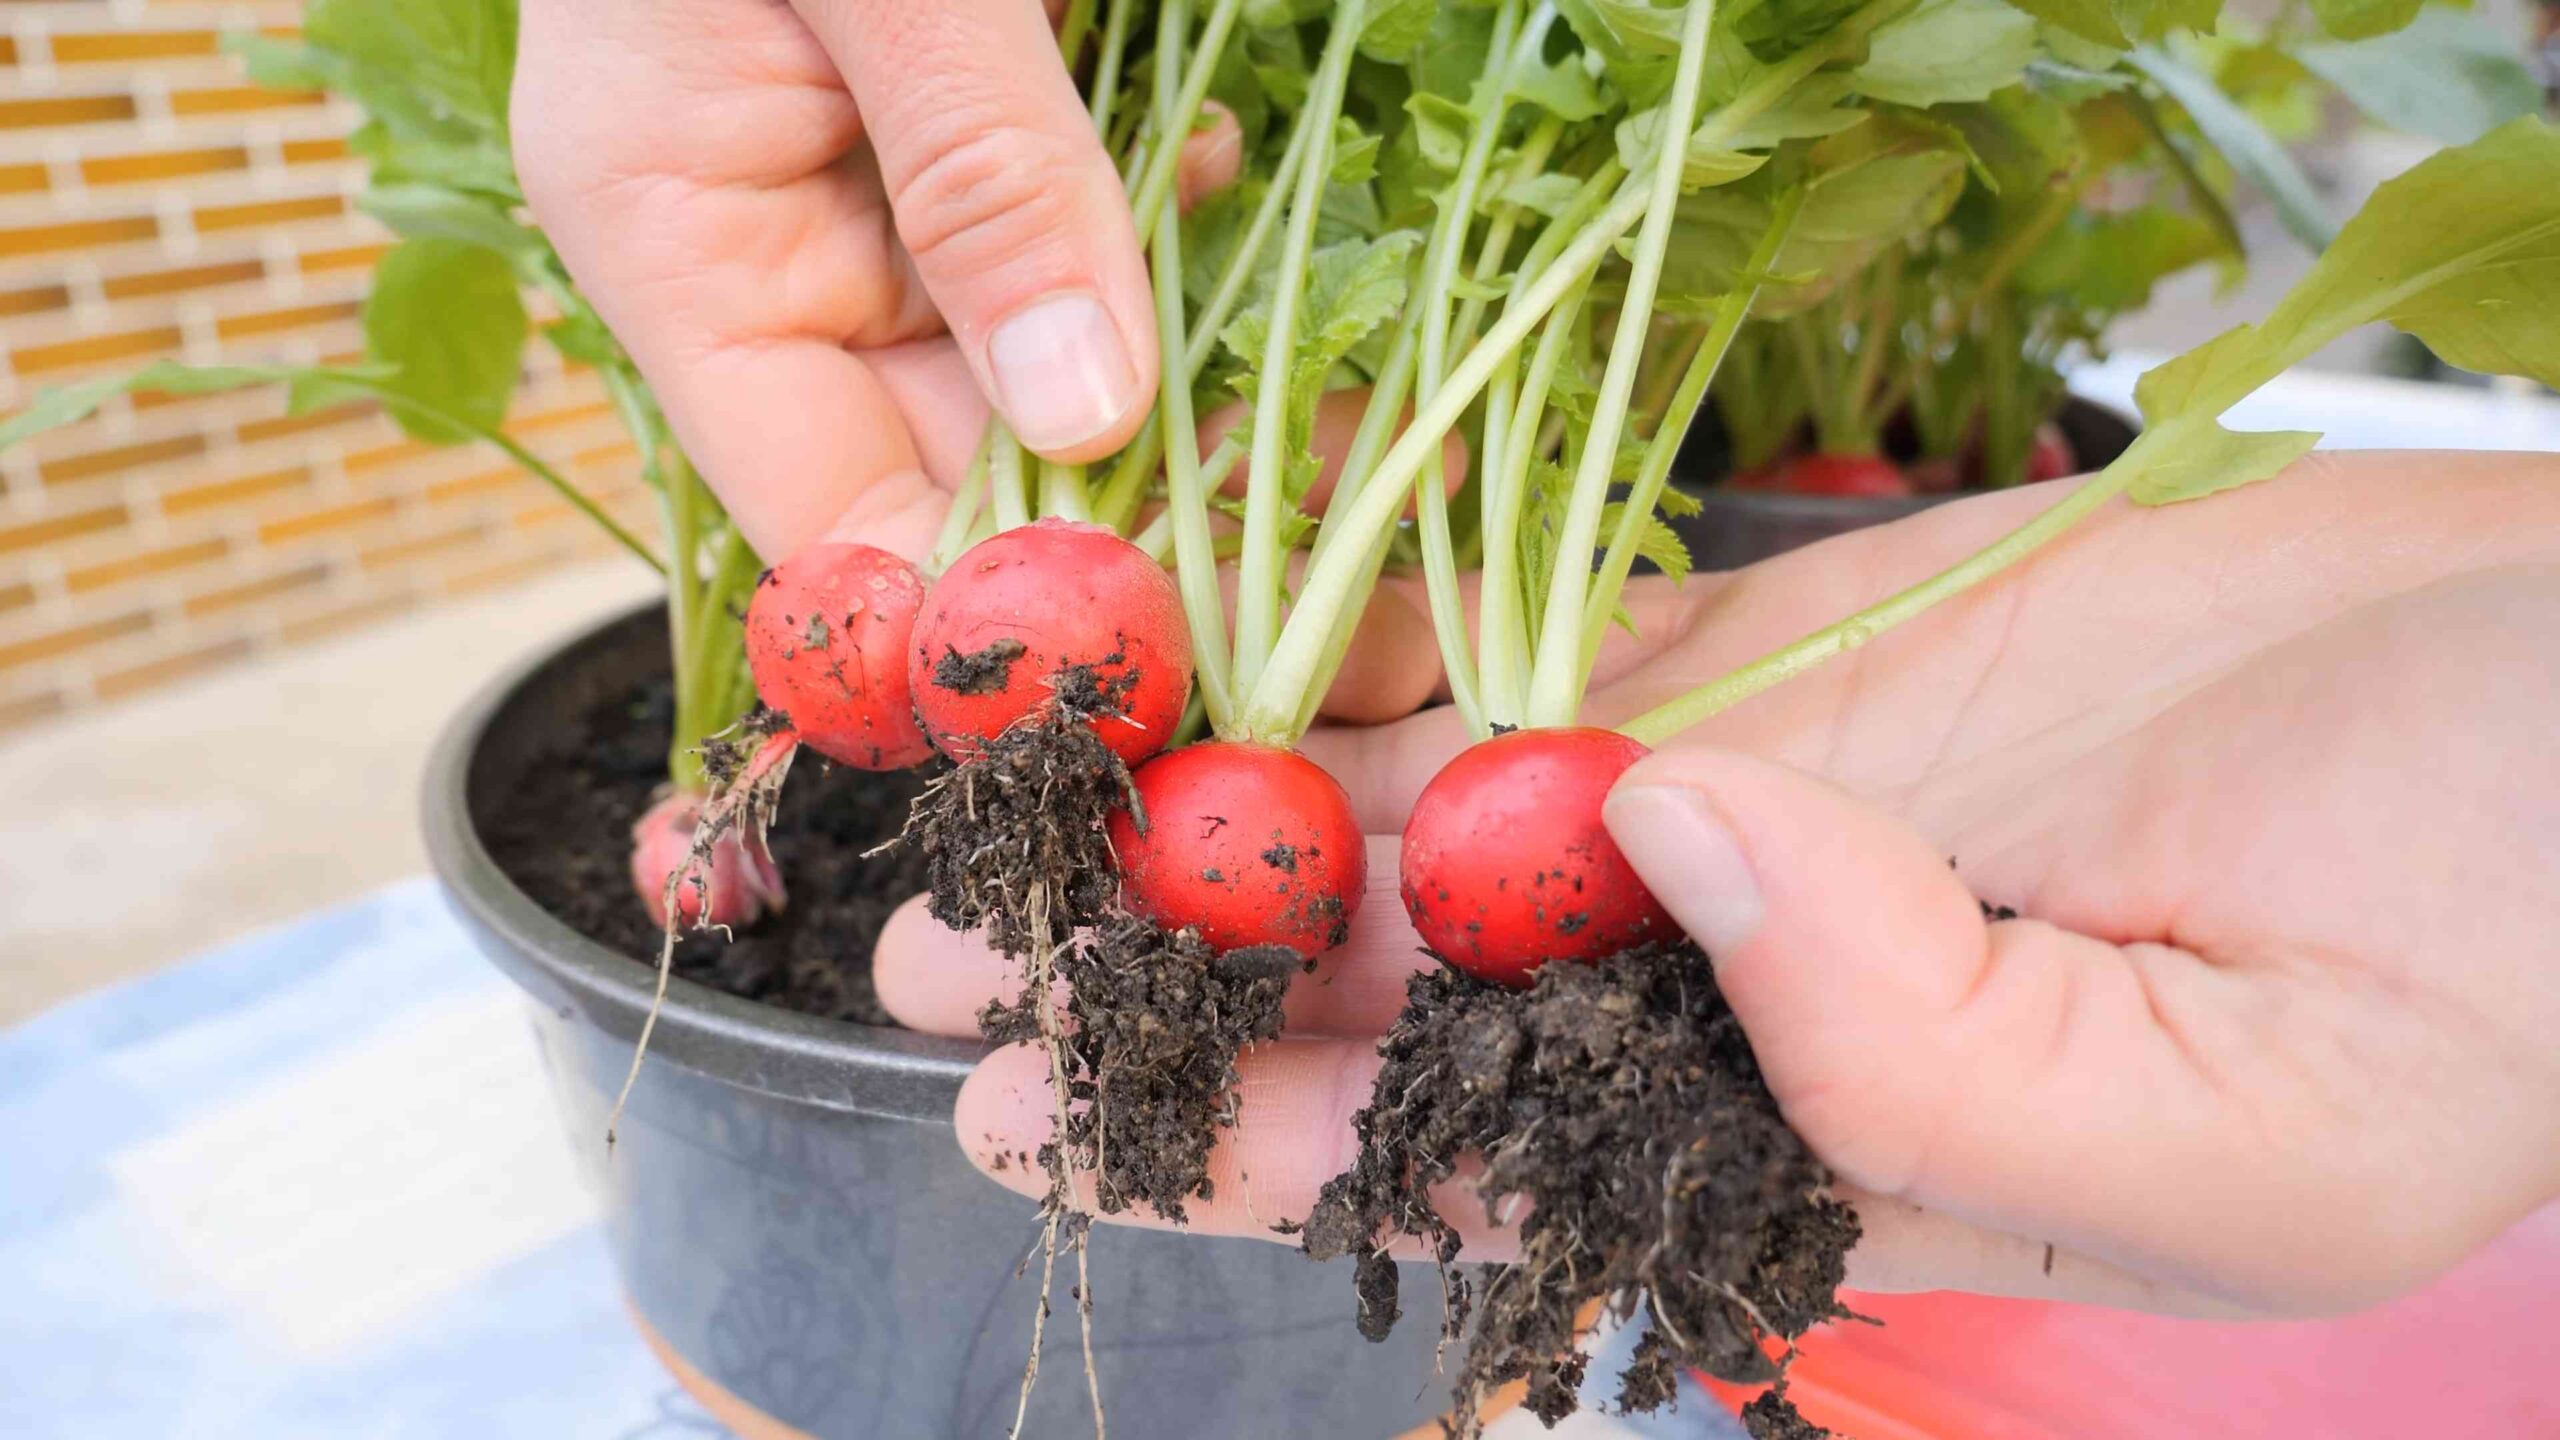
Harvesting Your Radishes: The Grand Finale!
The best part of growing radishes is, of course, harvesting them! Radishes are ready to harvest when their roots are about 1 inch in diameter.
1. **Check for Maturity:** Gently brush away some of the soil around the base of the radish to check its size.
2. **Pulling the Radishes:** To harvest, simply grasp the radish leaves near the base and pull gently. The radish should come out of the soil easily.
3. **Washing and Storing:** Wash the radishes thoroughly to remove any dirt. You can store them in the refrigerator for up to a week. Remove the leaves before storing, as they can draw moisture from the roots.
Troubleshooting Common Problems
Even with the best care, you might encounter a few problems while growing radishes. Here are some common issues and how to fix them:
* **Radishes are too small:** This could be due to overcrowding, lack of sunlight, or poor soil. Make sure you thin your seedlings properly, provide plenty of sunlight, and use a good-quality potting mix.
* **Radishes are cracked:** This is usually caused by inconsistent watering. Make sure you water your radishes regularly and avoid letting the soil dry out completely.
* **Radishes are too spicy:** This can be caused by hot weather or letting the radishes grow too large. Harvest your radishes when they’re still relatively small and water them regularly to keep them cool.
* **Radishes are bolting (going to seed):** This is usually caused by hot weather or stress. Try to plant your radishes in early spring or late summer to avoid the hottest part of the year.
Succession Planting for a Continuous Harvest
To enjoy a continuous harvest of radishes throughout the growing season, try succession planting. This means planting a new batch of radish seeds every two weeks. This way, you’ll always have a fresh supply of radishes ready to harvest.
Radish Greens: Don’t Throw Them Away!
Did you know that radish greens are edible? They have a peppery flavor similar to the roots and can be used in salads, soups, or stir-fries. Don’t throw them away!
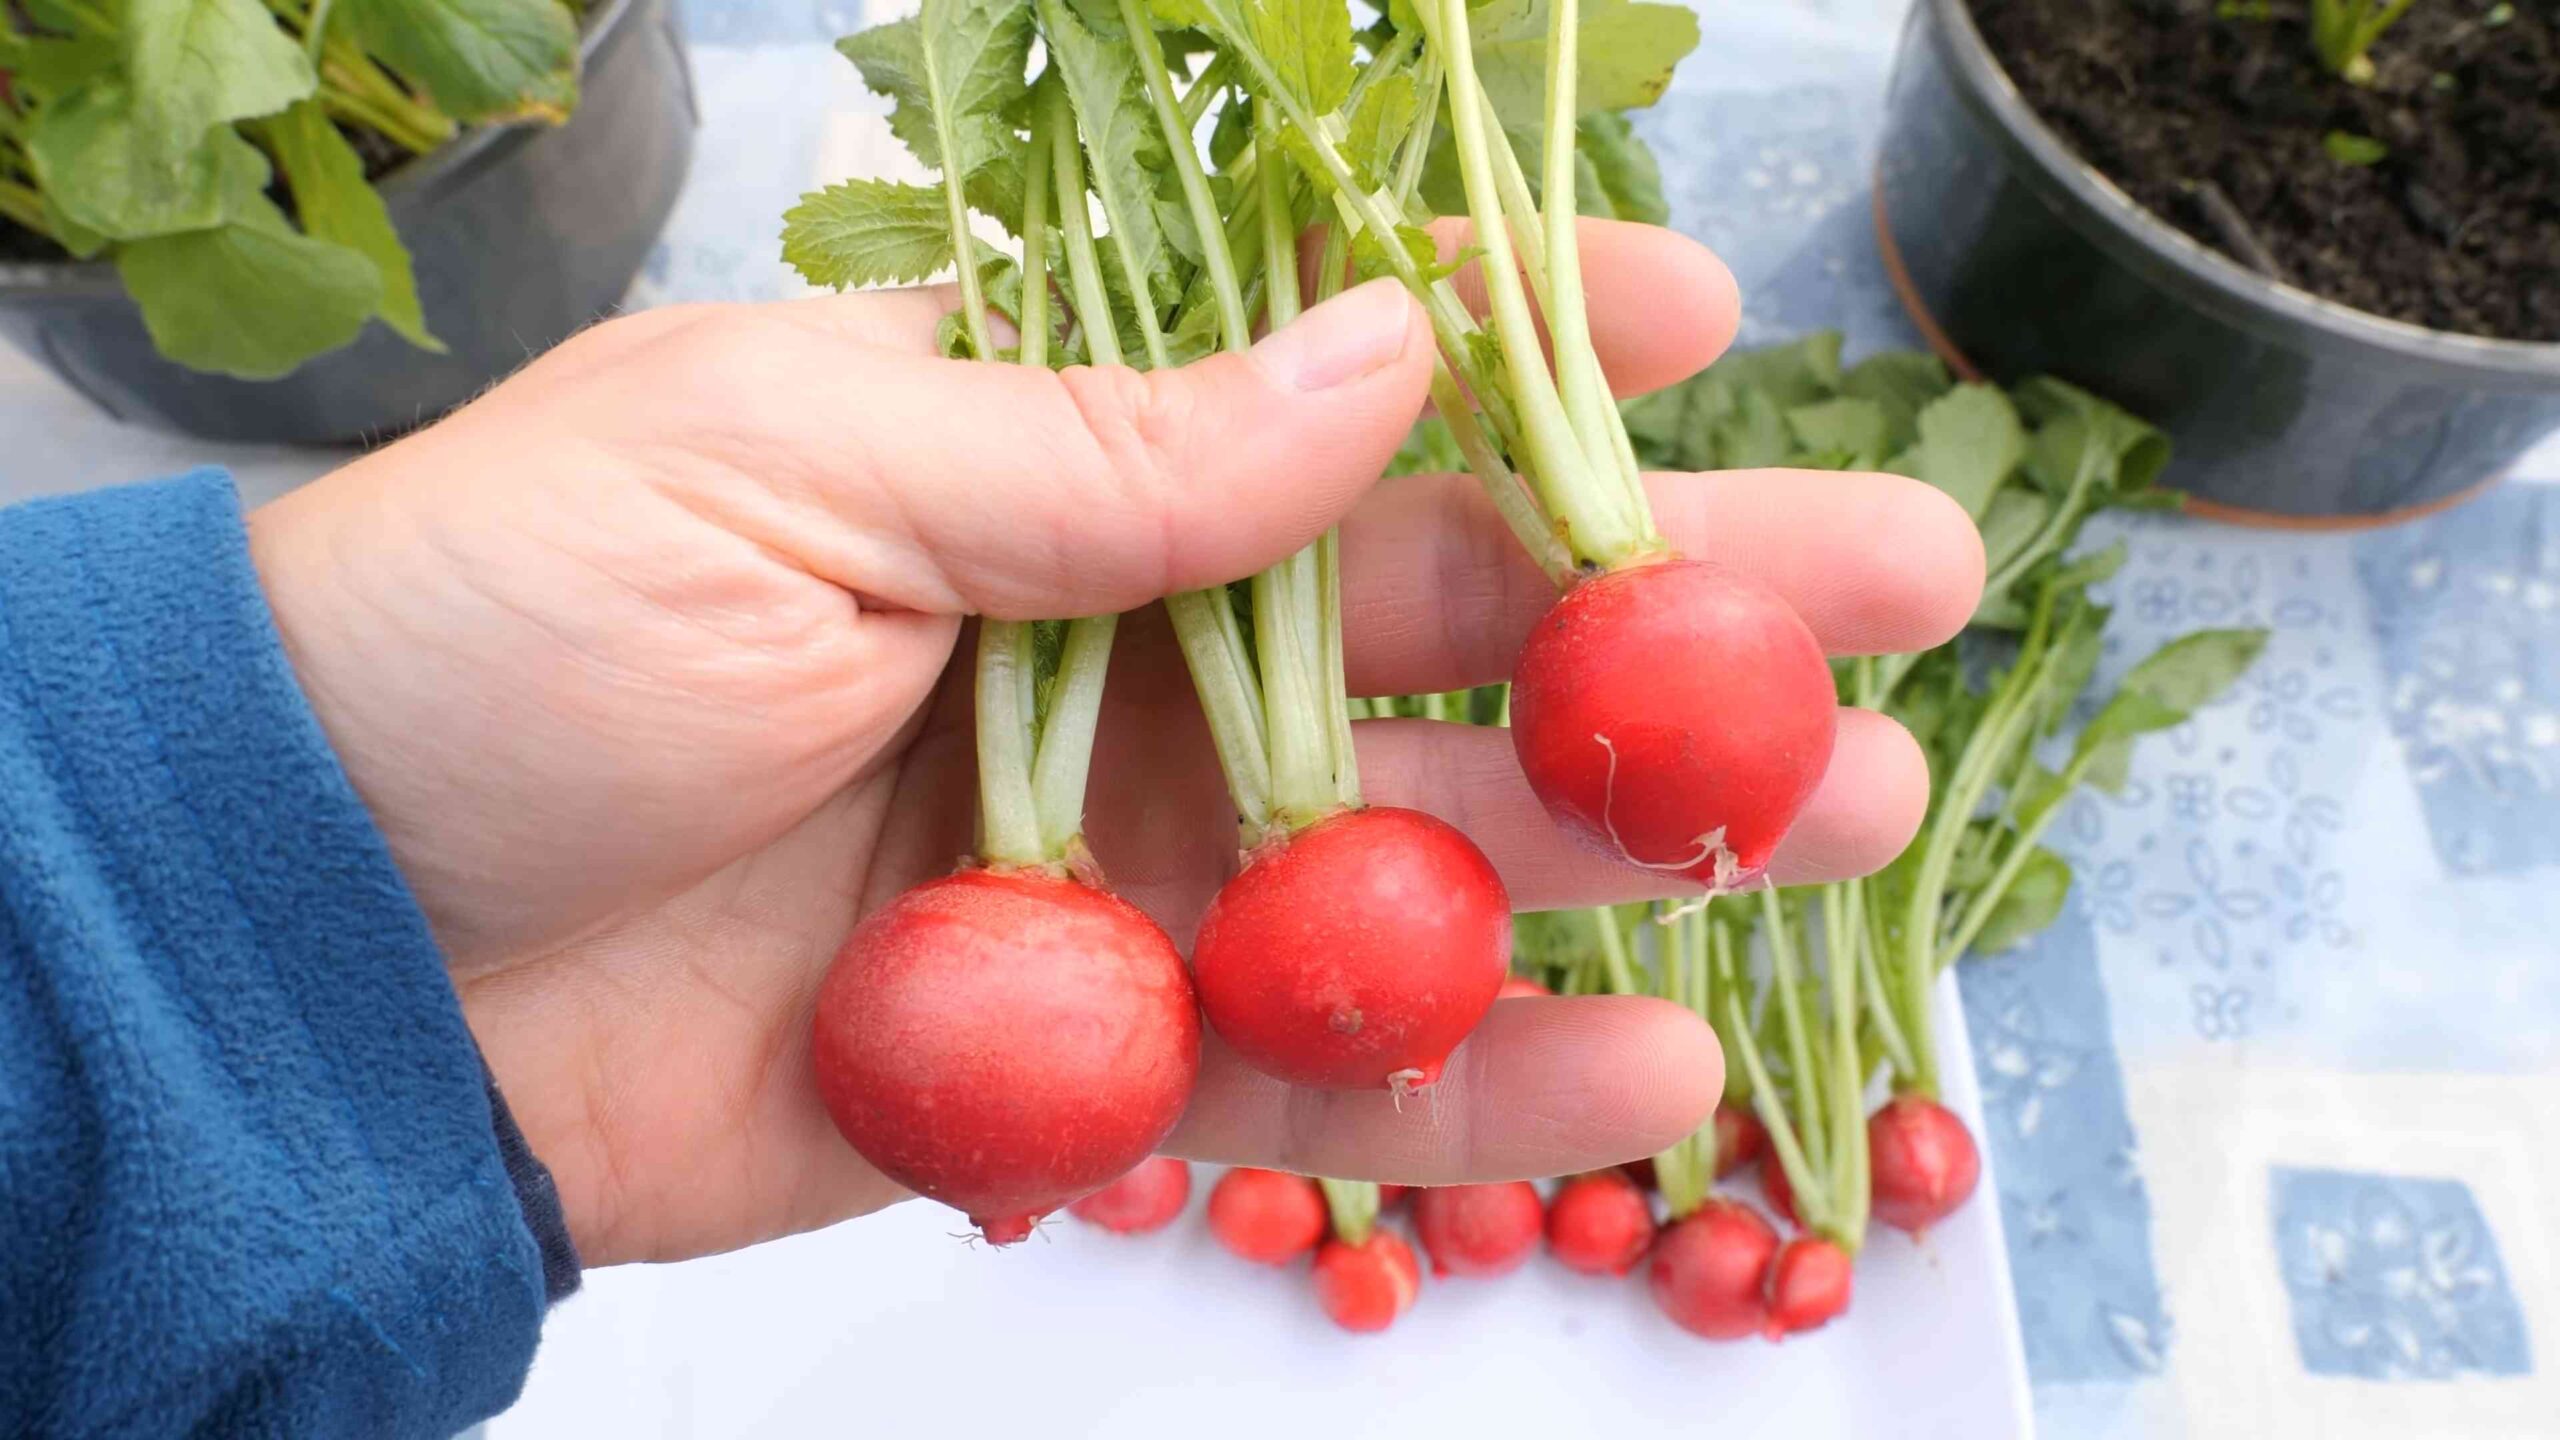
Enjoying Your Homegrown Radishes
Now that you’ve harvested your radishes, it’s time to enjoy them! Radishes are delicious eaten raw in salads, sandwiches, or as a snack with dip. You can also cook them in stir-fries, soups, or roasted vegetables.
Growing radishes in small spaces is a rewarding and easy way to enjoy fresh, homegrown produce. With a little bit of planning and care, you can have a thriving radish patch, even if you only have a small balcony or windowsill. Happy gardening!
Conclusion
So, there you have it! Growing radishes in small spaces is not only achievable, it’s downright rewarding. We’ve explored the simple steps, from choosing the right container and soil to mastering the art of watering and harvesting. But why should you bother with this DIY project? Because fresh, crisp radishes, bursting with peppery flavor, are just a few weeks away, even if you only have a balcony, patio, or even a sunny windowsill.
Think about it: store-bought radishes often lack the vibrancy and freshness of homegrown ones. They can be bland, sometimes even bitter. But the radishes you nurture yourself? They’re a revelation. Plus, growing your own food, no matter how small the scale, connects you to the natural world and provides a sense of accomplishment that’s hard to beat.
This isn’t just about radishes; it’s about embracing a more sustainable and flavorful lifestyle, one tiny seed at a time. And the best part? It’s incredibly easy and inexpensive to get started.
Why is this DIY trick a must-try? Because it’s a fast, fun, and fulfilling way to add fresh, healthy produce to your diet, regardless of your living situation. It’s a project that’s perfect for beginners, yet satisfying for experienced gardeners too.
Ready to take your radish game to the next level? Consider these variations:
* Succession Planting: Plant a new batch of seeds every week or two to ensure a continuous harvest throughout the growing season. This way, you’ll always have fresh radishes on hand.
* Companion Planting: Radishes are excellent companions for carrots, lettuce, and spinach. Plant them together in the same container to deter pests and improve growth.
* Radish Greens: Don’t throw away the radish greens! They’re packed with nutrients and can be used in salads, stir-fries, or even pesto.
* Different Varieties: Experiment with different radish varieties, such as French Breakfast, Cherry Belle, or Watermelon radishes, to discover your favorites. Each variety offers a unique flavor and texture.
* Vertical Gardening: If you’re truly limited on space, consider using a vertical planter or hanging baskets to grow your radishes. This is a great way to maximize your growing area.
We’ve armed you with the knowledge and inspiration to embark on your own radish-growing adventure. Now, it’s your turn to get your hands dirty! We encourage you to try this DIY trick and experience the joy of harvesting your own delicious radishes.
Don’t forget to share your experiences with us! We’d love to see photos of your radish gardens, hear about your favorite varieties, and learn any tips or tricks you’ve discovered along the way. Share your stories on social media using #SmallSpaceRadishes or leave a comment below. Let’s create a community of small-space gardeners and inspire others to grow their own food, no matter where they live. Happy growing!
FAQ
What kind of container is best for growing radishes in small spaces?
The ideal container for growing radishes should be at least 6 inches deep to allow for proper root development. A wider container is generally better than a narrow one, as it provides more surface area for planting multiple radishes. You can use plastic pots, terracotta pots, raised beds, or even repurposed containers like buckets or crates, as long as they have drainage holes. Ensure the container is made of food-safe plastic if you’re using a recycled container. The size of the container will depend on how many radishes you want to grow. A container that is 12 inches in diameter can comfortably accommodate about 10-12 radishes.
How often should I water my radishes?
Radishes need consistent moisture to grow quickly and develop a crisp texture. Water them deeply whenever the top inch of soil feels dry to the touch. Avoid overwatering, as this can lead to root rot. The frequency of watering will depend on the weather conditions and the type of container you’re using. In hot, dry weather, you may need to water your radishes daily, while in cooler, wetter weather, you may only need to water them every few days. A good rule of thumb is to check the soil moisture regularly and water accordingly. Using a moisture meter can also help you determine when your radishes need watering.
What kind of soil is best for growing radishes?
Radishes prefer well-draining, loose soil that is rich in organic matter. A good potting mix specifically formulated for vegetables is ideal. You can also amend your soil with compost or other organic materials to improve its drainage and fertility. Avoid using heavy clay soil, as this can hinder root development and lead to misshapen radishes. The ideal soil pH for radishes is between 6.0 and 7.0. You can test your soil pH using a soil testing kit and amend it accordingly. Adding lime to the soil can raise the pH, while adding sulfur can lower it.
How much sunlight do radishes need?
Radishes need at least 6 hours of sunlight per day to grow properly. If you’re growing them indoors, place them near a sunny window or use grow lights to supplement the natural light. Insufficient sunlight can result in leggy growth and smaller radishes. If you live in a hot climate, provide some afternoon shade to prevent the radishes from bolting (going to seed prematurely).
How long does it take for radishes to grow?
Radishes are one of the fastest-growing vegetables, typically maturing in just 3-4 weeks. The exact time will depend on the variety of radish you’re growing and the growing conditions. Check the seed packet for specific information on the maturity time for your chosen variety.
How do I know when my radishes are ready to harvest?
Radishes are ready to harvest when their roots are about 1 inch in diameter. Gently pull one radish from the soil to check its size. If it’s the right size, harvest the rest of the radishes. Don’t leave them in the ground for too long, as they can become woody and bitter.
What are some common problems when growing radishes and how can I fix them?
Some common problems when growing radishes include:
* Pests: Flea beetles and root maggots can damage radish leaves and roots. Use row covers to protect your plants from pests. You can also use insecticidal soap or neem oil to control infestations.
* Bolting: Radishes can bolt (go to seed prematurely) if they’re exposed to hot weather or inconsistent watering. Provide shade during hot weather and water regularly to prevent bolting.
* Root Rot: Overwatering can lead to root rot. Ensure your soil is well-draining and avoid overwatering.
* Misshapen Radishes: Heavy clay soil can hinder root development and lead to misshapen radishes. Amend your soil with compost or other organic materials to improve its drainage and fertility.
Can I grow radishes in containers indoors?
Yes, you can absolutely grow radishes in containers indoors, as long as you provide them with enough sunlight or artificial light. Choose a sunny windowsill or use grow lights to ensure they get at least 6 hours of light per day. Use a well-draining potting mix and water them regularly.
Are radish greens edible?
Yes, radish greens are edible and nutritious! They have a peppery flavor similar to the radish root. You can use them in salads, stir-fries, or even pesto. Make sure to wash them thoroughly before using them.
How do I store harvested radishes?
To store harvested radishes, remove the greens and store the roots in a plastic bag in the refrigerator. They should last for about a week. You can also store them in a container of water in the refrigerator to keep them crisp.
Leave a Comment