

Clean Coffee Grinder: Is your morning cup tasting a little…off? Are you noticing a lingering, stale aroma even after brewing? Don’t despair! You’re not alone. Many coffee lovers face the same dilemma: a coffee grinder that needs a good cleaning. But before you reach for harsh chemicals or complicated disassembly, let me tell you about a super simple, surprisingly effective DIY trick that will have your grinder sparkling and your coffee tasting its best in no time.
Coffee grinders, in their various forms, have been essential tools for centuries. From the earliest hand-cranked models to the modern electric versions, they’ve played a crucial role in transforming roasted beans into the aromatic elixir we crave. But with constant use comes the inevitable build-up of coffee oils and grounds, which can negatively impact the flavor of your brew. Think of it like this: would you cook a gourmet meal in a dirty pan? Probably not! The same principle applies to your coffee grinder.
That’s where this DIY hack comes in. You see, a clean coffee grinder isn’t just about hygiene; it’s about preserving the integrity of your coffee’s flavor profile. By removing the residue, you’ll unlock the full potential of your beans, ensuring a brighter, cleaner, and more satisfying cup every time. Plus, a well-maintained grinder will last longer, saving you money in the long run. So, are you ready to ditch the stale taste and embrace the deliciousness of freshly ground coffee? Let’s get started!

DIY: Breathe New Life into Your Coffee Grinder
Okay, coffee lovers, let’s talk about something crucial to that perfect morning brew: your coffee grinder. We often overlook it, but a clean grinder is essential for consistent grind size and, most importantly, delicious coffee. Over time, oils and residue from coffee beans build up, leading to stale flavors and potentially clogging the grinder. Don’t worry, though! I’m going to walk you through a simple and effective DIY cleaning process that will have your grinder humming like new in no time.
Why Clean Your Coffee Grinder?
Before we dive in, let’s quickly cover why cleaning your grinder is so important.
* Improved Coffee Flavor: Old coffee residue can impart a bitter or stale taste to your freshly ground beans. Cleaning removes this residue, allowing the true flavor of your coffee to shine through.
* Consistent Grind Size: Buildup can interfere with the grinder’s burrs or blades, leading to inconsistent grind sizes. This affects the extraction process and ultimately the taste of your coffee.
* Prolonged Grinder Lifespan: Regular cleaning prevents clogs and reduces strain on the motor, extending the life of your grinder.
* Prevents Rancidity: Coffee oils go rancid over time, creating unpleasant odors and flavors. Cleaning eliminates these rancid oils.
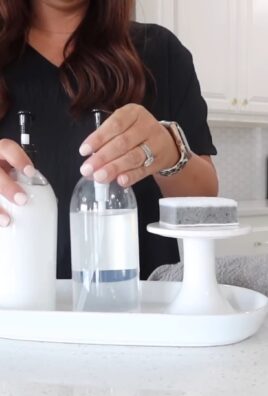
What You’ll Need
Here’s a list of the supplies you’ll need for this project. Don’t worry, most of these are probably already in your kitchen!
* Rice (Uncooked): This is our secret weapon! Rice acts as a natural abrasive to dislodge coffee residue.
* Small Brush: A toothbrush, pastry brush, or even a small paintbrush works great for cleaning hard-to-reach areas.
* Damp Cloth or Paper Towels: For wiping down surfaces.
* Dry Cloth or Paper Towels: For drying components after cleaning.
* Screwdriver (if needed): Depending on your grinder model, you might need a screwdriver to disassemble certain parts.
* Vacuum Cleaner with Brush Attachment (optional): This can be helpful for removing loose coffee grounds.
* Bowl or Container: To hold disassembled parts.
* Dish Soap (mild): For cleaning the bean hopper and other removable parts.
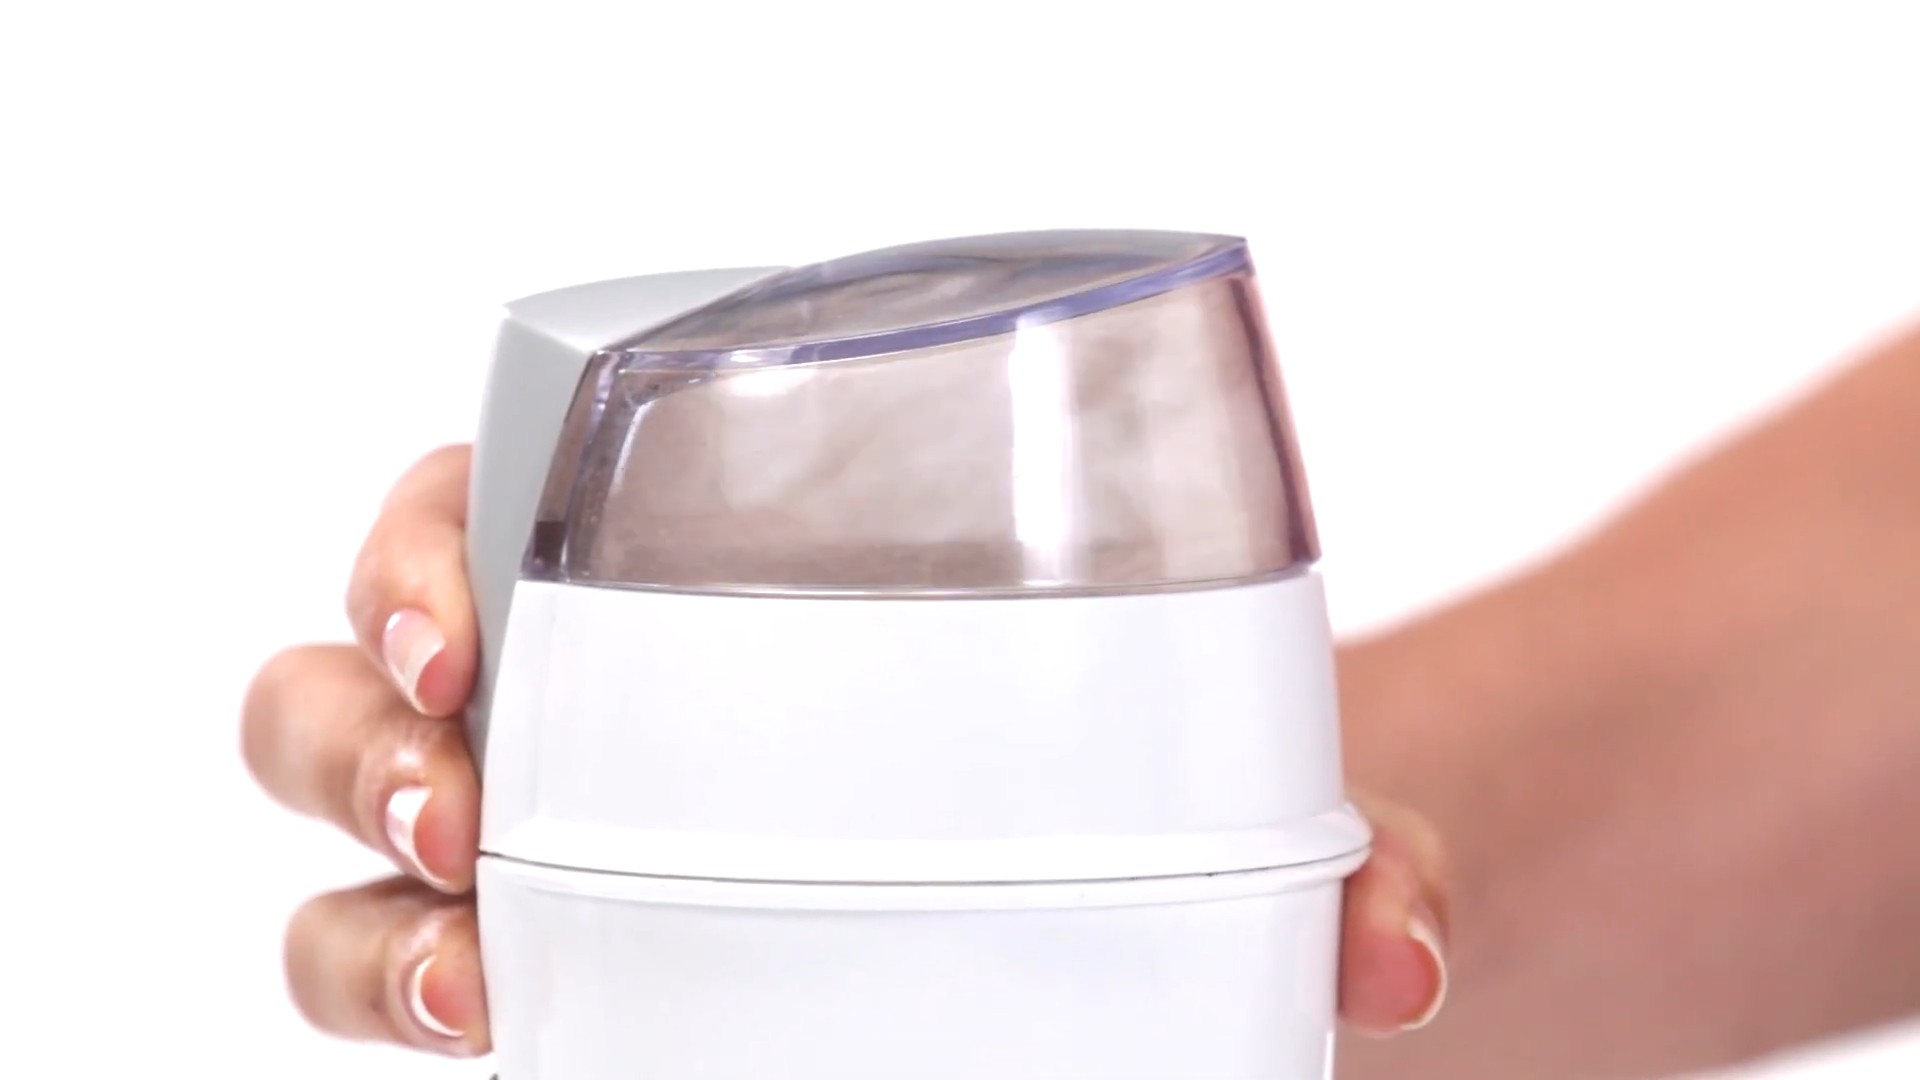
Cleaning Your Burr Grinder: Step-by-Step
Burr grinders are known for their consistent grind size, but they also tend to accumulate more residue. Here’s how to clean them effectively:
1. Unplug the Grinder: Safety first! Always unplug your grinder before starting any cleaning process.
2. Empty the Grinder: Remove any remaining coffee beans from the hopper. Grind any remaining beans if you have to.
3. Disassemble the Grinder (as much as possible): This is where things can vary depending on your grinder model. Consult your grinder’s manual for specific instructions. Generally, you’ll want to remove the bean hopper, the upper burr (the rotating part), and any other removable components. Place all the parts in a bowl or container to keep them organized.
4. Clean the Bean Hopper: Wash the bean hopper with warm, soapy water. Rinse thoroughly and dry completely before reassembling.
5. Vacuum Loose Grounds: Use a vacuum cleaner with a brush attachment to remove any loose coffee grounds from the grinder’s housing and burr chamber.
6. The Rice Cleaning Method: This is where the magic happens!
* Measure Rice: Pour about 1/4 cup of uncooked white rice into the grinder.
* Grind the Rice: Grind the rice as you would coffee beans. You might notice a fine white powder coming out – that’s the rice dislodging the coffee residue.
* Repeat (if necessary): If the rice comes out very dark or oily, repeat the process with another 1/4 cup of rice.
* Discard the Rice: Do NOT use the rice for cooking after grinding. It’s full of coffee residue and not safe to eat.
7. Brush the Burrs: Use your small brush to thoroughly clean the burrs. Pay close attention to the grooves and crevices where residue tends to accumulate.
8. Wipe Down Surfaces: Use a damp cloth to wipe down the grinder’s housing and any other surfaces that may have coffee residue. Follow with a dry cloth to ensure everything is completely dry.
9. Reassemble the Grinder: Carefully reassemble all the components, following the instructions in your grinder’s manual.
10. Run a Test Batch (Optional): To ensure all the rice dust is gone, grind a small amount of coffee beans and discard them. This will help remove any remaining rice particles.
Cleaning Your Blade Grinder: Step-by-Step
Blade grinders are simpler in design, making them easier to clean. Here’s how:
1. Unplug the Grinder: Always unplug the grinder before cleaning.
2. Empty the Grinder: Remove any remaining coffee grounds.
3. Wipe the Interior: Use a damp cloth to wipe the interior of the grinder. Be careful not to get the motor wet.
4. The Rice Cleaning Method: Even with blade grinders, rice can help remove stubborn residue.
* Measure Rice: Pour about 1/4 cup of uncooked white rice into the grinder.
* Pulse the Grinder: Pulse the grinder in short bursts until the rice is finely ground.
* Discard the Rice: Again, do NOT use the rice for cooking.
5. Wipe Again: Wipe the interior of the grinder again with a damp cloth to remove any remaining rice dust.
6. Dry Thoroughly: Use a dry cloth to ensure the interior of the grinder is completely dry before using it again.
7. Clean the Lid: Wash the lid with warm, soapy water. Rinse thoroughly and dry completely.
Deep Cleaning: When to Go the Extra Mile
Sometimes, a simple cleaning isn’t enough, especially if you haven’t cleaned your grinder in a while. Here’s when you might need to consider a deeper clean:
* Visible Buildup: If you see a thick layer of coffee residue on the burrs or blades.
* Strong Odor: If your grinder has a strong, rancid coffee smell.
* Inconsistent Grinds: If you’re consistently getting uneven grind sizes despite adjusting the settings.
For a deeper clean, you can use specialized grinder cleaning tablets or powders. These products are designed to dissolve coffee oils and residue more effectively than rice alone. Follow the instructions on the product label carefully.
Tips for Maintaining a Clean Grinder
Here are a few tips to keep your grinder clean and prevent buildup:
* Clean Regularly: Aim to clean your grinder at least once a month, or more frequently if you use it heavily.
* Use High-Quality Beans: High-quality beans tend to produce less oil and residue.
* Store Beans Properly: Store your coffee beans in an airtight container in a cool, dark place to prevent them from going stale and oily.
* Don’t Grind Flavored Coffee: Flavored coffees often contain oils and additives that can quickly gunk up your grinder. If you do grind flavored coffee, clean your grinder immediately afterward.
* Consider a Dedicated Grinder: If you frequently switch between different types of coffee (e.g., regular and decaf), consider having a separate grinder for each to prevent flavor transfer.
Troubleshooting
* Grinder Smells Bad After Cleaning: This could be due to trapped moisture. Make sure all components are completely dry before reassembling. You can also try running a small amount of coffee beans through the grinder to absorb any remaining odors.
* Grinder Not Working After Cleaning: Double-check that all components are properly reassembled. Consult your grinder’s manual for troubleshooting tips.
* Rice Dust Lingering: If you’re still finding rice dust in your coffee, try grinding a larger amount of coffee beans and discarding them. You can also use a vacuum cleaner with a brush attachment to remove any remaining dust from the burr chamber.
Cleaning your coffee grinder might seem like a chore, but it’s an essential part of brewing great coffee. By following these simple steps, you can keep your grinder in top condition and enjoy delicious, flavorful coffee every time. Happy brewing!
Conclusion
So, there you have it! Mastering the art of cleaning your coffee grinder doesn’t require expensive gadgets or harsh chemicals. This simple, DIY trick, using readily available ingredients, is a game-changer for any coffee lover. Think about it: consistently fresh, flavorful coffee, free from the stale residue that can compromise even the most premium beans. That’s the promise of a clean grinder.
This method isn’t just about cleanliness; it’s about preserving the integrity of your coffee. Those lingering oils and grounds from previous brews can turn rancid over time, imparting a bitter, unpleasant taste to your next cup. By regularly cleaning your coffee grinder, you’re ensuring that every brew is as delicious and aromatic as intended. It’s a small investment of time that yields significant returns in terms of coffee quality.
But the benefits extend beyond taste. A clean grinder operates more efficiently, reducing strain on the motor and potentially prolonging its lifespan. Grinding becomes smoother and more consistent, leading to better extraction and a more balanced cup of coffee. It’s a win-win situation for both your palate and your appliance.
Why is this DIY trick a must-try? Because it’s effective, affordable, and environmentally friendly. You’re avoiding harsh chemicals that can leave behind unwanted residues and opting for a natural solution that’s safe for your grinder and your health. Plus, it’s incredibly easy to do, requiring minimal effort and time.
Looking for variations? Consider adding a few drops of essential oil, like lemon or orange, to the rice or grinder cleaner for an extra boost of freshness. Just be sure to use food-grade essential oils and only a very small amount. Another option is to use dry bread instead of rice, although rice tends to be more effective at absorbing oils. For burr grinders, a soft brush or even a toothbrush can be helpful for reaching those hard-to-get areas.
We wholeheartedly encourage you to try this DIY trick for cleaning your coffee grinder. You’ll be amazed at the difference it makes in the taste of your coffee. Don’t just take our word for it; experience it for yourself! Once you’ve given it a try, we’d love to hear about your experience. Share your results, any variations you experimented with, and any tips you’ve discovered in the comments below. Let’s build a community of coffee enthusiasts who are passionate about brewing the perfect cup! Your feedback will help others discover the joy of a truly clean coffee grinder and the delicious coffee that results. Let us know if you have any questions, too!
FAQ
Frequently Asked Questions About Cleaning Your Coffee Grinder
Q: How often should I clean my coffee grinder?
A: The frequency depends on how often you use your grinder. If you grind coffee daily, aim to clean it at least once a month. If you only grind occasionally, cleaning it every two to three months should suffice. However, if you notice a build-up of oils or a change in the taste of your coffee, it’s time for a cleaning, regardless of your regular schedule. Regular cleaning prevents the build-up of stale coffee grounds and oils, which can negatively impact the flavor of your coffee.
Q: What type of rice is best for cleaning a coffee grinder?
A: Plain, uncooked white rice is generally recommended. Avoid using flavored or seasoned rice, as these can leave unwanted residues in your grinder. Long-grain or medium-grain rice works well. The key is to use dry, hard rice that will effectively scrub away the coffee residue. Brown rice can also be used, but it may leave behind more dust.
Q: Can I use this method for both blade grinders and burr grinders?
A: Yes, this method is suitable for both blade grinders and burr grinders. However, the cleaning process may vary slightly. For blade grinders, simply grind the rice as you would coffee beans. For burr grinders, you may need to disassemble the grinder to some extent to access all the nooks and crannies. Use a brush to remove any remaining rice dust after grinding.
Q: Is it safe to grind rice in my coffee grinder? Won’t it damage the blades or burrs?
A: Grinding rice in your coffee grinder is generally safe, but it’s important to use plain, uncooked rice and to avoid overfilling the grinder. The rice is hard enough to scrub away coffee residue but not so hard that it will damage the blades or burrs. However, if you have a very delicate or expensive grinder, you may want to consult the manufacturer’s instructions before using this method. Always inspect your grinder after cleaning to ensure there are no signs of damage.
Q: What if I don’t have rice? Are there any other alternatives?
A: While rice is the most commonly recommended option, you can also use dry bread. Tear the bread into small pieces and grind it as you would coffee beans. The bread will absorb some of the oils and help to dislodge coffee residue. However, rice is generally more effective at cleaning than bread. Another alternative is commercially available grinder cleaning pellets, which are specifically designed for this purpose.
Q: How do I clean a coffee grinder without rice?
A: If you prefer not to use rice, you can use a small vacuum with a brush attachment to remove loose grounds. For burr grinders, disassemble the grinder as much as possible and use a brush to clean the burrs and other components. You can also use a damp cloth to wipe down the exterior of the grinder. Avoid using water or other liquids inside the grinder, as this can damage the motor.
Q: My coffee grinder smells like old coffee. Will this cleaning method get rid of the smell?
A: Yes, this cleaning method should help to eliminate the stale coffee smell. The rice or grinder cleaner will absorb the oils and residue that are causing the odor. For a more thorough cleaning, you can also wipe down the inside of the grinder with a damp cloth and a mild detergent. Be sure to rinse thoroughly and allow the grinder to dry completely before using it again.
Q: How do I know if my coffee grinder is clean enough?
A: After cleaning, inspect the grinder for any remaining coffee residue. If you still see or smell coffee, repeat the cleaning process. You can also grind a small amount of coffee and taste it to see if it tastes fresh and clean. If the coffee tastes bitter or stale, it’s time for another cleaning.
Q: Can I use soap and water to clean my coffee grinder?
A: It’s generally not recommended to use soap and water to clean the inside of your coffee grinder, as this can damage the motor and leave behind unwanted residues. However, you can use a damp cloth and a mild detergent to clean the exterior of the grinder. Be sure to rinse thoroughly and allow the grinder to dry completely before using it again.
Q: What are the benefits of using a clean coffee grinder?
A: The benefits of using a clean coffee grinder are numerous. A clean grinder ensures that your coffee tastes fresh and flavorful, free from the stale residue that can compromise the taste. It also operates more efficiently, reducing strain on the motor and potentially prolonging its lifespan. Grinding becomes smoother and more consistent, leading to better extraction and a more balanced cup of coffee. Ultimately, a clean coffee grinder is essential for brewing the perfect cup of coffee.

Leave a Comment