

DIY tile and grout cleaner: Are you tired of staring at dingy, stained tile and grout, wishing you could magically restore its original sparkle? I know I am! It’s a common household woe, and store-bought cleaners can be expensive and often filled with harsh chemicals. But don’t despair! You’re about to discover a simple, effective, and budget-friendly solution that will transform your floors and walls.
The quest for clean tiles and grout is nothing new. Throughout history, people have experimented with natural ingredients to combat dirt and grime. From ancient Roman bathhouses meticulously maintained with olive oil and ash to modern-day homes, the desire for a pristine living space has always been present. Today, we’re taking inspiration from those time-tested methods and combining them with a bit of modern ingenuity.
Why do you need this DIY tile and grout cleaner trick? Because let’s face it, nobody enjoys scrubbing for hours with minimal results. This method not only saves you time and money but also allows you to control exactly what goes into your cleaning solution, avoiding potentially harmful chemicals that can irritate your skin and damage your surfaces. I’m going to show you how to create a powerful cleaner using ingredients you probably already have in your pantry. Get ready to say goodbye to stubborn stains and hello to sparkling clean tile and grout!
DIY Tile and Grout Cleaner: Say Goodbye to Grime!
Okay, let’s face it: cleaning tile and grout is nobody’s favorite chore. But with this super effective DIY cleaner, you can make the process a whole lot easier and cheaper than buying those harsh chemical cleaners at the store. Plus, you probably already have most of the ingredients in your pantry! I’ve been using this recipe for years, and it works wonders on everything from bathroom floors to kitchen backsplashes.
What You’ll Need
Before we dive in, let’s gather our supplies. This is a pretty simple recipe, so you won’t need anything too fancy.
* Baking Soda: This is our main cleaning agent. It’s a mild abrasive that helps scrub away dirt and grime without scratching your tile.
* Hydrogen Peroxide (3%): This acts as a bleaching agent and disinfectant, helping to brighten grout and kill bacteria.
* Dish Soap (Dawn is my go-to!): This helps to cut through grease and grime, making it easier to lift dirt from the tile and grout.
* Spray Bottle: For applying the cleaner to the tile and grout.
* Old Toothbrush or Grout Brush: For scrubbing the grout lines. An old toothbrush works great for small areas, but a grout brush will make larger areas much faster.
* Sponge or Cloth: For wiping down the tile after scrubbing.
* Gloves: To protect your hands from the cleaning solution.
* Small Bowl: For mixing the ingredients.
* Water: For rinsing.
* Optional: Essential Oils (Tea Tree, Lemon, or Eucalyptus): For added cleaning power and a fresh scent. A few drops will do the trick!
Mixing the Magic Potion
Now for the fun part – creating our cleaning concoction!
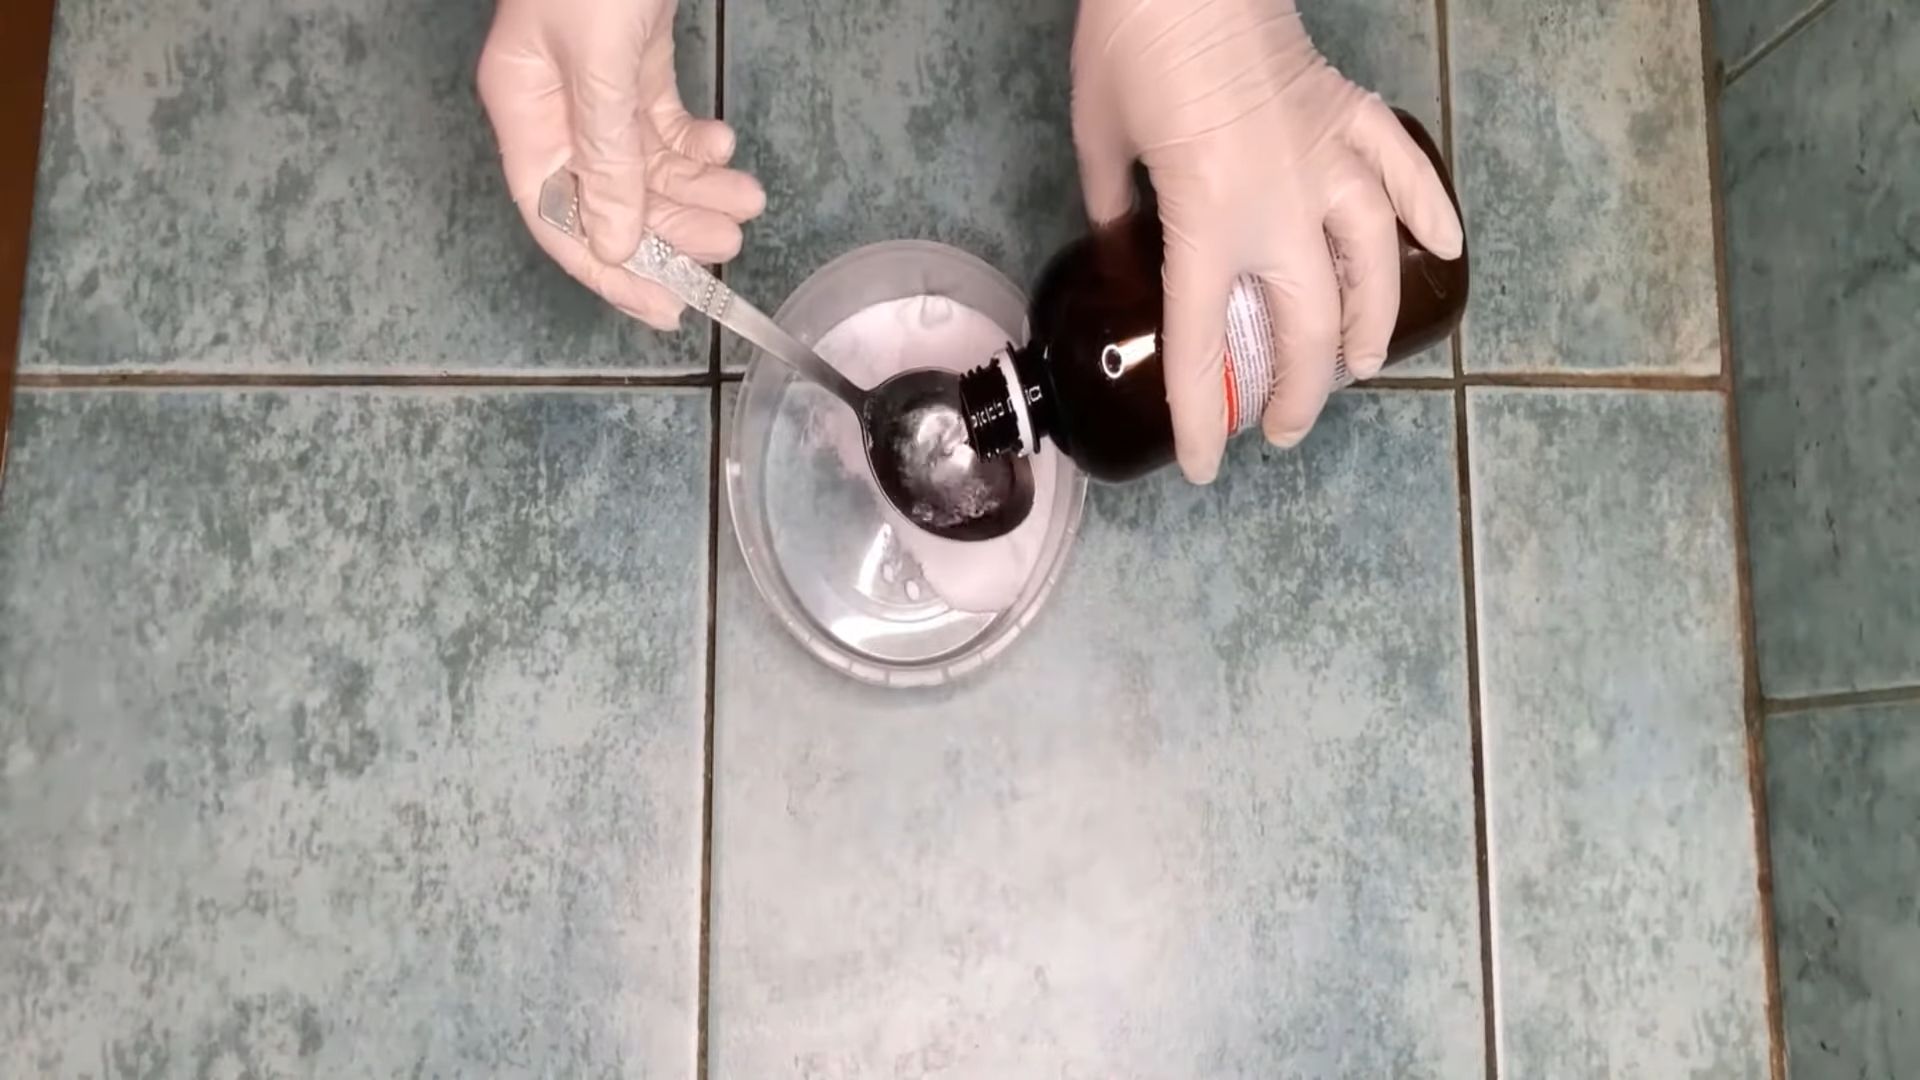
1. Combine Baking Soda and Hydrogen Peroxide: In your small bowl, pour about ½ cup of baking soda. Then, slowly add hydrogen peroxide, a little at a time, while mixing with a spoon or your gloved fingers. You want to create a paste-like consistency. It shouldn’t be too runny, but not too dry either. Think toothpaste!
2. Add Dish Soap: Squirt in about a tablespoon of dish soap. Again, mix well until everything is fully combined. The mixture should be smooth and creamy.
3. Optional: Add Essential Oils: If you’re using essential oils, add 5-10 drops of your chosen oil(s) to the mixture and stir well. I personally love the fresh scent of lemon or the antibacterial properties of tea tree oil.
Cleaning Your Tile and Grout: Step-by-Step
Alright, we’ve got our cleaner, we’ve got our tools, now let’s get down to business!
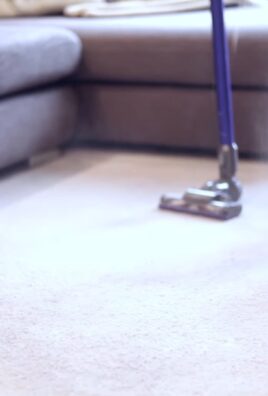
1. Prepare the Area: Before you start cleaning, sweep or vacuum the tile floor or surface to remove any loose dirt, dust, or debris. This will prevent you from just pushing the dirt around when you start scrubbing.
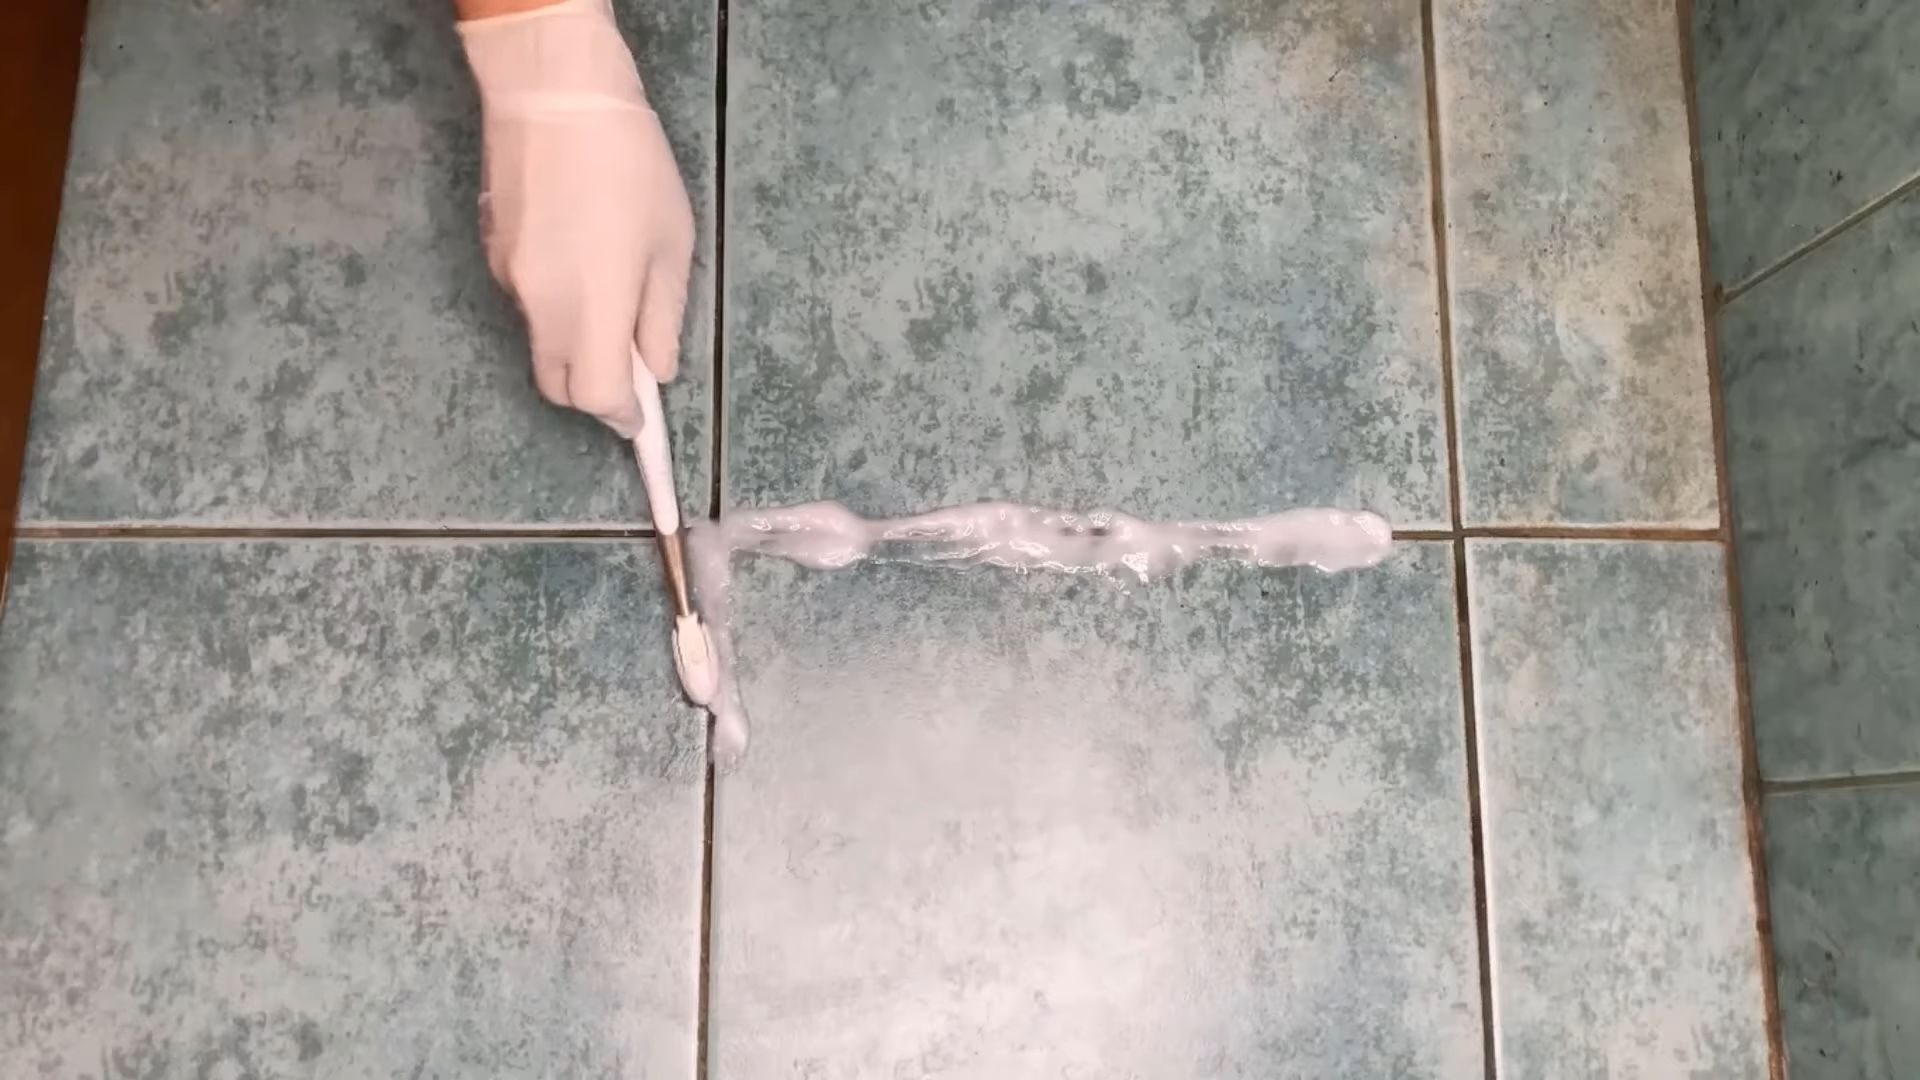
2. Apply the Cleaner: Using your fingers or a small spoon, apply the baking soda paste directly to the grout lines. Make sure to cover the entire grout line completely. For larger areas, you can transfer the paste to a squeeze bottle or even a piping bag for easier application.
3. Let it Sit: This is a crucial step! Allow the baking soda paste to sit on the grout for at least 5-10 minutes. This gives the baking soda and hydrogen peroxide time to work their magic, loosening the dirt and grime. For really stubborn stains, you can let it sit for up to 30 minutes.
4. Scrub, Scrub, Scrub!: Now it’s time to put in a little elbow grease. Using your old toothbrush or grout brush, scrub the grout lines thoroughly. Use a circular motion and apply firm pressure. You should start to see the dirt and grime lifting away. Don’t be afraid to really get in there and scrub!
5. Wipe Away the Excess: Once you’ve scrubbed all the grout lines, use a damp sponge or cloth to wipe away the excess baking soda paste. Rinse the sponge or cloth frequently to avoid spreading the dirt back onto the tile.
6. Rinse Thoroughly: After wiping away the excess paste, rinse the tile and grout with clean water. You can use a bucket of water and a sponge, or a spray bottle filled with water. Make sure to remove all traces of the baking soda paste.
7. Dry the Tile: Finally, dry the tile with a clean towel or let it air dry. This will prevent water spots and leave your tile sparkling clean!
Tackling Tough Stains
Sometimes, you might encounter some really stubborn stains that require a little extra attention. Here are a few tips for dealing with those tricky spots:
* For Mold and Mildew: If you’re dealing with mold or mildew, you can add a little bit of white vinegar to your cleaning solution. Vinegar is a natural disinfectant and can help kill mold and mildew. Just be careful not to mix vinegar and bleach, as this can create toxic fumes.
* For Hard Water Stains: Hard water stains can be tough to remove. Try using a mixture of equal parts white vinegar and water to pre-treat the stains before applying the baking soda paste. Let the vinegar solution sit for a few minutes before scrubbing.
* For Grease Stains: If you’re dealing with grease stains, you can add a little bit of cornstarch to the baking soda paste. Cornstarch is a great absorbent and can help soak up the grease.
Preventative Measures: Keeping Your Grout Clean Longer
Once you’ve got your grout sparkling clean, you’ll want to keep it that way! Here are a few tips for preventing future grime buildup:
* Wipe Up Spills Immediately: The sooner you wipe up spills, the less likely they are to stain your grout.
* Ventilate Your Bathroom: Proper ventilation can help prevent mold and mildew growth in your bathroom. Run the exhaust fan during and after showers.
* Seal Your Grout: Sealing your grout can help protect it from stains and water damage. You can purchase grout sealant at most hardware stores. Apply the sealant according to the manufacturer’s instructions.
* Regular Cleaning: Regular cleaning is key to keeping your grout clean. Aim to clean your tile and grout at least once a month, or more often if needed.
Alternative Cleaning Solutions
While I love my baking soda and hydrogen peroxide recipe, there are other DIY options you can try. Here are a couple of alternatives:
* Vinegar and Baking Soda: This is a classic combination! Sprinkle baking soda on the grout lines, then spray with white vinegar. Let it fizz for a few minutes, then scrub with a brush.
* Borax and Water: Mix borax with water to create a paste, then apply to the grout lines. Let it sit for a few minutes, then scrub and rinse.
Safety First!
While these DIY cleaners are generally safe, it’s always a good idea to take a few precautions:
* Wear Gloves: Protect your hands from the cleaning solution by wearing gloves.
* Ventilate the Area: Make sure the area you’re cleaning is well-ventilated.
* Avoid Mixing Chemicals: Never mix bleach with vinegar or ammonia, as this can create toxic fumes.
* Test in an Inconspicuous Area: Before cleaning your entire tile surface, test the cleaner in a small, inconspicuous area to make sure it doesn’t damage the tile or grout.
Troubleshooting
Sometimes, things don’t go exactly as planned. Here are a few common problems and how to fix them:
* Cleaner is Too Runny: If your baking soda paste is too runny, add more baking soda until it reaches the desired consistency.
* Cleaner is Too Dry: If your baking soda paste is too dry, add a little more hydrogen peroxide or dish soap until it becomes smooth and creamy.
* Stains Won’t Come Out: If you’re having trouble removing stubborn stains, try letting the baking soda paste sit for a longer period of time, or try using one of the alternative cleaning solutions mentioned above.
* Tile is Damaged: If you notice any damage to your tile after cleaning, stop using the cleaner immediately. It’s possible that the cleaner is too harsh for your tile.
Final Thoughts
And there you have it! A simple, effective, and affordable DIY tile and grout cleaner that will leave your surfaces sparkling. I hope you found this guide helpful. Happy cleaning! Remember to always test in a small area first and be careful when mixing ingredients. With a little elbow grease and this awesome DIY cleaner, you’ll have your tile and grout looking brand new in no time!
Conclusion
So, there you have it! Ditching those harsh chemicals and embracing this simple, effective DIY tile and grout cleaner is more than just a cleaning hack; it’s a step towards a healthier home and a happier planet. We’ve walked you through the easy process, highlighted the cost-effectiveness, and emphasized the power of natural ingredients. But the real magic happens when you put it to the test yourself.
Why is this a must-try? Because it works! You’ll be amazed at how easily this homemade solution lifts dirt, grime, and even stubborn stains from your tile and grout, leaving behind a sparkling clean surface without the lingering chemical odors. Plus, you’ll have the satisfaction of knowing exactly what you’re using in your home, protecting your family and pets from potentially harmful substances.
Looking to personalize your cleaning experience? Consider these variations:
* Essential Oil Boost: Add a few drops of your favorite essential oil, like lemon, tea tree, or eucalyptus, for an extra burst of freshness and added antibacterial properties. Lemon oil is particularly effective for cutting through grease, while tea tree oil is known for its disinfectant qualities.
* Baking Soda Paste Power: For particularly stubborn stains, create a paste of baking soda and water (or hydrogen peroxide) and apply it directly to the affected area. Let it sit for a few minutes before scrubbing with your brush.
* Vinegar Infusion: If you’re dealing with hard water stains, increase the amount of vinegar in your solution. Just be mindful of using it on natural stone tiles, as vinegar can be acidic and potentially damage certain surfaces. Always test in an inconspicuous area first.
* Borax Boost: For extra cleaning power, add a tablespoon of borax to your solution. Borax is a natural mineral that helps to boost the cleaning power of the other ingredients. However, it is important to use borax safely and to keep it out of reach of children and pets.
We’re confident that this DIY tile and grout cleaner will become a staple in your cleaning routine. It’s simple, effective, and environmentally friendly – a winning combination!
Now, it’s your turn. We encourage you to give this DIY trick a try and see the amazing results for yourself. Don’t forget to share your experience with us! Let us know in the comments below how it worked for you, any variations you tried, and any tips you discovered along the way. Your feedback will not only help other readers but also inspire us to continue sharing valuable DIY solutions. We can’t wait to hear your success stories and see your sparkling clean tiles! Let’s ditch the chemicals and embrace the power of natural cleaning, one tile at a time.
Frequently Asked Questions (FAQ)
Q: Is this DIY tile and grout cleaner safe for all types of tile?
A: While this cleaner is generally safe for most tile types, including ceramic and porcelain, it’s crucial to exercise caution with natural stone tiles like marble, granite, and limestone. Vinegar, a key ingredient, is acidic and can potentially etch or damage these surfaces. Always test the cleaner in an inconspicuous area first to ensure it doesn’t cause any discoloration or damage. If you’re unsure, consider using a pH-neutral cleaner specifically designed for natural stone. For sensitive tiles, you can also dilute the vinegar further or omit it altogether, relying on the baking soda and dish soap for cleaning power.
Q: How often should I use this DIY tile and grout cleaner?
A: The frequency of cleaning depends on the amount of foot traffic and the level of dirt accumulation in your tiled areas. For high-traffic areas like bathrooms and kitchens, weekly cleaning is recommended to prevent the buildup of grime and mildew. For less frequently used areas, cleaning every two to four weeks may suffice. Regular cleaning not only keeps your tiles looking their best but also prevents the grout from becoming permanently stained.
Q: Can I use this cleaner on colored grout?
A: Yes, this cleaner is generally safe for colored grout. However, it’s always a good idea to test it in an inconspicuous area first to ensure it doesn’t cause any fading or discoloration. The acidity of vinegar can sometimes affect certain dyes, so it’s better to be safe than sorry. If you notice any color change, dilute the vinegar further or omit it altogether. You can also try using a grout brush with soft bristles to avoid scrubbing too aggressively.
Q: What’s the best way to apply the cleaner to the grout?
A: For optimal results, use a grout brush with stiff bristles to apply the cleaner directly to the grout lines. These brushes are specifically designed to reach into the narrow spaces between tiles and effectively scrub away dirt and grime. Alternatively, you can use an old toothbrush for smaller areas or hard-to-reach spots. After applying the cleaner, let it sit for a few minutes to allow the ingredients to penetrate the grout and loosen the dirt. Then, scrub vigorously with the brush, rinsing frequently with clean water.
Q: How do I prevent mildew from growing in my grout?
A: Mildew thrives in damp, poorly ventilated areas, so preventing its growth requires addressing these conditions. Ensure adequate ventilation in bathrooms and kitchens by opening windows or using exhaust fans after showering or cooking. Wipe down wet surfaces promptly to prevent moisture buildup. You can also spray your grout with a mildew-resistant sealant to create a barrier against moisture. Regularly cleaning your grout with this DIY tile and grout cleaner, especially with the addition of tea tree oil, can also help to inhibit mildew growth.
Q: Can I store leftover DIY tile and grout cleaner?
A: Yes, you can store leftover cleaner in a sealed spray bottle for future use. However, it’s best to use it within a week or two, as the ingredients may start to separate over time. Before each use, give the bottle a good shake to ensure the ingredients are properly mixed. Store the cleaner in a cool, dark place away from direct sunlight.
Q: What if the stains are really stubborn and this cleaner doesn’t work?
A: For extremely stubborn stains, you might need to resort to more aggressive cleaning methods. Try creating a paste of baking soda and hydrogen peroxide and applying it directly to the stained area. Let it sit for several hours or even overnight before scrubbing with a brush. You can also try using a steam cleaner to loosen the dirt and grime. As a last resort, consider using a commercial grout cleaner specifically designed for tough stains. Always follow the manufacturer’s instructions carefully and wear appropriate safety gear, such as gloves and eye protection. If all else fails, you may need to consider re-grouting the affected area.


Leave a Comment