

DIY Drain Cleaner Recipe: Are you tired of slow-draining sinks and the nasty chemical smells of commercial drain cleaners? I know I am! There’s something incredibly satisfying about tackling household problems with your own two hands, and when it comes to unclogging drains, you don’t need harsh chemicals to get the job done.
For generations, resourceful homeowners have relied on simple, natural ingredients to keep their pipes flowing freely. Think about it – before the age of mass-produced cleaners, people used what they had on hand, often with surprisingly effective results. This tradition of resourcefulness is something I deeply admire, and it’s what inspired me to share this simple yet powerful DIY drain cleaner recipe with you.
Why should you ditch the store-bought stuff and embrace this DIY approach? Well, for starters, it’s much gentler on your pipes and the environment. Plus, you probably already have the ingredients in your pantry! No more rushing to the store in a panic when your sink starts backing up. With this easy recipe, you can save money, reduce your exposure to harsh chemicals, and feel a sense of accomplishment knowing you fixed the problem yourself. Let’s get started and say goodbye to clogged drains for good!
DIY Drain Cleaner: Banishing Clogs Naturally!
Okay, let’s face it: clogged drains are the bane of every homeowner’s existence. Store-bought drain cleaners are often harsh, expensive, and frankly, a little scary to use. But fear not! I’m going to show you how to whip up a super effective drain cleaner using ingredients you probably already have in your pantry. This method is not only budget-friendly but also much gentler on your pipes and the environment. Let’s get started!
What You’ll Need:
Before we dive in, let’s gather our supplies. This is a pretty simple recipe, so you won’t need much:
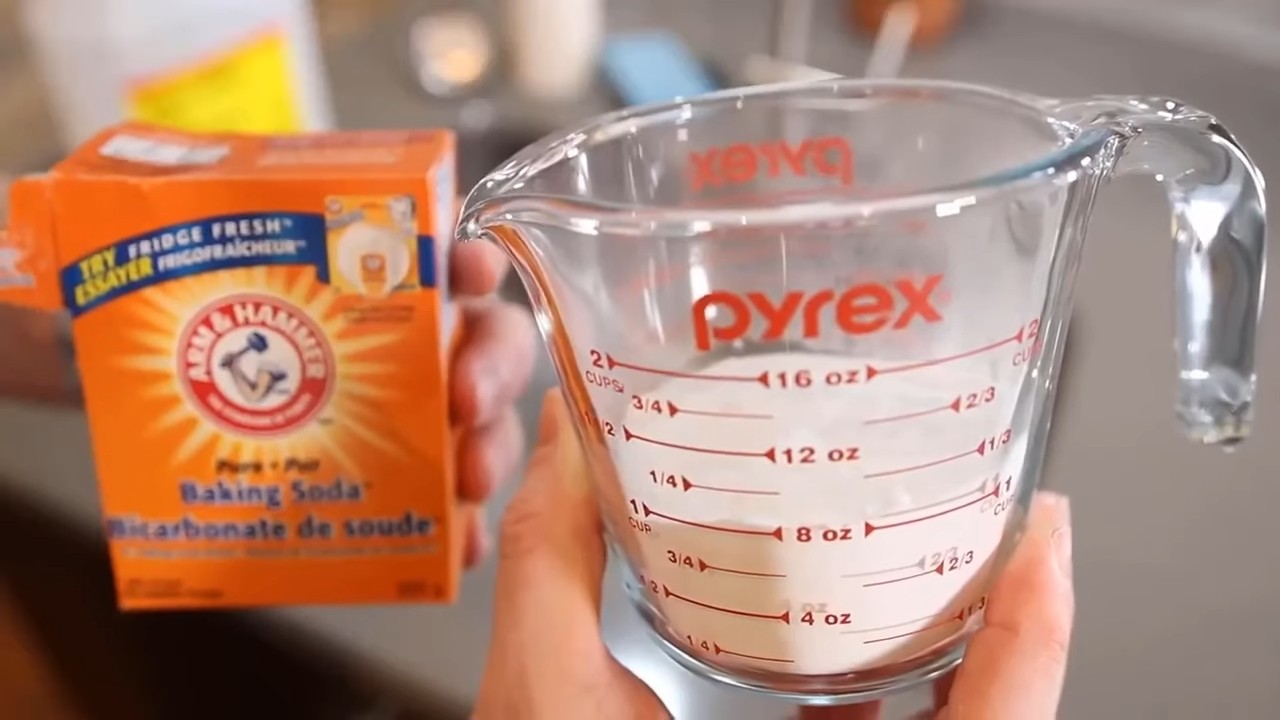
* 1 cup Baking Soda
* 2 cups Boiling Water
* 1 cup White Vinegar
* Optional: A few drops of your favorite essential oil (like lemon, tea tree, or eucalyptus) for a fresh scent.
* A kettle or pot for boiling water
* A measuring cup
* A funnel (optional, but helpful)
The Basic Baking Soda and Vinegar Method
This is the classic DIY drain cleaner recipe, and for good reason – it works wonders! The baking soda and vinegar create a chemical reaction that helps to break down grease, hair, and other gunk that’s causing the clog.
1. Prepare the Baking Soda: Pour one cup of baking soda down the drain. Try to get as much of it into the drainpipe as possible. A funnel can be really helpful here to avoid making a mess. I usually use a paper funnel I make myself if I can’t find my real one.
2. Add the Vinegar: Next, slowly pour one cup of white vinegar down the drain, right after the baking soda. You’ll immediately notice some fizzing and bubbling – that’s the magic happening!
3. Let it Fizz: Let the baking soda and vinegar mixture work its magic for at least 30 minutes. For really stubborn clogs, I sometimes let it sit for a couple of hours, or even overnight. The longer it sits, the more time it has to break down the clog.
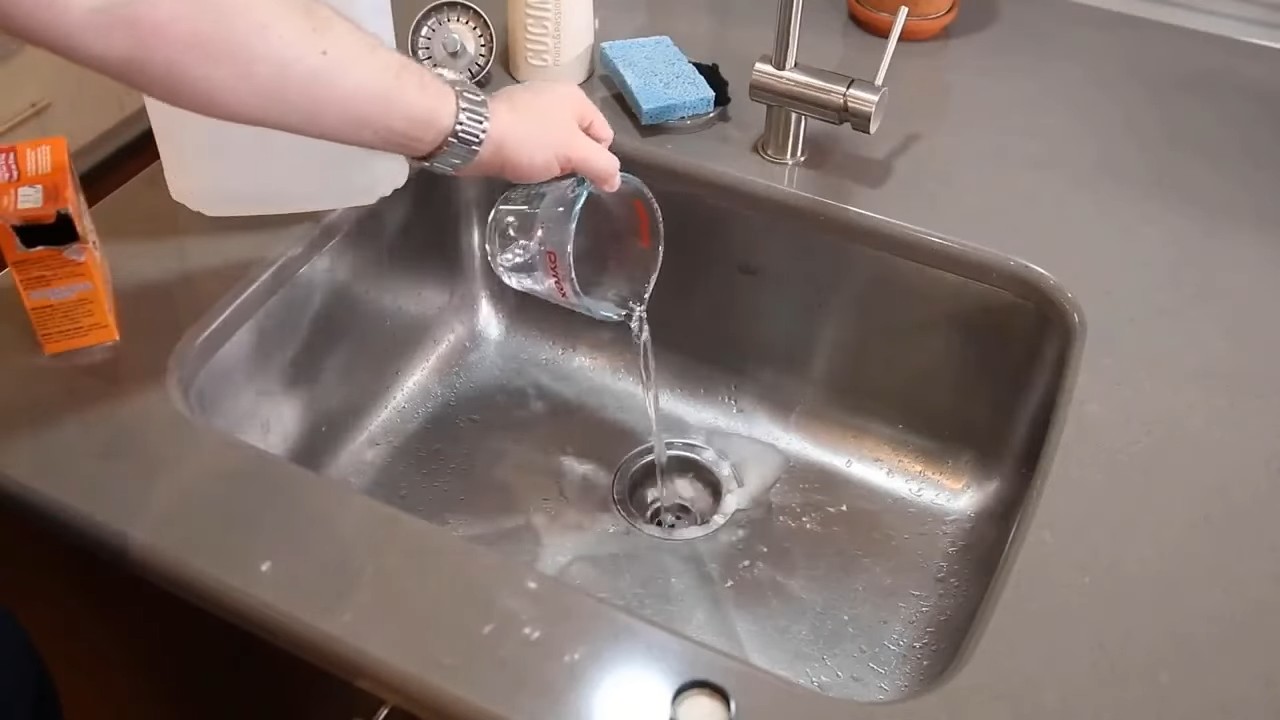
4. Flush with Boiling Water: After the waiting period, carefully pour two cups of boiling water down the drain. The hot water helps to flush away the loosened debris. Be careful when handling boiling water!
5. Repeat if Necessary: If the drain is still slow or clogged, repeat the entire process. Sometimes it takes a couple of tries to completely clear a stubborn blockage.
Boosting the Power: Baking Soda, Salt, and Boiling Water
If the baking soda and vinegar method isn’t quite cutting it, we can add salt to the mix for an extra boost. Salt acts as an abrasive, helping to scrub away stubborn buildup.
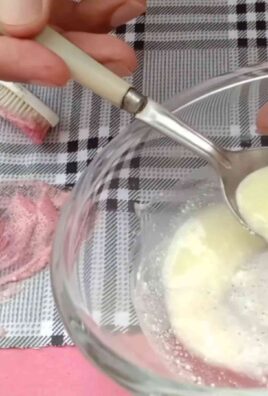
1. Mix the Dry Ingredients: In a bowl, combine 1/2 cup of baking soda and 1/4 cup of salt. Mix them together thoroughly.
2. Pour Down the Drain: Carefully pour the baking soda and salt mixture down the drain. Again, a funnel can be your best friend here.
3. Let it Sit: Let the mixture sit in the drain for at least 4 hours, or preferably overnight. This gives the salt and baking soda time to work their way into the clog.
4. Flush with Boiling Water: After the waiting period, flush the drain with two cups of boiling water.
5. Assess and Repeat: Check the drain’s flow. If it’s still slow, repeat the process. You might also try following this method with the baking soda and vinegar method for a double whammy!
Tackling Grease Clogs: Dish Soap and Boiling Water
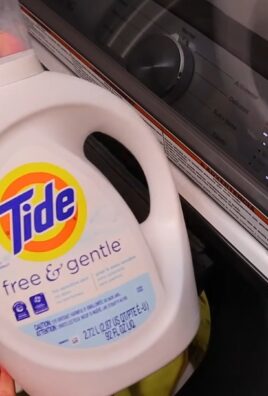
Grease is a common culprit when it comes to clogged kitchen sinks. Dish soap is designed to break down grease, so it can be a surprisingly effective drain cleaner.
1. Pour in Dish Soap: Squirt about 1/4 cup of dish soap down the drain. I usually use a grease-fighting formula for this.
2. Follow with Boiling Water: Immediately pour two cups of boiling water down the drain.
3. Let it Sit: Let the mixture sit for about 30 minutes.
4. Flush Again: Flush the drain with more hot water from the tap.
5. Repeat if Needed: If the drain is still clogged, repeat the process. For really stubborn grease clogs, you might need to use a combination of methods.
Preventative Maintenance: Keeping Drains Clear
The best way to deal with clogged drains is to prevent them from happening in the first place. Here are a few tips to keep your drains flowing freely:
* Use Drain Screens: Install drain screens or strainers in all of your sinks and showers to catch hair, food scraps, and other debris before they go down the drain. I swear by these! They’re cheap and make a huge difference.
* Avoid Pouring Grease Down the Drain: Never pour grease or oil down the drain. Instead, let it cool and solidify, then scrape it into the trash.
* Flush with Hot Water Regularly: Once a week, flush your drains with hot water to help prevent buildup.
* Baking Soda and Vinegar Maintenance: Once a month, use the baking soda and vinegar method as a preventative measure. This will help to keep your drains clear and flowing smoothly.
* Be Mindful of What Goes Down the Drain: Avoid flushing things like coffee grounds, eggshells, and starchy foods down the drain, as they can contribute to clogs.
A Word of Caution:
While these DIY drain cleaner methods are generally safe, it’s important to exercise caution when working with boiling water and chemicals.
* Always wear gloves to protect your hands.
* Be careful when handling boiling water to avoid burns.
* Never mix different drain cleaners together, as this can create dangerous fumes.
* If you’ve recently used a commercial drain cleaner, wait at least 24 hours before using any of these DIY methods.
* If the clog is severe or you’re not comfortable trying these methods yourself, it’s best to call a professional plumber.
Essential Oils for a Fresh Scent (Optional)
Okay, so the baking soda and vinegar method works great, but it can leave a bit of a vinegary smell. That’s where essential oils come in! Adding a few drops of your favorite essential oil can help to freshen up the scent and leave your bathroom or kitchen smelling lovely.
1. Choose Your Oil: Some of my favorite essential oils for drain cleaning include lemon, tea tree, eucalyptus, and peppermint. Lemon has a bright, clean scent, while tea tree has antibacterial properties. Eucalyptus is refreshing and invigorating, and peppermint can help to clear congestion.
2. Add to the Baking Soda: Before pouring the baking soda down the drain, add 5-10 drops of your chosen essential oil to the baking soda and mix well. This will help to distribute the scent throughout the drain.
3. Proceed as Usual: Follow the rest of the baking soda and vinegar method as described above.
4. Enjoy the Fresh Scent: As the baking soda and vinegar react, the essential oil will release its fragrance, leaving your drain smelling clean and fresh.
Dealing with Slow Drains vs. Completely Clogged Drains
It’s important to distinguish between a slow drain and a completely clogged drain. These DIY methods are generally more effective for slow drains or minor clogs. If your drain is completely blocked and water is not draining at all, you might need to try a different approach, such as using a plunger or a drain snake.
* Slow Drain: If your drain is draining slowly, but water is still going down, these DIY methods are a good first step. They can help to break down buildup and improve the flow.
* Completely Clogged Drain: If your drain is completely blocked, these methods might not be enough. You might need to try a plunger first. Make sure you have a good seal around the drain opening and plunge vigorously for several minutes. If that doesn’t work, you might need to use a drain snake to physically remove the clog.
When to Call a Plumber
While these DIY methods can be effective for many clogs, there are times when it’s best to call a professional plumber.
* If you’ve tried multiple DIY methods and the drain is still clogged.
* If you suspect a more serious problem, such as a broken pipe.
* If you’re not comfortable working with plumbing yourself.
* If you’ve recently used a commercial drain cleaner and it hasn’t worked.
Plumbers have the tools and expertise to diagnose and fix more complex plumbing problems. It’s always better to be safe than sorry!
Troubleshooting Tips
Sometimes, even with the best intentions, things don’t go quite as planned. Here are a few troubleshooting tips to help you overcome common challenges:
* The Baking Soda and Vinegar Aren’t Fizzing: If you don’t see any fizz
Conclusion
So, there you have it! This simple, yet incredibly effective, DIY drain cleaner recipe is a game-changer for anyone tired of battling slow or clogged drains. Forget the harsh chemicals and expensive plumbing bills. This homemade solution, using ingredients you likely already have in your pantry, offers a safe, affordable, and environmentally friendly alternative.
Why is this DIY drain cleaner a must-try? Because it works! The combination of baking soda and vinegar creates a powerful fizzing action that loosens debris and breaks down buildup within your pipes. The boiling water then flushes everything away, leaving your drains clear and flowing freely. It’s a simple chemical reaction that delivers impressive results.
Beyond its effectiveness, this method is also incredibly versatile. For a more potent cleaning action, consider adding a few drops of essential oils like tea tree or eucalyptus. These oils not only provide a pleasant scent but also possess antibacterial and antifungal properties, further sanitizing your drains. Another variation involves using washing soda (sodium carbonate) instead of baking soda for an even stronger cleaning effect, but be sure to exercise caution and wear gloves when handling washing soda. If you have particularly stubborn clogs, you can repeat the process a second time or let the baking soda and vinegar mixture sit in the drain overnight before flushing with boiling water.
We understand that trusting a DIY solution can be daunting, especially when it comes to something as important as your plumbing. But we urge you to give this DIY drain cleaner recipe a try. You’ll be amazed at how well it works, and you’ll feel good knowing you’re using a safer, more sustainable method.
Don’t just take our word for it! We encourage you to try this DIY drain cleaner recipe and share your experience with us. Let us know in the comments how it worked for you, any variations you tried, and any tips you have for others. Your feedback is invaluable and helps us continue to provide the best possible DIY solutions. We are confident that this simple recipe will become your go-to solution for maintaining clear and healthy drains. Say goodbye to clogged drains and hello to a cleaner, fresher home!
Frequently Asked Questions (FAQ)
Is this DIY drain cleaner safe for all types of pipes?
This is a crucial question! Generally, this DIY drain cleaner recipe is safe for most common types of pipes, including PVC, copper, and older metal pipes. However, if you have very old or fragile pipes, especially those prone to corrosion, it’s always best to exercise caution. The boiling water could potentially soften or weaken older pipes. In such cases, use hot tap water instead of boiling water. If you’re unsure about the type or condition of your pipes, consult a plumber before using any drain cleaner, DIY or commercial.
How often can I use this DIY drain cleaner?
While this DIY drain cleaner is gentler than chemical alternatives, it’s still best to use it sparingly. Overuse, even with natural ingredients, can potentially damage your pipes over time. We recommend using this DIY drain cleaner as a preventative measure every one to two months to keep your drains flowing smoothly. If you have frequent clogs, address the underlying cause, such as hair buildup or grease accumulation, rather than relying solely on drain cleaners.
What if the drain is completely blocked? Will this DIY drain cleaner still work?
This DIY drain cleaner is most effective for slow-draining drains or minor clogs. If your drain is completely blocked, it may not be strong enough to clear the blockage entirely. In such cases, you can try using a plunger first to dislodge the clog. If the plunger doesn’t work, you can try this DIY drain cleaner recipe, but be prepared to repeat the process several times. For severe blockages, it’s often best to call a professional plumber to avoid damaging your pipes.
Can I use this DIY drain cleaner in my toilet?
While the ingredients are safe for most plumbing systems, using this DIY drain cleaner in your toilet is generally not recommended. Toilets have a different plumbing design than sinks and showers, and the baking soda and vinegar mixture may not be as effective in clearing toilet clogs. Additionally, the boiling water could potentially crack the porcelain bowl of your toilet. For toilet clogs, it’s best to use a plunger or a toilet auger.
What kind of vinegar should I use?
Plain white vinegar is the best choice for this DIY drain cleaner recipe. It’s inexpensive, readily available, and has the right acidity to react effectively with the baking soda. Avoid using flavored vinegars or cleaning vinegars, as they may contain additives that could be harmful to your pipes.
Does the order of ingredients matter?
Yes, the order of ingredients does matter. It’s important to pour the baking soda down the drain first, followed by the vinegar. This allows the baking soda to settle at the bottom of the drain and react directly with the vinegar, creating the fizzing action that loosens the clog. If you pour the vinegar first, it may simply wash away the baking soda without creating the desired reaction.
What if I don’t have boiling water?
If you don’t have boiling water, you can use hot tap water instead. While boiling water is more effective at dissolving grease and debris, hot tap water will still help to flush away the loosened clog. Just be sure to use the hottest water your tap can produce.
Is there anything I can do to prevent future clogs?
Absolutely! Prevention is always better than cure. Here are a few tips to prevent future clogs:
* Use drain screens in your sinks and showers to catch hair and other debris.
* Avoid pouring grease down the drain. Instead, dispose of it in a container and throw it away.
* Flush your drains with hot water regularly to prevent buildup.
* Periodically clean your drain stoppers and traps to remove accumulated debris.
Can I add salt to the mixture?
While some DIY recipes include salt, it’s not necessary for this particular drain cleaner recipe. The baking soda and vinegar combination is already effective at loosening clogs. Adding salt may not provide any additional benefit and could potentially contribute to corrosion in older pipes.
What if the clog returns after using this DIY drain cleaner?
If the clog returns after using this DIY drain cleaner, it may indicate a more serious problem, such as a blockage further down the drainpipe or a damaged pipe. In such cases, it’s best to consult a professional plumber to diagnose and repair the issue. Ignoring persistent clogs can lead to more significant plumbing problems and costly repairs in the future.

Leave a Comment