

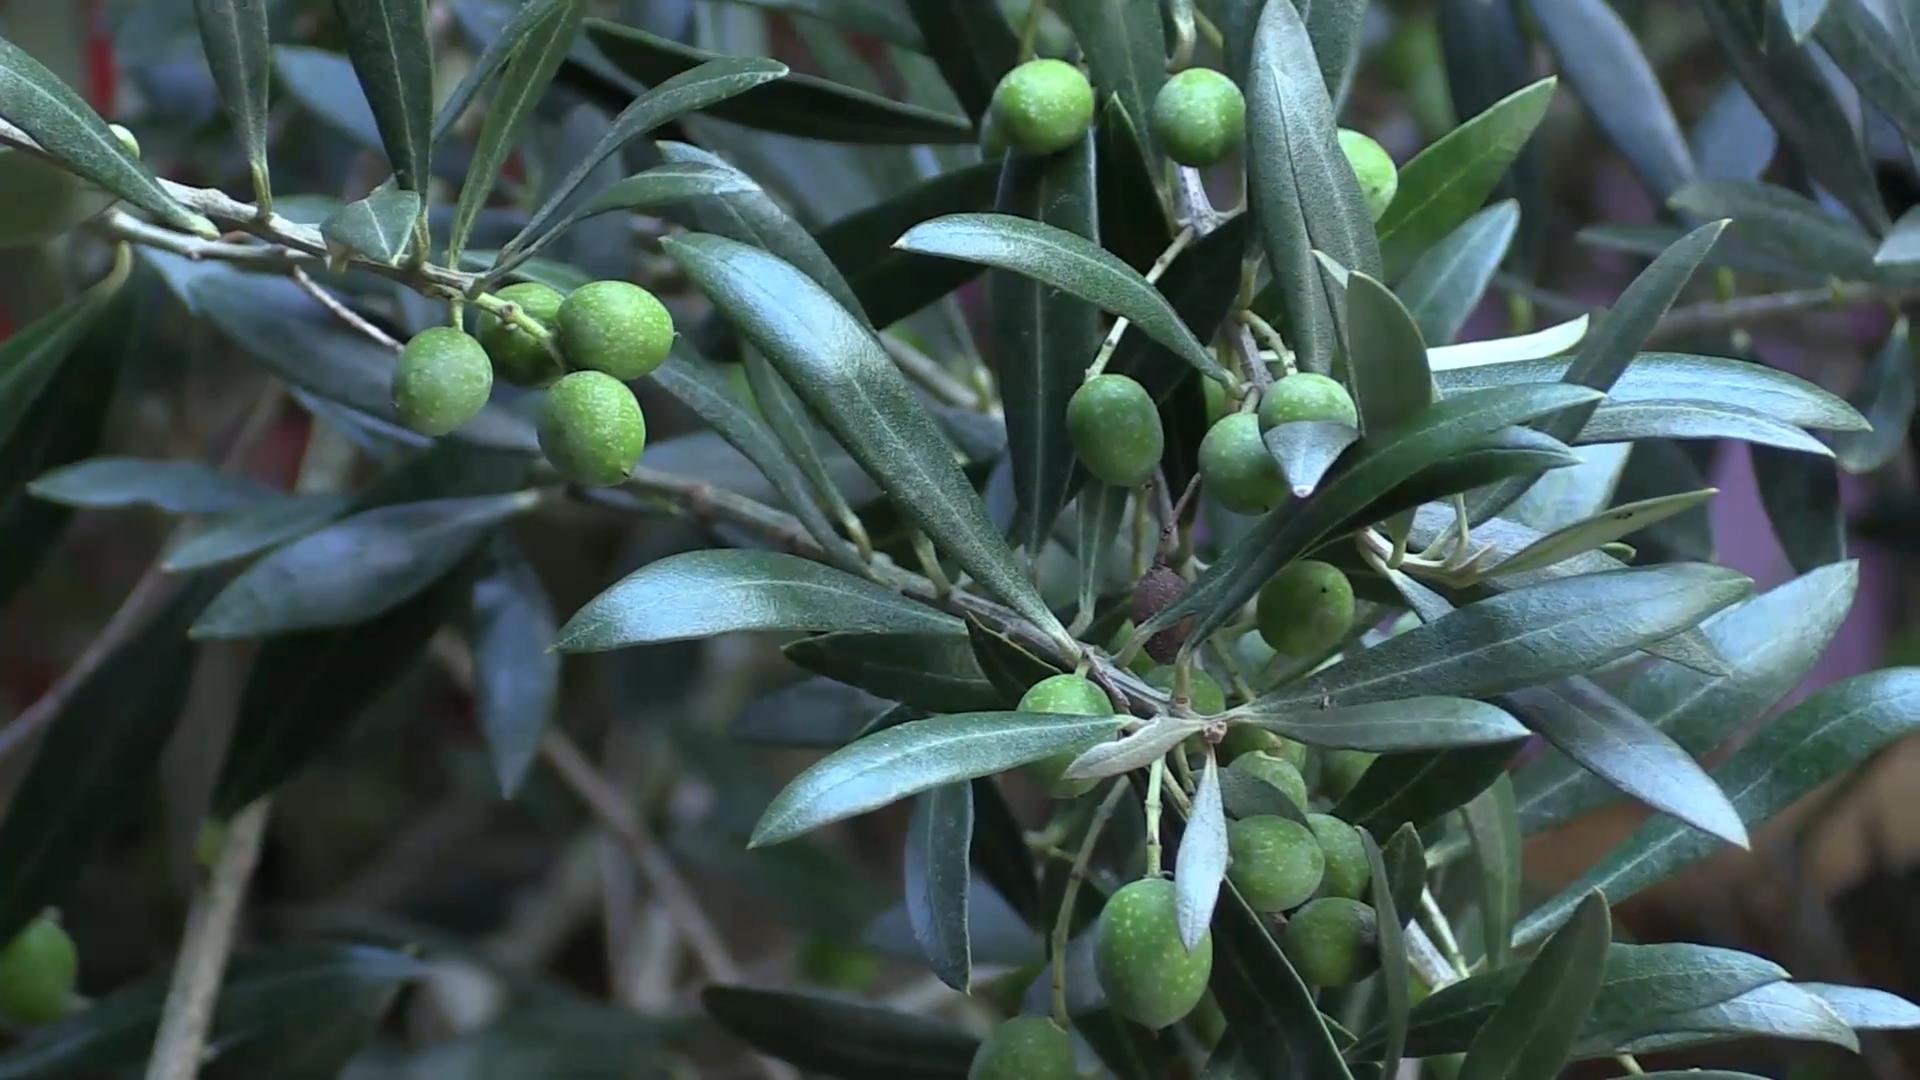
Growing Table Olives at home might sound like a Mediterranean dream, but trust me, it’s more achievable than you think! For centuries, olives have been a staple in diets and cultures around the world, symbolizing peace, wisdom, and abundance. From the ancient Greeks who crowned Olympic victors with olive wreaths to the sun-drenched groves of Italy and Spain, the olive tree holds a special place in history.
But why should you consider growing table olives yourself? Well, imagine the satisfaction of harvesting your own plump, flavorful olives, knowing exactly where they came from and how they were grown. Plus, store-bought olives can be expensive and often lack the fresh, vibrant taste of homegrown ones. This DIY guide will walk you through simple, effective tricks and hacks to successfully cultivate your own olive trees, even if you have limited space or gardening experience. I’m here to show you that with a little know-how, you can enjoy the delicious rewards of your own olive harvest. Let’s get started!
DIY: Turning Store-Bought Table Olives into Thriving Olive Trees
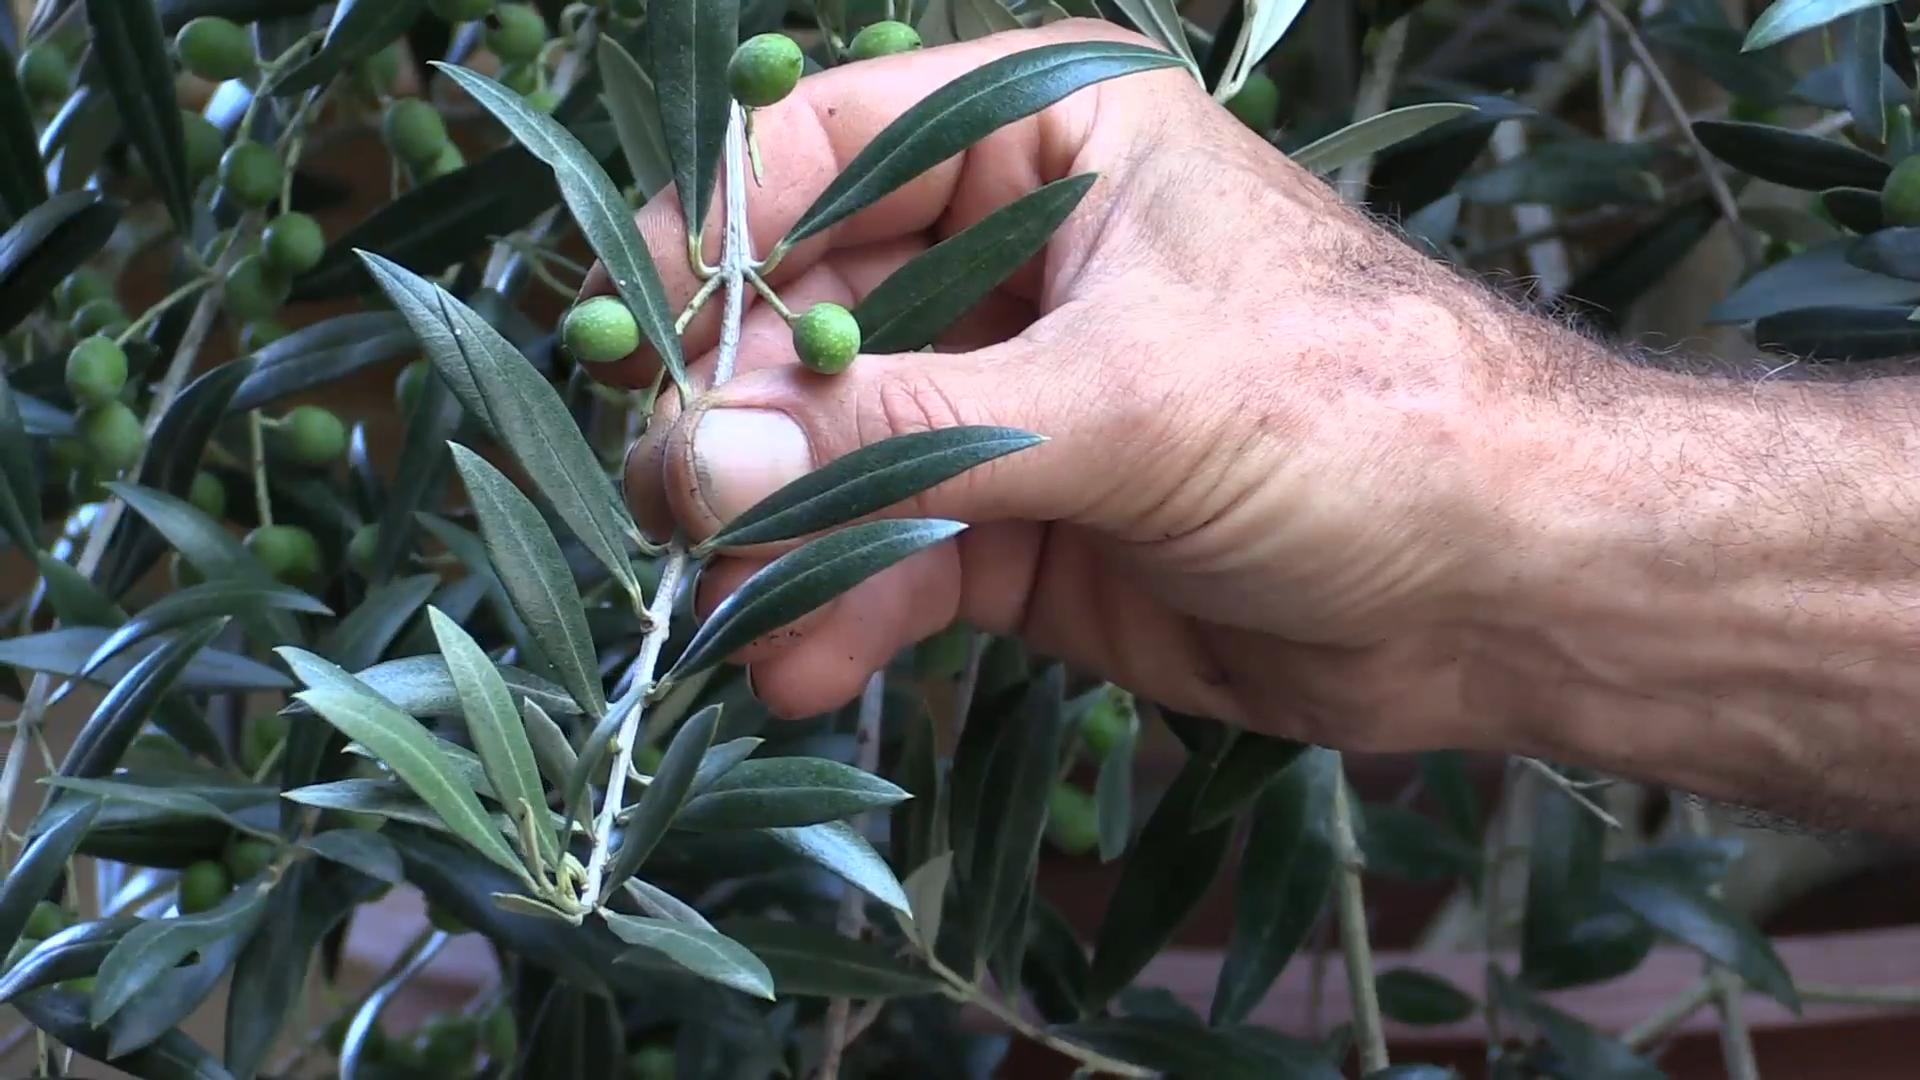
Okay, so you love olives, right? I mean, who doesn’t? But have you ever thought about growing your own olive tree from those delicious, brined beauties you buy at the grocery store? It sounds a little crazy, I know, but trust me, it’s a fun and rewarding project. It’s a bit of a gamble, and it takes patience, but the potential payoff of having your own olive tree is totally worth it.
Important Considerations Before You Start:
* Olive Variety: Not all table olives are created equal. Kalamata olives are often a good choice because they are less processed. Avoid olives that are heavily processed, pitted, or stuffed, as these are less likely to germinate. Look for olives that still have their pits intact and haven’t been treated with harsh chemicals.
* Climate: Olive trees thrive in warm climates with mild winters. If you live in a region with harsh winters, you’ll need to grow your olive tree in a pot so you can bring it indoors during the colder months.
* Patience is Key: Growing an olive tree from a pit is a slow process. It can take several months for the pit to germinate, and several years for the tree to produce fruit. Don’t get discouraged if you don’t see results immediately.
* Legal Considerations: In some areas, there might be restrictions on growing certain types of trees. Check with your local authorities before planting an olive tree in your yard.
Phase 1: Preparing the Olive Pits
This is arguably the most crucial part. Getting the pits ready for germination is key to success.
1. Gather Your Supplies: You’ll need:
* Table olives (Kalamata are a good bet)
* A sharp knife or nutcracker
* Paper towels
* A small container or jar
* Hydrogen peroxide (3% solution)
* Gloves (optional, but recommended)
2. Extract the Pits: This is where things can get a little messy. Carefully remove the olive flesh from the pits. You can use a sharp knife to gently cut around the pit, or a nutcracker to crack the olive open. Be careful not to damage the pit itself. I prefer using a knife and gently working my way around the pit.
3. Clean the Pits: Once you’ve extracted the pits, thoroughly clean them to remove any remaining olive flesh. This is important to prevent mold and bacteria growth, which can hinder germination. Rinse the pits under running water and scrub them gently with your fingers.
4. Hydrogen Peroxide Soak: Soak the cleaned pits in a 3% hydrogen peroxide solution for about an hour. This will help to sterilize the pits and further prevent mold growth. The hydrogen peroxide also helps to soften the hard outer shell of the pit, making it easier for the seedling to emerge.
5. Drying the Pits: After soaking, rinse the pits again with clean water and pat them dry with paper towels. Allow the pits to air dry completely for a day or two. This will help to prevent them from rotting.
Phase 2: Scarifying the Olive Pits
Olive pits have a very hard outer shell that can prevent water from penetrating and triggering germination. Scarification is the process of weakening or breaking down this shell to allow moisture to reach the embryo inside.
1. Choose Your Scarification Method: There are a few different ways to scarify olive pits:
* Sanding: Use a piece of sandpaper (medium grit) to gently sand down one side of the pit. Be careful not to sand too deep, as you don’t want to damage the embryo. The goal is to thin the shell, not to completely remove it.
* Cracking: Use a nutcracker or pliers to gently crack the pit. Apply just enough pressure to create a small crack in the shell. Again, be careful not to crush the pit completely.
* Knife: Carefully use a sharp knife to chip away a small piece of the shell. This method requires a steady hand and a lot of caution.
2. My Preferred Method (Sanding): I personally prefer the sanding method because it’s less likely to damage the embryo. I use a medium-grit sandpaper and gently sand down one side of the pit until I can see a slight change in color.
3. Be Gentle: Regardless of the method you choose, remember to be gentle. The goal is to weaken the shell, not to destroy the pit.
Phase 3: Stratification (Cold Treatment)
Stratification is the process of exposing the olive pits to cold temperatures for a period of time. This mimics the natural winter conditions that olive pits would experience in the wild and helps to break their dormancy.
1. Prepare Your Stratification Container: You’ll need:
* A small plastic bag or container
* Moist paper towels or vermiculite
* The scarified olive pits
2. Moisten the Medium: Dampen the paper towels or vermiculite with water. They should be moist but not soaking wet. You want to create a humid environment for the pits.
3. Place the Pits in the Medium: Place the scarified olive pits in the moist paper towels or vermiculite. Make sure the pits are not touching each other.
4. Seal the Container: Seal the plastic bag or container tightly to prevent moisture loss.
5. Refrigerate: Place the sealed container in the refrigerator for 6-8 weeks. The ideal temperature is between 35-45°F (2-7°C).
6. Check Periodically: Check the pits periodically to make sure the paper towels or vermiculite are still moist. If they are drying out, add a little water. Also, check for any signs of mold or rot. If you see any, remove the affected pits immediately.
Phase 4: Planting the Olive Pits
After the stratification period, it’s time to plant the olive pits and hope for germination!
1. Prepare Your Planting Containers: You’ll need:
* Small pots or seedling trays
* Well-draining potting mix (a mix of perlite, peat moss, and vermiculite works well)
2. Fill the Containers: Fill the pots or seedling trays with the potting mix.
3. Plant the Pits: Plant the stratified olive pits about 1 inch deep in the potting mix.
4. Water Gently: Water the soil gently to moisten it. Be careful not to overwater, as this can cause the pits to rot.
5. Provide Warmth and Light: Place the pots or seedling trays in a warm location with bright, indirect light. A sunny windowsill or a grow light works well.
6. Maintain Moisture: Keep the soil consistently moist but not soggy. You can use a spray bottle to mist the soil regularly.
Phase 5: Caring for Your Olive Seedlings
Once your olive pits germinate and seedlings emerge, it’s important to provide them with the proper care to ensure their healthy growth.
1. Watering: Water your olive seedlings regularly, but be careful not to overwater. Allow the soil to dry out slightly between waterings. Overwatering can lead to root rot.
2. Light: Olive seedlings need plenty of light to thrive. Place them in a location where they will receive at least 6-8 hours of sunlight per day. If you don’t have enough natural light, you can supplement with a grow light.
3. Fertilizing: Fertilize your olive seedlings every 2-3 weeks with a balanced liquid fertilizer. Follow the instructions on the fertilizer label.
4. Repotting: As your olive seedlings grow, they will need to be repotted into larger containers. Choose a pot that is at least 2 inches larger in diameter than the current pot.
5. Pruning: Prune your olive seedlings regularly to encourage branching and a bushy growth habit. Remove any dead or damaged branches.
6. Pest and Disease Control: Keep an eye out for pests and diseases. Common pests that can affect olive trees include aphids, scale, and spider mites. Treat any infestations promptly with an appropriate insecticide or miticide. Olive trees can also be susceptible to fungal diseases, such as olive knot. Prevent fungal diseases by providing good air circulation and avoiding overwatering.
Phase 6: Planting Your Olive Tree (If Applicable)
If you live in a climate that is suitable for growing olive trees outdoors, you can eventually transplant your seedling into the ground.
1. Choose a Location: Select a location that receives full sun and has well-draining soil. Olive trees prefer slightly alkaline soil.
2. Prepare the Soil: Dig a hole that is twice as wide and as deep as the root ball of your olive tree. Amend the soil with compost or other organic matter to improve drainage and fertility.
3. Plant the Tree
Conclusion
So, there you have it! Transforming humble, bitter olives into delectable, ready-to-eat treats right in your own home is not only achievable but surprisingly rewarding. This DIY method for curing table olives is a game-changer for anyone who appreciates fresh, flavorful ingredients and enjoys a touch of culinary adventure. Forget the store-bought varieties laden with preservatives and questionable additives. With a little patience and this simple process, you can enjoy olives bursting with natural flavor, perfectly seasoned to your own taste.
Why is this a must-try? Because it puts you in control. You dictate the level of saltiness, the intensity of the brine, and the aromatic herbs that infuse each olive with its unique character. Imagine serving a platter of homemade olives at your next gathering, knowing you nurtured them from their raw state to their delicious final form. The satisfaction is unparalleled.
But don’t stop there! The beauty of this DIY project lies in its adaptability. Experiment with different brines. Try adding a splash of red wine vinegar for a tangy kick, or a pinch of chili flakes for a subtle heat. Infuse your olives with lemon or orange zest for a citrusy aroma, or add a bay leaf or two for a more complex, savory flavor. Consider using different types of olives, each offering a unique texture and taste profile. Kalamata olives, for example, are known for their rich, fruity flavor, while Manzanilla olives are prized for their firm texture and mild taste.
Variations to Explore:
* Spicy Olives: Add dried chili flakes, sliced jalapeños, or a dash of hot sauce to your brine for a fiery kick.
* Herbed Olives: Infuse your brine with fresh rosemary, thyme, oregano, or bay leaves for an aromatic flavor.
* Citrus Olives: Add lemon or orange zest to your brine for a bright, refreshing taste.
* Garlic Olives: Add crushed garlic cloves to your brine for a pungent, savory flavor.
* Smoked Olives: After curing, lightly smoke your olives for a unique, smoky flavor.
This isn’t just about curing olives; it’s about connecting with your food, understanding the process, and creating something truly special. It’s about taking a simple ingredient and transforming it into a culinary masterpiece.
We wholeheartedly encourage you to embark on this DIY journey. Gather your olives, prepare your brine, and get ready to experience the joy of homemade table olives. And most importantly, share your experiences with us! We’d love to hear about your successes, your experiments, and your unique flavor combinations. Post photos of your creations, share your tips and tricks, and let’s build a community of olive-curing enthusiasts. Your feedback will not only inspire others but also help us refine and improve this method for everyone. So, go ahead, give it a try, and let the olive adventure begin!
Frequently Asked Questions (FAQs)
What type of olives are best for curing?
The best olives for curing are those that are firm and unblemished. Green olives are generally preferred for brining, while black olives are often cured using a dry-salting method. Popular varieties for curing include Manzanilla, Sevillano, Kalamata, and Mission olives. However, you can experiment with different varieties to find your personal favorite. The key is to choose olives that are fresh and free from bruises or soft spots.
How long does it take to cure olives?
The curing time for olives can vary depending on the method used and the type of olive. Generally, lye curing is the fastest method, taking only a few days. Brine curing can take several weeks or even months. Water curing typically takes several weeks. The best way to determine if your olives are ready is to taste them. They should no longer be bitter and should have a pleasant, salty flavor.
What is the purpose of curing olives?
The purpose of curing olives is to remove the naturally occurring oleuropein, a bitter compound that makes raw olives unpalatable. Curing breaks down the oleuropein, making the olives edible and palatable. Different curing methods achieve this in different ways, but the end result is the same: delicious, ready-to-eat olives.
Can I use tap water for curing olives?
While tap water can be used, it’s generally recommended to use filtered or distilled water for curing olives. Tap water can contain chlorine and other chemicals that can affect the flavor of the olives. If you do use tap water, let it sit for 24 hours to allow the chlorine to evaporate.
How do I store cured olives?
Cured olives should be stored in an airtight container in the refrigerator. They can be stored in their brine or in olive oil. Properly stored olives can last for several months in the refrigerator. Make sure the olives are always submerged in liquid to prevent them from drying out or spoiling.
What if my olives are still bitter after curing?
If your olives are still bitter after the initial curing period, you can extend the curing time. Continue changing the water or brine regularly until the bitterness is gone. You can also try soaking the olives in a fresh brine solution with a higher salt concentration. Taste the olives periodically to check for bitterness.
Can I use sea salt instead of regular salt for the brine?
Yes, you can use sea salt instead of regular salt for the brine. Sea salt can add a more complex flavor to the olives. However, make sure to use pure sea salt without any additives. The salt concentration should be the same regardless of the type of salt used.
How do I prevent mold from growing on my olives during curing?
To prevent mold from growing on your olives during curing, make sure to keep them submerged in the brine or water. You can use a plate or a small weight to keep the olives submerged. Also, make sure to use clean containers and utensils. If you see any mold growing, discard the affected olives and clean the container thoroughly.
Can I add vinegar to the brine?
Yes, adding vinegar to the brine can help to preserve the olives and add a tangy flavor. A small amount of vinegar, such as red wine vinegar or white vinegar, can be added to the brine solution. Start with a small amount and adjust to taste.
What are some common mistakes to avoid when curing olives?
Some common mistakes to avoid when curing olives include:
* Using olives that are bruised or damaged.
* Not changing the water or brine frequently enough.
* Using too little salt in the brine.
* Not keeping the olives submerged in the liquid.
* Using contaminated containers or utensils.
By avoiding these mistakes, you can ensure that your olives are properly cured and taste delicious.
Is there a faster way to cure olives?
While traditional methods take time, lye curing is a faster alternative. However, it requires careful handling of lye (sodium hydroxide), which is a corrosive substance. If you choose to use lye curing, be sure to follow the instructions carefully and wear protective gear.
Can I dry-cure olives?
Yes, dry-curing is another method, primarily used for black olives. This involves packing the olives in salt and allowing them to dehydrate over time. The salt draws out the moisture and bitterness. This method results in a wrinkled, intensely flavored olive.
What is the best way to weigh down the olives in the brine?
A small plate that fits inside the jar or container works well. You can also use a clean plastic bag filled with water. The goal is to keep all the olives submerged to prevent spoilage.
How do I know when the olives are fully cured and ready to eat?
The only way to be sure is to taste them! After the recommended curing time, remove an olive, rinse it well, and taste it. If it’s still bitter, continue the curing process. The olives are ready when they have a pleasant, salty flavor and no lingering bitterness. Enjoy your homemade table olives!


Leave a Comment