

DIY candle making: ever wondered how to transform your kitchen into a fragrant haven, filled with the warm glow of handcrafted candles? I know I have! For centuries, candles have been more than just a source of light; they’ve been symbols of hope, celebration, and even remembrance. From ancient Egyptians using beeswax to create rudimentary tapers to medieval Europeans crafting tallow candles, the art of candle making has a rich and fascinating history.
But let’s be honest, in today’s busy world, who has time for complicated crafts? That’s where these simple, yet effective, DIY candle making tricks come in. I’m going to show you how to create beautiful, personalized candles without breaking the bank or spending hours slaving away. Whether you’re looking to add a touch of ambiance to your home, create unique gifts for friends and family, or simply unwind with a relaxing hobby, these hacks will empower you to become a candle-making pro in no time.
Imagine the satisfaction of lighting a candle you made yourself, knowing exactly what ingredients went into it and the love you poured into its creation. Plus, with rising prices and concerns about synthetic fragrances, learning to make your own candles is not only a fun and creative outlet, but also a smart and sustainable choice. So, grab your supplies, and let’s get started on this illuminating journey!
DIY Candle Making: A Beginner’s Guide to Creating Your Own Scentsational Candles
Hey there, candle enthusiasts! Ever wondered how those beautifully scented candles are made? Well, I’m here to tell you it’s easier than you think! Forget expensive store-bought candles – with a little patience and these simple steps, you can create your own personalized candles right at home. Let’s dive in!
What You’ll Need: Gathering Your Supplies
Before we get started, let’s make sure you have everything you need. This is crucial for a smooth candle-making experience. Trust me, you don’t want to be running to the store mid-melt!
* Wax: Soy wax flakes are my personal favorite. They’re natural, burn cleanly, and hold fragrance well. Paraffin wax is another option, but soy is generally considered more eco-friendly. You can also use beeswax, but it has a distinct scent that might interfere with your fragrance.
* Wicks: Choose the right wick size for your container diameter. Too small, and your candle will tunnel (burn down the center, leaving wax on the sides). Too large, and you’ll get a huge flame and excessive smoke. Pre-tabbed wicks are super convenient.
* Fragrance Oil: This is where you get to be creative! Pick your favorite scents – lavender, vanilla, citrus, sandalwood… the possibilities are endless! Make sure you’re using fragrance oils specifically designed for candles. Essential oils can be used, but they may not throw scent as strongly.
* Containers: Jars, tins, teacups – anything heat-safe can be a candle container! Just make sure it’s clean and dry.
* Double Boiler or Heat-Safe Bowl and Saucepan: This is how we’ll melt the wax safely.
* Thermometer: A candy thermometer or digital thermometer is essential for monitoring the wax temperature.
* Pouring Pitcher: Makes pouring the wax into containers much easier and less messy.
* Scale: For accurately measuring wax and fragrance oil.
* Wick Stickers or Glue Dots: To secure the wicks to the bottom of the containers.
* Wooden Skewers or Chopsticks: To center the wicks.
* Paper Towels: For cleaning up any spills.
* Optional: Dye chips or liquid dye for adding color to your candles.
Step-by-Step Candle Making Instructions
Okay, now for the fun part! Follow these steps carefully, and you’ll be enjoying your homemade candles in no time.
1. Prepare Your Containers:
* Clean your containers thoroughly with soap and water, and dry them completely. Any residue can affect the candle’s burn.
* Attach the wicks to the bottom of the containers using wick stickers or glue dots. Make sure the wicks are centered. This is important for an even burn.
* Use wooden skewers or chopsticks to hold the wicks upright and centered. Lay them across the top of the container, with the wick sandwiched in between.
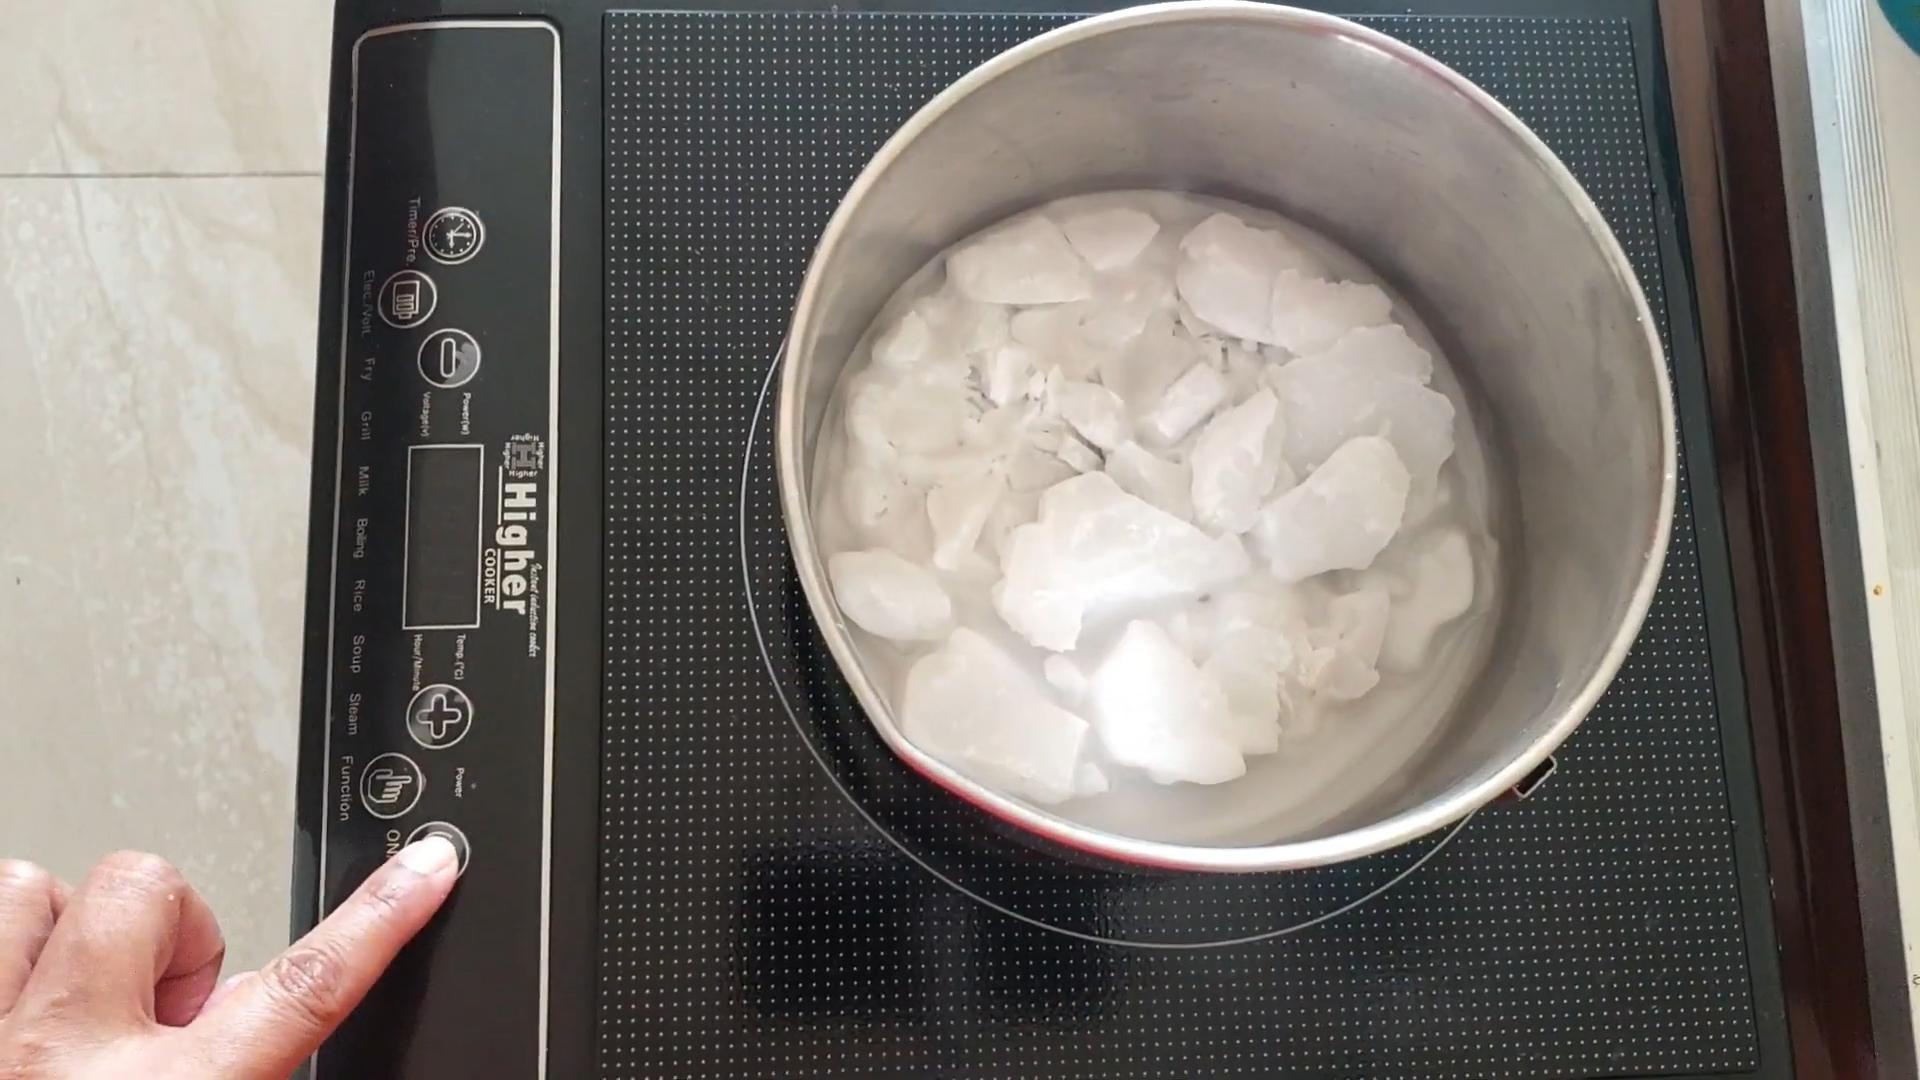
2. Melt the Wax:
* Fill a saucepan with a few inches of water and bring it to a simmer.
* Place your heat-safe bowl or double boiler on top of the saucepan.
* Add the soy wax flakes to the bowl.
* Stir the wax occasionally with a heat-resistant spatula or spoon until it’s completely melted.
* Monitor the temperature with your thermometer. Soy wax should be heated to around 185°F (85°C). Don’t overheat it!
3. Add Fragrance Oil:
* Once the wax is fully melted and at the correct temperature, remove it from the heat.
* Let the wax cool slightly to around 180°F (82°C). This helps the fragrance bind properly.
* Add your fragrance oil. A good starting point is 6-10% fragrance oil by weight. So, for every pound of wax, you’d add about 1-1.6 ounces of fragrance oil. Use your scale to measure accurately.
* Stir gently but thoroughly for about two minutes to ensure the fragrance is evenly distributed.
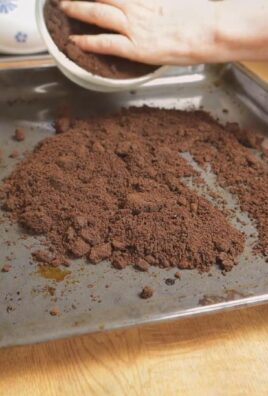
4. Add Dye (Optional):
* If you’re using dye, add it to the melted wax after you’ve added the fragrance oil.
* Start with a small amount of dye and stir until it’s completely dissolved. You can always add more to achieve your desired color.
5. Pour the Wax:
* Slowly and carefully pour the scented wax into your prepared containers. Leave about half an inch of space at the top.
* Try to pour in a steady stream to avoid air bubbles.
6. Cool and Cure:
* Let the candles cool and harden completely at room temperature. This usually takes several hours, or even overnight. Avoid moving them during this time.
* Once the candles are solid, trim the wicks to about ¼ inch.
* Curing is important! Allow your candles to cure for at least 24 hours, and preferably 1-2 weeks, before burning. This allows the fragrance to fully bind with the wax, resulting in a stronger scent throw.
Troubleshooting: Common Candle Making Problems and Solutions
Even with the best instructions, sometimes things don’t go exactly as planned. Here are some common issues and how to fix them:
* Tunneling: This happens when the candle only burns down the center, leaving wax on the sides.
* Solution: Make sure you’re using the correct wick size for your container diameter. You might need to use a larger wick. Also, let the candle burn long enough on the first burn to create a full melt pool (the entire surface of the candle is melted).
* Wet Spots: These are small, dark patches on the surface of the candle. They’re caused by the wax contracting as it cools.
* Solution: Wet spots are mostly cosmetic and don’t affect the candle’s performance. You can try preheating your containers before pouring the wax, or using a heat gun to gently warm the surface of the candle after it’s cooled.
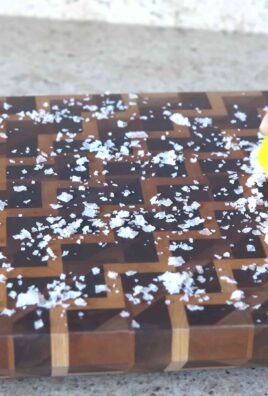
* Frosting: This is a white, crystalline coating that can appear on the surface of soy wax candles.
* Solution: Frosting is a natural characteristic of soy wax and doesn’t affect the candle’s burn or scent. You can try pouring the wax at a slightly lower temperature, or using a different type of soy wax.
* Poor Scent Throw: The candle doesn’t smell as strong as you’d like.
* Solution: Make sure you’re using enough fragrance oil (6-10% is a good starting point). Also, ensure you’re using fragrance oils specifically designed for candles. Let the candles cure for at least 24 hours, and preferably 1-2 weeks, before burning.
* Sooting: The candle produces black smoke while burning.
* Solution: Trim the wick to ¼ inch before each burn. Avoid burning the candle in a drafty area. You might also need to use a smaller wick.
Experimenting with Scents and Colors: Unleash Your Creativity
Now that you’ve mastered the basics, it’s time to get creative! Here are some ideas to inspire you:
* Scent Blending: Combine different fragrance oils to create your own unique scents. Try mixing lavender and vanilla for a relaxing blend, or citrus and ginger for an energizing scent.
* Layered Candles: Pour different colored and scented layers of wax into your containers. Let each layer cool and harden slightly before pouring the next.
* Embedded Objects: Add small, heat-safe objects to your candles, such as dried flowers, crystals, or coffee beans. Be careful not to add anything that could be flammable or obstruct the wick.
* Different Containers: Experiment with different types of containers, such as teacups, mason jars, or even seashells.
Safety First: Important Candle Making Precautions
Candle making is a fun and rewarding hobby, but it’s important to take safety precautions:
* Never leave melting wax unattended.
* Use a thermometer to monitor the wax temperature. Overheating wax can be dangerous.
* Work in a well-ventilated area.
* Keep flammable materials away from the melting wax and finished candles.
* Extinguish candles properly. Use a candle snuffer or gently blow out the flame.
* Never burn a candle all the way down. Stop burning it when there’s about ½ inch of wax left at the bottom.
* Keep candles out of reach of children and pets.
With a little practice, you’ll be creating beautiful and fragrant candles that you can enjoy yourself or give as gifts. Happy candle making!
Conclusion
So, there you have it! This DIY candle making trick isn’t just a fun craft project; it’s a gateway to creating personalized ambiance, reducing waste, and saving money. Forget those overpriced, mass-produced candles that often contain questionable ingredients. With a few simple supplies and this easy-to-follow method, you can craft beautiful, fragrant candles that perfectly reflect your style and preferences.
Why is this a must-try? Because it empowers you to control every aspect of your candle, from the type of wax you use (soy, beeswax, coconut – the choice is yours!) to the fragrance that fills your home. Imagine the satisfaction of lighting a candle you made yourself, knowing exactly what went into it and that it’s free from harmful chemicals. Plus, it’s incredibly therapeutic! The process of melting wax, adding fragrance, and carefully pouring it into a container is surprisingly calming and meditative.
But the fun doesn’t stop there! This DIY candle making method is incredibly versatile. Want to create a layered candle with different colors and scents? Go for it! How about embedding dried flowers or herbs for a rustic, natural look? Absolutely! You can even experiment with different types of wicks to achieve the perfect burn. Consider using wooden wicks for a crackling fireplace effect or trying different sizes to optimize the melt pool.
For a truly unique touch, explore using essential oils instead of fragrance oils. Lavender, chamomile, and sandalwood are excellent choices for creating a relaxing atmosphere, while citrus oils like lemon and grapefruit can invigorate and uplift. Just be sure to research the safe usage levels of essential oils in candles.
Another exciting variation is to repurpose old containers. Vintage teacups, mason jars, and even seashells can be transformed into charming candle holders. This is a fantastic way to give new life to forgotten treasures and add a personal touch to your creations. Just ensure the container is heat-resistant and free from cracks or chips.
We’re confident that once you try this DIY candle making trick, you’ll be hooked. It’s a rewarding and creative way to enhance your home environment and create thoughtful gifts for friends and family.
So, gather your supplies, unleash your creativity, and get ready to experience the joy of crafting your own custom candles. Don’t forget to share your creations with us! We’d love to see your unique designs and hear about your experiences. Tag us in your photos on social media and let us know what scents and variations you’ve tried. Happy candle making!
Frequently Asked Questions (FAQ)
What type of wax is best for DIY candle making?
The best type of wax depends on your preferences and desired outcome. Soy wax is a popular choice for beginners because it’s natural, renewable, and produces a clean burn. It also holds fragrance well. Beeswax is another natural option that offers a subtle honey scent and a longer burn time. However, it can be more expensive than soy wax. Coconut wax is a relatively new option that’s known for its excellent fragrance throw and clean burn. Paraffin wax is a synthetic option that’s affordable and readily available, but it’s not as environmentally friendly as natural waxes. Consider the pros and cons of each type before making your decision.
How much fragrance oil should I add to my candles?
A general guideline is to use 6-10% fragrance oil by weight. This means that for every pound of wax, you would add approximately 1-1.6 ounces of fragrance oil. However, the optimal amount can vary depending on the type of wax, the strength of the fragrance oil, and your personal preference. It’s always best to start with a lower percentage and gradually increase it until you achieve the desired scent throw. Too much fragrance oil can cause the candle to smoke or not burn properly. Always consult the fragrance oil manufacturer’s recommendations for safe usage levels.
What type of wick should I use?
The type of wick you use is crucial for a proper burn. The size of the wick should be appropriate for the diameter of your candle container. Too small of a wick will result in tunneling (where the wax only melts in the center), while too large of a wick will cause excessive smoking and a large flame. Wick manufacturers typically provide charts that recommend wick sizes based on container diameter. Cotton wicks are a common choice and come in various sizes and styles. Wooden wicks offer a crackling sound and a unique aesthetic. Experiment with different types and sizes to find the perfect wick for your candles.
How do I prevent sinkholes from forming in my candles?
Sinkholes are depressions that can form in the top of your candle as the wax cools and contracts. To prevent sinkholes, try the following:
* **Pour at the correct temperature:** Pouring the wax at the recommended temperature (usually around 135-145°F for soy wax) helps to ensure a smooth and even cooling process.
* **Slow cooling:** Avoid placing your candles in a cold or drafty area while they’re cooling. This can cause the wax to cool too quickly and unevenly.
* **Second pour:** After the initial pour has partially cooled, you can do a second, smaller pour to fill in any sinkholes that have formed.
* **Use a heat gun:** Gently use a heat gun to smooth out the surface of the candle after it has cooled.
Can I use essential oils instead of fragrance oils?
Yes, you can use essential oils in your DIY candle making, but there are a few things to keep in mind. Essential oils are more volatile than fragrance oils, meaning they evaporate more quickly. This can result in a weaker scent throw. You may need to use a higher percentage of essential oils to achieve the desired scent. Also, some essential oils can be flammable, so it’s important to research their flash points and use them safely. Always use pure, high-quality essential oils and consult with a qualified aromatherapist for guidance on safe usage levels.
How do I clean up spilled wax?
Spilled wax can be a pain to clean up, but here’s a simple method:
1. Let the wax cool and harden completely.
2. Use a dull knife or scraper to gently lift the hardened wax from the surface.
3. Place a paper towel over any remaining wax residue.
4. Iron over the paper towel on a low setting. The heat will melt the wax, which will then be absorbed by the paper towel.
5. Repeat as needed until all the wax is removed.
6. Clean the surface with soap and water to remove any remaining residue.
What safety precautions should I take when making candles?
Safety is paramount when making candles. Always work in a well-ventilated area and never leave melting wax unattended. Use a double boiler or a dedicated wax melting pot to prevent the wax from overheating or catching fire. Wear heat-resistant gloves and eye protection to protect yourself from burns. Keep a fire extinguisher nearby in case of emergencies. Never pour wax down the drain, as it can clog your pipes. Dispose of leftover wax properly.

Leave a Comment