

DIY Beard Balm Recipe: Unlock the secret to a softer, healthier, and more manageable beard with this simple, all-natural recipe! Have you ever wondered how those impeccably groomed beards achieve their majestic sheen and perfect shape? The answer often lies in a well-crafted beard balm, and guess what? You don’t need to spend a fortune on fancy store-bought products. I’m going to show you how to make your own!
The art of beard grooming has been around for centuries, with evidence suggesting that ancient civilizations, from the Egyptians to the Vikings, used oils and balms to maintain their facial hair. A well-maintained beard was often a symbol of status, wisdom, and masculinity. Today, while the symbolism might have evolved, the desire for a healthy and well-groomed beard remains strong.
Let’s face it, a dry, itchy, and unruly beard can be a real pain. It can lead to discomfort, skin irritation, and even affect your overall confidence. That’s where this DIY beard balm recipe comes in. By creating your own balm, you have complete control over the ingredients, ensuring that you’re using only the best natural oils and butters to nourish your beard and skin. Plus, it’s a fun and rewarding project that will save you money in the long run. So, grab your apron, and let’s get started on crafting the perfect balm for your beard!
DIY Beard Balm: Tame Your Mane Naturally!
Alright fellas, let’s talk beard balm. Store-bought stuff can be pricey, and sometimes the ingredients list reads like a chemistry textbook. So, I’m going to show you how to whip up your own beard balm at home. It’s surprisingly easy, customizable, and way more satisfying than grabbing something off the shelf. Plus, you’ll know exactly what’s going on your face!
What You’ll Need: The Ingredient Rundown
Before we dive in, let’s gather our supplies. This recipe is pretty forgiving, so feel free to tweak it to your liking once you get the hang of it.
* **Beeswax:** This is the backbone of your balm, providing hold and structure. I recommend using cosmetic-grade beeswax pellets – they’re easier to measure and melt.
* **Shea Butter:** Shea butter adds moisture and softness to your beard. It’s also great for soothing any itchiness or irritation. Unrefined shea butter has a stronger scent, so keep that in mind.
* **Carrier Oil(s):** This is where you can really customize your balm. Carrier oils provide nourishment and shine. Some popular choices include:
* **Jojoba Oil:** Mimics your skin’s natural sebum, making it easily absorbed.
* **Argan Oil:** Rich in antioxidants and fatty acids, promoting healthy beard growth.
* **Sweet Almond Oil:** A lightweight oil that’s great for all beard types.
* **Coconut Oil:** Adds shine and helps to tame frizz. Use refined coconut oil if you don’t want a strong coconut scent.
* **Essential Oils (Optional):** This is where you add your signature scent! Choose essential oils that are safe for topical use and that you enjoy the aroma of. Some popular choices for beard balm include:
* **Cedarwood:** A warm, woody scent.
* **Sandalwood:** A rich, exotic scent.
* **Peppermint:** A refreshing, invigorating scent (use sparingly, as it can be irritating).
* **Tea Tree:** Has antiseptic properties and a clean scent.
* **Lavender:** A calming and soothing scent.
* **Double Boiler (or Heat-Safe Bowl and Saucepan):** For melting the ingredients safely.
* **Measuring Spoons or Cups:** For accurate measurements.
* **Spoon or Spatula:** For stirring.
* **Containers:** To store your finished beard balm. Small tins or jars work great.
The Recipe: Getting Down to Business
This recipe will make approximately 4 ounces of beard balm. You can easily adjust the quantities to make more or less.
* **Beeswax:** 1 ounce (by weight)
* **Shea Butter:** 1 ounce (by weight)
* **Carrier Oil(s):** 2 ounces (by weight) (You can use a single oil or a blend of oils)
* **Essential Oils:** 10-20 drops (adjust to your preference)
Step-by-Step Instructions: Let’s Make Some Balm!
Alright, let’s get started! I promise, it’s easier than it looks.
1. **Prepare Your Double Boiler:** Fill the bottom pot of your double boiler with a few inches of water. Bring the water to a simmer over medium heat. If you don’t have a double boiler, you can use a heat-safe bowl set over a saucepan of simmering water. Just make sure the bottom of the bowl doesn’t touch the water.
2. **Melt the Beeswax:** Add the beeswax to the top pot of the double boiler (or your heat-safe bowl). Let it melt completely, stirring occasionally. This will take a few minutes. Be patient!
3. **Add the Shea Butter:** Once the beeswax is melted, add the shea butter to the pot. Stir until it’s completely melted and smooth.
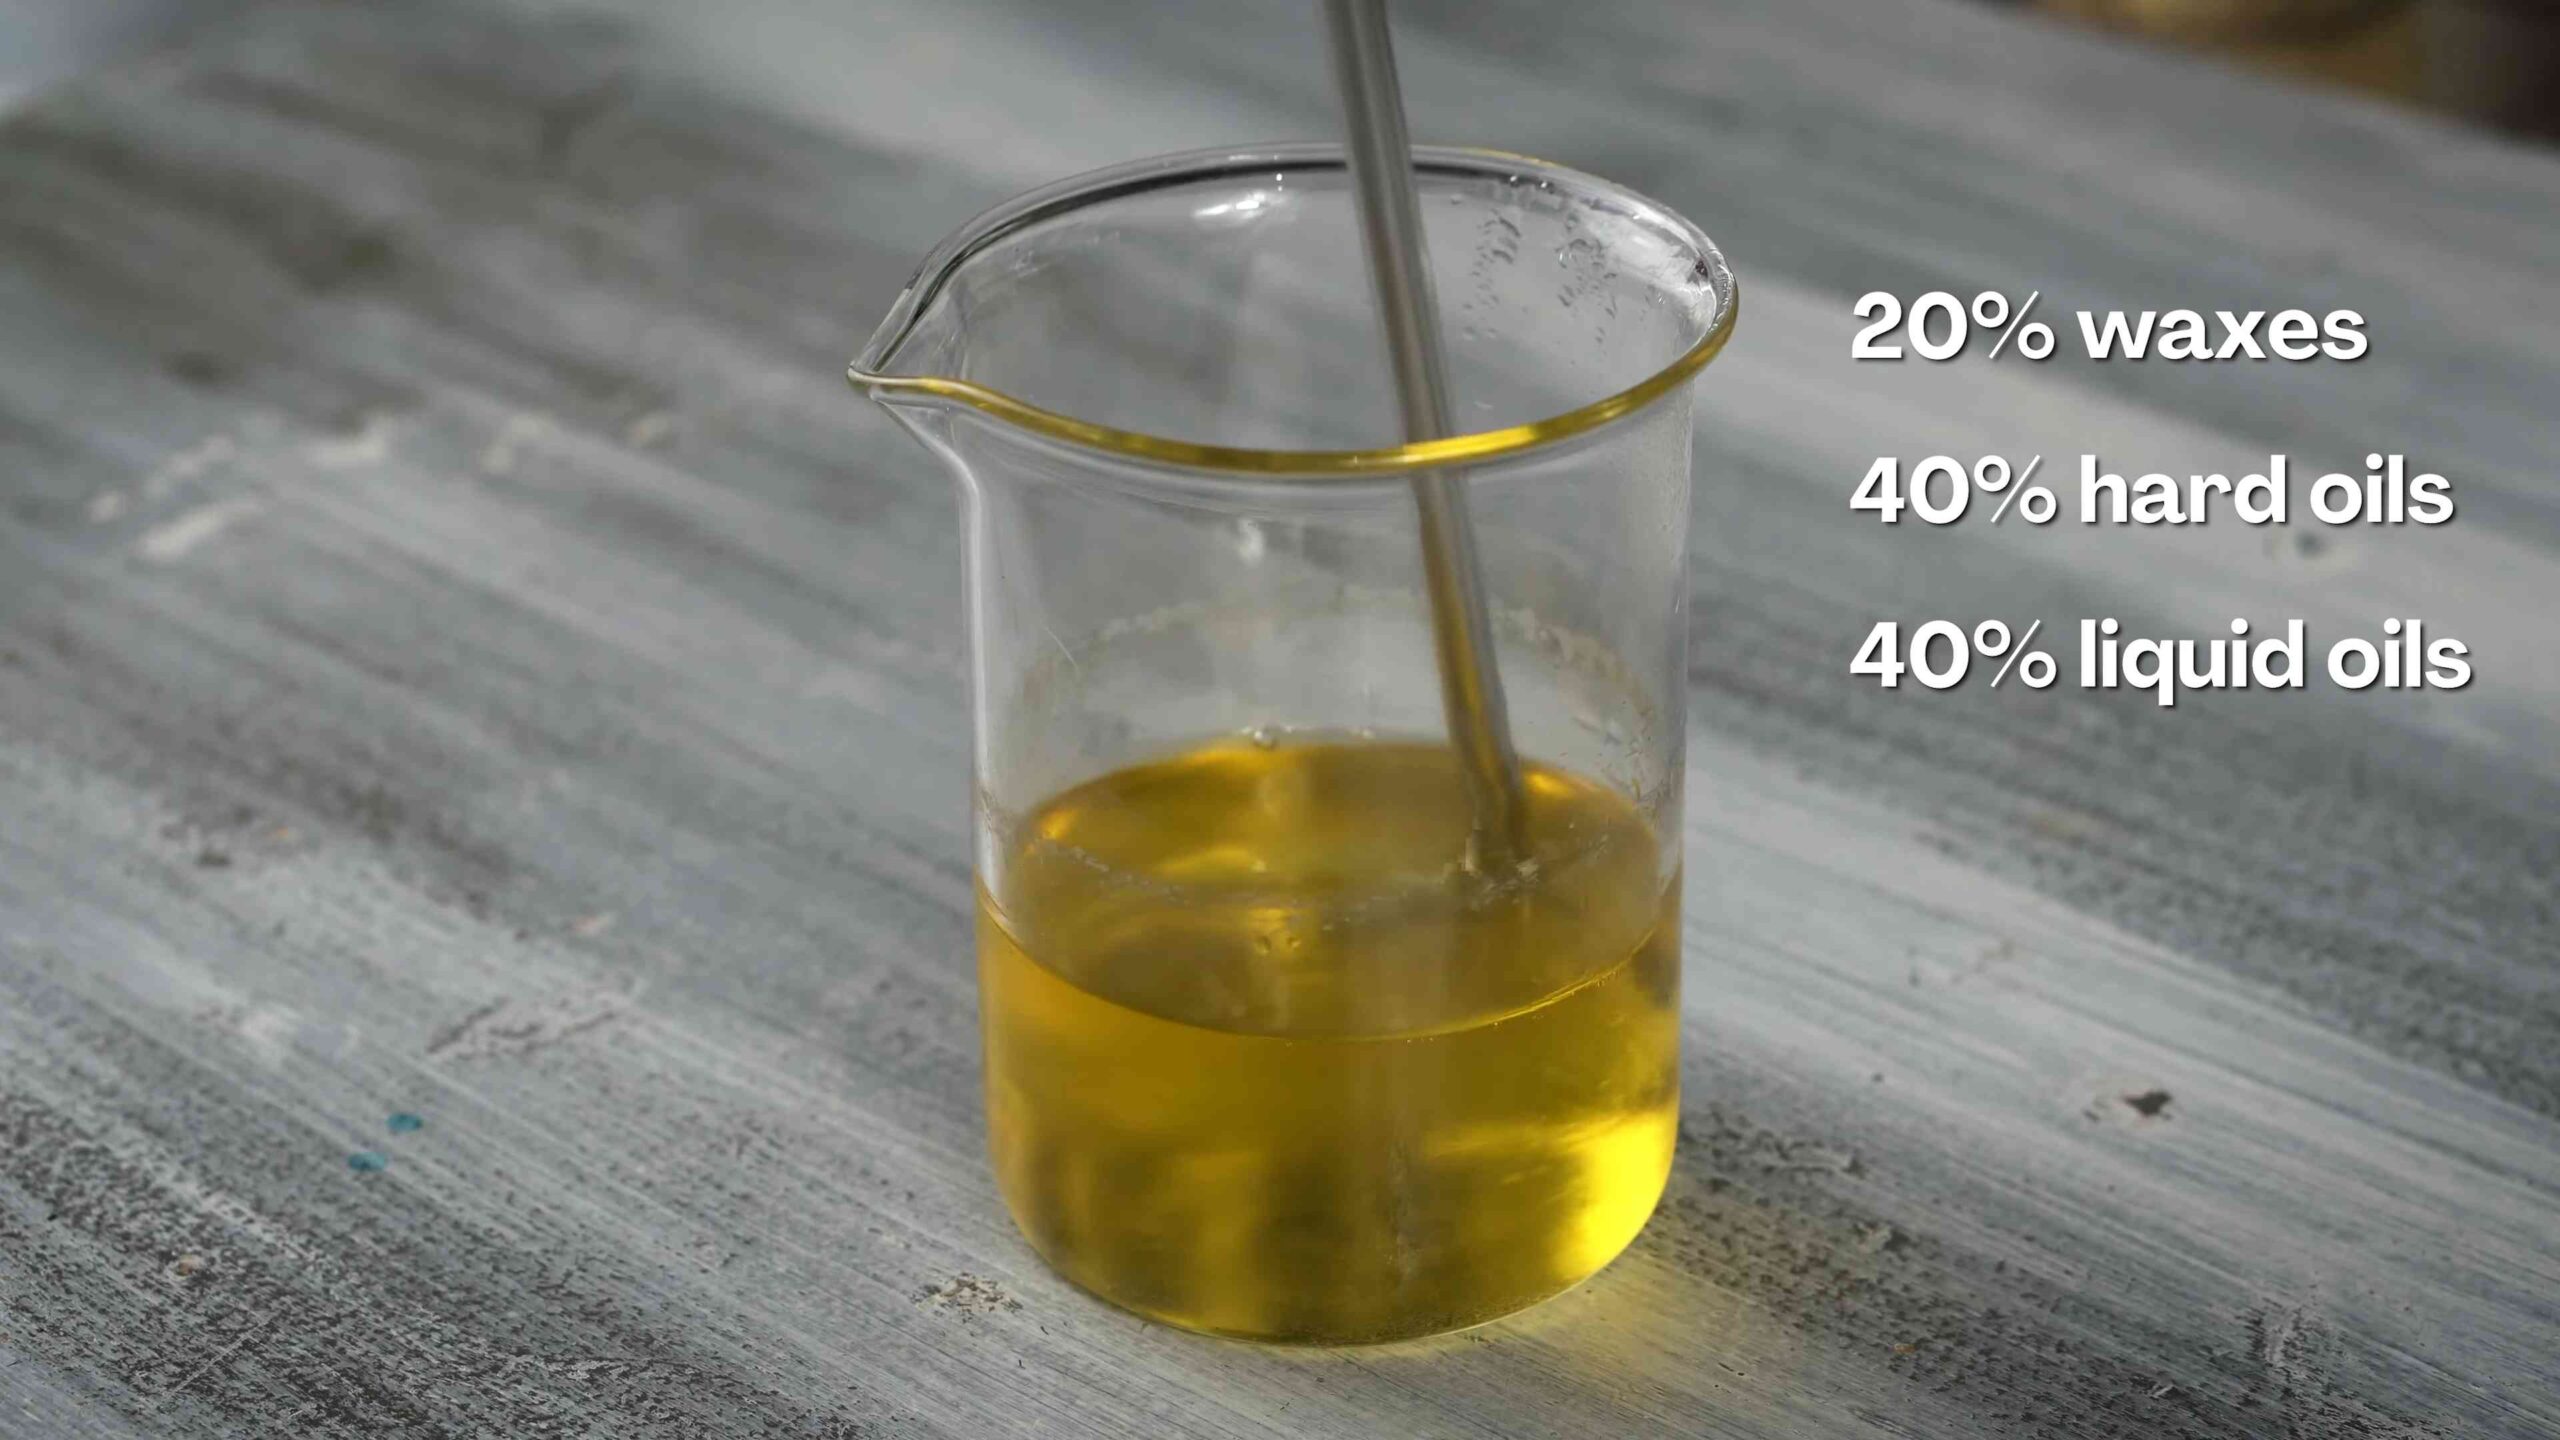
4. **Incorporate the Carrier Oil(s):** Now, pour in your chosen carrier oil(s). Stir well to combine all the ingredients.
5. **Remove from Heat:** Once everything is melted and well combined, remove the pot from the heat.
6. **Add Essential Oils (Optional):** Let the mixture cool slightly for a minute or two before adding your essential oils. This will help to preserve their scent and properties. Add the essential oils drop by drop, stirring well after each addition. Remember, you can always add more, but you can’t take it away!
7. **Pour into Containers:** Carefully pour the melted beard balm into your containers.
8. **Let it Cool and Harden:** Allow the beard balm to cool and harden completely at room temperature. This will take a few hours. You can speed up the process by placing the containers in the refrigerator, but I prefer to let them harden naturally.
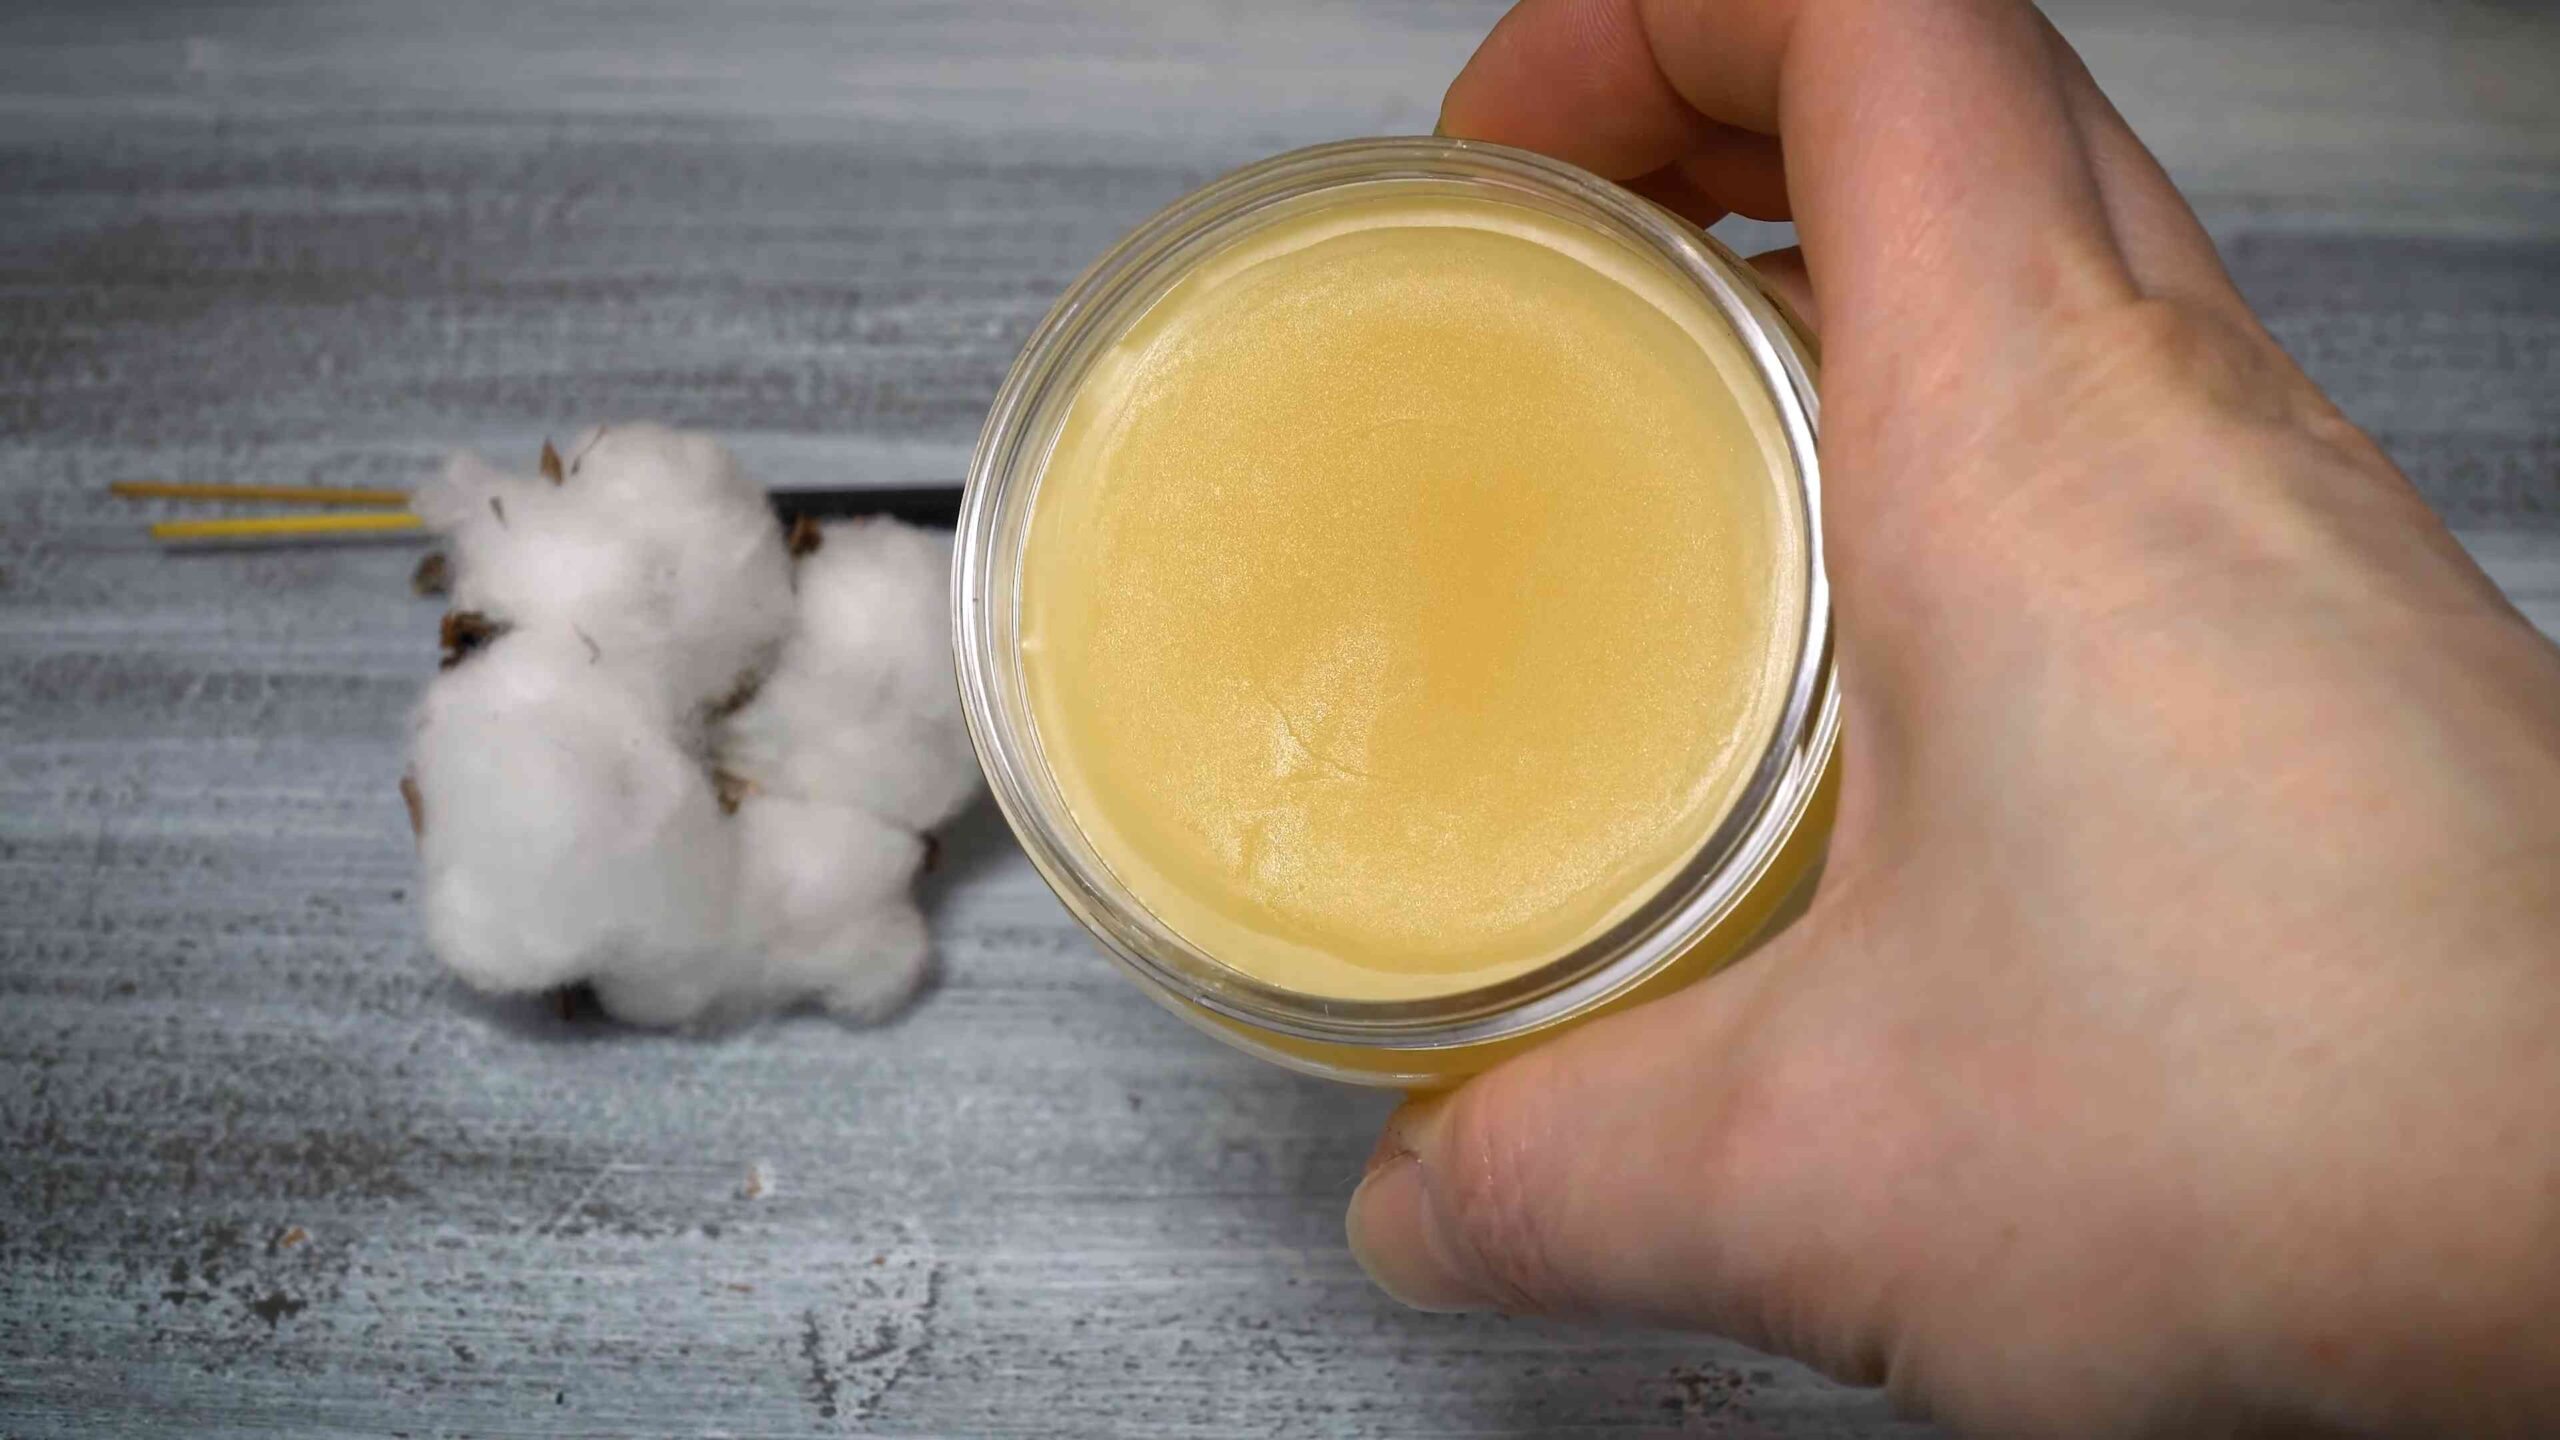
9. **Enjoy Your Homemade Beard Balm!** Once the balm is solid, it’s ready to use. Simply scoop out a small amount with your fingers, rub it between your palms to warm it up, and then apply it to your beard. Style as desired.
Troubleshooting: What If Things Go Wrong?
Even with the best instructions, sometimes things don’t go exactly as planned. Here are a few common issues and how to fix them:
* **Balm is Too Hard:** If your balm is too hard, it likely has too much beeswax. Next time, reduce the amount of beeswax and increase the amount of carrier oil. You can also try adding a bit more shea butter.
* **Balm is Too Soft:** If your balm is too soft, it likely doesn’t have enough beeswax. Next time, increase the amount of beeswax and reduce the amount of carrier oil.
* **Balm is Grainy:** This can happen if the shea butter wasn’t melted properly or if the balm cooled too slowly. To fix it, you can remelt the balm and let it cool slowly in the refrigerator.
* **Scent is Too Strong/Weak:** Adjust the amount of essential oils to your preference. Remember to start with a small amount and add more as needed.
Customization: Making it Your Own
The beauty of DIY is that you can customize everything to your liking. Here are a few ideas to get you started:
* **Experiment with Different Carrier Oils:** Try different combinations of carrier oils to find what works best for your beard. For example, you could try a blend of argan oil, jojoba oil, and grapeseed oil.
* **Create Your Own Signature Scent:** Mix and match essential oils to create a unique scent that reflects your personality. Just be sure to research the safety of each essential oil before using it.
* **Add Other Beneficial Ingredients:** Consider adding other ingredients like vitamin E oil (for antioxidant benefits) or lanolin (for extra moisture).
* **Adjust the Hold:** If you want a stronger hold, increase the amount of beeswax. If you want a lighter hold, decrease the amount of beeswax.
Storage: Keeping Your Balm Fresh
To keep your beard balm fresh and effective, store it in a cool, dark place. Avoid exposing it to direct sunlight or extreme temperatures. Properly stored, your beard balm should last for several months.
Safety First: A Few Important Reminders
* **Always use cosmetic-grade ingredients.**
* **Test a small amount of the balm on your skin before applying it to your entire beard.** This will help to identify any potential allergies or sensitivities.
* **Be careful when working with hot liquids.** Use oven mitts or pot holders to protect your hands.
* **Keep essential oils out of reach of children and pets.**
* **If you experience any irritation or discomfort, discontinue use immediately.**
Final Thoughts: Embrace the DIY Beard Life!
Making your own beard balm is a fun and rewarding experience. Not only will you save money, but you’ll also have complete control over the ingredients. So, go ahead and give it a try! I’m confident that you’ll love the results. And remember, don’t be afraid to experiment and customize the recipe to create a beard balm that’s perfect for you. Happy balming!
Conclusion
So, there you have it! Crafting your own DIY beard balm isn’t just a fun project; it’s a game-changer for your beard and your wallet. We’ve walked you through a simple, effective recipe that allows you to take control of the ingredients going onto your face. No more harsh chemicals, artificial fragrances, or mystery components. Just pure, nourishing goodness tailored to your beard’s specific needs.
Why is this DIY trick a must-try? Because it empowers you to create a beard balm that’s perfectly suited to your beard’s texture, length, and the climate you live in. Store-bought balms often contain ingredients that might not be ideal for everyone, leading to dryness, irritation, or a greasy feel. With this recipe, you’re the master formulator, adjusting the ratios of oils and butters to achieve the perfect hold, shine, and conditioning.
But the benefits extend beyond just customization. Think about the cost savings! High-quality beard balms can be surprisingly expensive. By making your own, you’ll significantly reduce your expenses, especially if you’re a regular user. Plus, you’ll have the satisfaction of knowing exactly what went into your product, promoting a healthier and more sustainable grooming routine.
Ready to take your beard game to the next level? Don’t be afraid to experiment! Here are a few suggestions and variations to get you started:
* Scent Sensations: Play around with different essential oil combinations to create your signature scent. Consider woody blends like cedarwood and sandalwood for a classic masculine aroma, or opt for citrusy notes like bergamot and grapefruit for a refreshing, invigorating scent. A touch of vanilla or spice can also add warmth and complexity. Remember to use essential oils safely and dilute them properly.
* Hold It Right There: If you need a stronger hold, increase the amount of beeswax in the recipe. Start with small increments to avoid making the balm too stiff. Conversely, if you prefer a softer balm, reduce the beeswax.
* Butter Up: Shea butter is a fantastic base, but you can also experiment with other butters like mango butter or cocoa butter. Each butter has slightly different properties, so research them to find one that suits your beard’s needs. Mango butter is known for its lightweight feel, while cocoa butter adds a rich, chocolatey aroma.
* Oil Oasis: Jojoba oil is a great all-around choice, but consider adding other carrier oils like argan oil for extra shine, grapeseed oil for its lightweight texture, or sweet almond oil for its moisturizing properties.
* Color Me Natural: If you want to add a subtle tint to your balm, consider infusing your carrier oils with herbs like annatto seeds (for a reddish hue) or chamomile flowers (for a golden hue). Be sure to strain the oil thoroughly before using it in the recipe.
We’re confident that you’ll love the results of your homemade DIY beard balm. It’s a simple, rewarding project that will transform your beard care routine. So, gather your ingredients, follow the steps, and prepare to be amazed.
We encourage you to try this DIY trick and share your experience with us! Let us know what variations you tried, what scents you created, and how your beard responded. Your feedback will help other readers discover the joys of making their own beard balm. Share your photos and stories in the comments below – we can’t wait to see what you create!
Frequently Asked Questions (FAQ)
Q: What exactly is beard balm, and why should I use it?
A: Beard balm is a grooming product designed to condition, style, and tame your beard. It typically contains a blend of butters, oils, and beeswax. The butters moisturize and soften the beard hair, the oils add shine and promote healthy growth, and the beeswax provides hold and control. Using beard balm helps to prevent dryness, itchiness, and frizz, leaving your beard looking healthy, well-groomed, and manageable. It’s essentially a leave-in conditioner and styling aid all in one.
Q: What are the benefits of making my own beard balm versus buying it from a store?
A: There are several advantages to making your own beard balm. First and foremost, you have complete control over the ingredients. This allows you to avoid harsh chemicals, artificial fragrances, and other potentially irritating additives that are often found in commercial products. You can tailor the recipe to your specific beard type and skin sensitivity. Secondly, it’s often more cost-effective, especially if you use beard balm regularly. High-quality beard balms can be quite expensive, but the ingredients for a DIY version are relatively affordable. Finally, it’s a fun and rewarding project that allows you to experiment with different scents and formulations to create a product that’s truly unique to you.
Q: What kind of beeswax should I use? Is there a difference?
A: Yes, there is a difference! You can use either yellow beeswax or white beeswax. Yellow beeswax is the most natural form and retains its natural color and aroma. White beeswax has been filtered and bleached to remove the color and scent. Both work equally well in beard balm, but some people prefer white beeswax because it doesn’t impart any color or scent to the final product, allowing the essential oils to shine through. Choose whichever you prefer based on your personal preference. Organic beeswax is also a great option if you’re concerned about pesticides or other contaminants.
Q: Can I use a different type of butter if I don’t have shea butter?
A: Absolutely! Shea butter is a popular choice because it’s highly moisturizing and readily available, but you can definitely substitute it with other butters. Mango butter is a great alternative, as it’s lightweight and easily absorbed. Cocoa butter adds a rich, chocolatey scent and is also very moisturizing. Cupuacu butter is another option, known for its high water absorption capacity. Experiment with different butters to find one that works best for your beard. Just keep in mind that each butter has slightly different properties, so you may need to adjust the recipe accordingly.
Q: What essential oils are best for beard balm?
A: The best essential oils for beard balm depend on your personal preferences and desired benefits. Some popular choices include:
* Cedarwood: A classic masculine scent with grounding and calming properties.
* Sandalwood: A warm, woody scent that promotes relaxation and reduces stress.
* Tea Tree: Known for its antibacterial and antifungal properties, which can help prevent beard dandruff and itchiness.
* Peppermint: A refreshing and invigorating scent that can stimulate hair growth. Use sparingly, as it can be irritating to sensitive skin.
* Lavender: A calming and soothing scent that can help reduce inflammation and promote relaxation.
* Bergamot: A citrusy scent with uplifting and mood-boosting properties.
* Rosemary: Can help stimulate hair growth and improve circulation.
Remember to always dilute essential oils properly in a carrier oil before applying them to your skin. A general rule of thumb is to use a 1-3% dilution.
Q: How do I store my homemade beard balm?
A: Store your homemade beard balm in an airtight container in a cool, dark place. This will help to prevent it from melting or going rancid. A small tin or jar is ideal. If you live in a warm climate, you may want to store it in the refrigerator to prevent it from melting. Properly stored, your beard balm should last for several months.
Q: My beard balm is too hard. How can I soften it?
A: If your beard balm is too hard, you can gently melt it down and add more carrier oil. Start by melting the balm in a double boiler or microwave (in short intervals, stirring frequently) until it’s completely liquid. Then, add a small amount of carrier oil (such as jojoba oil or argan oil) and stir well. Allow the balm to cool and solidify again. Repeat this process until you achieve the desired consistency.
Q: My beard balm is too greasy. How can I make it less greasy?
A: If your beard balm is too greasy, you can gently melt it down and add more beeswax. Follow the same melting instructions as above, but this time, add a small amount of beeswax. Stir well and allow the balm to cool and solidify again. Repeat this process until you achieve the desired consistency. You can also try using a lighter carrier oil, such as grapeseed oil, in future batches.
Q: How often should I use beard balm?
A: The frequency of beard balm use depends on your beard type and personal preferences. Generally, you can use it once or twice a day. Apply it after showering or washing your face, when your beard is slightly damp. Start with a small amount and work it into your beard, focusing on the ends. You can always add more if needed. Experiment to find the right amount and frequency for your beard.
Q: Can I use this DIY beard balm recipe on my mustache?
A: Absolutely! This recipe works equally well for both beards and mustaches. The balm will help to condition, style, and tame your mustache hairs, keeping them looking neat and well-groomed.
Leave a Comment