

Grow mushrooms at home? Absolutely! Imagine harvesting fresh, flavorful mushrooms right from your own kitchen, ready to elevate your next culinary creation. Forget those bland, store-bought varieties – with a few simple tricks and a little DIY spirit, you can cultivate a thriving mushroom patch indoors.
Mushroom cultivation has a rich history, dating back centuries in various cultures. From ancient China, where mushrooms were prized for their medicinal properties, to European forests where foragers sought out delectable wild varieties, the allure of these fungi has always been strong. Today, we’re bringing that tradition into our homes, making it easier than ever to enjoy the unique flavors and health benefits of homegrown mushrooms.
Why should you learn to grow mushrooms at home? Well, for starters, it’s incredibly rewarding! There’s something magical about nurturing these fascinating organisms from spore to fruiting body. Plus, it’s a sustainable way to enjoy fresh produce, reducing your reliance on grocery stores and minimizing your environmental impact. But most importantly, it’s a fun and educational project that anyone can undertake, regardless of their gardening experience. I’m excited to share some easy-to-follow DIY tricks and hacks that will have you harvesting your own delicious mushrooms in no time!
Grow Your Own Gourmet Mushrooms at Home: A Beginner’s Guide
Hey there, fellow fungi fanatics! Ever dreamt of harvesting your own delicious mushrooms right in your kitchen? Well, dream no more! Growing mushrooms at home is surprisingly achievable, even for beginners. I’m going to walk you through a simple and rewarding method using a mushroom grow kit. Let’s get started!
Choosing Your Mushroom Grow Kit
Before we dive into the nitty-gritty, let’s talk about choosing the right kit. There are tons of options out there, each with its own unique mushroom variety. Here’s what to consider:
* Mushroom Type: Oyster mushrooms are generally the easiest for beginners. They’re fast-growing, forgiving, and incredibly versatile in the kitchen. Shiitake and Lion’s Mane are also popular choices, but might require a bit more attention.
* Substrate: Most kits use a substrate of supplemented sawdust or straw. Make sure the substrate looks healthy and free from contamination (mold, other than the mushroom mycelium).
* Reputable Supplier: Do your research! Read reviews and choose a supplier known for quality kits and good customer support.
* Kit Size: Start small! A smaller kit is less intimidating and easier to manage for your first attempt.
Setting Up Your Grow Environment
Mushrooms thrive in specific conditions. Replicating these conditions is key to a successful harvest.
* Humidity: Mushrooms need high humidity (80-90%). A simple way to achieve this is by using a humidity tent. Most kits come with one, but you can also create your own using a clear plastic bag or container.
* Temperature: Each mushroom variety has its ideal temperature range. Oyster mushrooms generally prefer temperatures between 60-75°F (15-24°C). Check your kit’s instructions for specific recommendations.
* Light: Mushrooms don’t need direct sunlight, but they do need some light to fruit properly. Indirect light from a window or a fluorescent lamp is usually sufficient.
* Airflow: While high humidity is important, mushrooms also need fresh air to prevent the buildup of carbon dioxide.
Step-by-Step Guide to Growing Mushrooms
Alright, let’s get our hands dirty (well, not literally, since we’re using a kit!). Here’s a detailed guide to growing your own mushrooms:
1. Unboxing and Inspection: Carefully unpack your mushroom grow kit. Inspect the substrate block for any signs of contamination. A little bit of white, fuzzy growth (mycelium) is normal and desirable. However, if you see green, black, or other colored molds, contact the supplier.
2. Preparing the Substrate: Most kits require you to “shock” the substrate to initiate fruiting. This usually involves soaking the block in cold water for a specific period (typically 8-24 hours). Follow the instructions that came with your kit. This step simulates a change in environment, signaling the mycelium to start producing mushrooms.
3. Setting Up the Humidity Tent: Place the soaked substrate block in the humidity tent. If your kit didn’t come with a tent, you can use a clear plastic bag. Make sure the bag is large enough to allow for airflow and mushroom growth.
4. Creating Airflow: Cut a few small slits in the humidity tent to allow for airflow. You can also fan the tent a few times a day to circulate fresh air.
5. Misting Regularly: Mushrooms need constant moisture. Mist the inside of the humidity tent (not directly on the substrate) with water 2-3 times a day, or as needed to maintain high humidity. The substrate surface should look moist, but not soaking wet.
6. Monitoring Growth: Keep an eye on your substrate block. Within a few days to a week, you should start to see small “pins” forming. These are baby mushrooms!
7. Maintaining Optimal Conditions: Continue to mist regularly and ensure adequate airflow. Adjust the temperature and light as needed to maintain optimal growing conditions.
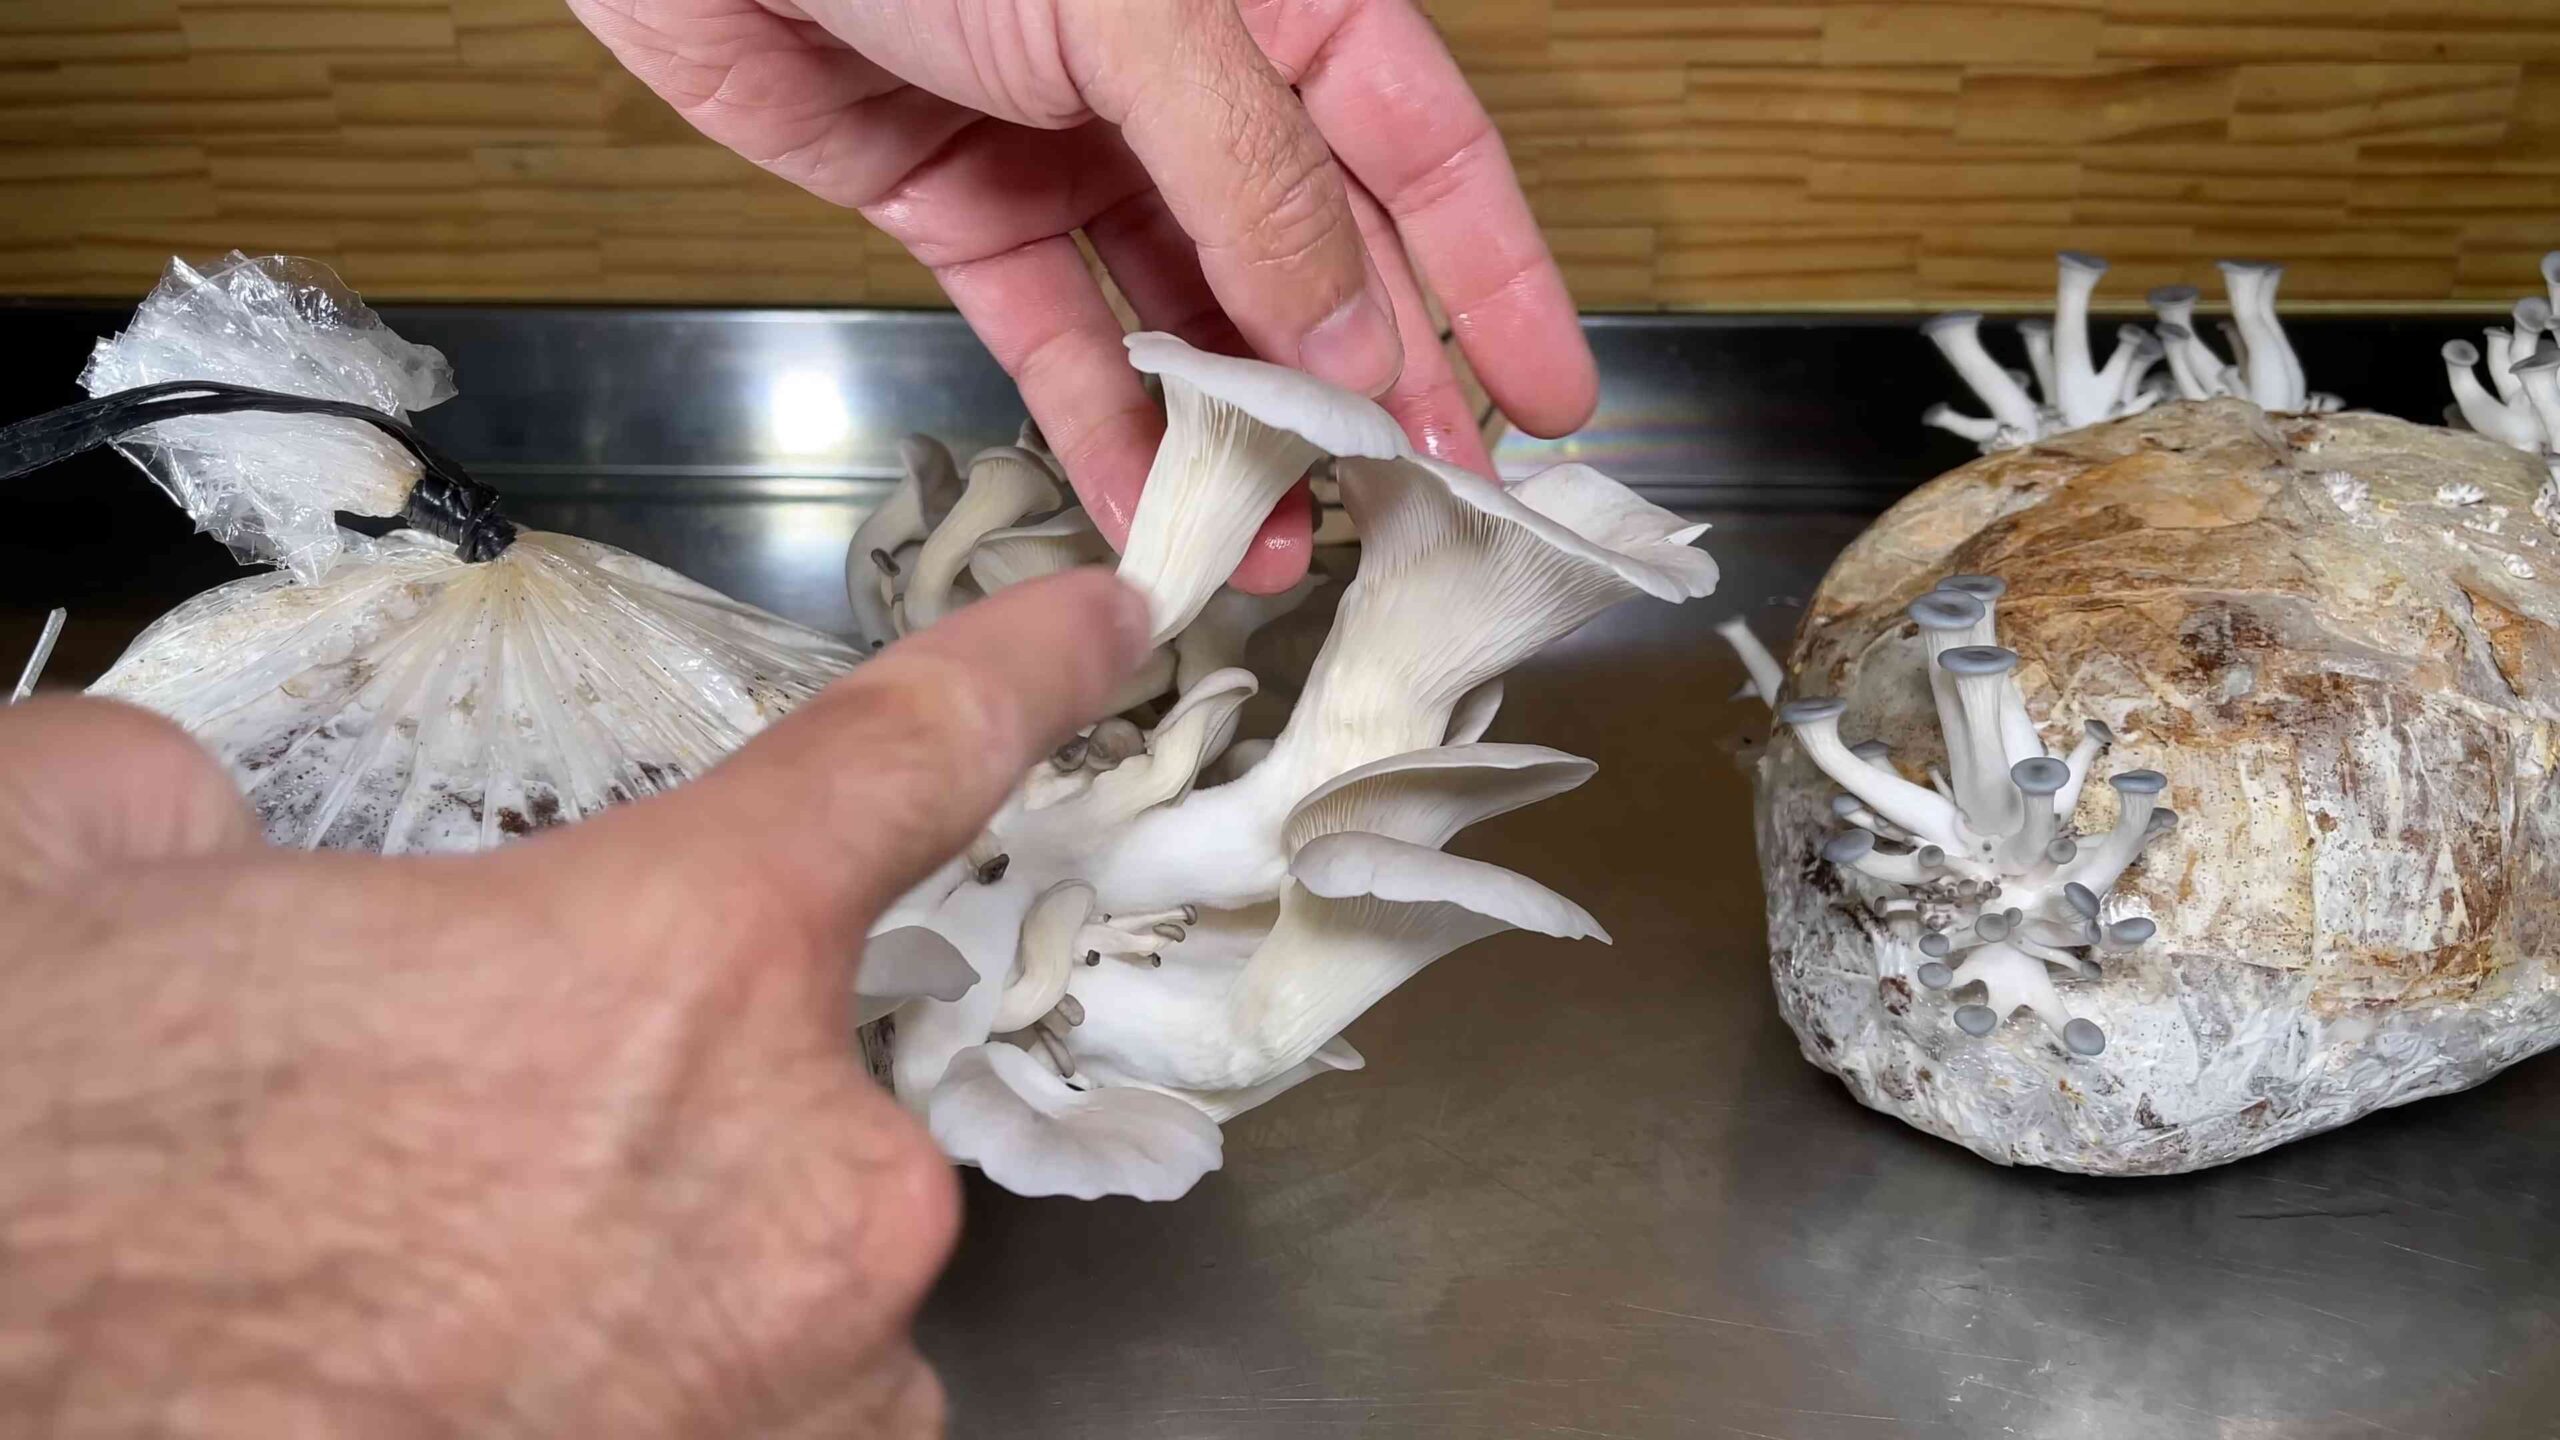
8. Harvesting Your Mushrooms: Once the mushrooms have reached their mature size (check your kit’s instructions for specific guidelines), it’s time to harvest! Gently twist and pull the mushrooms from the substrate block. Try to remove the entire cluster at once.
9. Second Flush (and Beyond!): After harvesting, you can often get a second (or even third) flush of mushrooms. Simply repeat steps 2-7. The subsequent flushes may be smaller than the first, but they’re still a delicious reward for your efforts!
Troubleshooting Common Issues
Even with the best intentions, things can sometimes go wrong. Here are some common issues and how to address them:
* Slow Growth: If your mushrooms are growing slowly, it could be due to low humidity, low temperature, or insufficient light. Adjust these factors as needed.
* Yellowing Mushrooms: Yellowing can indicate that the mushrooms are drying out. Increase the humidity by misting more frequently.
* Leggy Mushrooms: “Leggy” mushrooms with long stems and small caps are often a sign of insufficient light or poor airflow. Increase the light exposure and ensure adequate airflow.
* Mold Contamination: If you see mold growing on your substrate block, it’s usually best to discard the kit. However, if the mold is localized, you can try to carefully remove it with a clean knife and spray the area with hydrogen peroxide.
* No Pinning: If you don’t see any pins forming after a week or two, try shocking the substrate again by soaking it in cold water.
Harvesting and Storing Your Mushrooms
Knowing when and how to harvest your mushrooms is crucial for maximizing their flavor and shelf life.
* Harvesting Time: Oyster mushrooms are typically ready to harvest when the caps are fully formed and the edges are still slightly curled downwards.
* Harvesting Technique: Gently twist and pull the entire cluster of mushrooms from the substrate block. Avoid cutting the mushrooms, as this can leave behind a stump that can rot.
* Storage: Freshly harvested mushrooms are best used immediately. However, you can store them in the refrigerator for up to a week. Place them in a paper bag to absorb excess moisture. Avoid storing them in plastic bags, as this can cause them to become slimy.
* Preservation: If you have a large harvest, you can preserve your mushrooms by drying, freezing, or pickling them. Drying is a popular method, as it concentrates the flavor and allows you to store the mushrooms for a long time.
Enjoying Your Homegrown Mushrooms
Now for the best part: enjoying the fruits (or should I say fungi?) of your labor! Homegrown mushrooms are incredibly versatile and can be used in a wide variety of dishes.
* Sautéed Mushrooms: A simple and delicious way to enjoy your mushrooms. Sauté them with butter, garlic, and herbs for a flavorful side dish.
* Mushroom Soup: A classic comfort food. Use your homegrown mushrooms to make a rich and creamy mushroom soup.
* Mushroom Pasta: Add your mushrooms to pasta sauces for a boost of flavor and nutrition.
* Mushroom Pizza: Top your homemade pizza with your homegrown mushrooms for a gourmet treat.
* Mushroom Omelet: Start your day with a healthy and delicious mushroom omelet.
Advanced Techniques (Optional)
Once you’ve mastered the basics of growing mushrooms from a kit, you can explore more advanced techniques, such as:
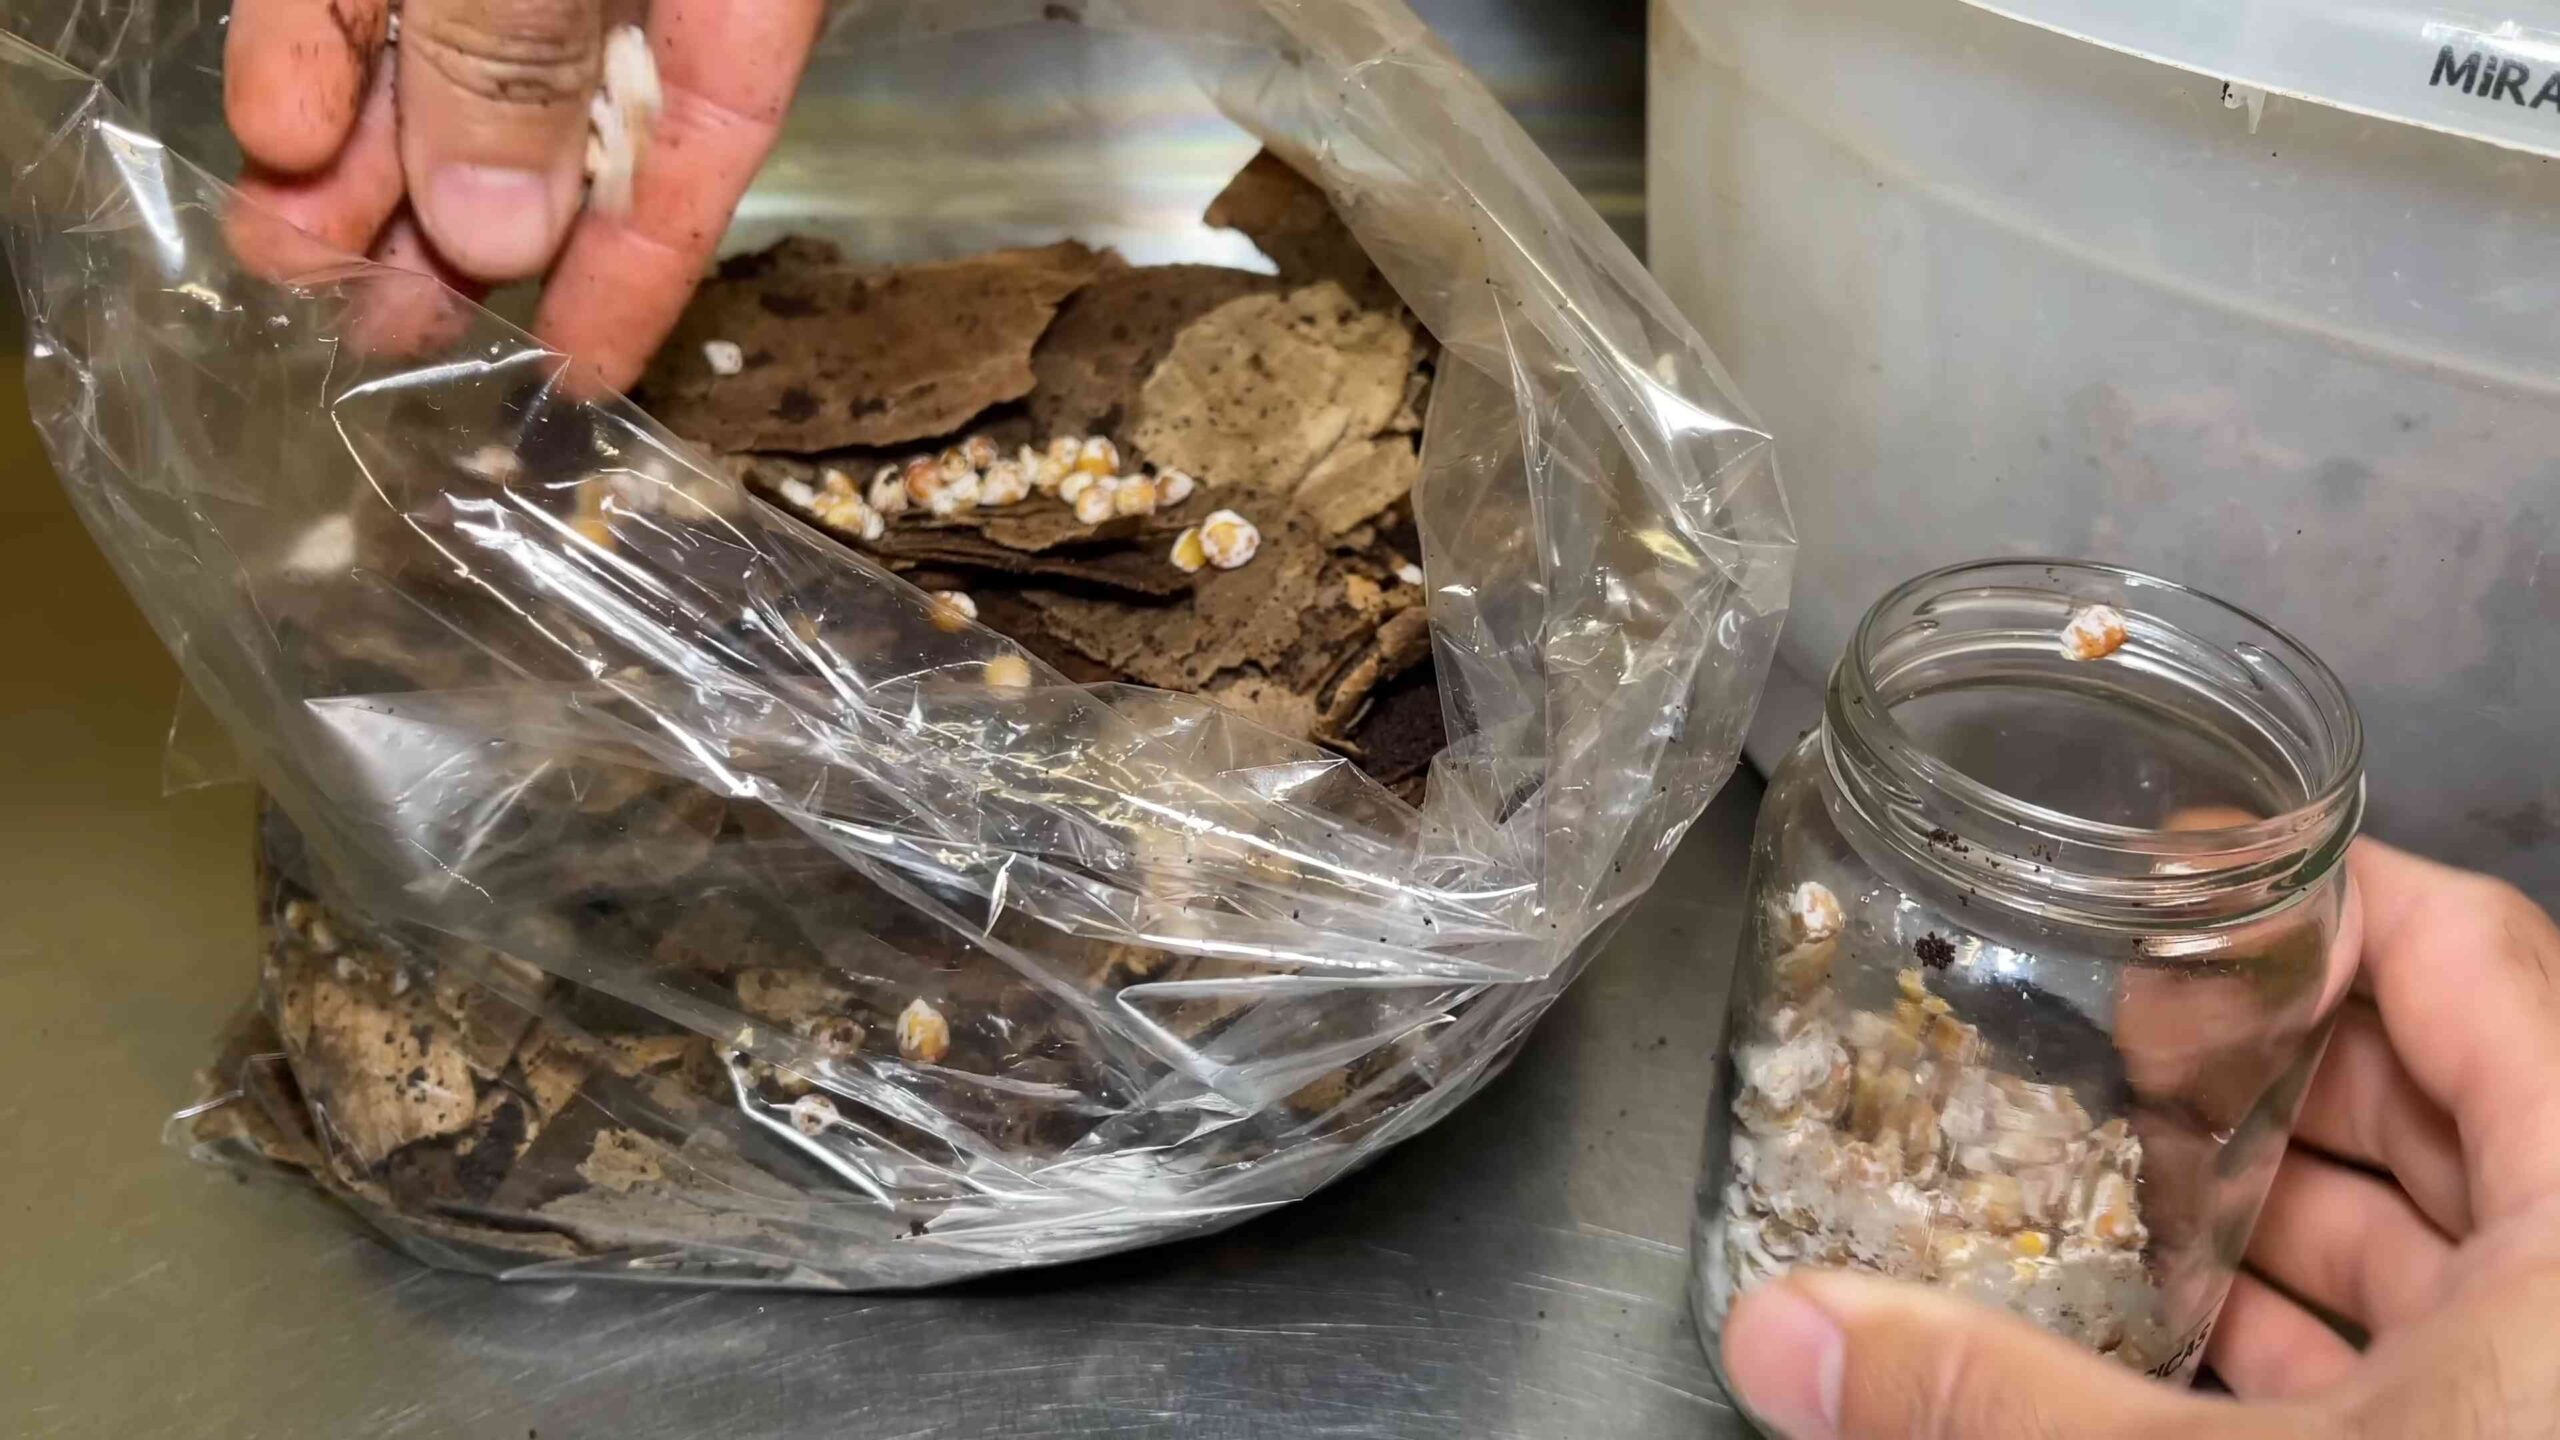
* Creating Your Own Substrate: Learn how to make your own substrate using materials like sawdust, straw, and coffee grounds.
* Spore Printing: Collect spores from your mushrooms to create your own cultures.
* Growing Different Varieties: Experiment with growing different types of mushrooms, such as shiitake, lion’s mane, and reishi.
* Outdoor Mushroom Cultivation: Grow mushrooms outdoors in logs or wood chips.
Safety Precautions
While growing mushrooms is generally safe, it’s important to take a few precautions:
* Identify Your Mushrooms: Only eat mushrooms that you have positively identified as edible. If you’re unsure, don’t eat them!
* Wash Your Hands: Wash your hands thoroughly after handling mushrooms or substrate.
* Avoid Inhaling Spores: While mushroom spores are generally harmless, some people may be allergic to them. Avoid inhaling large quantities of spores.
* Proper Ventilation: Ensure adequate ventilation in your grow area to prevent the buildup of carbon dioxide.
Growing mushrooms at home is a rewarding and educational experience. With a little patience and attention, you can enjoy a steady supply of fresh, delicious mushrooms right from your own kitchen. Happy growing!
Conclusion
So, there you have it! Cultivating your own mushrooms at home isn’t just a quirky project; it’s a rewarding journey that connects you directly to the source of your food. From the satisfaction of nurturing life to the unparalleled freshness and flavor of homegrown fungi, the benefits are undeniable. We’ve walked you through a simple, effective method to get started, and hopefully, demystified the process along the way.
Why is this DIY trick a must-try? Because it empowers you to control the quality and origin of your food. Store-bought mushrooms, while convenient, often lack the robust flavor and nutritional value of freshly harvested ones. Plus, you’re reducing your carbon footprint by eliminating transportation and packaging. And let’s be honest, there’s something incredibly cool about showing off your own mushroom farm to friends and family!
But the adventure doesn’t stop here. Once you’ve mastered the basics, the possibilities are endless. Experiment with different substrates like coffee grounds, straw, or even cardboard to see how they affect the growth and flavor of your mushrooms. Try different varieties of mushrooms, from the classic oyster mushroom to the more exotic shiitake or lion’s mane. Each variety offers a unique flavor profile and texture, adding exciting new dimensions to your culinary creations.
Consider adding supplements to your substrate to boost growth. Things like gypsum or bran can provide extra nutrients for your mushrooms. You can also experiment with different fruiting chambers. A simple plastic tub works great, but you can also get creative with repurposed containers or even build your own custom setup.
Don’t be afraid to get your hands dirty and embrace the learning process. Growing mushrooms at home is a science, an art, and a little bit of magic all rolled into one. It’s a journey of discovery that will deepen your appreciation for the natural world and provide you with a delicious and sustainable source of food.
We wholeheartedly encourage you to give this DIY trick a try. Start small, be patient, and don’t be discouraged by initial setbacks. Every mistake is a learning opportunity. And most importantly, have fun!
Once you’ve harvested your first batch of homegrown goodness, we’d love to hear about your experience. Share your photos, tips, and stories in the comments below. Let’s build a community of mushroom enthusiasts and inspire others to embark on this amazing journey. Let us know what worked for you, what challenges you faced, and any creative variations you tried. Together, we can unlock the secrets of the fungal kingdom and enjoy the delicious rewards of growing mushrooms at home.
Frequently Asked Questions (FAQ)
What are the easiest types of mushrooms to grow at home for beginners?
Oyster mushrooms are generally considered the easiest to grow for beginners. They are fast-growing, relatively forgiving of environmental fluctuations, and can thrive on a variety of substrates, including straw, coffee grounds, and even cardboard. Pearl oyster, blue oyster, and pink oyster mushrooms are all excellent choices for your first foray into home mushroom cultivation. They are also readily available in spawn form from online retailers or local gardening supply stores. Shiitake mushrooms are another popular option, but they typically require more patience as they have a longer incubation period.
What is the best substrate to use for growing mushrooms at home?
The best substrate depends on the type of mushroom you’re growing. For oyster mushrooms, pasteurized straw is a readily available and effective option. Coffee grounds are another excellent choice, especially if you have access to a steady supply from a local coffee shop. Hardwood sawdust is ideal for shiitake mushrooms. It’s crucial to ensure your substrate is properly pasteurized or sterilized to eliminate competing molds and bacteria that could hinder mushroom growth. Pasteurization involves heating the substrate to a temperature that kills harmful organisms without completely sterilizing it, while sterilization involves a more intense heating process to eliminate all living organisms.
How long does it take to grow mushrooms at home?
The time it takes to grow mushrooms varies depending on the species and the growing conditions. Oyster mushrooms are known for their rapid growth, often fruiting within a few weeks of inoculation. Shiitake mushrooms, on the other hand, can take several months to fruit. Factors such as temperature, humidity, and light exposure also play a significant role in the growth rate. Maintaining optimal conditions will help accelerate the process and increase your yields.
What are the ideal temperature and humidity levels for growing mushrooms?
The ideal temperature and humidity levels vary depending on the mushroom species. Oyster mushrooms generally prefer temperatures between 60-75°F (15-24°C) and high humidity levels (85-95%). Shiitake mushrooms thrive in cooler temperatures, typically between 50-65°F (10-18°C), and also require high humidity. Maintaining consistent humidity is crucial for successful mushroom cultivation. You can achieve this by misting your fruiting chamber regularly or using a humidifier.
How do I prevent contamination when growing mushrooms at home?
Contamination is a common challenge in mushroom cultivation, but there are several steps you can take to minimize the risk. First, ensure your substrate is properly pasteurized or sterilized to eliminate competing organisms. Work in a clean environment and sanitize your tools and equipment with isopropyl alcohol. Use sterile techniques when inoculating your substrate with mushroom spawn. Monitor your growing environment regularly for signs of contamination, such as mold or unusual odors. If you detect contamination, remove the affected area immediately to prevent it from spreading.
What are some common problems encountered when growing mushrooms at home, and how can I fix them?
Some common problems include slow growth, contamination, and small or deformed mushrooms. Slow growth can be caused by insufficient humidity, improper temperature, or inadequate light exposure. Contamination can be addressed by improving your sterilization techniques and maintaining a clean growing environment. Small or deformed mushrooms can be a sign of nutrient deficiencies or poor air circulation. Adjusting your growing conditions and supplementing your substrate with additional nutrients can help resolve these issues.
Can I use coffee grounds to grow mushrooms?
Yes, coffee grounds are an excellent substrate for growing certain types of mushrooms, particularly oyster mushrooms. Coffee grounds are rich in nutrients and have already been pasteurized during the brewing process, making them a convenient and readily available option. However, it’s important to use fresh coffee grounds and mix them with other substrates, such as straw or sawdust, to provide a more balanced nutrient profile.
How do I harvest mushrooms?
Harvest mushrooms when the caps are fully developed but before they begin to release spores. Gently twist or cut the mushrooms from the substrate, being careful not to damage the surrounding mycelium. Harvesting at the right time will ensure optimal flavor and texture.
Are there any safety precautions I should take when growing mushrooms at home?
Always identify mushrooms correctly before consuming them. Only grow and eat mushrooms that you are 100% certain are safe. If you are unsure about the identity of a mushroom, do not eat it. Wash your hands thoroughly after handling mushrooms and substrates. Wear gloves if you have sensitive skin.
Where can I buy mushroom spawn?
Mushroom spawn can be purchased from online retailers specializing in mushroom cultivation supplies or from local gardening supply stores. Ensure you purchase spawn from a reputable source to ensure its quality and viability. Look for spawn that is labeled with the mushroom species and strain, and check the expiration date before purchasing.


Leave a Comment