

Banana plant propagation methods might sound intimidating, but trust me, it’s easier than you think! Have you ever admired those lush, tropical banana plants and wished you could have a whole grove of your own without breaking the bank? Well, you’re in the right place! For centuries, banana plants have been a symbol of abundance and prosperity in many cultures, from their vital role in Southeast Asian cuisine to their use in traditional medicine. Now, you can bring that same sense of abundance to your own backyard.
This isn’t just about growing more plants; it’s about connecting with nature, saving money, and experiencing the satisfaction of nurturing life from a single source. Many gardeners find themselves wanting to expand their banana collection but are put off by the cost of buying new plants. That’s where DIY propagation comes in! I’m going to share some simple, effective, and budget-friendly banana plant propagation methods that will have you multiplying your banana plants in no time. Get ready to get your hands dirty and unlock the secrets to a thriving banana patch!
Propagating Banana Plants: A DIY Guide to Growing Your Own Tropical Paradise
Hey there, fellow plant enthusiasts! Ever looked at your banana plant and thought, “I wish I had more of these!” Well, you’re in luck. Propagating banana plants is totally doable at home, and I’m going to walk you through a few different methods. Get ready to expand your banana family!
Understanding Banana Plant Propagation
Before we dive in, let’s quickly cover the basics. Banana plants, despite looking like trees, are actually giant herbs. They grow from an underground stem called a rhizome. This rhizome sends up shoots, which become the “trunk” (pseudostem) and eventually produce bananas. Propagation involves separating these shoots or using other parts of the plant to create new, independent plants.
There are a few main methods we’ll explore:
* Division of Pups (Suckers): This is the most common and easiest method for home gardeners. Pups are the baby banana plants that sprout from the base of the mother plant.
* Rhizome Division: This involves cutting the rhizome into sections, each with a growing point. It’s a bit more involved but can yield multiple plants.
* Tissue Culture (Advanced): This is a lab technique, not really DIY-friendly for most of us. I won’t be covering it here.
* Seed Propagation (Less Common): While possible, it’s not recommended for edible bananas as they often don’t grow true to seed and can take a very long time.
I’ll focus on the first two methods, as they’re the most practical for home propagation.
Method 1: Dividing Banana Pups (Suckers)
This is my go-to method because it’s relatively simple and has a high success rate. You’re essentially giving a head start to a baby plant that’s already connected to the mother plant.
Identifying the Right Pup
Not all pups are created equal! You want to choose pups that are:
* At least 1-3 feet tall: Smaller pups might not have enough energy reserves to survive on their own.
* Have their own roots: Gently dig around the base of the pup to check for roots. If it’s just a shoot with no roots, it’s not ready to be separated.
* Healthy and free from pests or diseases: Avoid pups with yellowing leaves, spots, or signs of infestation.
Tools You’ll Need
* Sharp, clean knife or pruning saw
* Shovel or spade
* Gardening gloves
* Potting mix (well-draining)
* Pot (appropriate size for the pup)
* Watering can
Step-by-Step Instructions
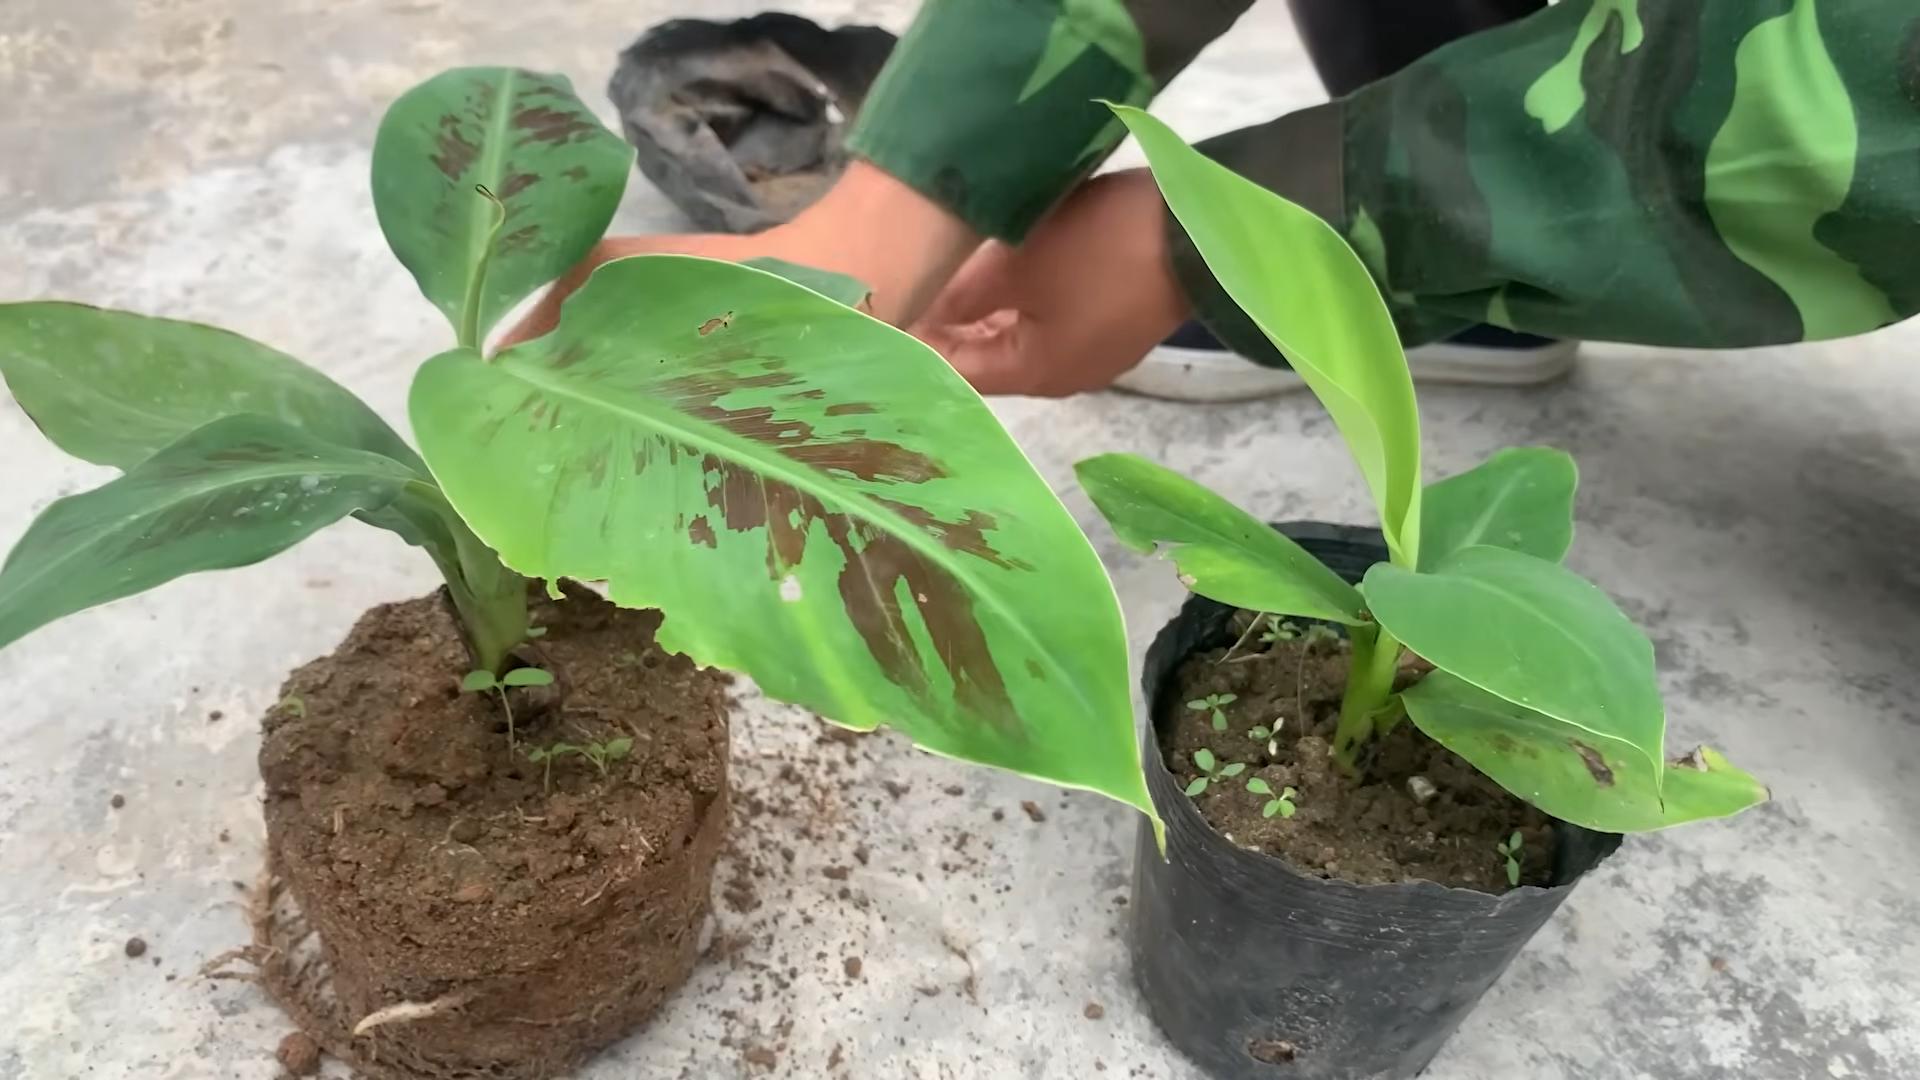
1. Prepare the Pot: Fill your pot with well-draining potting mix. I like to use a mix of potting soil, perlite, and compost for good drainage and nutrients. Make a hole in the center large enough to accommodate the pup’s root ball.
2. Locate the Pup’s Connection: Carefully dig around the base of the mother plant to expose the point where the pup is connected to the rhizome. This might require removing some soil. Be gentle to avoid damaging the mother plant’s roots.
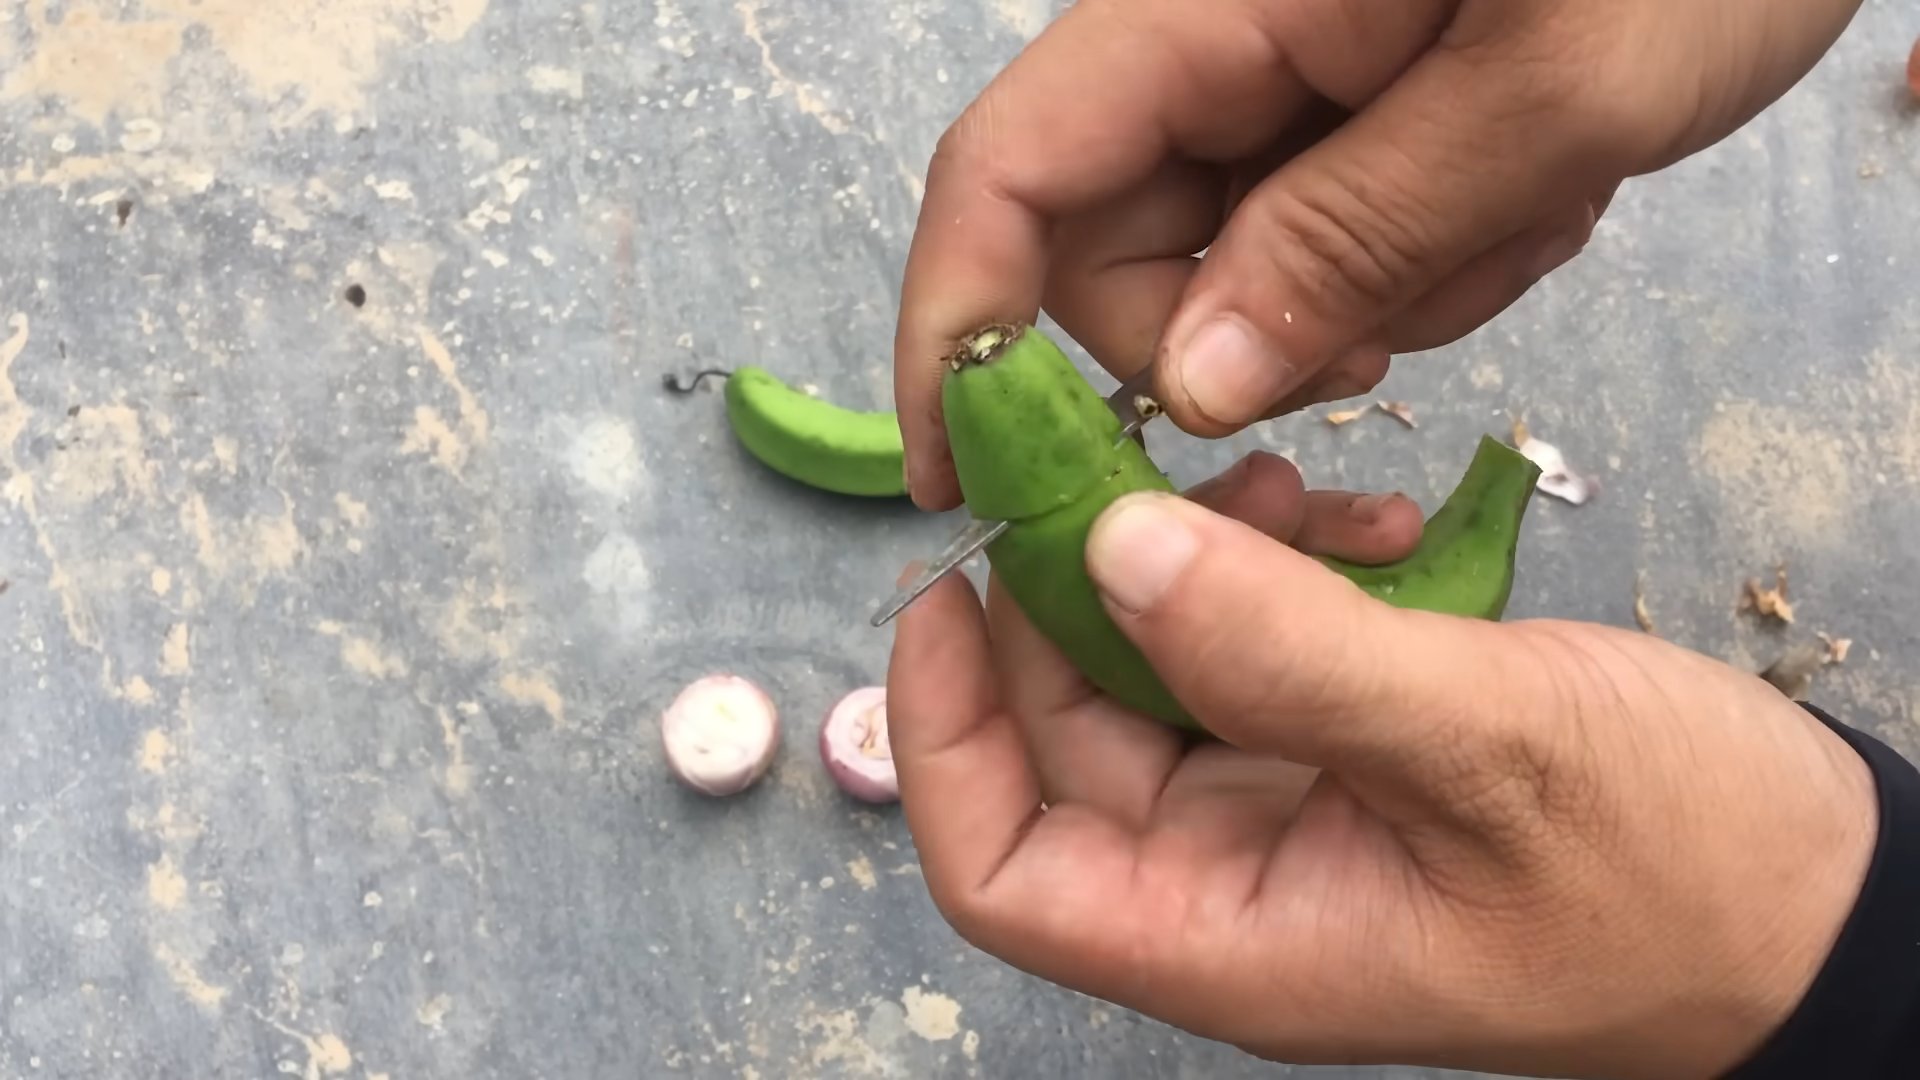
3. Sever the Connection: Using your sharp knife or pruning saw, carefully cut the pup away from the mother plant’s rhizome. Try to make a clean cut to minimize the risk of infection. You might need to wiggle the pup a bit to fully detach it.
4. Carefully Remove the Pup: Gently lift the pup out of the ground, being careful not to damage its roots. If the roots are tangled with the mother plant’s roots, try to untangle them as much as possible.
5. Plant the Pup: Place the pup in the prepared pot, ensuring that the top of the root ball is level with the soil surface. Backfill the pot with potting mix and gently firm the soil around the base of the pup.
6. Water Thoroughly: Water the newly planted pup thoroughly until water drains out of the bottom of the pot. This will help settle the soil and encourage root growth.
7. Provide Proper Care: Place the potted pup in a warm, sunny location. Water regularly, keeping the soil moist but not soggy. Avoid overwatering, as this can lead to root rot. Fertilize every few weeks with a balanced fertilizer.
8. Monitor and Wait: Keep an eye on your new banana plant. It might take a few weeks for it to start showing new growth. Be patient and continue to provide proper care. Once it’s established, you can transplant it into a larger pot or directly into the ground (if your climate allows).
Method 2: Rhizome Division
This method is a bit more aggressive, but it can be useful if you want to propagate multiple plants from a single rhizome. It involves cutting the rhizome into sections, each with a growing point (an “eye”).
When to Divide the Rhizome
The best time to divide the rhizome is during the dormant season (usually winter or early spring) when the plant is not actively growing. This gives the divisions a chance to establish roots before the growing season begins.
Tools You’ll Need
* Shovel or spade
* Sharp, clean knife or pruning saw
* Gardening gloves
* Potting mix (well-draining)
* Pots (appropriate size for the rhizome sections)
* Watering can
* Fungicide (optional)
Step-by-Step Instructions
1. Dig Up the Rhizome: Carefully dig around the base of the banana plant to expose the rhizome. You’ll need to dig deep enough to lift the entire rhizome out of the ground. This can be a bit of work, as banana rhizomes can be quite large and heavy.
2. Clean the Rhizome: Once you’ve removed the rhizome, clean it thoroughly with water to remove any dirt or debris. This will make it easier to see the growing points and make clean cuts.
3. Identify Growing Points: Look for “eyes” or buds on the rhizome. These are the points from which new shoots will emerge. Each section you divide should have at least one healthy eye.
4. Divide the Rhizome: Using your sharp knife or pruning saw, cut the rhizome into sections, ensuring that each section has at least one eye. Make clean cuts to minimize the risk of infection.
5. Treat the Cuts (Optional): To prevent fungal infections, you can dip the cut ends of the rhizome sections in a fungicide solution. This is especially important if you live in a humid climate.
6. Prepare the Pots: Fill your pots with well-draining potting mix. Make a hole in the center of each pot large enough to accommodate the rhizome section.
7. Plant the Rhizome Sections: Place each rhizome section in a prepared pot, ensuring that the eye is facing upwards. Backfill the pot with potting mix and gently firm the soil around the rhizome.
8. Water Thoroughly: Water the newly planted rhizome sections thoroughly until water drains out of the bottom of the pot. This will help settle the soil and encourage root growth.
9. Provide Proper Care: Place the potted rhizome sections in a warm, sunny location. Water regularly, keeping the soil moist but not soggy. Avoid overwatering, as this can lead to root rot.
10. Be Patient: It can take several weeks or even months for the rhizome sections to sprout. Be patient and continue to provide proper care. Once they’ve sprouted and developed roots, you can transplant them into larger pots or directly into the ground (if your climate allows).
General Tips for Success
* Use Sharp, Clean Tools: This is crucial for preventing the spread of diseases. Always sterilize your tools with rubbing alcohol or a bleach solution before and after use.
* Well-Draining Soil is Key: Banana plants are susceptible to root rot, so make sure your potting mix drains well.
* Don’t Overwater: Overwatering is a common mistake. Allow the soil to dry out slightly between waterings.
* Provide Plenty of Sunlight: Banana plants need at least 6-8 hours of sunlight per day.
* Fertilize Regularly: Feed your banana plants with a balanced fertilizer every few weeks during the growing season.
* Protect from Frost: Banana plants are not frost-tolerant. If you live in a cold climate, you’ll need to protect them from frost or bring them indoors during the winter.
* Be Patient: Propagation can take time. Don’t get discouraged if you don’t see results immediately. Just keep providing proper care, and eventually, you’ll have new banana plants!
Troubleshooting
* Root Rot: Yellowing leaves and a mushy stem are signs of root rot. Reduce watering and ensure good drainage. You might need to repot the
Conclusion
So, there you have it! Mastering banana plant propagation doesn’t require expensive equipment or years of horticultural experience. This simple, effective DIY trick opens up a world of possibilities, allowing you to expand your banana patch, share the joy of growing with friends and family, and even cultivate rare or heirloom varieties that might be difficult to find commercially.
Why is this DIY method a must-try? Because it’s accessible, affordable, and incredibly rewarding. Forget the complexities of tissue culture or the hit-or-miss nature of seed propagation. This technique, focusing on carefully separating and nurturing pups (or suckers) from the mother plant, offers a high success rate, allowing you to quickly and efficiently multiply your banana plants. Imagine transforming a single banana plant into a thriving grove, all thanks to your own efforts!
But the benefits extend beyond mere multiplication. By propagating your own banana plants, you gain a deeper understanding of their growth cycle and needs. You become more attuned to their health and can tailor your care to ensure optimal fruit production. Plus, you have complete control over the genetic lineage of your plants, ensuring that you’re propagating the varieties you love the most.
Looking for variations? Consider experimenting with different rooting mediums. While a well-draining potting mix is generally recommended, you could also try using perlite, vermiculite, or even a combination of these materials. Some growers have also reported success using water propagation, although this method requires careful monitoring to prevent rot. Another variation involves the size of the pup you select. While larger pups tend to establish more quickly, smaller pups can also be successfully propagated with a little extra care and attention. You can also try using rooting hormone to encourage faster root development, although it’s not strictly necessary.
Don’t be afraid to get your hands dirty and experiment! The beauty of this DIY trick is its adaptability. Feel free to adjust the steps to suit your specific environment and resources. The most important thing is to provide your banana pups with the right conditions – warmth, moisture, and plenty of light – to encourage healthy root growth.
We wholeheartedly encourage you to try this DIY banana plant propagation method. It’s a fantastic way to connect with nature, learn new skills, and enjoy the fruits (literally!) of your labor. Once you’ve successfully propagated your own banana plants, we’d love to hear about your experience! Share your tips, tricks, and photos in the comments below. Let’s build a community of banana-growing enthusiasts and help each other cultivate thriving banana patches. Happy growing!
Frequently Asked Questions (FAQ)
What is the best time of year to propagate banana plants?
The ideal time for banana plant propagation is during the warmer months, typically spring or early summer. This is when the plants are actively growing and have the best chance of establishing new roots. The warmer temperatures and longer daylight hours provide the optimal conditions for growth and development. However, if you live in a tropical or subtropical climate with consistently warm temperatures, you can propagate banana plants year-round. Just be sure to provide adequate protection from extreme heat or cold.
How do I choose the right pup for propagation?
Selecting the right pup is crucial for successful propagation. Look for pups that are at least 1-3 feet tall and have several healthy leaves. Avoid pups that are damaged, diseased, or showing signs of stress. The pup should be growing vigorously and have a strong, healthy appearance. It’s also important to choose pups that are growing close to the mother plant, as these tend to have a better root system. A good rule of thumb is to select pups that are about one-third to one-half the size of the mother plant.
What type of soil should I use for potting the banana pups?
A well-draining potting mix is essential for successful banana plant propagation. The soil should be light and airy, allowing for good root development and preventing waterlogging. A mixture of peat moss, perlite, and vermiculite is a good option. You can also add some compost or well-rotted manure to provide additional nutrients. Avoid using heavy clay soils, as these can retain too much moisture and lead to root rot. The ideal pH level for banana plants is between 6.0 and 7.0.
How often should I water the newly potted banana pups?
Watering is critical during the initial stages of propagation. Keep the soil consistently moist, but not waterlogged. Water thoroughly when the top inch of soil feels dry to the touch. Avoid overwatering, as this can lead to root rot. The frequency of watering will depend on the climate, the type of soil, and the size of the pot. In general, you’ll need to water more frequently during hot, dry weather and less frequently during cool, wet weather.
How much sunlight do banana pups need?
Banana plants thrive in bright, indirect sunlight. Newly potted pups should be placed in a location that receives at least 6-8 hours of sunlight per day. However, avoid exposing them to direct sunlight, especially during the hottest part of the day, as this can scorch the leaves. If you’re growing your banana pups indoors, place them near a sunny window or use grow lights to provide supplemental lighting. As the plants mature, they can tolerate more direct sunlight.
How long does it take for banana pups to develop roots?
Root development can take anywhere from 2-6 weeks, depending on the size of the pup, the environmental conditions, and the care provided. During this time, it’s important to keep the soil consistently moist and provide adequate warmth and humidity. You can check for root development by gently tugging on the pup. If it resists being pulled out of the soil, it has likely developed roots. Once the pup has established a strong root system, you can gradually acclimate it to outdoor conditions.
Can I propagate banana plants from seeds?
While it is possible to propagate banana plants from seeds, it is a much more challenging and time-consuming process than propagating from pups. Banana seeds have a very hard outer coating that needs to be scarified before they can germinate. This involves nicking or filing the seed coat to allow water to penetrate. Even with scarification, germination rates are often low and can take several months. Additionally, banana plants grown from seeds may not be true to type, meaning they may not produce the same type of fruit as the parent plant. For these reasons, propagating from pups is the preferred method for most home gardeners.
What are some common problems I might encounter during banana plant propagation?
Some common problems that you might encounter during banana plant propagation include root rot, fungal diseases, and pest infestations. Root rot is often caused by overwatering or poor drainage. To prevent root rot, use a well-draining potting mix and avoid overwatering. Fungal diseases can be caused by excessive humidity or poor air circulation. To prevent fungal diseases, provide adequate ventilation and avoid wetting the leaves when watering. Pest infestations can be controlled with insecticidal soap or neem oil. Regularly inspect your banana plants for signs of pests or diseases and take action promptly to prevent them from spreading.
Is it necessary to use rooting hormone when propagating banana pups?
While rooting hormone can help to speed up root development, it is not strictly necessary for successful banana plant propagation. Banana pups naturally produce their own rooting hormones, so they will eventually develop roots on their own. However, if you want to encourage faster root growth, you can dip the cut end of the pup in rooting hormone before planting it in the potting mix. Be sure to follow the instructions on the rooting hormone package.
How do I know when my banana pup is ready to be transplanted into a larger pot or into the ground?
Your banana pup is ready to be transplanted when it has developed a strong root system and is showing signs of new growth. This typically takes several weeks to a few months, depending on the size of the pup and the environmental conditions. You can check for root development by gently tugging on the pup. If it resists being pulled out of the soil, it has likely developed roots. You can also carefully remove the pup from the pot and inspect the root system. If the roots are circling the bottom of the pot, it’s time to transplant. When transplanting, choose a pot that is at least twice the size of the current pot or select a sunny location in your garden with well-draining soil.
Leave a Comment