

Weekly Cleaning Checklist: Your secret weapon to a sparkling home without the overwhelming dread! Let’s face it, nobody *loves* cleaning, but a little bit of maintenance each week can save you from those marathon cleaning sessions that eat up your entire weekend. Think of it as preventative medicine for your sanity!
The concept of a cleaning schedule isn’t new. For generations, homemakers have relied on routines to keep their homes in order. From the meticulous cleaning rituals of ancient civilizations to the organized households of the Victorian era, the desire for a clean and comfortable living space is deeply ingrained in our history. But in today’s busy world, who has time for elaborate cleaning routines? That’s where our DIY weekly cleaning checklist comes in!
I know what you’re thinking: “Another chore list? Ugh!” But trust me, this isn’t just another list. It’s a carefully curated guide designed to break down your cleaning tasks into manageable, bite-sized pieces. We’ll cover everything from wiping down kitchen counters to quickly tidying up the bathroom, ensuring that your home always feels fresh and inviting. Plus, I’ll share some of my favorite time-saving hacks and DIY cleaning solutions along the way. So, ditch the overwhelm and embrace the power of a simple, effective weekly cleaning checklist. Let’s get started!
Creating Your Ultimate DIY Weekly Cleaning Checklist (and Actually Using It!)
Okay, let’s be honest. Cleaning isn’t exactly anyone’s favorite pastime. But a clean home is a happy home, right? And the key to a consistently clean home isn’t some magical cleaning fairy (though wouldn’t that be nice?), it’s a solid, reliable cleaning checklist. I’m going to walk you through creating a personalized weekly cleaning checklist that’s actually *doable* and, dare I say, even a little bit enjoyable.
Why You Need a Weekly Cleaning Checklist
Before we dive into the nitty-gritty, let’s talk about why a checklist is so important.
* It prevents overwhelm: Staring at a messy house can feel paralyzing. A checklist breaks down the task into manageable chunks.
* It ensures consistency: You won’t forget those often-overlooked areas like dusting baseboards or cleaning the microwave.
* It saves time: Knowing exactly what needs to be done eliminates the “what should I do first?” dilemma.
* It reduces stress: A clean home is a less stressful home. Period.
* It’s customizable: You can tailor it to your specific needs and lifestyle.
Phase 1: Assessing Your Cleaning Needs
The first step is figuring out what *actually* needs cleaning in your home each week. This isn’t a one-size-fits-all situation. Think about your lifestyle, the size of your home, and how much traffic each area gets.
1. Take a Walkthrough: Grab a notebook (or your phone) and walk through each room in your house. Really *look* at things. What’s dirty? What’s dusty? What’s just generally looking a little sad?
2. Consider Traffic: High-traffic areas like the kitchen and bathrooms will need more frequent attention than, say, a guest bedroom.
3. Think About Your Habits: Do you cook every night? Then the kitchen will need a more thorough cleaning. Do you have pets? Expect to vacuum more often.
4. Factor in Time: Be realistic about how much time you can dedicate to cleaning each week. Don’t create a checklist that’s so overwhelming you’ll never actually use it.
5. Seasonal Considerations: While this is a weekly checklist, keep in mind that some tasks, like cleaning windows inside and out, might be better suited for a monthly or seasonal schedule. We’ll focus on the core weekly tasks here.
Phase 2: Building Your Checklist – Room by Room
Now for the fun part! Let’s break down the checklist by room. I’ll give you some common tasks, but feel free to add or subtract based on your assessment from Phase 1.
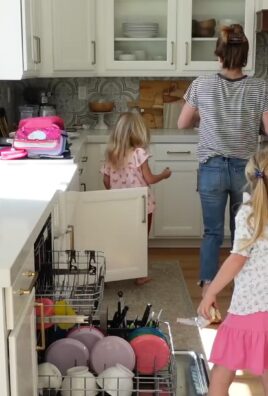
Kitchen
The kitchen is usually the heart of the home, and it often bears the brunt of daily messes.
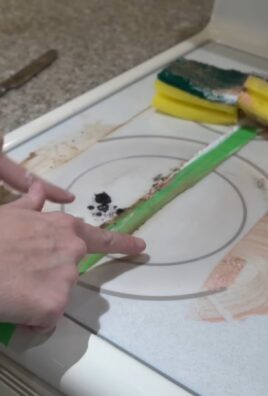
1. Wipe Down Counters and Surfaces: Use a good all-purpose cleaner to wipe down all countertops, the stovetop, and the outside of appliances.
2. Clean the Sink: Scrub the sink with a cleaner that’s appropriate for your sink material (stainless steel, porcelain, etc.). Don’t forget to clean the drain!
3. Clean the Microwave: This is a quick one! Heat a cup of water with a tablespoon of vinegar for a few minutes, then wipe down the inside. The steam will loosen any stuck-on food.
4. Sweep or Vacuum the Floor: Get rid of crumbs and spills.
5. Mop the Floor: Depending on your flooring, use a suitable cleaner and mop.
6. Empty the Trash: And replace the liner.
7. Wipe Down the Front of Appliances: Fingerprints and splatters are inevitable.
8. Quick Dishwasher Load: Run a load of dishes to keep things tidy. Even if it’s not full, running it every few days prevents buildup.
9. Check and Wipe Down the Inside of the Fridge: Toss any expired food and wipe up any spills.
Bathrooms
Bathrooms need regular cleaning to prevent the buildup of soap scum, mildew, and other nasties.
1. Clean the Toilet: Use a toilet bowl cleaner and scrub the bowl. Wipe down the seat and exterior.
2. Clean the Sink and Counter: Wipe down the sink, counter, and faucet with a bathroom cleaner.
3. Clean the Shower/Tub: Spray with a shower cleaner and scrub if necessary. Pay attention to grout lines.
4. Clean the Mirror: Use a glass cleaner to remove streaks and smudges.
5. Sweep or Vacuum the Floor: Remove hair and debris.
6. Mop the Floor: Use a bathroom-specific cleaner.
7. Empty the Trash: And replace the liner.
8. Replace Towels: Fresh towels make a big difference!
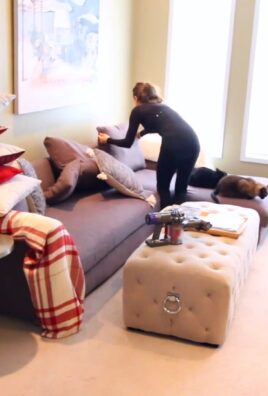
Living Room/Family Room
These areas tend to accumulate dust, crumbs, and general clutter.
1. Dust Surfaces: Dust coffee tables, end tables, shelves, and other furniture.
2. Vacuum or Sweep the Floor: Pay attention to areas under furniture and along baseboards.
3. Fluff Pillows and Blankets: Make the room look inviting.
4. Straighten Up: Put away books, magazines, toys, and other items that have accumulated.
5. Wipe Down Electronics: Use a microfiber cloth to wipe down the TV screen, remote controls, and other electronics.
6. Spot Clean Upholstery: Address any spills or stains on sofas and chairs.
Bedrooms
Bedrooms should be a haven of peace and tranquility, and that starts with cleanliness.
1. Make the Bed: This is a simple task that makes a huge difference.
2. Dust Surfaces: Dust nightstands, dressers, and other furniture.
3. Vacuum or Sweep the Floor: Pay attention to areas under the bed and along baseboards.
4. Straighten Up: Put away clothes, books, and other items.
5. Change Bed Linens: Fresh sheets are a must!
Other Areas
Don’t forget about these often-overlooked areas.
1. Entryway: Sweep or vacuum the floor, wipe down the door, and tidy up shoes and coats.
2. Hallways: Vacuum or sweep the floor and dust baseboards.
3. Stairs: Vacuum or sweep the stairs.
4. Laundry Room: Wipe down the washing machine and dryer, sweep the floor, and empty the lint trap.
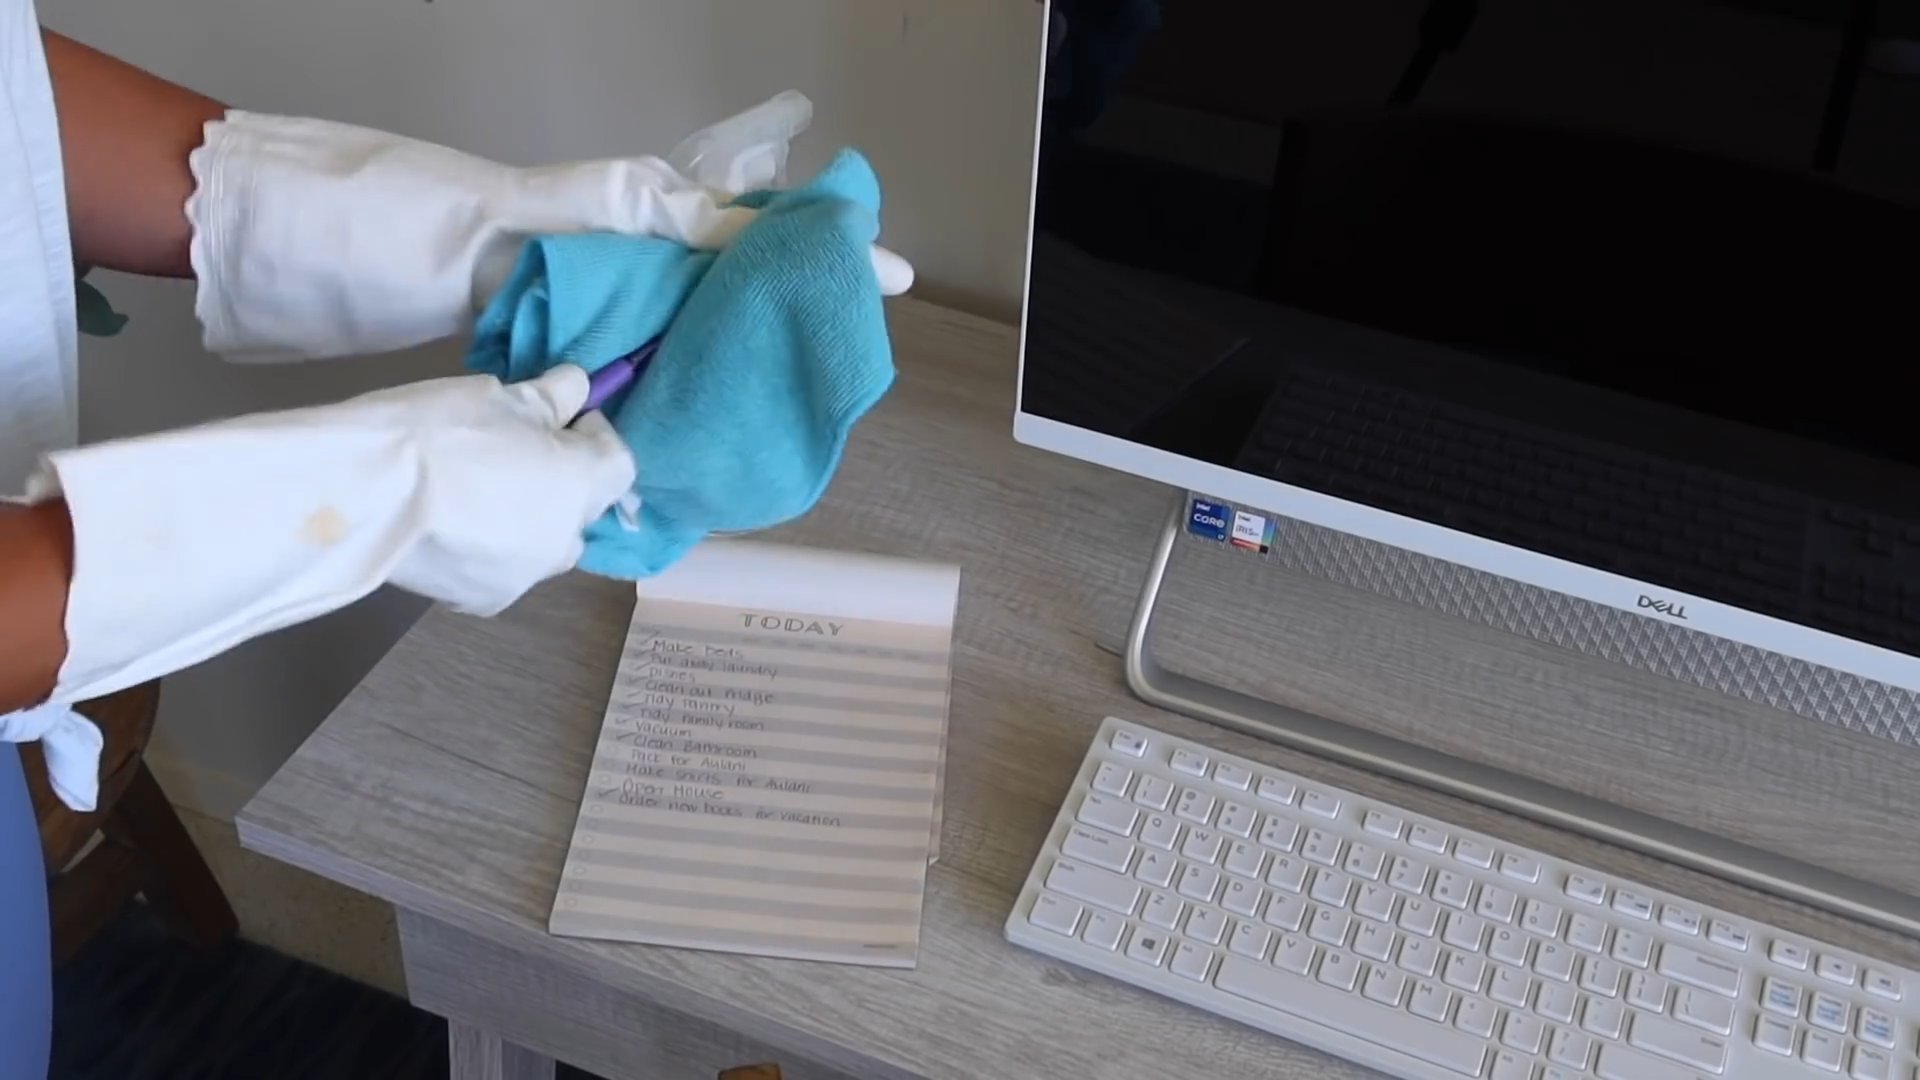
Phase 3: Creating Your Physical or Digital Checklist
Now that you have a list of tasks for each room, it’s time to create your actual checklist. You have a few options here:
* Paper Checklist: A simple handwritten or printed checklist.
* Digital Checklist: Use a note-taking app, a to-do list app, or a spreadsheet.
Here’s how to create a digital checklist using a simple note-taking app (like Google Keep, Evernote, or even just the Notes app on your phone):
1. Create a New Note: Title it “Weekly Cleaning Checklist.”
2. List the Rooms: Start by listing each room in your house (Kitchen, Bathroom, Living Room, etc.).
3. Add Tasks Under Each Room: Under each room, list the cleaning tasks you identified in Phase 2.
4. Use Checkboxes: Most note-taking apps allow you to add checkboxes next to each task. This makes it easy to mark tasks as complete.
5. Customize: Add notes or reminders to specific tasks (e.g., “Use vinegar cleaner on kitchen counters”).
If you prefer a paper checklist, simply write out the same information on a piece of paper or print out a template.
Phase 4: Scheduling and Implementation
Having a checklist is great, but it’s useless if you don’t actually use it! Here’s how to make your checklist a part of your weekly routine:
1. Choose a Cleaning Day (or Days): Decide when you’ll dedicate time to cleaning. Some people prefer to do it all in one day, while others prefer to spread it out over a few days.
2. Break It Down: If you’re spreading it out, assign specific tasks to specific days. For example, you might clean the bathrooms on Tuesdays and the kitchen on Thursdays.
3. Set a Timer: This can help you stay focused and prevent cleaning from taking over your entire day.
4. Make It a Habit: The key to success is consistency. Stick to your schedule as much as possible.
5. Reward Yourself: After you’ve completed your cleaning tasks, treat yourself to something you enjoy. This will help you associate cleaning with positive feelings.
Tips for Success

Conclusion
So, there you have it! Transforming your cleaning routine with a DIY weekly cleaning checklist isn’t just about ticking boxes; it’s about reclaiming your time, reducing stress, and creating a consistently clean and comfortable living space. We’ve explored how this simple yet powerful tool can revolutionize your approach to household chores, turning a daunting task into a manageable and even enjoyable process.
The beauty of a DIY weekly cleaning checklist lies in its adaptability. It’s not a rigid, one-size-fits-all solution but rather a customizable framework that you can tailor to your specific needs and preferences. Perhaps you want to dedicate Mondays to laundry and Tuesdays to bathrooms. Maybe you prefer to tackle all the dusting in one fell swoop on Saturdays. The choice is entirely yours!
Consider these variations to further personalize your checklist:
* **Theme Days:** Assign specific themes to each day of the week. For example, “Kitchen Cleaning Day” or “Bedroom Refresh Day.” This can help you focus your energy and avoid feeling overwhelmed.
* **Zone Cleaning:** Divide your home into zones and focus on one zone per week. This is particularly helpful for larger homes.
* **Seasonal Adjustments:** Modify your checklist based on the season. For example, add tasks like cleaning gutters in the fall or washing windows in the spring.
* **Family Involvement:** Delegate tasks to family members based on their age and abilities. This not only lightens your load but also teaches valuable life skills.
* **Time-Based Tasks:** Instead of listing specific tasks, allocate a certain amount of time to cleaning each day. For example, “Spend 30 minutes cleaning the kitchen.”
Remember, the goal is to create a system that works for you, not the other way around. Don’t be afraid to experiment and adjust your checklist until you find the perfect balance.
But the real magic happens when you put this knowledge into action. We wholeheartedly encourage you to create your own DIY weekly cleaning checklist and experience the transformative power of a structured cleaning routine. Start small, be realistic, and celebrate your progress along the way.
We’re confident that you’ll be amazed at the difference a simple checklist can make. Not only will your home be cleaner and more organized, but you’ll also feel a greater sense of control and accomplishment.
So, what are you waiting for? Grab a pen and paper (or your favorite digital note-taking app) and start creating your personalized DIY weekly cleaning checklist today!
And most importantly, we want to hear about your experience! Share your tips, tricks, and challenges in the comments below. Let us know what works for you, what doesn’t, and how you’ve customized your checklist to fit your unique lifestyle. Together, we can create a community of clean and organized homes, one checklist at a time. Your insights could inspire others to take control of their cleaning routines and experience the benefits of a well-maintained home. Don’t be shy – share your story and let’s learn from each other!
Frequently Asked Questions (FAQ)
What if I don’t have time to complete all the tasks on my weekly cleaning checklist?
That’s perfectly okay! Life happens, and sometimes you won’t be able to get everything done. The key is to prioritize the most important tasks and focus on those. You can also break down larger tasks into smaller, more manageable chunks. For example, instead of cleaning the entire bathroom in one go, you could clean the toilet one day, the shower another day, and the sink and mirror on a third day. Don’t beat yourself up if you miss a task; just roll it over to the next day or week. The goal is to create a sustainable routine, not to achieve perfection. Remember, even a little bit of cleaning is better than none at all!
How do I create a realistic weekly cleaning checklist?
Start by assessing your current cleaning habits and identifying the areas that need the most attention. Be honest with yourself about how much time you can realistically dedicate to cleaning each week. Don’t try to cram too many tasks into your checklist, or you’ll quickly become overwhelmed and discouraged. Begin with a few essential tasks and gradually add more as you get into the habit of following your checklist. Consider your lifestyle and priorities when choosing tasks. For example, if you have pets, you’ll need to include tasks like vacuuming more frequently. If you have allergies, you’ll want to focus on dusting and air purification.
Can I use a digital app or template for my weekly cleaning checklist?
Absolutely! There are many great digital apps and templates available online that can help you create and manage your weekly cleaning checklist. These tools often offer features like task reminders, progress tracking, and customizable templates. Some popular options include Trello, Asana, Google Keep, and dedicated cleaning apps. Using a digital tool can make it easier to stay organized and track your progress. However, if you prefer a more traditional approach, a simple pen and paper checklist can be just as effective. The most important thing is to choose a method that works best for you.
How often should I review and update my weekly cleaning checklist?
It’s a good idea to review and update your weekly cleaning checklist periodically, especially as your needs and circumstances change. For example, if you move to a new home, have a baby, or change jobs, you’ll likely need to adjust your checklist accordingly. Aim to review your checklist at least once a month to ensure that it’s still relevant and effective. You can also make adjustments as needed based on your experience. If you find that certain tasks are taking too long or are not necessary, you can remove them or modify them. The goal is to create a checklist that is tailored to your current needs and helps you maintain a clean and organized home.
What are some tips for staying motivated to follow my weekly cleaning checklist?
Staying motivated can be a challenge, but there are several strategies you can use to make cleaning more enjoyable and rewarding. First, try to make cleaning a habit by incorporating it into your daily or weekly routine. Set aside a specific time each day or week for cleaning and stick to it as much as possible. Second, reward yourself for completing tasks on your checklist. This could be something as simple as taking a break to read a book or watch your favorite TV show. Third, listen to music or podcasts while you clean to make the time pass more quickly. Fourth, enlist the help of family members or friends to make cleaning a more social activity. Finally, remember to focus on the benefits of a clean and organized home, such as reduced stress, improved health, and a more comfortable living environment.
Leave a Comment