

Daily Cleaning Routine: Are you tired of spending your weekends scrubbing and stressing over a messy house? Imagine reclaiming your precious free time and enjoying a consistently clean and inviting home, all with just a few simple tweaks to your daily habits. That’s right, I’m talking about transforming your life with an effective daily cleaning routine!
The concept of a daily cleaning routine isn’t new. For centuries, cultures around the world have understood the importance of maintaining a tidy living space for both physical and mental well-being. From the meticulous cleaning rituals of ancient Japan to the simple chores passed down through generations in rural communities, the idea of a little bit each day has always been a cornerstone of a happy home. Think of it as a modern take on age-old wisdom!
But in today’s fast-paced world, who has time for elaborate cleaning schedules? That’s where this DIY guide comes in. I’m going to share my favorite, tried-and-tested tricks and hacks for creating a manageable daily cleaning routine that fits seamlessly into your busy life. We’ll break down the essential tasks, learn how to prioritize, and discover clever shortcuts that will leave your home sparkling without feeling overwhelmed. Get ready to say goodbye to weekend cleaning marathons and hello to a consistently clean and comfortable living space!
Creating Your Own Sparkling Daily Cleaning Routine
Okay, let’s face it, cleaning isn’t exactly anyone’s favorite pastime. But a little bit of daily effort can save you from those overwhelming weekend cleaning marathons. I’m going to walk you through how to create a daily cleaning routine that’s manageable, effective, and tailored to *your* life. No more dreading cleaning day!
Understanding Your Needs and Space
Before we dive into the nitty-gritty, let’s take a moment to assess what we’re working with. This isn’t a one-size-fits-all situation.
* **Identify High-Traffic Areas:** Which rooms get the most use? For me, it’s definitely the kitchen and living room. These areas will need more attention.
* **Pinpoint Problem Zones:** Are there specific spots that consistently get messy? Maybe it’s the entryway where shoes pile up, or the bathroom sink that always has toothpaste splatters. Knowing these areas helps you target your efforts.
* **Consider Your Lifestyle:** Are you a busy professional, a stay-at-home parent, or somewhere in between? Your routine needs to fit into your schedule, not the other way around.
* **Think About Your Cleaning Style:** Do you prefer quick and efficient cleaning, or do you like to take your time and do a more thorough job? Be honest with yourself!
Building Your Daily Cleaning Checklist
Now for the fun part – creating your personalized checklist! Remember, the goal is to break down cleaning into small, manageable tasks that you can tackle each day.
Here’s a sample checklist to get you started. Feel free to adapt it to your own needs and preferences:
* **Make the Beds:** This simple act instantly makes your bedrooms look tidier.
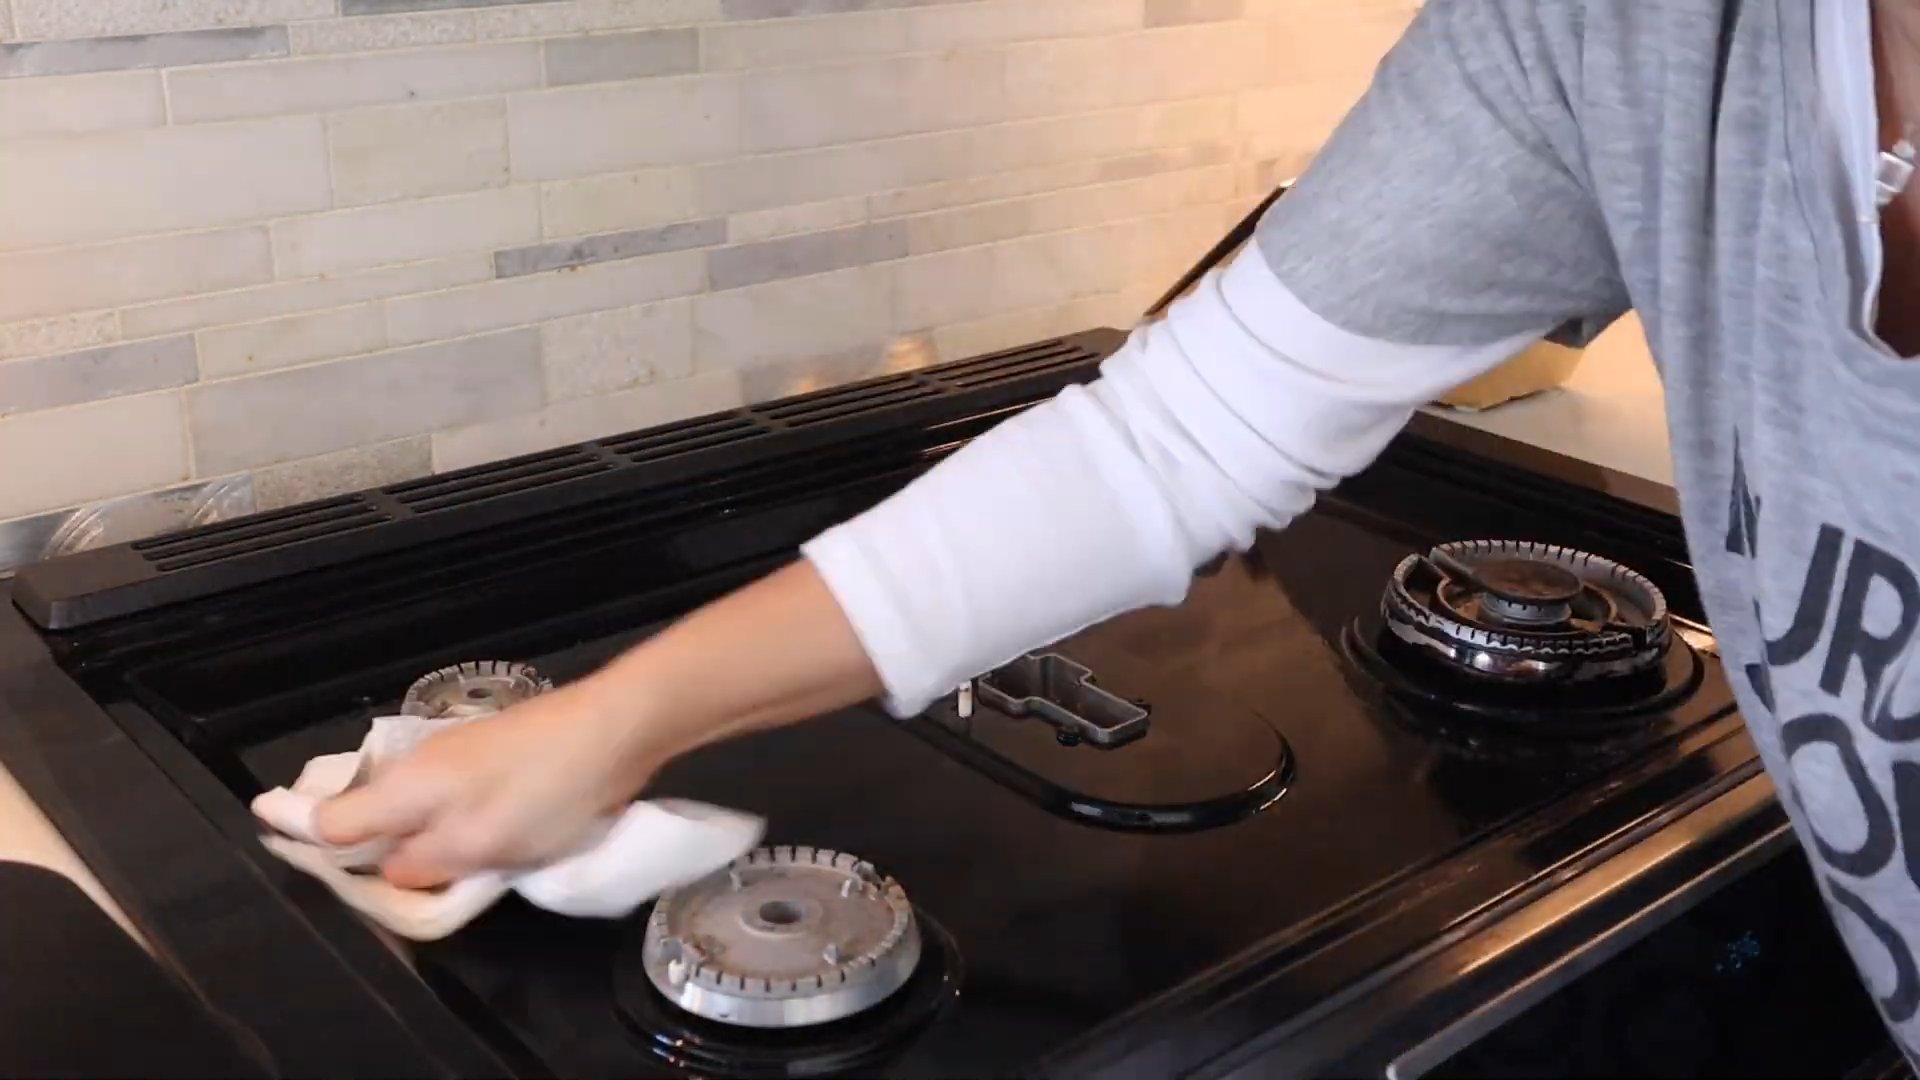
* **Wipe Down Kitchen Counters and Sink:** After each meal, give the counters and sink a quick wipe to prevent food buildup.
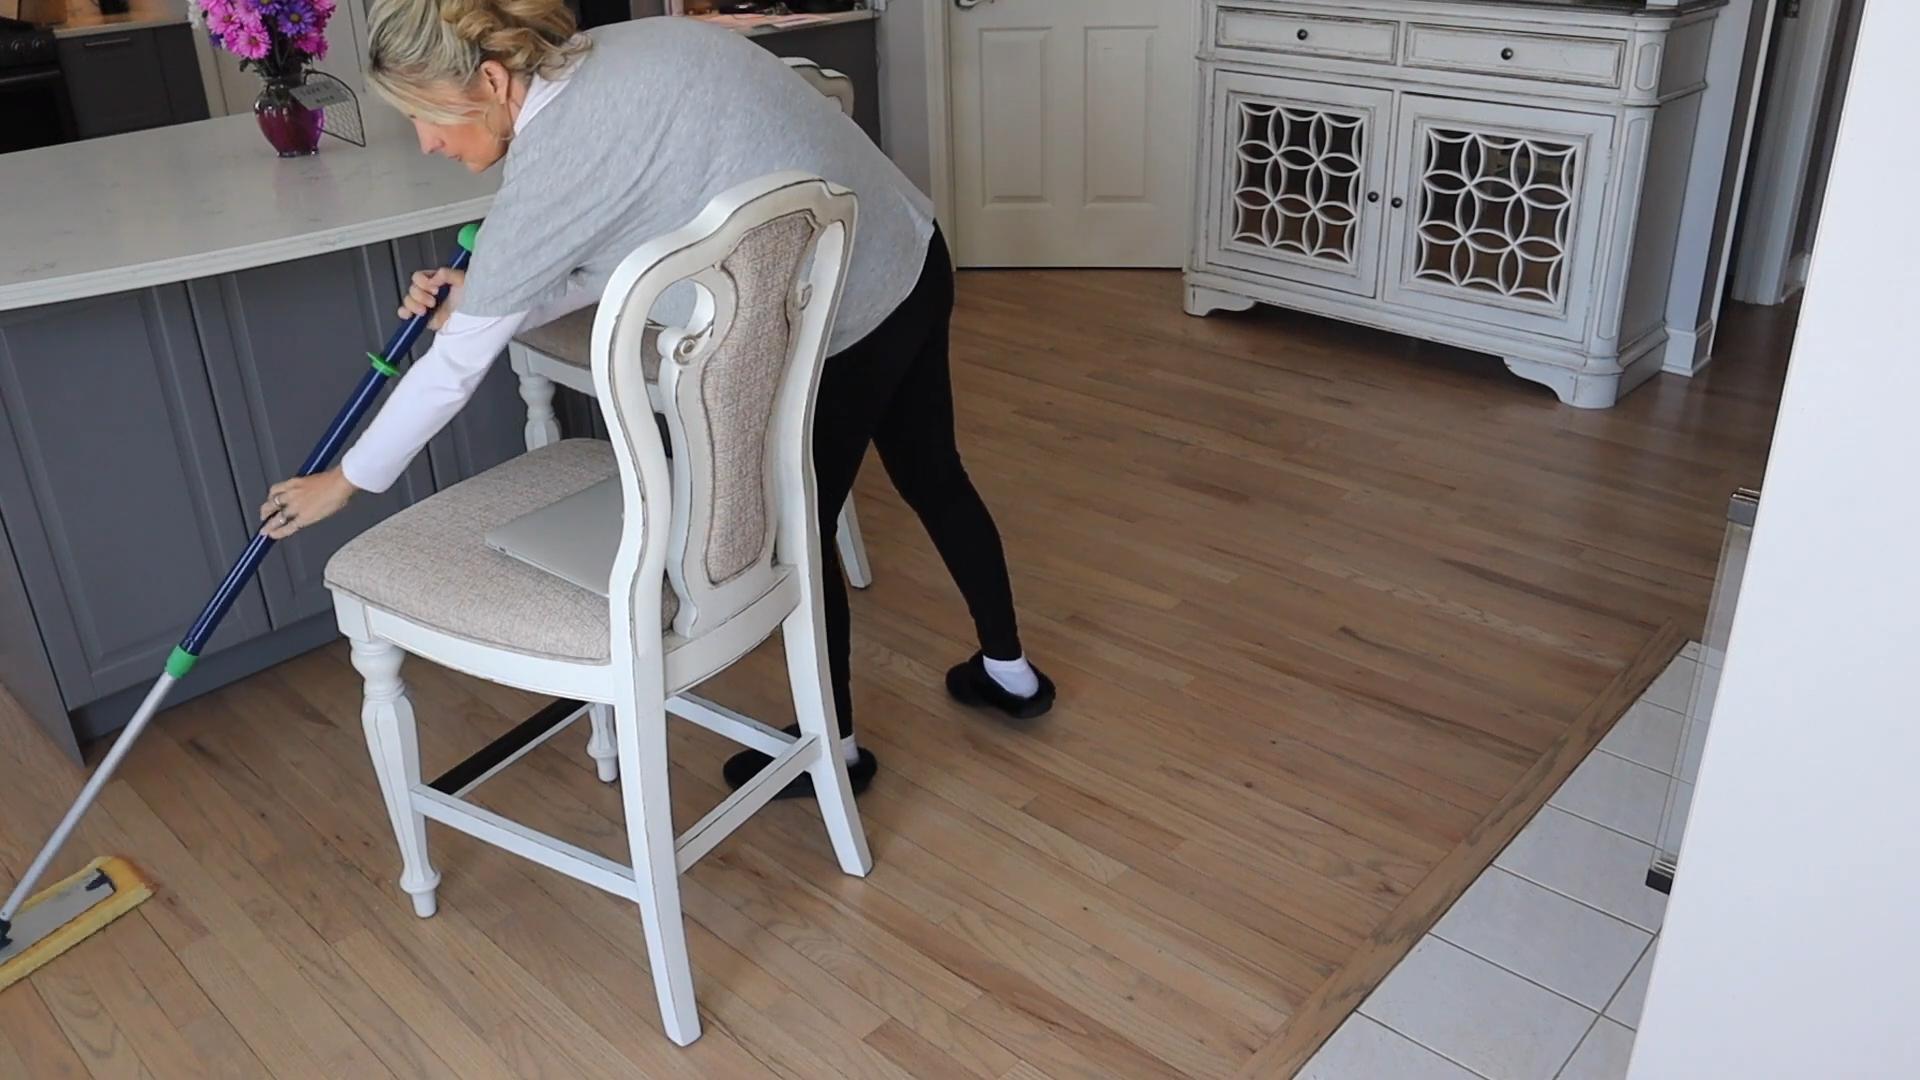
* **Sweep or Vacuum Kitchen Floor:** Crumbs and spills happen. A quick sweep or vacuum keeps the kitchen floor clean.
* **Empty the Dishwasher (or Wash Dishes):** Don’t let dishes pile up in the sink.
* **Quick Bathroom Wipe-Down:** Wipe down the sink, toilet seat, and shower walls after use to prevent soap scum and mildew.
* **Take Out the Trash:** Empty trash cans as needed to prevent odors.
* **Tidy Up Living Areas:** Put away toys, books, and other items that have accumulated throughout the day.
* **One Load of Laundry:** Doing a load of laundry each day prevents mountains of clothes from piling up.
* **Quick Declutter Session (5-10 minutes):** Focus on one small area, like a countertop or drawer, and get rid of anything you don’t need or use.
Step-by-Step Instructions for Each Task
Let’s break down each task into simple, easy-to-follow steps.
1. Making the Beds
This is probably the easiest task on the list, but it makes a huge difference in the overall appearance of your bedroom.
1. **Straighten the Sheets:** Pull the sheets up and smooth out any wrinkles.
2. **Fluff the Pillows:** Give your pillows a good fluff to restore their shape.
3. **Arrange the Pillows:** Place the pillows neatly at the head of the bed.
4. **Pull Up the Comforter or Duvet:** Spread the comforter or duvet evenly over the bed.
5. **Add Decorative Touches (Optional):** Add a throw blanket or decorative pillows for a more polished look.
2. Wiping Down Kitchen Counters and Sink
This is crucial for preventing food buildup and keeping your kitchen sanitary.
1. **Gather Your Supplies:** You’ll need a cleaning spray (I like using a multi-purpose cleaner or a simple solution of vinegar and water) and a clean cloth or sponge.
2. **Clear the Counters:** Remove any items from the counters, such as appliances, dishes, or food containers.
3. **Spray the Counters:** Spray the cleaning solution evenly over the counters and sink.
4. **Wipe Down the Surfaces:** Use the cloth or sponge to wipe down the counters and sink, paying attention to any spills or stains.
5. **Rinse (If Necessary):** If you’re using a strong cleaning solution, you may want to rinse the surfaces with clean water.
6. **Dry the Surfaces:** Use a clean, dry cloth to dry the counters and sink.
3. Sweeping or Vacuuming Kitchen Floor
This keeps your kitchen floor free of crumbs and spills.
1. **Gather Your Supplies:** You’ll need a broom and dustpan or a vacuum cleaner.
2. **Clear the Floor:** Remove any obstacles from the floor, such as chairs or rugs.
3. **Sweep or Vacuum:** Sweep or vacuum the entire floor, paying attention to areas under the table and around the stove.
4. **Empty the Dustpan or Vacuum:** Empty the dustpan or vacuum cleaner when it’s full.
4. Emptying the Dishwasher (or Washing Dishes)
Preventing dishes from piling up is key to a clean kitchen.
1. **Empty the Dishwasher:** If you have a dishwasher, empty it after each cycle.
2. **Wash Dishes (If Necessary):** If you don’t have a dishwasher, wash the dishes by hand after each meal.
3. **Rinse and Dry:** Rinse the dishes thoroughly and dry them with a clean towel.
4. **Put Away the Dishes:** Put the clean dishes away in their proper places.
5. Quick Bathroom Wipe-Down
This prevents soap scum and mildew from building up in your bathroom.
1. **Gather Your Supplies:** You’ll need a cleaning spray (I like using a bathroom cleaner or a solution of vinegar and water) and a clean cloth or sponge.
2. **Spray the Surfaces:** Spray the cleaning solution on the sink, toilet seat, and shower walls.
3. **Wipe Down the Surfaces:** Use the cloth or sponge to wipe down the surfaces, paying attention to any soap scum or stains.
4. **Rinse (If Necessary):** If you’re using a strong cleaning solution, you may want to rinse the surfaces with clean water.
5. **Dry the Surfaces:** Use a clean, dry cloth to dry the surfaces.
6. Taking Out the Trash
This prevents odors from building up in your home.
1. **Check the Trash Cans:** Check the trash cans in each room to see if they need to be emptied.
2. **Remove the Trash Bags:** Remove the trash bags from the cans.
3. **Tie Up the Bags:** Tie up the trash bags securely.
4. **Dispose of the Trash:** Dispose of the trash bags in your outdoor trash can or dumpster.
5. **Replace the Liners:** Replace the liners in the trash cans.
7. Tidying Up Living Areas
This keeps your living areas looking neat and organized.
1. **Gather Items:** Gather any items that are out of place, such as toys, books, or magazines.
2. **Put Items Away:** Put the items away in their proper places.
3. **Fluff Pillows and Blankets:** Fluff the pillows and blankets on the couch and chairs.
4. **Straighten Rugs:** Straighten any rugs that are out of place.
8. One Load of Laundry
Doing a load of laundry each day prevents mountains of clothes from piling up.
1. **Gather Dirty Clothes:** Gather the dirty clothes from the laundry hampers.
2. **Sort the Clothes:** Sort the clothes by color and fabric type.
3. **Load the Washing Machine:** Load the washing machine with the clothes.
4. **Add Detergent:** Add detergent to the washing machine.
5. **Start the Washing Machine:** Start the washing machine.
6. **Transfer to Dryer:** Once the wash cycle is complete, transfer the clothes to the dryer.
7. **Dry the Clothes:** Dry the clothes in the dryer.
8. **Fold or Hang the Clothes:** Fold or hang the clean clothes.
9. **Put Away the Clothes:** Put the clean clothes away in their proper places.
9. Quick Declutter Session (5-10 minutes)
This prevents clutter from accumulating in your home.
1. **Choose a Small Area:** Choose a small area to focus on, such as a countertop, drawer, or shelf.
2. **Remove Everything:** Remove everything from the area.
3. **Sort Through Items:** Sort through the items and decide what to keep, donate, or discard.
4. **Clean the Area:** Clean the area thoroughly.
5. **Put Items Back:** Put the items you’re keeping back in the area, organizing them neatly.
6. **Discard Unwanted Items:** Discard or donate the unwanted items.
Tips for Sticking to Your Routine
Okay, so you’ve created your amazing daily cleaning routine. Now, how do you actually *stick* to it?
Conclusion
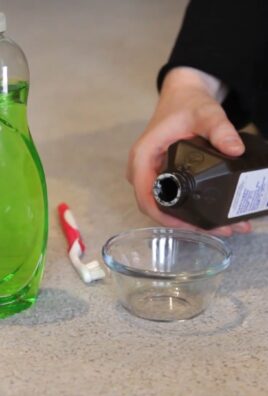
So, there you have it! Transforming your daily cleaning routine with this simple DIY trick is more than just a way to save money; it’s about taking control of the ingredients you bring into your home and creating a healthier, more sustainable living space. We’ve shown you how easy it is to create a powerful and effective cleaning solution using ingredients you likely already have in your pantry.
But why is this DIY approach a must-try? Firstly, it empowers you to ditch harsh chemicals often found in commercial cleaners. These chemicals can be irritating to your skin, respiratory system, and even harmful to the environment. By crafting your own cleaner, you know exactly what’s going into it, allowing you to tailor it to your specific needs and sensitivities. Secondly, it’s incredibly cost-effective. The ingredients are inexpensive and readily available, making this a budget-friendly alternative to constantly repurchasing store-bought products. Finally, it’s surprisingly effective! You’ll be amazed at how well this simple solution tackles everyday grime and dirt.
Looking for variations? Absolutely! For a boost of disinfecting power, consider adding a few drops of tea tree oil or eucalyptus oil. These essential oils not only provide antibacterial and antiviral properties but also leave behind a refreshing scent. If you’re dealing with stubborn grease, a squirt of dish soap can be added to the mix. For a citrusy twist, infuse your vinegar with lemon or orange peels for a few weeks before using it in your cleaning solution. This will not only add a pleasant fragrance but also enhance its cleaning power. Remember to always test any new variation on a small, inconspicuous area first to ensure it doesn’t damage the surface.
We truly believe that incorporating this DIY cleaning solution into your daily cleaning routine will revolutionize the way you approach household chores. It’s a simple, effective, and eco-friendly way to keep your home sparkling clean without compromising your health or the environment.
Now, we encourage you to give it a try! Experiment with different variations, find what works best for your home, and most importantly, share your experience with us. Let us know in the comments below how this DIY trick has transformed your cleaning routine. We’re eager to hear your tips, tricks, and success stories! Let’s build a community of conscious cleaners who are passionate about creating healthy and sustainable homes. Your feedback will not only inspire others but also help us refine and improve this DIY cleaning solution for everyone. So, grab your ingredients, get mixing, and prepare to be amazed by the power of homemade cleaning!
Frequently Asked Questions (FAQs)
What exactly are the benefits of using a DIY cleaning solution compared to store-bought cleaners?
DIY cleaning solutions offer a multitude of benefits. The most significant advantage is control over ingredients. You avoid harsh chemicals, artificial fragrances, and potentially harmful additives commonly found in commercial cleaners. This is particularly important for individuals with sensitivities, allergies, or concerns about the environmental impact of cleaning products. DIY solutions are also incredibly cost-effective, often utilizing inexpensive ingredients you already have at home. Furthermore, making your own cleaner reduces plastic waste associated with disposable bottles. Finally, many people find the process of creating their own cleaning products empowering and satisfying, allowing them to customize solutions to their specific needs and preferences.
Is this DIY cleaning solution safe to use on all surfaces?
While this DIY cleaning solution is generally safe for most surfaces, it’s crucial to exercise caution and test it on an inconspicuous area first, especially on delicate or sensitive materials. Avoid using vinegar-based solutions on natural stone surfaces like marble or granite, as the acidity can etch and damage them. Similarly, be careful when using it on waxed wood, as it can strip the wax finish. For these surfaces, a milder solution of soap and water is generally recommended. Always consult the manufacturer’s instructions for specific cleaning recommendations for your surfaces. When in doubt, err on the side of caution and test before applying liberally.
Can I use different types of vinegar for this DIY cleaning solution?
Yes, you can use different types of vinegar, but white distilled vinegar is generally recommended for its cleaning power and lack of color, which prevents staining. Apple cider vinegar can also be used, but it has a stronger odor and may leave a slight residue. Avoid using balsamic vinegar or other flavored vinegars, as they can stain surfaces and are not as effective for cleaning. The acidity of the vinegar is what provides its cleaning properties, so ensure the vinegar you choose has a sufficient acidity level (typically around 5%).
How long does this DIY cleaning solution last?
This DIY cleaning solution typically lasts for several weeks when stored properly in a cool, dark place. The vinegar acts as a natural preservative, preventing bacterial growth. However, it’s best to use it within a month or two for optimal effectiveness. If you notice any changes in color, odor, or consistency, it’s best to discard the solution and make a fresh batch. Label your spray bottle with the date you made the solution to keep track of its freshness.
What essential oils are best to add to this DIY cleaning solution for added benefits and fragrance?
The best essential oils to add depend on your desired benefits and fragrance preferences. Tea tree oil is a popular choice for its antibacterial and antiviral properties, making it ideal for disinfecting surfaces. Lavender oil offers a calming scent and also possesses antibacterial properties. Lemon oil is a great degreaser and leaves a fresh, citrusy fragrance. Eucalyptus oil is known for its respiratory benefits and can help clear congestion. Peppermint oil provides a refreshing scent and can also repel insects. When adding essential oils, start with a few drops and adjust to your desired fragrance strength. Always ensure the essential oils you use are pure and therapeutic grade.
How can I make this DIY cleaning solution more effective for specific cleaning tasks, like removing stubborn stains or grease?
For stubborn stains, pre-treating the area with baking soda paste can help loosen the stain before applying the cleaning solution. For grease, adding a squirt of dish soap to the solution can significantly improve its degreasing power. For mildew or mold, increase the concentration of vinegar in the solution. You can also create a paste of baking soda and vinegar to scrub away stubborn mildew stains. Remember to always test any new cleaning method on a small, inconspicuous area first.
Is this DIY cleaning solution safe for pets and children?
While this DIY cleaning solution is generally safer than commercial cleaners, it’s still important to exercise caution when using it around pets and children. Keep the solution out of reach of children and pets to prevent accidental ingestion. Avoid spraying it directly on pets or in areas where they frequently spend time. If your pet ingests the solution, contact your veterinarian immediately. When cleaning surfaces that pets or children come into contact with, rinse thoroughly with water after cleaning to remove any residue.
Can I use this DIY cleaning solution in a steam mop or other cleaning appliances?
It’s generally not recommended to use this DIY cleaning solution in steam mops or other cleaning appliances unless the manufacturer specifically states that it’s safe to do so. The vinegar in the solution can potentially damage the internal components of these appliances. Always refer to the manufacturer’s instructions for recommended cleaning solutions. For steam mops, distilled water is typically the best option.
How does this DIY cleaning routine contribute to a more sustainable lifestyle?
This DIY cleaning routine significantly contributes to a more sustainable lifestyle by reducing your reliance on commercially produced cleaning products, which often come in plastic packaging and contain harmful chemicals. By making your own cleaner, you minimize plastic waste and avoid introducing potentially toxic substances into the environment. Using natural ingredients like vinegar and essential oils promotes a more eco-friendly approach to cleaning. Furthermore, this DIY approach encourages a more conscious consumption pattern, prompting you to think critically about the products you use and their impact on the planet.
Leave a Comment