

Deep Clean Your Kitchen: Is your kitchen feeling less like a culinary haven and more like a chaotic battleground? Don’t worry, you’re not alone! We’ve all been there, staring at the grime on the stovetop and the mystery spills in the fridge, wondering where to even begin. But fear not, because this isn’t just another cleaning article; it’s your personalized guide to reclaiming your kitchen and transforming it into a sparkling, hygienic space you’ll actually enjoy spending time in.
For generations, a clean kitchen has been the heart of the home, a symbol of warmth, nourishment, and family connection. Think back to your grandmother’s kitchen – likely spotless and filled with delicious aromas! While we might not have the time for her meticulous methods, we can certainly adapt some clever tricks to achieve a similar level of cleanliness and comfort.
In today’s busy world, a thorough kitchen cleaning often gets pushed to the bottom of the to-do list. But neglecting this vital space can lead to more than just unsightly messes. Bacteria, mold, and lingering odors can impact your health and the freshness of your food. That’s why mastering the art of a deep clean your kitchen is so crucial. I’m going to share some easy-to-follow DIY hacks that will not only save you time and money but also ensure your kitchen is a safe and inviting place for you and your loved ones. Get ready to roll up your sleeves and discover the secrets to a truly sparkling kitchen!
Deep Clean Your Kitchen: A DIY Guide to Sparkling Surfaces
Okay, let’s face it, the kitchen is the heart of the home, but it’s also a magnet for grime, spills, and general chaos. A quick wipe-down here and there is good, but sometimes you need to go deeper. I’m talking a full-on, roll-up-your-sleeves, deep clean. Don’t worry, it’s not as daunting as it sounds! I’m going to walk you through my tried-and-true method for getting your kitchen sparkling from top to bottom.
What You’ll Need: Your Arsenal of Cleaning Supplies
Before we dive in, let’s gather our supplies. Having everything ready will make the process much smoother. Here’s what I recommend:
* Microfiber cloths (lots of them!)
* Sponges (both abrasive and non-abrasive)
* Dish soap
* Baking soda
* White vinegar
* All-purpose cleaner (I prefer a natural one)
* Glass cleaner
* Oven cleaner (choose one appropriate for your oven type)
* Degreaser
* Toothbrush (an old one, of course!)
* Scrub brush
* Rubber gloves (protect those hands!)
* Trash bags
* Vacuum cleaner with attachments
* Mop and bucket
* Cleaning caddy (to carry your supplies)
* Optional: Lemon essential oil (for a fresh scent)
Phase 1: Declutter and Prep
Before you even think about scrubbing, we need to declutter. This makes the actual cleaning process so much easier.
1. Clear the Counters: Remove everything from your countertops – appliances, utensils, mail, everything! This gives you a blank canvas to work with. Place items in boxes or baskets to sort through later.
2. Empty the Sink: Get rid of any dirty dishes. Load them into the dishwasher or wash them by hand. A clean sink is essential for the rest of the cleaning process.
3. Take Out the Trash: Empty all trash cans and recycling bins. Replace the liners.
4. Clear the Table: Remove everything from the kitchen table. Wipe it down with a damp cloth.
5. Remove Rugs and Mats: Shake them out or vacuum them to remove dirt and debris.
Phase 2: Tackling the Appliances
Appliances are often the biggest culprits when it comes to kitchen grime. Let’s give them some serious attention.
Cleaning the Oven
This is often the most dreaded task, but it’s so satisfying when it’s done!
1. Read the Instructions: Always start by reading the instructions on your oven cleaner. Different cleaners have different application methods and safety precautions.
2. Protect Yourself: Wear rubber gloves and eye protection. Open windows for ventilation.
3. Remove Racks: Take out the oven racks and soak them in hot, soapy water in the sink or bathtub. You can also use oven cleaner on them, following the product instructions.
4. Apply Oven Cleaner: Spray or apply the oven cleaner to the interior of the oven, avoiding the heating elements and any vents.
5. Let it Sit: Allow the cleaner to sit for the recommended time (usually several hours or overnight).
6. Scrub and Wipe: After the soaking time, use a sponge or scrub brush to remove the loosened grime. This might take some elbow grease!
7. Rinse Thoroughly: Wipe down the interior of the oven with a damp cloth to remove all traces of the cleaner. Rinse the cloth frequently.
8. Clean the Racks: Scrub the oven racks to remove any remaining grime. Rinse them thoroughly and dry them before replacing them in the oven.
9. Run a Cleaning Cycle (If Applicable): If your oven has a self-cleaning cycle, run it after you’ve manually cleaned the oven. This will burn off any remaining residue. Be sure to open windows for ventilation during the self-cleaning cycle.
Cleaning the Refrigerator
A clean fridge is a happy fridge!
1. Unplug the Refrigerator: This is a safety precaution.
2. Remove All Food: Take everything out of the refrigerator and freezer. Discard any expired or spoiled items.
3. Remove Shelves and Drawers: Take out all removable shelves, drawers, and bins. Wash them in hot, soapy water. Rinse them thoroughly and dry them before replacing them.
4. Wipe Down the Interior: Use a solution of warm water and baking soda to wipe down the interior of the refrigerator. Pay attention to spills and stains.
5. Clean the Door Seals: Use a toothbrush and a solution of warm water and dish soap to clean the door seals. This will help prevent mold and mildew growth.
6. Clean the Exterior: Wipe down the exterior of the refrigerator with a damp cloth and all-purpose cleaner.
7. Replace Shelves and Drawers: Once everything is clean and dry, replace the shelves, drawers, and bins.
8. Organize Food: Put the food back into the refrigerator, organizing it by category. Use clear containers to store leftovers and produce.
9. Plug in the Refrigerator: Plug the refrigerator back in.
Cleaning the Dishwasher
Yes, even the dishwasher needs cleaning!
1. Remove Food Debris: Check the drain and remove any food debris.
2. Clean the Filter: Remove the filter and clean it with hot, soapy water.
3. Run a Cleaning Cycle: Place a dishwasher-safe cup filled with white vinegar on the top rack. Run the dishwasher on a hot cycle.
4. Clean the Exterior: Wipe down the exterior of the dishwasher with a damp cloth and all-purpose cleaner.
Cleaning the Microwave
Microwaves are notorious for splatters and spills.
1. Heat a Bowl of Water: Place a microwave-safe bowl filled with water and a slice of lemon in the microwave. Heat it on high for several minutes, until the water boils and the microwave is steamy.
2. Let it Sit: Let the steam sit in the microwave for a few minutes. This will loosen any dried-on food.
3. Wipe Down the Interior: Carefully remove the bowl and wipe down the interior of the microwave with a damp cloth.
4. Clean the Turntable: Wash the turntable in hot, soapy water.
5. Clean the Exterior: Wipe down the exterior of the microwave with a damp cloth and all-purpose cleaner.
Phase 3: Countertops, Cabinets, and Backsplash
Now, let’s move on to the surfaces that get the most daily use.
Cleaning Countertops
The method you use will depend on the type of countertop you have.
* Granite: Use a pH-neutral cleaner specifically designed for granite. Avoid harsh chemicals and abrasive cleaners.
* Quartz: Use a mild dish soap and water. Avoid abrasive cleaners.
* Laminate: Use a mild dish soap and water or an all-purpose cleaner.
* Butcher Block: Use a mild dish soap and water. Avoid soaking the wood. Dry thoroughly after cleaning.
1. Clear the Countertops: Make sure the countertops are clear of all items.
2. Spray with Cleaner: Spray the countertops with the appropriate cleaner.
3. Wipe Clean: Wipe the countertops clean with a microfiber cloth.
4. Dry Thoroughly: Dry the countertops with a clean, dry cloth.
Cleaning Cabinets
Cabinets can accumulate grease and grime over time.
1. Mix a Cleaning Solution: Mix a solution of warm water and dish soap.
2. Dip a Cloth: Dip a microfiber cloth into the cleaning solution and wring out the excess water.
3. Wipe the Cabinets: Wipe down the cabinets, paying attention to areas around the handles and hinges.
4. Rinse with a Damp Cloth: Rinse the cabinets with a damp cloth to remove any soap residue.
5. Dry Thoroughly: Dry the cabinets with a clean, dry cloth.
6. For Stubborn Grease: For stubborn grease stains, use a degreaser or a paste of baking soda and water.
Cleaning the Backsplash
The backsplash protects your walls from splatters and spills.
1. Spray with Cleaner: Spray the backsplash with an all-purpose cleaner or a solution of warm water and dish soap.
2. Let it Sit: Let the cleaner sit for a few minutes to loosen any grime.
3. Wipe Clean: Wipe the backsplash clean with a microfiber cloth.
4. Rinse with a Damp Cloth: Rinse the backsplash with a damp cloth to remove any cleaner residue.
5. Dry Thoroughly: Dry the backsplash with a clean,
Conclusion
So, there you have it! Deep cleaning your kitchen doesn’t have to be a daunting, all-day affair. By incorporating these simple yet effective DIY tricks into your regular cleaning routine, you can maintain a sparkling, hygienic, and inviting kitchen space with minimal effort. We’ve shown you how to tackle those often-overlooked areas, from greasy stovetops to grimy grout, using readily available household ingredients.
The beauty of these methods lies not only in their effectiveness but also in their eco-friendliness and cost-effectiveness. Forget about harsh chemicals and expensive cleaning products; vinegar, baking soda, and lemon juice are your new best friends in the battle against kitchen grime. These natural solutions are gentle on your surfaces, safe for your family, and kind to the environment.
But why is this deep clean approach a must-try? Because a clean kitchen is more than just aesthetically pleasing; it’s essential for your health and well-being. A clean kitchen reduces the risk of foodborne illnesses, eliminates unpleasant odors, and creates a more enjoyable cooking experience. Plus, a well-maintained kitchen is a more efficient kitchen. When everything is organized and clean, you’ll spend less time searching for ingredients and utensils and more time creating delicious meals.
Looking for variations? Absolutely! For stubborn stains on stainless steel, try using a paste of baking soda and water, gently scrubbing in the direction of the grain. To freshen up your garbage disposal, freeze lemon or lime wedges in vinegar ice cubes and run them through the disposal. For a deeper clean of your oven, let the baking soda paste sit overnight before scrubbing. You can also add a few drops of your favorite essential oil to your cleaning solutions for a pleasant aroma. Lavender, lemon, and tea tree oil are all excellent choices.
We understand that every kitchen is different, and what works for one person may not work for another. That’s why we encourage you to experiment with these DIY tricks and find what works best for you. Don’t be afraid to adjust the ratios of ingredients or try different combinations to achieve your desired results. The most important thing is to be consistent and make deep cleaning a regular part of your kitchen maintenance routine.
Now it’s your turn! We challenge you to try these DIY tricks for deep cleaning your kitchen and see the difference they can make. We’re confident that you’ll be amazed at how easy and effective they are. And most importantly, we want to hear about your experience! Share your before-and-after photos, your favorite tips and tricks, and any variations you’ve discovered in the comments below. Let’s create a community of clean kitchen enthusiasts and inspire each other to maintain sparkling, healthy, and happy kitchens. So, grab your vinegar, baking soda, and lemon juice, and let’s get cleaning! We can’t wait to see your results!
Frequently Asked Questions (FAQ)
1. How often should I deep clean my kitchen?
The frequency of deep cleaning your kitchen depends on how often you cook and how much use your kitchen gets. As a general guideline, a deep clean every 1-3 months is recommended. However, if you cook frequently or have a large family, you may need to deep clean more often. Regular spot cleaning and maintenance, such as wiping down countertops and sweeping floors daily, can help extend the time between deep cleans. Consider creating a cleaning schedule to stay on track and prevent grime from building up.
2. What are the essential supplies I need for deep cleaning my kitchen?
The beauty of these DIY tricks is that they require minimal supplies. Here’s a list of essentials:
* White vinegar: A versatile cleaner and disinfectant.
* Baking soda: A gentle abrasive and deodorizer.
* Lemon juice: A natural degreaser and brightener.
* Microfiber cloths: Excellent for wiping surfaces without leaving streaks.
* Spray bottles: For easy application of cleaning solutions.
* Scrub brushes: For tackling stubborn grime.
* Sponges: For general cleaning.
* Rubber gloves: To protect your hands.
* Old toothbrush: For cleaning grout and tight spaces.
* Dish soap: For washing dishes and general cleaning.
* Warm water: For diluting cleaning solutions.
3. Is it safe to use vinegar and baking soda together?
While vinegar and baking soda are both effective cleaning agents, mixing them together in a closed container can create a buildup of carbon dioxide gas, which could potentially cause the container to explode. However, when used properly, they are safe and effective. The key is to use them separately or in an open container. For example, you can sprinkle baking soda on a surface and then spray it with vinegar. The fizzing action helps to loosen grime, but the gas dissipates into the air.
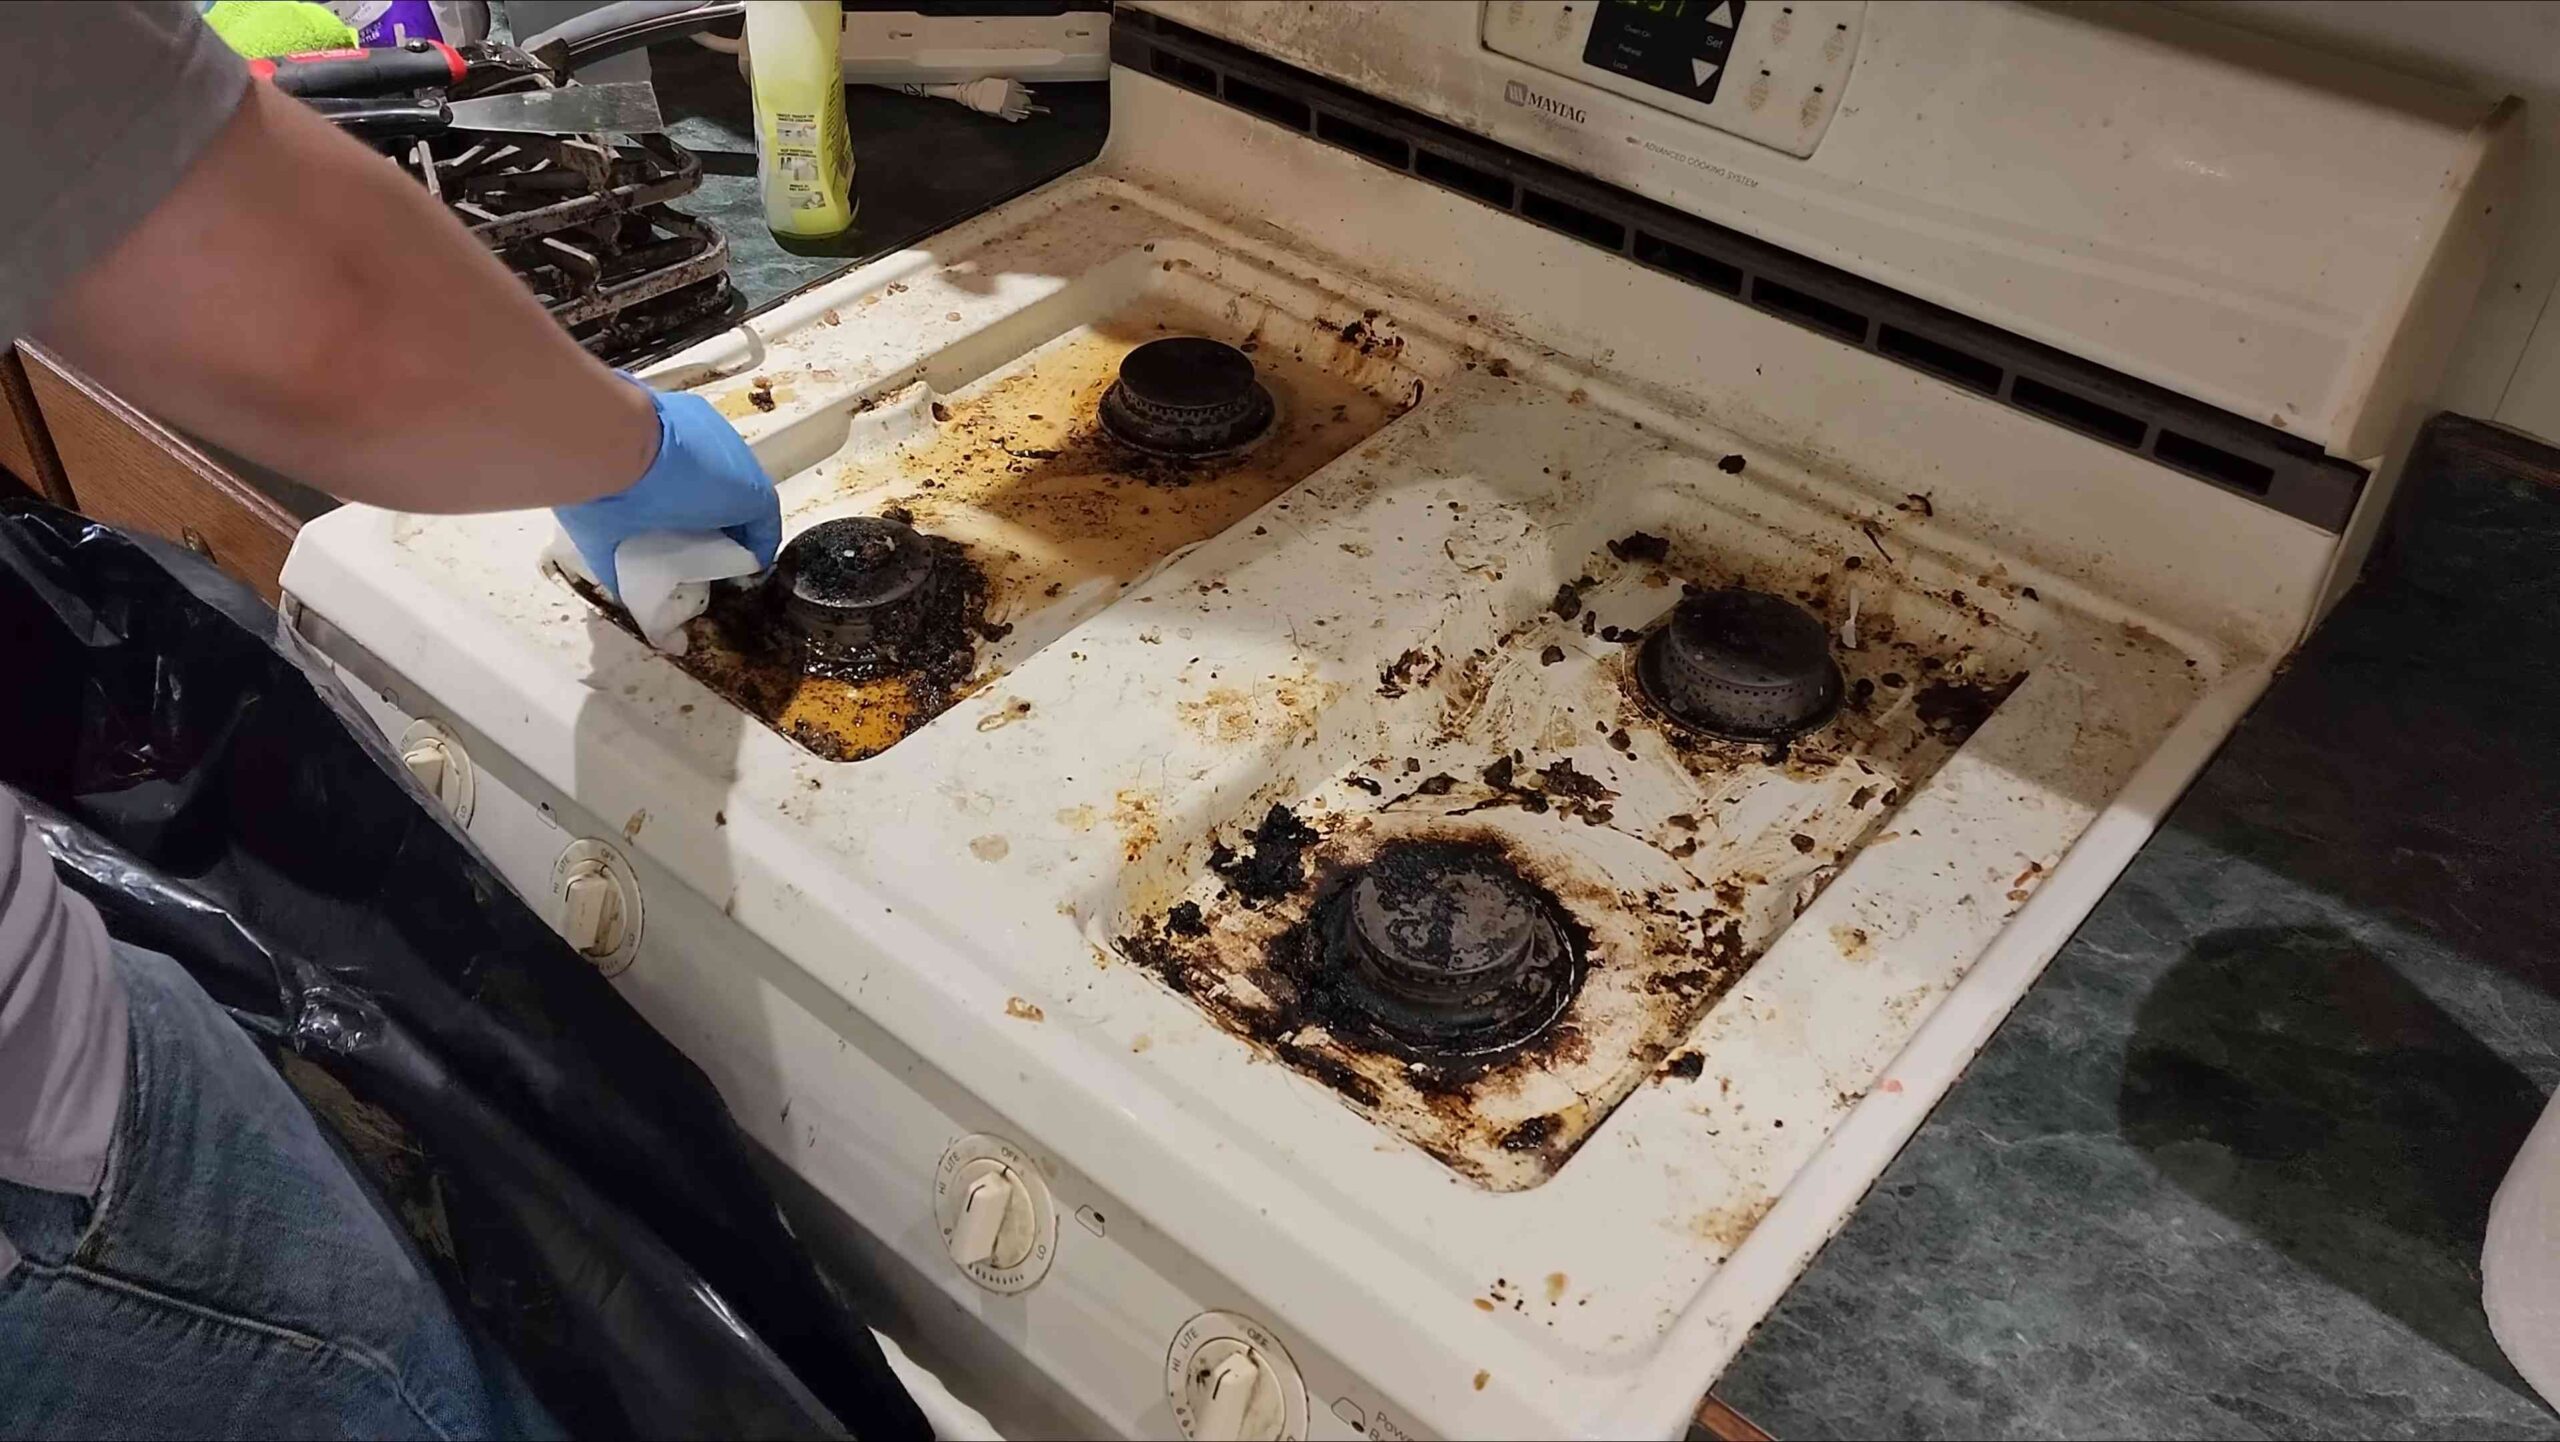
4. How do I get rid of stubborn grease stains on my stovetop?
Stubborn grease stains on your stovetop can be a challenge, but here are a few effective methods:
* Baking soda paste: Mix baking soda with water to form a thick paste. Apply the paste to the grease stains and let it sit for 15-20 minutes. Then, scrub with a sponge or brush and wipe clean.
* Vinegar and baking soda: Sprinkle baking soda on the grease stains and then spray with vinegar. Let it fizz for a few minutes, then scrub and wipe clean.
* Dish soap and hot water: Mix dish soap with hot water and use a sponge or cloth to scrub the grease stains.
* Commercial degreaser: If the DIY methods don’t work, you can try a commercial degreaser specifically designed for stovetops. Always follow the manufacturer’s instructions.
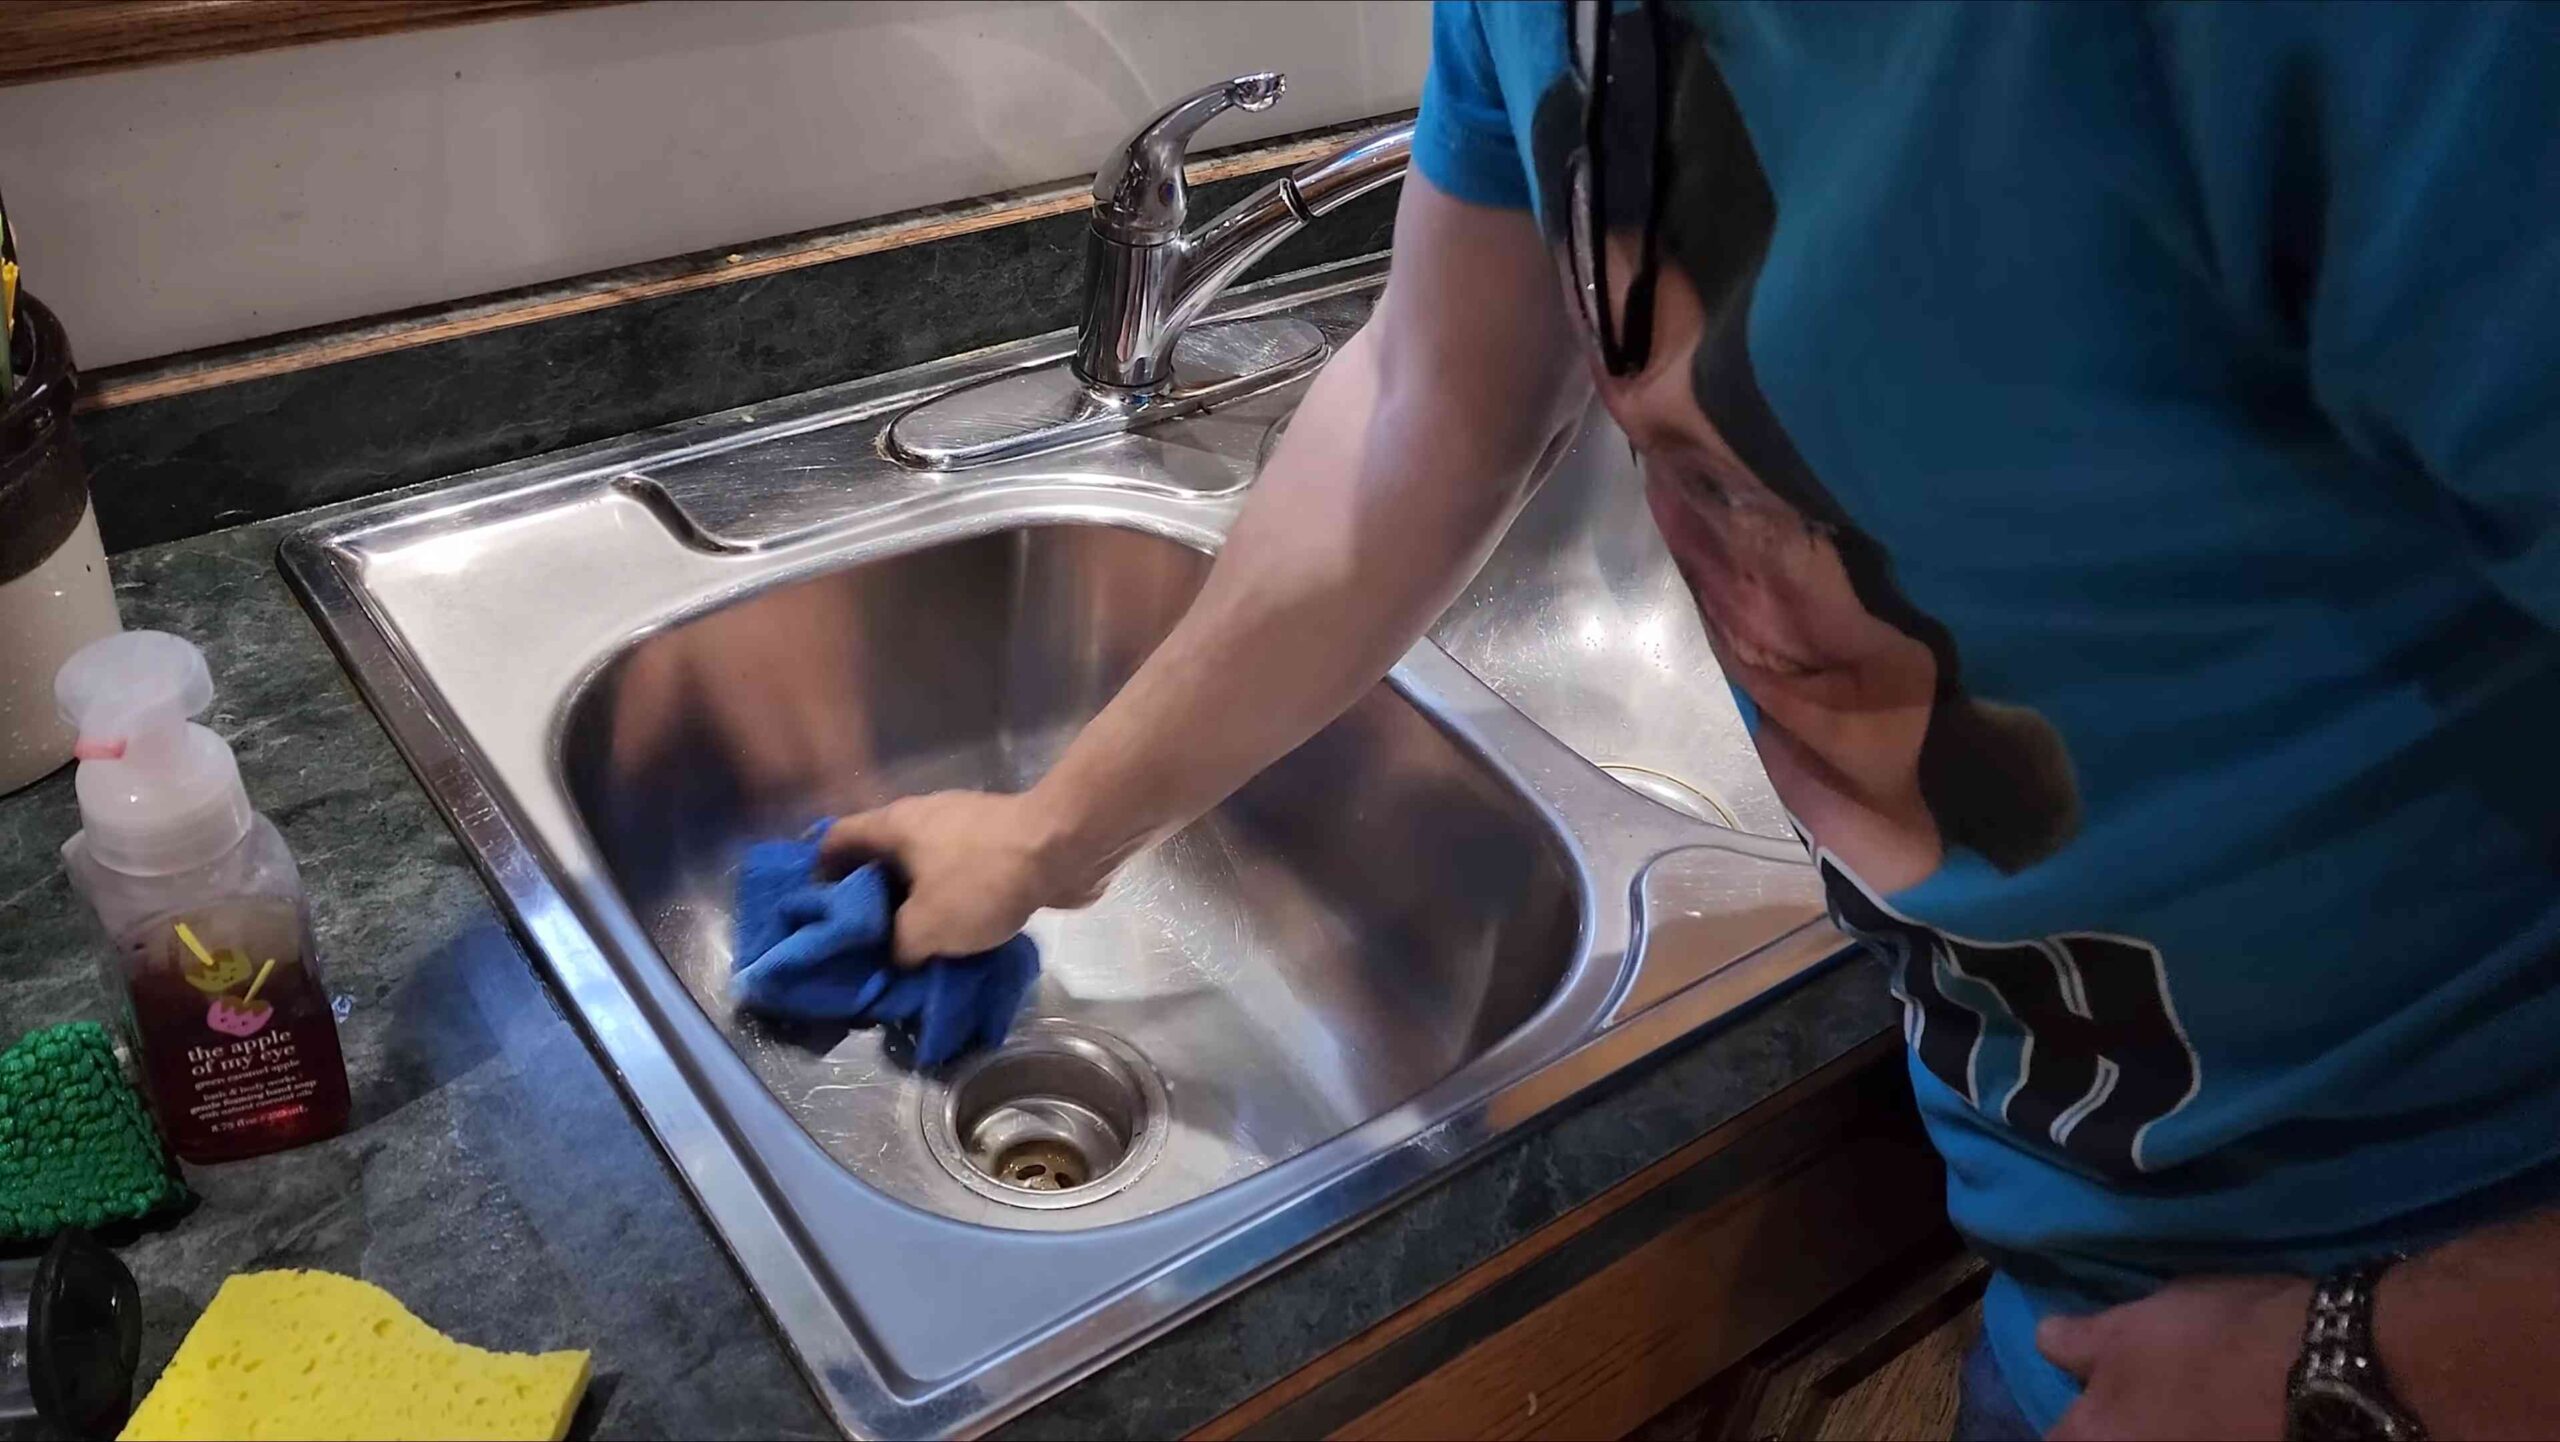
5. How can I clean my kitchen sink effectively?
Your kitchen sink can harbor bacteria and grime, so it’s important to clean it regularly. Here are a few tips:
* Rinse the sink after each use: This helps to prevent food particles and grime from building up.
* Scrub with dish soap and water: Use a sponge or brush to scrub the sink with dish soap and water.
* Disinfect with vinegar: Spray the sink with vinegar and let it sit for a few minutes before rinsing.
* Deodorize with baking soda: Sprinkle baking soda in the sink and let it sit for a few minutes before rinsing.
* Clean the drain: Pour boiling water down the drain to flush out any debris. You can also use a drain cleaner if necessary.
6. How do I clean grout in my kitchen?
Grout can be a breeding ground for mold and mildew, so it’s important to clean it regularly. Here are a few methods:
* Baking soda paste: Mix baking soda with water to form a thick paste. Apply the paste to the grout and let it sit for 15-20 minutes. Then, scrub with an old toothbrush and rinse with water.
* Vinegar and baking soda: Sprinkle baking soda on the grout and then spray with vinegar. Let it fizz for a few minutes, then scrub with an old toothbrush and rinse with water.
* Bleach solution: Mix bleach with water (1 part bleach to 10 parts water). Apply the solution to the grout and let it sit for 15-20 minutes. Then, scrub with an old toothbrush and rinse with water. Be sure to wear gloves and eye protection when using bleach.
* Commercial grout cleaner: If the DIY methods don’t work, you can try a commercial grout cleaner. Always follow the manufacturer’s instructions.
7. Can I use these DIY cleaning solutions on all kitchen surfaces?
While these DIY cleaning solutions are generally safe for most kitchen surfaces, it’s always a good idea to test them in an inconspicuous area first. Avoid using vinegar on natural stone surfaces like marble or granite, as it can etch the surface. Baking soda can be abrasive, so use it gently on delicate surfaces. Always rinse surfaces thoroughly after cleaning to remove any residue.
8. How can I prevent my kitchen from getting dirty so quickly?
Prevention is key to keeping your kitchen clean and tidy. Here are a few tips:
* Wipe up spills immediately: Don’t let spills sit and dry, as they will be harder to clean later.
* Wash dishes after each meal: Don’t let dishes pile up in the sink.
* Sweep or vacuum floors regularly: This will prevent dirt and grime from building up.
* Wipe down countertops daily: This will remove any food particles or spills.
* Empty the garbage regularly: This will prevent unpleasant odors and keep pests away.
* Declutter regularly: Get rid of any items you don’t need or use.
By following these tips and incorporating these DIY tricks into your cleaning routine, you can maintain a sparkling, hygienic, and inviting kitchen space with minimal effort. Remember, a clean kitchen is a happy kitchen!


Leave a Comment