

Indoor Veggie Garden Setup: Imagine plucking a ripe, juicy tomato straight from the vine, right in your own kitchen! Sounds like a dream, doesn’t it? Well, it doesn’t have to be! I’m here to show you how to bring the bounty of the garden indoors with a simple and effective indoor veggie garden setup. For centuries, humans have cultivated gardens, from the hanging gardens of Babylon to the meticulously planned kitchen gardens of medieval Europe. The desire to nurture and grow our own food is deeply ingrained in us.
But let’s face it, not everyone has the space or the climate for a traditional outdoor garden. That’s where the magic of an indoor veggie garden setup comes in! Whether you live in a tiny apartment, experience harsh winters, or simply want fresh produce year-round, this DIY guide is your ticket to homegrown goodness. I’ll walk you through everything you need to know, from choosing the right plants and containers to providing the perfect lighting and nutrients.
Why is this so important? Because having access to fresh, healthy vegetables is more crucial than ever. Store-bought produce can be expensive, and often lacks the flavor and nutrients of homegrown varieties. Plus, there’s nothing quite like the satisfaction of nurturing a plant from seed to harvest. So, are you ready to ditch the grocery store and embrace the joy of an indoor veggie garden setup? Let’s get started!
Creating Your Own Thriving Indoor Veggie Garden
Okay, let’s dive into the wonderful world of indoor veggie gardening! I’m going to walk you through setting up your own little green haven, even if you don’t have a backyard. It’s easier than you think, and the reward of fresh, homegrown veggies is totally worth it.
Choosing Your Veggies and Location
Before we get our hands dirty, let’s figure out what you want to grow and where you’re going to grow it.
* Consider your space: How much room do you realistically have? A sunny windowsill? A spare corner? This will influence the size of your garden and the types of veggies you can grow.
* Think about sunlight: Most vegetables need at least 6 hours of sunlight per day. If you don’t have a naturally sunny spot, don’t worry! We’ll talk about grow lights later.
* Pick your favorites: What veggies do you actually enjoy eating? Start with those! Some easy and rewarding options for beginners include:
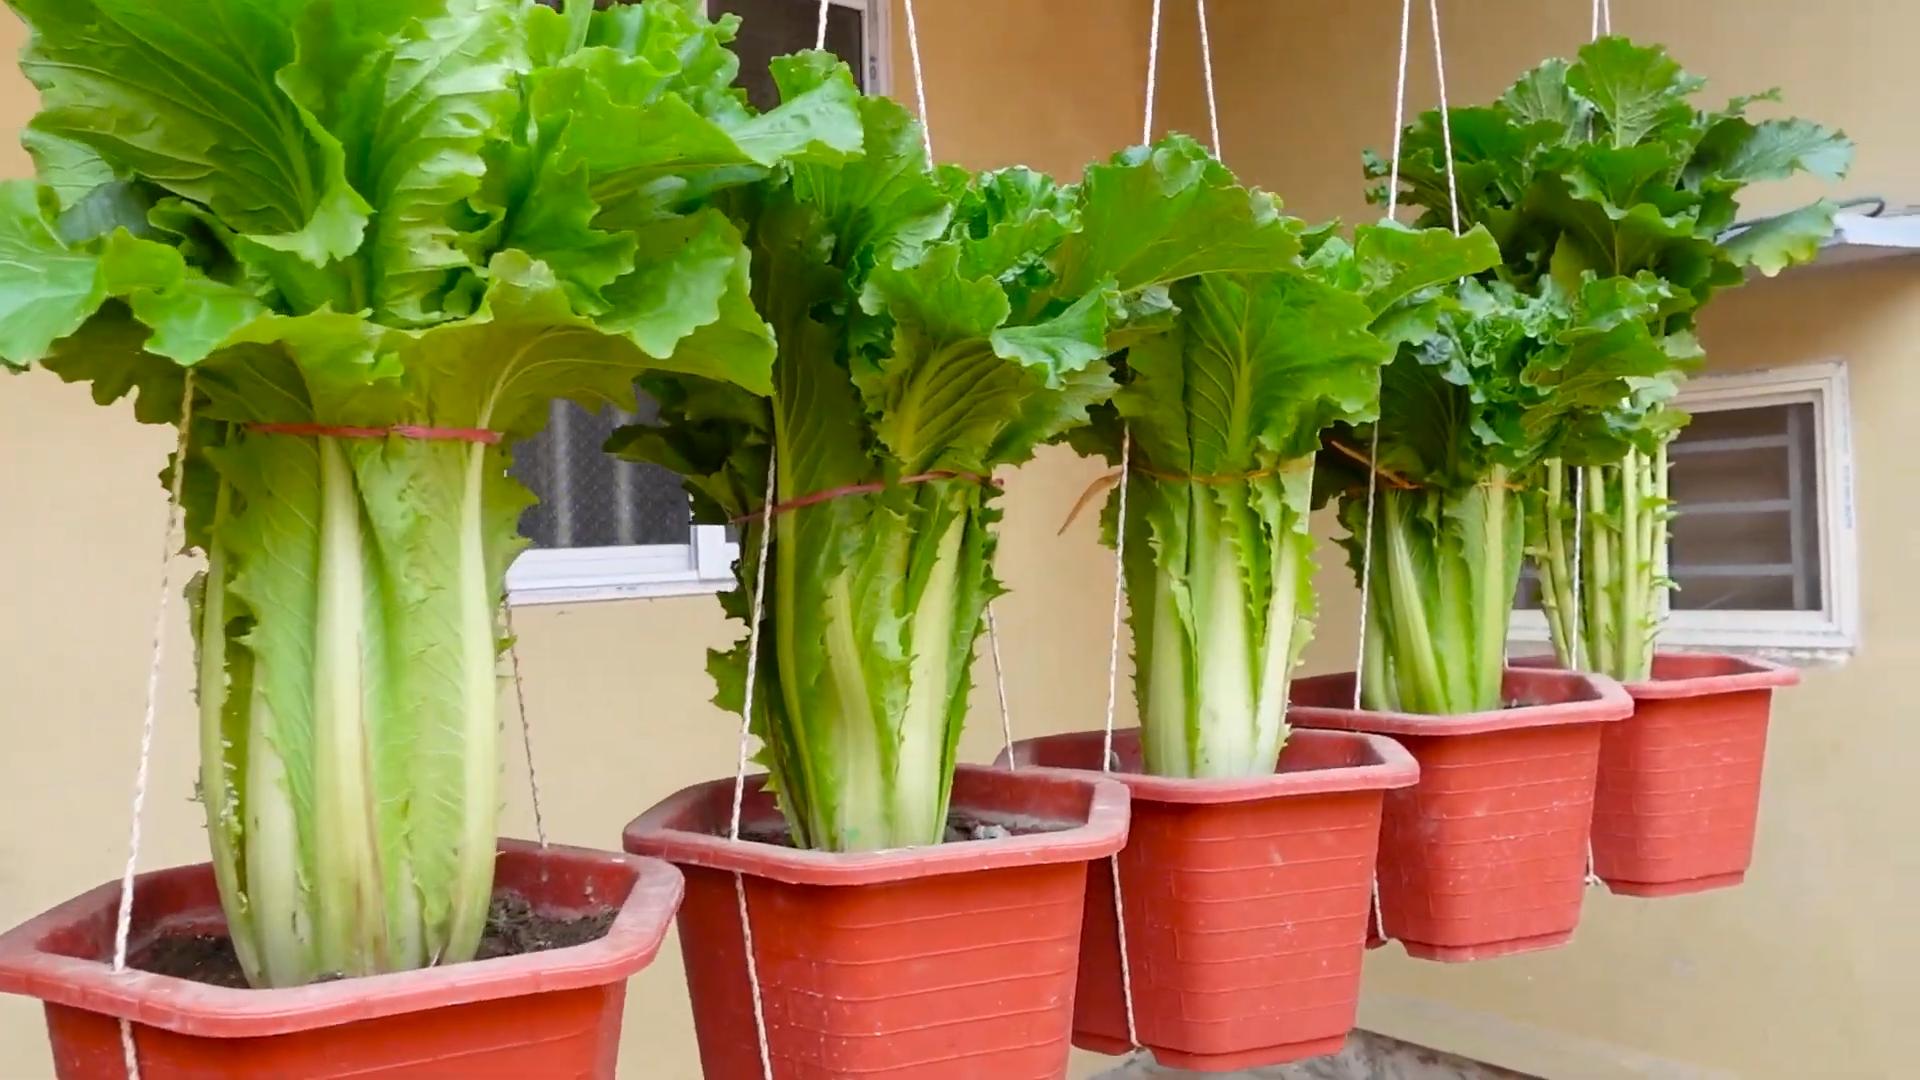
* Leafy greens like lettuce, spinach, and kale
* Herbs like basil, mint, and parsley
* Cherry tomatoes
* Peppers (smaller varieties)
* Radishes
* Green onions
* Research specific needs: Once you’ve chosen your veggies, do a little research on their specific needs. How much water do they need? What kind of soil do they prefer? This will help you provide the best possible environment for them to thrive.
Gathering Your Supplies
Now for the fun part – shopping! Here’s a list of what you’ll need:
* Containers: Choose containers with drainage holes. You can use anything from plastic pots to terracotta pots to repurposed containers like yogurt tubs (just make sure to clean them well and add drainage). The size of the container will depend on the veggie you’re growing. For example, leafy greens can do well in smaller pots, while tomatoes and peppers will need larger ones.
* Potting mix: Don’t use garden soil! It’s too heavy and doesn’t drain well in containers. Instead, use a high-quality potting mix specifically designed for containers.
* Seeds or seedlings: You can start your veggies from seeds or buy seedlings from a nursery. Seeds are cheaper, but seedlings will give you a head start.
* Grow lights (optional): If you don’t have enough natural sunlight, you’ll need grow lights. LED grow lights are energy-efficient and work well for indoor gardens.
* Watering can or spray bottle: For watering your plants.
* Fertilizer: A balanced liquid fertilizer will help your veggies grow strong and healthy.
* Seed starting tray (optional): If you’re starting from seeds, a seed starting tray with a humidity dome can help with germination.
* Small trowel or gardening tool: For planting and transplanting.
* Plant labels: To keep track of what you’ve planted.
* Spray bottle with water: For misting seedlings.
Setting Up Your Indoor Garden
Alright, let’s get this garden growing!
1. Preparing Your Containers
* Clean your containers: If you’re using old containers, wash them thoroughly with soap and water to remove any dirt or debris.
* Add drainage: If your containers don’t have drainage holes, you’ll need to drill some. This is crucial to prevent root rot.
* Fill with potting mix: Fill your containers with potting mix, leaving about an inch of space at the top.
2. Planting Your Seeds or Seedlings
* Starting from seeds:
1. Moisten the potting mix in your seed starting tray.
2. Follow the instructions on your seed packet for planting depth and spacing. Generally, you’ll make a small indentation in the soil, drop in the seed, and gently cover it with soil.
3. Mist the soil with water and cover the tray with a humidity dome.
4. Place the tray in a warm, bright location (or under grow lights).
5. Keep the soil moist but not soggy.
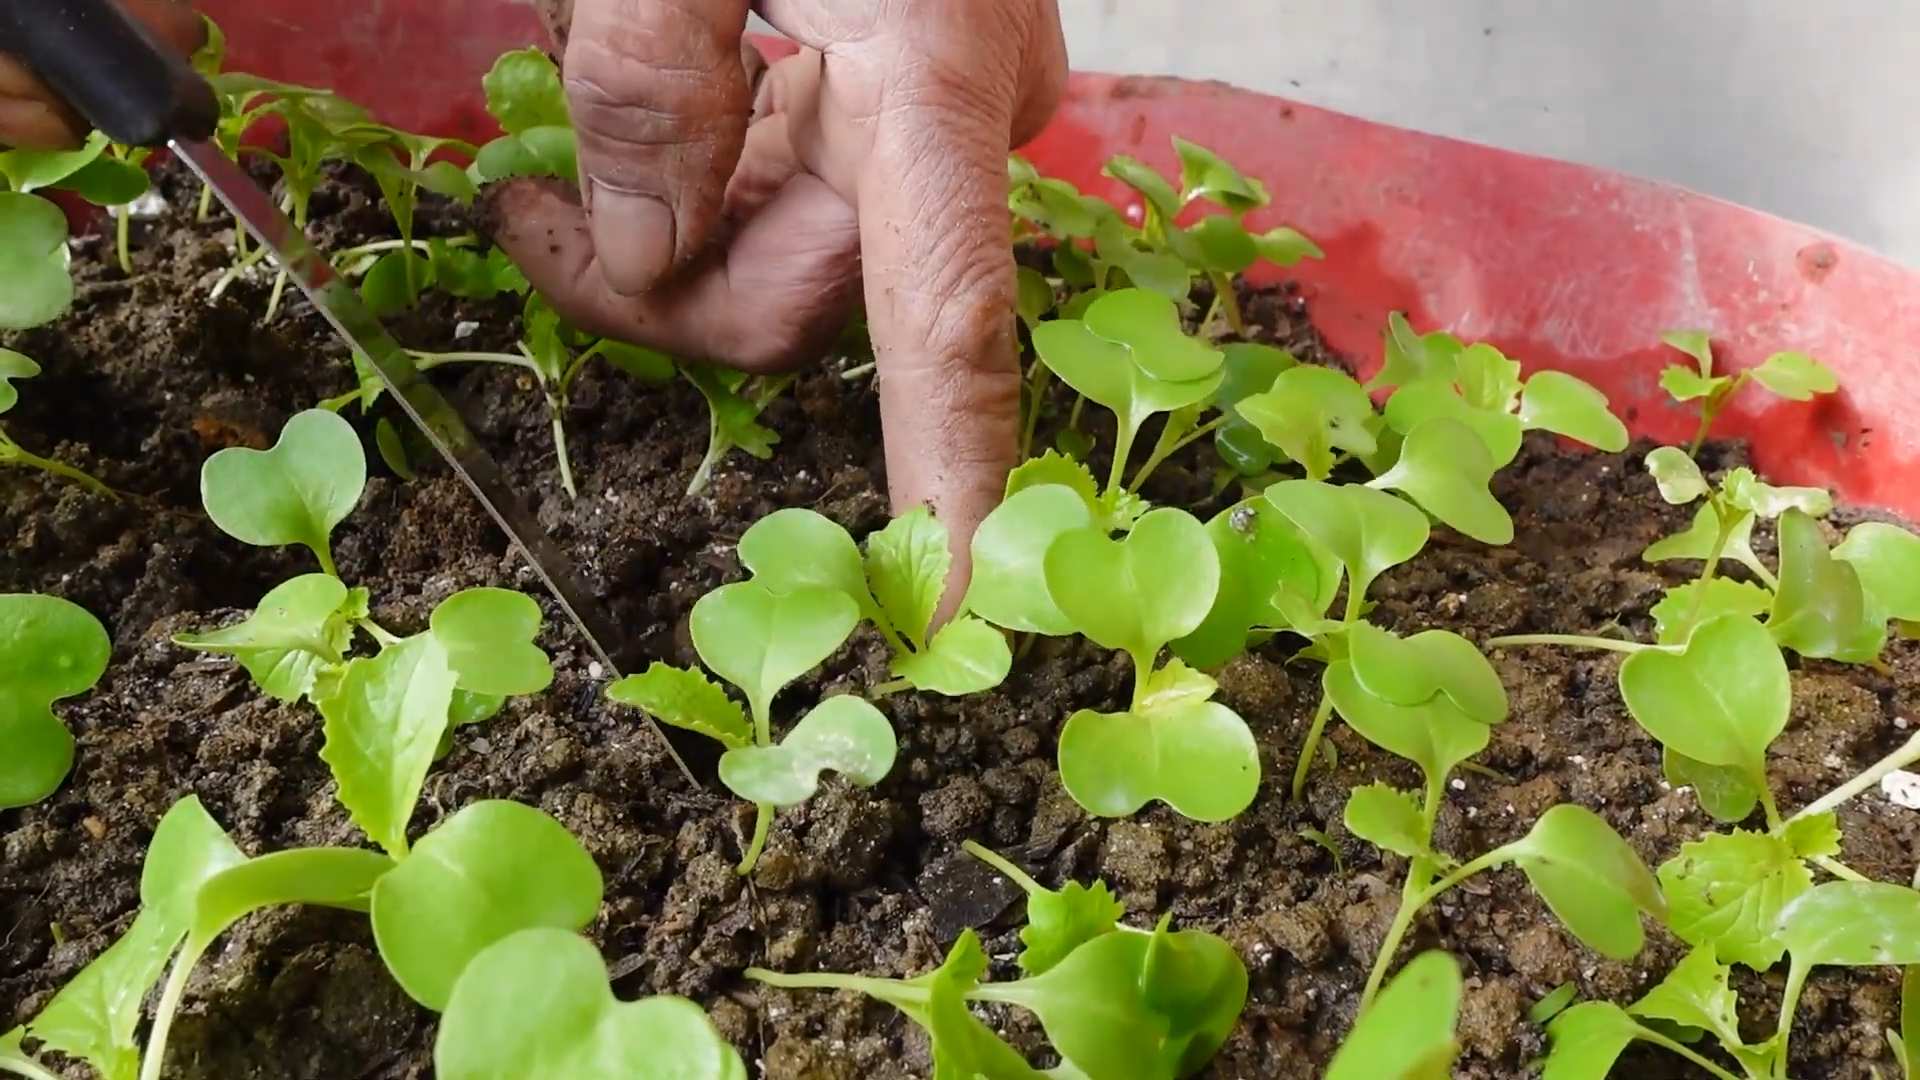
6. Once the seedlings have sprouted and have a few sets of true leaves, you can transplant them into larger containers.
* Planting seedlings:
1. Gently remove the seedling from its container.
2. Loosen the roots slightly.
3. Dig a hole in the potting mix in your container that’s large enough to accommodate the seedling’s root ball.
4. Place the seedling in the hole and gently backfill with potting mix.
5. Water thoroughly.
3. Providing Light
* Natural sunlight: Place your containers in a location that receives at least 6 hours of sunlight per day. A south-facing window is ideal.
* Grow lights: If you don’t have enough natural sunlight, use grow lights. Position the lights about 6-12 inches above the plants. You’ll need to experiment to find the optimal distance for your specific lights and plants. Set the lights on a timer to provide 14-16 hours of light per day.
4. Watering and Fertilizing
* Watering: Water your plants when the top inch of soil feels dry to the touch. Water thoroughly, until water drains out of the drainage holes. Avoid overwatering, as this can lead to root rot.
* Fertilizing: Fertilize your plants every 2-4 weeks with a balanced liquid fertilizer. Follow the instructions on the fertilizer label.
5. Providing Support (If Needed)
* Tomatoes and peppers: Taller varieties of tomatoes and peppers will need support, such as stakes or cages. Install the support when you plant the seedlings to avoid damaging the roots later.
Troubleshooting and Maintenance
Even with the best planning, you might encounter a few challenges along the way. Here are some common problems and how to fix them:
* Yellowing leaves: This could be a sign of overwatering, underwatering, or nutrient deficiency. Check the soil moisture and adjust your watering accordingly. If the soil is consistently moist, you’re probably overwatering. If the leaves are dry and brittle, you’re probably underwatering. If you’re fertilizing regularly, the yellowing could be due to a nutrient deficiency. Try using a fertilizer that’s specifically formulated for vegetables.
* Leggy growth: This means your plants are stretching towards the light and becoming weak and spindly. This is usually a sign that they’re not getting enough light. Move them to a brighter location or add grow lights.
* Pests: Indoor gardens are less susceptible to pests than outdoor gardens, but they can still happen. Common pests include aphids, spider mites, and whiteflies. You can control pests by handpicking them off the plants, spraying them with insecticidal soap, or using beneficial insects like ladybugs.
* Root rot: This is caused by overwatering and poor drainage. The roots will turn brown and mushy. To prevent root rot, make sure your containers have drainage holes and avoid overwatering. If you suspect root rot, you can try transplanting the plant into fresh potting mix.
Harvesting Your Veggies
This is the moment you’ve been waiting for!
* Leafy greens: You can start harvesting leafy greens when the leaves are large enough to eat. Simply cut off the outer leaves, leaving the inner leaves to continue growing.
* Herbs: Harvest herbs by snipping off the leaves as needed.
* Cherry tomatoes: Harvest cherry tomatoes when they are fully ripe and have a deep red color.
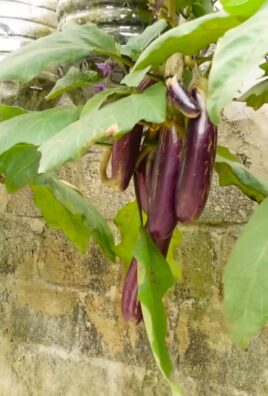
* Peppers: Harvest peppers when they are fully colored and firm to the touch.
* Radishes: Harvest radishes when they are about an inch in diameter.
* Green onions: Harvest green onions when they are about 6-8 inches tall.
Tips for Success
* Start small: Don’t try to grow too many different types of veggies at once. Start with a few easy-to-grow varieties and gradually expand your garden as you gain experience.
* Choose the right varieties: Look for varieties that are specifically bred for container gardening. These varieties tend to be smaller and more compact.
* Use high-quality potting mix: Don’t skimp on the potting mix! A good potting mix will provide your plants with the nutrients and drainage they need to thrive.
* Water regularly: Check the soil moisture regularly and water your plants when the top inch of soil feels dry to the touch.
* Fertilize regularly: Fertilize your plants every 2-4 weeks with a balanced liquid fertilizer.
* Provide adequate light: Make sure your plants are getting enough light, either from natural sunlight or grow lights.
* Monitor for pests and diseases: Check your plants regularly for pests and
Conclusion
So, there you have it! Transforming a small corner of your home into a thriving indoor veggie garden is not only achievable but incredibly rewarding. We’ve walked through the essential steps, from selecting the right location and lighting to choosing the perfect containers and soil. But the real magic lies in the **DIY indoor veggie garden setup** itself. It’s about taking control of your food source, connecting with nature, and enjoying the unparalleled freshness of homegrown vegetables, all within the comfort of your own home.
Why is this a must-try? Beyond the obvious benefits of fresh, organic produce, a DIY indoor veggie garden offers a unique sense of accomplishment. Watching tiny seeds sprout and flourish under your care is a deeply satisfying experience. It’s a fantastic way to reduce your carbon footprint, minimize reliance on grocery store produce, and even save money in the long run. Plus, it’s a fantastic educational opportunity for children, teaching them about the life cycle of plants and the importance of healthy eating.
Don’t be afraid to experiment and personalize your garden! Consider adding companion plants like basil or marigolds to deter pests and enhance the flavor of your vegetables. Explore different growing mediums like hydroponics or aquaponics for a more advanced setup. You can even get creative with your containers, repurposing old jars, buckets, or even creating vertical gardens using pallets. The possibilities are truly endless.
We encourage you to take the plunge and embark on your own indoor gardening adventure. Start small, learn as you go, and don’t be discouraged by initial setbacks. Gardening is a journey, and every mistake is a learning opportunity. The joy of harvesting your own fresh vegetables, knowing exactly where they came from and how they were grown, is an experience you won’t soon forget.
We’re eager to hear about your experiences! Share your photos, tips, and challenges in the comments below. Let’s build a community of indoor gardeners and inspire each other to grow our own food, one delicious vegetable at a time. What are you waiting for? Get your hands dirty and start your **DIY indoor veggie garden setup** today!
Frequently Asked Questions (FAQ)
What are the easiest vegetables to grow indoors?
This is a common question, and thankfully, there are several great options for beginners. Leafy greens like lettuce, spinach, and kale are relatively easy to grow indoors, as they don’t require a lot of sunlight and mature quickly. Herbs like basil, mint, and chives are also excellent choices, adding fresh flavor to your meals. Cherry tomatoes and peppers can be grown indoors with adequate lighting and support. Radishes are another fast-growing option that can be harvested in just a few weeks. Start with these beginner-friendly vegetables and gradually expand your garden as you gain experience.
How much light do my indoor vegetables need?
Light is crucial for successful indoor gardening. Most vegetables require at least 6-8 hours of direct sunlight per day. If you don’t have a sunny window, you’ll need to supplement with artificial grow lights. LED grow lights are a popular choice because they are energy-efficient and provide the full spectrum of light that plants need. Fluorescent grow lights are another option, but they may not be as efficient as LEDs. The distance between the light and the plants is also important. Generally, keep the lights a few inches above the plants to prevent them from burning. Observe your plants closely for signs of insufficient light, such as leggy growth or pale leaves.
What type of soil should I use for my indoor veggie garden?
Using the right soil is essential for healthy plant growth. Avoid using garden soil, as it can be too heavy and may contain pests or diseases. Instead, opt for a well-draining potting mix specifically formulated for vegetables. These mixes typically contain a blend of peat moss, perlite, and vermiculite, which provide good aeration and drainage. You can also amend your potting mix with compost or worm castings to add nutrients. Consider using a soilless mix like coco coir for hydroponic or aquaponic systems. Always choose a high-quality soil mix to ensure your plants have the nutrients they need to thrive.
How often should I water my indoor vegetables?
Watering frequency depends on several factors, including the type of vegetable, the size of the container, and the temperature and humidity of your home. As a general rule, water when the top inch of soil feels dry to the touch. Avoid overwatering, as this can lead to root rot. Use a watering can or a hose with a gentle spray nozzle to water your plants thoroughly. Make sure the water drains out of the bottom of the container. Monitor your plants closely for signs of underwatering, such as wilting leaves. Adjust your watering schedule as needed based on your plants’ needs.
How do I deal with pests in my indoor veggie garden?
Pests can be a problem in indoor gardens, but there are several ways to prevent and control them. Regularly inspect your plants for signs of pests, such as aphids, spider mites, or whiteflies. If you find pests, try washing them off with a strong stream of water. You can also use insecticidal soap or neem oil to control pests. Avoid using harsh chemicals, as they can harm your plants and your health. Encourage beneficial insects like ladybugs and lacewings to help control pests naturally. Maintain good air circulation and avoid overcrowding your plants to prevent pest infestations.
Can I grow vegetables indoors year-round?
Yes, you can absolutely grow vegetables indoors year-round! With the right lighting, temperature, and humidity, you can enjoy fresh, homegrown vegetables even in the dead of winter. Choose vegetables that are well-suited for indoor growing, such as leafy greens, herbs, and cherry tomatoes. Provide adequate lighting with grow lights, and maintain a consistent temperature and humidity level. You may need to adjust your watering and fertilizing schedule based on the season. With a little planning and effort, you can enjoy a continuous harvest of fresh vegetables from your indoor garden.
What are some tips for maximizing my indoor veggie garden yield?
To maximize your yield, start with high-quality seeds or seedlings. Choose varieties that are known for their productivity. Provide adequate lighting and nutrients. Fertilize your plants regularly with a balanced fertilizer. Prune your plants to encourage bushier growth and more fruit production. Support your plants with stakes or trellises as needed. Harvest your vegetables regularly to encourage continued production. Rotate your crops to prevent soil depletion. By following these tips, you can significantly increase the yield of your indoor veggie garden.
How do I pollinate my indoor vegetables?
Some vegetables, like tomatoes and peppers, require pollination to produce fruit. In an outdoor garden, pollination is typically done by bees and other insects. However, in an indoor garden, you may need to hand-pollinate your plants. Use a small paintbrush or cotton swab to transfer pollen from the male parts of the flower (anthers) to the female parts (stigmas). You can also gently shake the plants to help release pollen. Hand-pollinate your plants every few days to ensure good fruit set.

Leave a Comment