

Toilet cleaning hacks – who knew those three words could unlock a world of sparkling clean and save you precious time and money? Let’s face it, cleaning the toilet is nobody’s favorite chore. It’s right up there with doing taxes and visiting the dentist! But what if I told you there are simple, effective, and even *fun* ways to tackle this necessary evil?
For generations, people have been searching for the ultimate solution to a gleaming toilet bowl. From ancient civilizations using natural abrasives to modern-day chemical concoctions, the quest for a spotless throne is a tale as old as time. But in today’s world, we’re not just looking for clean; we’re looking for sustainable, budget-friendly, and time-saving solutions. That’s where these DIY toilet cleaning hacks come in!
In this article, I’m going to share some of my favorite tried-and-true methods for keeping your toilet sparkling without breaking the bank or spending hours scrubbing. Whether you’re battling stubborn stains, fighting unpleasant odors, or simply looking for a quicker way to maintain a clean bathroom, these DIY tricks will be your new best friend. Get ready to ditch the harsh chemicals and embrace a cleaner, fresher, and happier bathroom experience!
DIY Toilet Cleaning Bombs: Sparkling Clean the Natural Way!
Hey everyone! I’m so excited to share one of my favorite DIY cleaning hacks with you: toilet cleaning bombs! These little fizzers are not only super effective at keeping your toilet bowl sparkling clean, but they’re also made with natural ingredients, saving you money and reducing your exposure to harsh chemicals. Plus, they’re surprisingly fun to make!
Why I Love Toilet Cleaning Bombs
Before we dive into the how-to, let me tell you why I’m such a fan of these homemade wonders:
* They’re eco-friendly: No more harsh chemicals going down the drain and polluting our waterways. We’re using natural ingredients like baking soda, citric acid, and essential oils.
* They’re cost-effective: Store-bought toilet bowl cleaners can be expensive. Making your own is significantly cheaper, especially if you buy ingredients in bulk.
* They’re customizable: You can tailor the scent and cleaning power to your liking by experimenting with different essential oils and additives.
* They’re easy to make: Seriously, even if you’re not a DIY expert, you can whip up a batch of these in no time.
* They’re fun!: There’s something oddly satisfying about watching them fizz and clean.
Ingredients You’ll Need
Okay, let’s gather our supplies. Here’s what you’ll need to make your own toilet cleaning bombs:
* 1 ½ cups Baking Soda: This is the base of our bombs and helps to deodorize and scrub away stains.
* ½ cup Citric Acid: This is what causes the fizzing action and helps to remove hard water stains and mineral deposits. You can find it online or in the canning section of your grocery store.
* ½ cup Cornstarch: This acts as a binder, helping the ingredients stick together and preventing the bombs from crumbling.
* ¼ cup Water: Just a little bit to moisten the mixture. Use a spray bottle for best results.
* 15-30 drops Essential Oils: This is where you can get creative! I personally love using a combination of tea tree oil (for its antibacterial properties), lemon oil (for its fresh scent and cleaning power), and eucalyptus oil (for its invigorating aroma). Lavender, peppermint, and orange are also great options.
* Optional: A few drops of food coloring (if you want to add some color to your bombs), dried herbs or flower petals (for decoration and a touch of aromatherapy).
* Spray Bottle: For evenly distributing the water.
* Mixing Bowl: A large bowl to combine all the ingredients.
* Gloves: To protect your hands from the citric acid, which can be a bit irritating.
* Mold: You can use silicone molds (like those for muffins or candies), ice cube trays, or even just shape them by hand. I prefer silicone molds because they’re easy to pop the bombs out of.
* Parchment Paper or Wax Paper: To line a baking sheet or tray for drying the bombs.
Step-by-Step Instructions: Making Your Toilet Cleaning Bombs
Alright, let’s get down to business! Here’s how to make your own toilet cleaning bombs:
Phase 1: Mixing the Dry Ingredients
1. Combine the dry ingredients: In your large mixing bowl, whisk together the baking soda, citric acid, and cornstarch until they are thoroughly combined. This is important to ensure even distribution of the ingredients and a consistent fizzing action. I like to use a whisk to break up any clumps and make sure everything is nicely blended.
2. Add the essential oils: Now, add your chosen essential oils to the dry mixture. Start with 15 drops and add more if you want a stronger scent. Remember, a little goes a long way! Stir well to distribute the oils evenly. If you’re using food coloring, add it now as well. Be careful not to add too much liquid, as this can activate the fizzing reaction prematurely.
Phase 2: Adding the Wet Ingredients
1. Moisten the mixture: This is the trickiest part, so pay close attention! Using your spray bottle, lightly spritz the dry mixture with water. You want to add just enough moisture to make the mixture clump together when you squeeze it in your hand, but not so much that it starts to fizz. Spray a little, mix well, and then spray a little more. Repeat until you reach the desired consistency.
2. Test the consistency: To test if you’ve added enough water, grab a handful of the mixture and squeeze it tightly. If it holds its shape and doesn’t crumble, you’re good to go. If it’s too dry, add a little more water. If it starts to fizz, you’ve added too much water – don’t panic! Just add a little more baking soda and cornstarch to absorb the excess moisture.
Phase 3: Molding and Drying
1. Pack the mixture into molds: Now it’s time to get your molds ready. If you’re using silicone molds, simply pack the mixture tightly into each cavity. If you’re shaping them by hand, form small balls and place them on your parchment-lined baking sheet.
2. Press firmly: Make sure to press the mixture firmly into the molds to create solid bombs. This will help them hold their shape and prevent them from crumbling.
3. Optional: Add decorations: If you’re feeling fancy, you can sprinkle some dried herbs or flower petals on top of the bombs before they dry. This adds a nice visual touch and a subtle aromatherapy boost.
4. Let them dry: This is the most important step! Let the bombs dry completely for at least 24-48 hours. The drying time will depend on the humidity in your environment. You’ll know they’re ready when they’re hard and solid to the touch. I usually leave mine in a cool, dry place to ensure they dry properly.
5. Remove from molds: Once the bombs are completely dry, gently pop them out of the molds. If they’re sticking, you can try tapping the mold on a hard surface or gently twisting it.
Using Your Toilet Cleaning Bombs
Using your homemade toilet cleaning bombs is super easy!
1. Drop one in: Simply drop one bomb into your toilet bowl.
2. Let it fizz: Let it fizz and dissolve for a few minutes. The fizzing action will help to loosen dirt, grime, and stains.
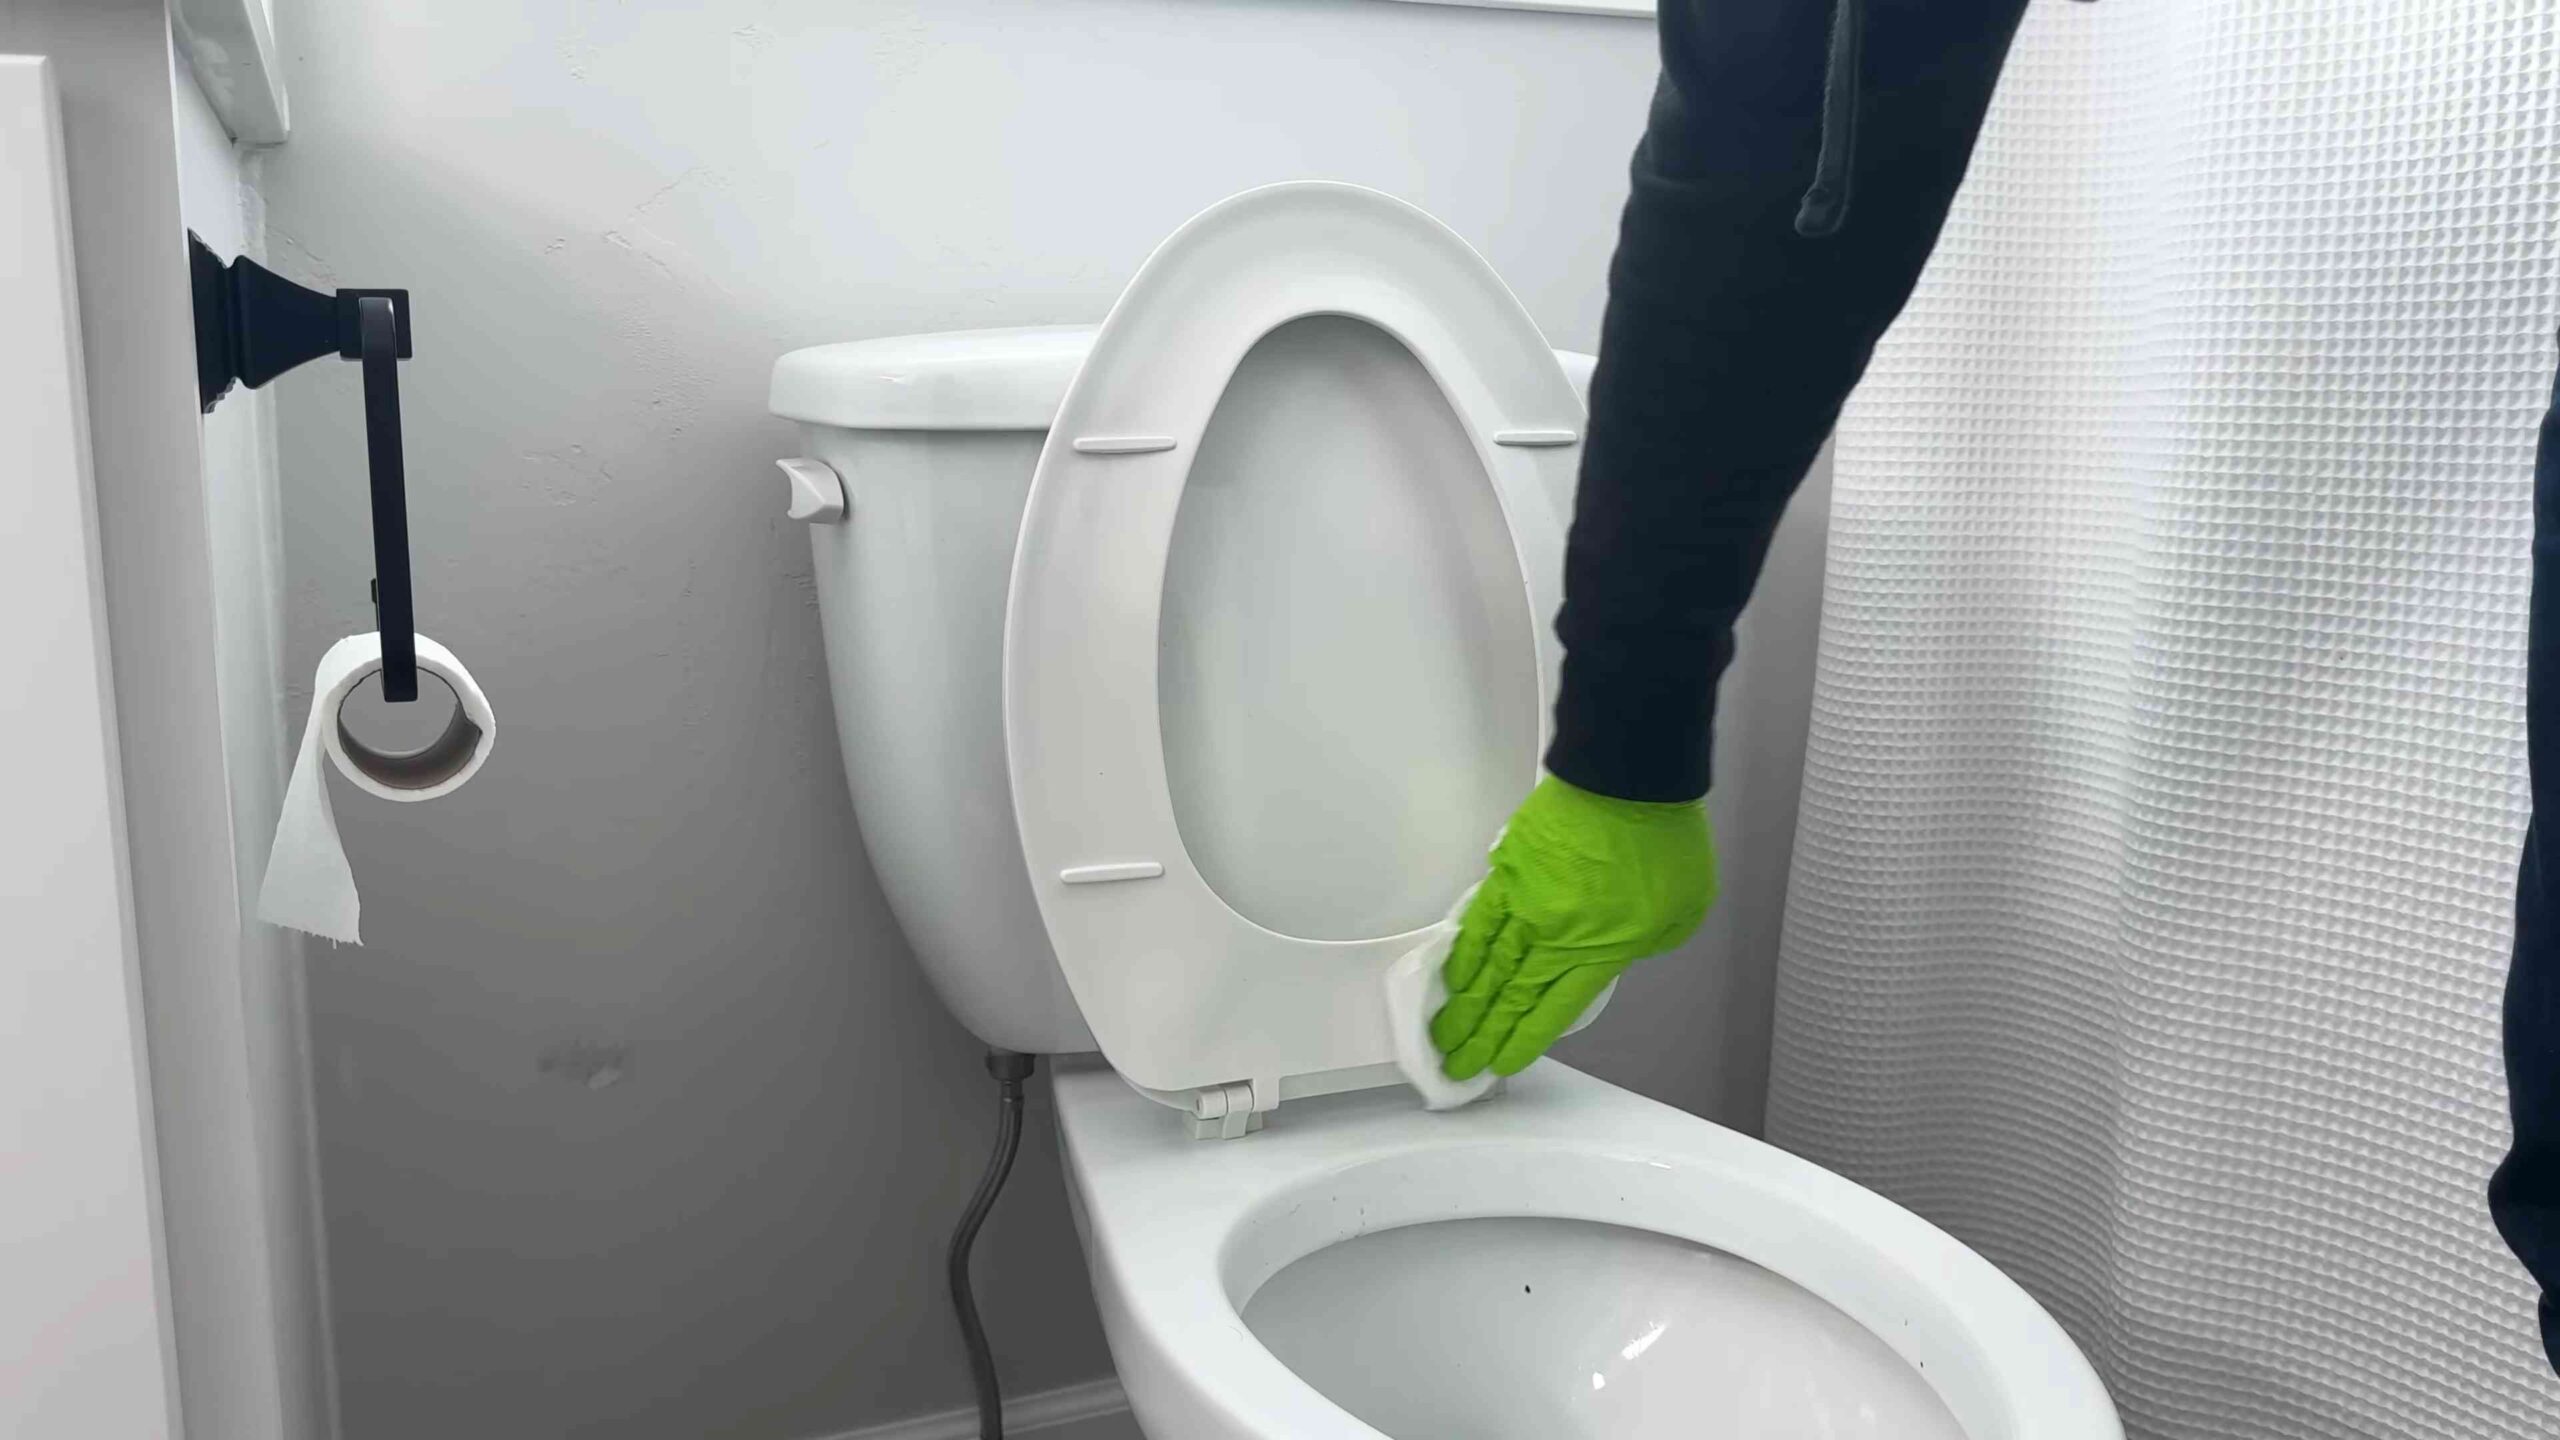
3. Scrub (if needed): If there are any stubborn stains, give the bowl a quick scrub with your toilet brush.
4. Flush: Flush the toilet and enjoy your sparkling clean bowl!
Tips and Tricks for Perfect Toilet Cleaning Bombs
Here are a few extra tips and tricks to help you make the best toilet cleaning bombs ever:
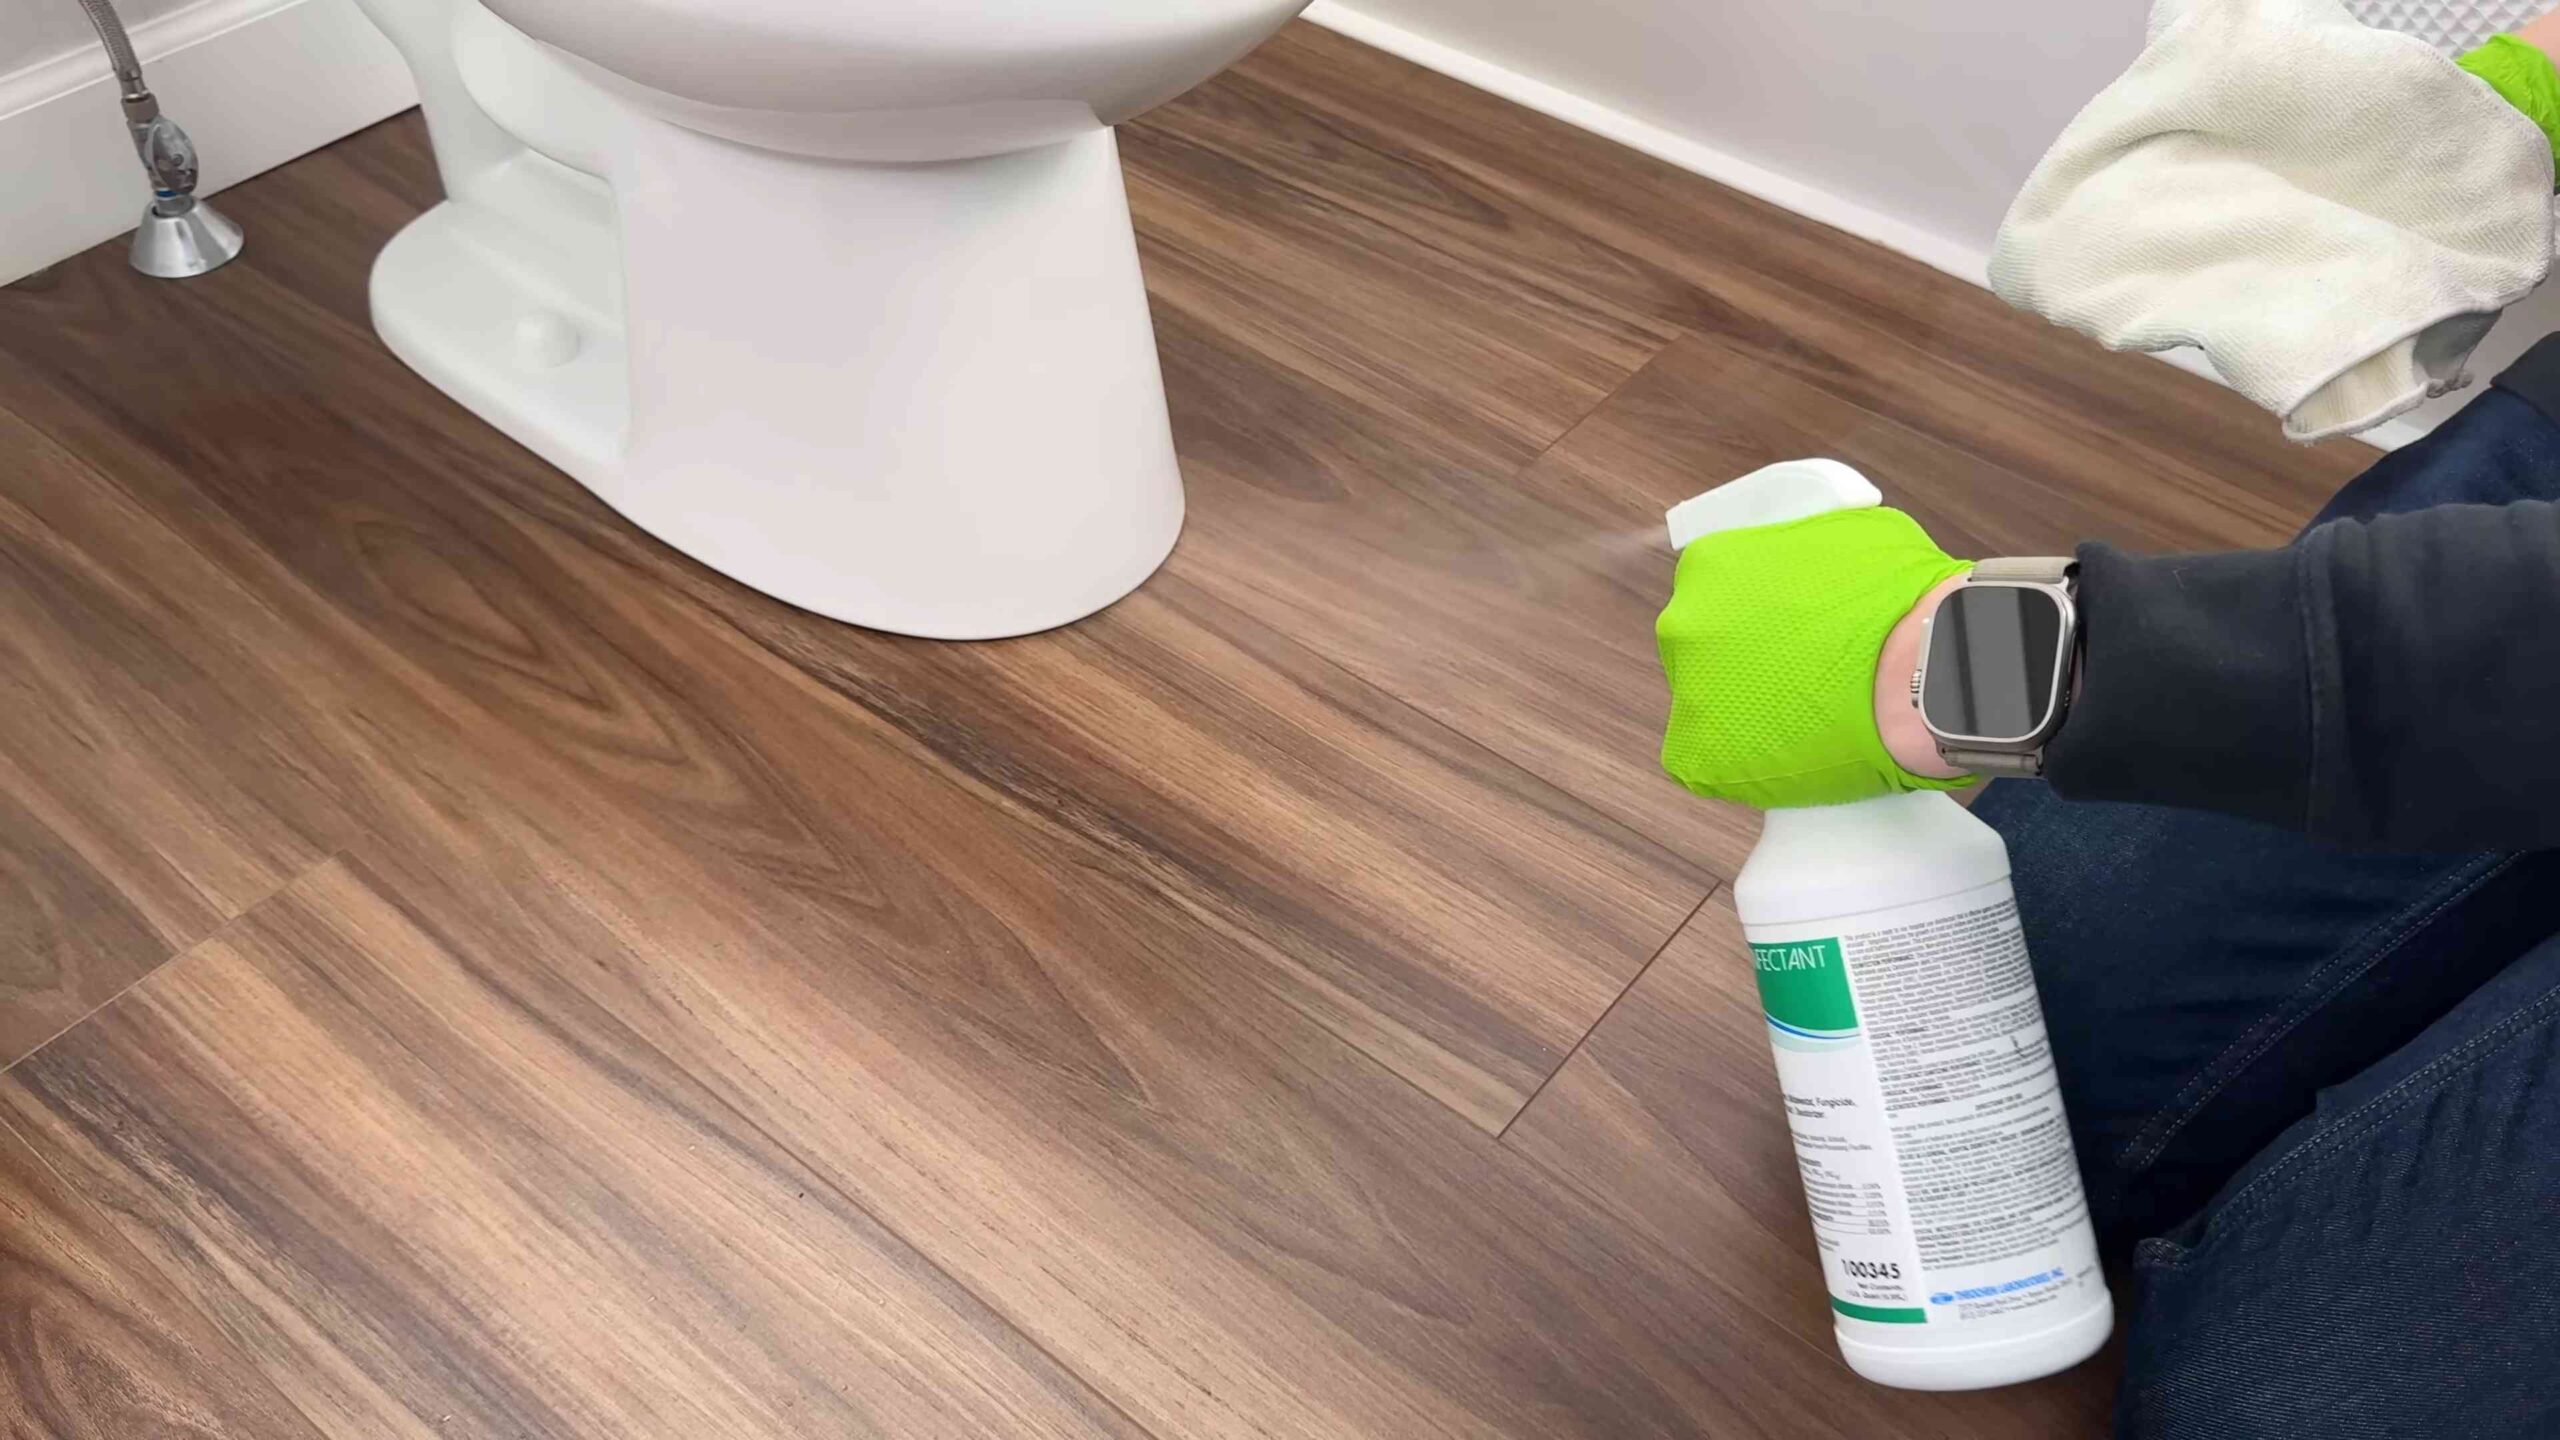
* Wear gloves: Citric acid can be irritating to the skin, so it’s always a good idea to wear gloves when handling it.
* Work in a well-ventilated area: The essential oils can be quite strong, so make sure you’re working in a well-ventilated area.
* Store your bombs properly: Store your toilet cleaning bombs in an airtight container in a cool, dry place. This will prevent them from absorbing moisture and losing their fizzing power.
* Experiment with different essential oil blends: Don’t be afraid to experiment with different essential oil blends to find your favorite scent.
* Adjust the recipe to your liking: If you find that the bombs are too crumbly, add a little more cornstarch. If they’re not fizzing enough, add a little more citric acid.
* Make a big batch: These bombs are so easy to make, so why not make a big batch and have them on hand whenever you need them?
* Use different molds: Get creative with your molds! You can use different shapes and sizes to make your bombs more fun and interesting.
* Add borax for extra cleaning power: For extra cleaning power, you can add a tablespoon or two of borax to the dry mixture. Borax is a natural mineral that helps to remove stains and disinfect surfaces.
* Don’t use metal molds: Avoid using metal molds, as the citric acid can react with the metal and cause corrosion.
* Keep out of reach of children and pets: Like all cleaning products, keep these bombs out of reach of children and pets.
Troubleshooting
Sometimes things don’t go exactly as planned. Here are a few common problems and how to fix them:
* Bombs are crumbling: This usually means you haven’t added enough water. Spritz a little more water into the mixture and try again.
* Bombs are fizzing prematurely: This means you’ve added too much water. Add a little more baking soda and cornstarch to absorb the excess moisture.
* Bombs
Conclusion
So, there you have it! This simple, yet incredibly effective toilet cleaning hack is a game-changer for anyone looking to maintain a sparkling clean bathroom without resorting to harsh chemicals or expensive store-bought cleaners. We’ve shown you how to harness the power of readily available ingredients to create a potent cleaning solution that tackles stains, eliminates odors, and leaves your toilet bowl looking and smelling fresh.
But why is this DIY approach a must-try? Firstly, it’s incredibly cost-effective. You’re likely to already have the necessary ingredients in your pantry or cleaning cupboard, saving you money on specialized toilet cleaners. Secondly, it’s environmentally friendly. By avoiding harsh chemicals, you’re reducing your impact on the environment and creating a safer home for your family and pets. Thirdly, it’s customizable. You can adjust the ingredients to suit your specific needs and preferences.
Consider these variations to personalize your toilet cleaning experience:
* For extra stubborn stains: Add a tablespoon of borax to the mixture for enhanced cleaning power. Borax is a natural mineral that acts as a powerful stain remover and disinfectant.
* For a refreshing scent: Incorporate a few drops of your favorite essential oil, such as lavender, tea tree, or eucalyptus. These oils not only add a pleasant fragrance but also possess antibacterial and antifungal properties.
* For a deeper clean: Let the solution sit in the toilet bowl overnight before scrubbing and flushing. This allows the ingredients to penetrate and loosen even the most stubborn stains.
* For hard water stains: Increase the amount of vinegar in the solution. Vinegar’s acidity helps to dissolve mineral deposits caused by hard water.
This toilet cleaning hack isn’t just about cleaning; it’s about taking control of your cleaning routine and making it more sustainable, affordable, and effective. It’s about saying goodbye to harsh chemicals and hello to a cleaner, healthier home.
We are confident that once you try this DIY toilet cleaning hack, you’ll be amazed by the results. It’s a simple, effective, and eco-friendly way to keep your toilet bowl sparkling clean. So, ditch the expensive store-bought cleaners and give this method a try. You won’t be disappointed!
Now, we want to hear from you! Have you tried this toilet cleaning hack? What variations did you use? What were your results? Share your experiences, tips, and tricks in the comments below. Let’s build a community of DIY cleaning enthusiasts and help each other create cleaner, healthier homes. Your feedback is invaluable and will help us refine and improve this method for everyone. We can’t wait to hear your success stories!
Frequently Asked Questions (FAQ)
What exactly makes this toilet cleaning hack so effective?
The effectiveness of this DIY toilet cleaning hack stems from the synergistic action of its ingredients. Vinegar, a key component, is a natural acid that effectively dissolves mineral deposits, hard water stains, and grime. Baking soda, an alkali, acts as a gentle abrasive, helping to scrub away dirt and deodorize the toilet bowl. When combined, vinegar and baking soda create a fizzing action that helps to loosen stubborn stains and break down organic matter. The addition of dish soap further enhances the cleaning power by cutting through grease and grime, leaving the toilet bowl sparkling clean.
Is this DIY toilet cleaning hack safe for my plumbing system?
Yes, this DIY toilet cleaning hack is generally safe for most plumbing systems. The ingredients used – vinegar, baking soda, and dish soap – are all relatively mild and non-corrosive. Unlike harsh chemical cleaners, they won’t damage pipes or septic systems. However, it’s always a good idea to check with a plumber if you have any concerns about your specific plumbing system, especially if it’s old or has known issues. Avoid using this method in conjunction with other chemical cleaners, as mixing different chemicals can create harmful fumes or damage your plumbing.
How often should I use this toilet cleaning hack?
The frequency of use depends on how often your toilet is used and how quickly it gets dirty. For general maintenance, cleaning your toilet with this DIY hack once or twice a week should be sufficient. If you have hard water or notice stains developing more quickly, you may need to clean it more frequently. You can also use this hack as a spot treatment for stubborn stains as needed. Regular cleaning will prevent the buildup of grime and stains, making it easier to maintain a clean toilet bowl.
Can I use this toilet cleaning hack on colored toilets?
While vinegar is generally safe for most toilet surfaces, it’s always a good idea to test it in an inconspicuous area first, especially if you have a colored toilet. Some colored toilets may be more sensitive to acidic cleaners, and vinegar could potentially cause discoloration or fading. To test, apply a small amount of the cleaning solution to a hidden area of the toilet bowl and let it sit for a few minutes. If you don’t notice any adverse effects, it should be safe to use on the entire toilet.
What if I don’t have vinegar or baking soda? Are there any alternatives?
While vinegar and baking soda are the key ingredients in this toilet cleaning hack, there are some alternatives you can use if you don’t have them on hand. For vinegar, you can substitute lemon juice, which also contains citric acid and has similar cleaning properties. For baking soda, you can try using borax, which is a natural mineral that acts as a powerful stain remover and deodorizer. However, keep in mind that these alternatives may not be as effective as vinegar and baking soda, and you may need to adjust the quantities accordingly.
The fizzing action is minimal. Am I doing something wrong?
The fizzing action between vinegar and baking soda is a chemical reaction that releases carbon dioxide. The intensity of the fizz depends on the concentration of the ingredients and the temperature. If you’re not seeing much fizz, try using a higher concentration of vinegar or baking soda. Also, make sure the ingredients are fresh, as old baking soda may lose its potency. Pouring the vinegar slowly over the baking soda can also help to maximize the fizzing action. While the fizzing is helpful for loosening stains, the cleaning solution will still be effective even if the fizz is minimal.
How do I deal with hard water stains using this method?
Hard water stains are caused by mineral deposits, primarily calcium and magnesium, that accumulate on surfaces. To effectively remove hard water stains using this DIY toilet cleaning hack, increase the amount of vinegar in the solution. Vinegar’s acidity helps to dissolve these mineral deposits. You can also try soaking a cloth or paper towel in vinegar and applying it directly to the stains. Let it sit for several hours or overnight before scrubbing and flushing. For particularly stubborn hard water stains, you may need to use a pumice stone or a specialized hard water stain remover.
Can I use this hack to clean other parts of my bathroom?
While this DIY toilet cleaning hack is primarily designed for cleaning toilet bowls, you can also use it to clean other parts of your bathroom, such as sinks, tiles, and shower doors. However, be sure to test it in an inconspicuous area first to ensure it doesn’t damage the surface. For larger surfaces, you can dilute the cleaning solution with water. Avoid using this hack on delicate surfaces, such as marble or granite, as vinegar can etch these materials.

Leave a Comment