

Backyard vegetable garden ideas are more than just a trend; they’re a gateway to fresh, flavorful food and a deeper connection with nature, right in your own backyard! Imagine stepping outside your back door and harvesting ripe tomatoes still warm from the sun, or snipping fresh herbs to add a burst of flavor to your dinner. Sounds idyllic, right?
For centuries, cultivating our own food has been a cornerstone of human civilization. From ancient kitchen gardens to the victory gardens of wartime, growing vegetables at home has always been a way to ensure food security and connect with the earth. Today, with concerns about food miles and the desire for healthier, more sustainable living, the appeal of backyard vegetable garden ideas is stronger than ever.
But let’s be honest, getting started can feel overwhelming. Where do you even begin? That’s where this article comes in! I’m going to share some simple, effective DIY tricks and hacks that will transform your backyard into a thriving vegetable paradise, no matter how much space you have or what your experience level is. We’ll cover everything from choosing the right location and soil preparation to clever DIY planters and pest control solutions. So, grab your gardening gloves, and let’s get growing!
Creating Your Dream Backyard Vegetable Garden: A DIY Guide
Okay, so you’re dreaming of fresh tomatoes, crisp lettuce, and maybe even some exotic peppers right outside your back door? I get it! There’s nothing quite like the taste of homegrown veggies, and the satisfaction of knowing you grew them yourself. Let’s dive into how you can create your own thriving backyard vegetable garden.
Planning Your Garden: Location, Location, Location!
Before you even think about seeds, you need a plan. This is crucial for success.
* Sunlight is King (or Queen!): Most vegetables need at least 6-8 hours of direct sunlight per day. Observe your yard throughout the day to see where the sun shines the longest. South-facing areas are generally best.
* Water Access: You’ll need a reliable water source nearby. Lugging watering cans across the yard gets old fast! Consider a hose, sprinkler system, or even a rain barrel.
* Soil Matters: Healthy soil is the foundation of a healthy garden. Get your soil tested to determine its pH and nutrient levels. Your local agricultural extension office can help with this.
* Size Matters (But Start Small!): Don’t bite off more than you can chew. A small, manageable garden is better than a large, overgrown one. Start with a 4×4 foot raised bed or a few containers. You can always expand later.
* Consider Existing Structures: Think about trees, fences, and buildings. Will they cast shadows? Will tree roots compete for nutrients?
* Choose Your Veggies Wisely: Grow what you like to eat! Also, consider your climate and growing season. Some vegetables thrive in cool weather, while others need warm weather.
Building Your Garden Bed: Raised Beds vs. In-Ground
You have a couple of options here: raised beds or in-ground gardening. Both have their pros and cons.
* Raised Beds: These are great if you have poor soil, drainage problems, or limited space. They also make gardening easier on your back!
* Pros: Better drainage, warmer soil, fewer weeds, easier to manage.
* Cons: More expensive to build, can dry out faster.
* In-Ground Gardening: This is the traditional method.
* Pros: Less expensive, more natural, better water retention.
* Cons: Requires good soil, more susceptible to weeds, can be harder on your back.
Building a Simple Raised Bed (My Favorite!)
I personally love raised beds. They’re just so convenient! Here’s how to build one:
Materials You’ll Need:
* Untreated lumber (cedar or redwood are good choices because they resist rot) – four 2×6 or 2×8 boards, depending on how deep you want your bed.
* Screws or nails
* Landscape fabric (optional, but recommended)
* Soil (a mix of topsoil, compost, and peat moss)
* Measuring tape
* Saw
* Drill or hammer
Step-by-Step Instructions:
1. Measure and Cut: Decide on the size of your raised bed. A 4×4 foot bed is a good starting point. Cut the lumber to the desired lengths. You’ll need two boards for each length.
2. Assemble the Frame: Lay the boards on a flat surface and form a rectangle. Use screws or nails to attach the corners. Make sure the corners are square. A speed square can help with this.
3. Line the Bed (Optional): If you’re placing the raised bed directly on the ground, line the bottom with landscape fabric to prevent weeds from growing up into your garden.
4. Place the Bed: Choose a sunny spot in your yard and place the raised bed.
5. Fill with Soil: Fill the raised bed with a mixture of topsoil, compost, and peat moss. This will provide your plants with the nutrients they need to thrive. I usually aim for a 1/3 ratio of each.
6. Water the Soil: Water the soil thoroughly to settle it.
Preparing Your In-Ground Garden
If you’re going the in-ground route, soil preparation is even more critical.
Step-by-Step Instructions:
1. Clear the Area: Remove any grass, weeds, rocks, and debris from the area where you plan to plant your garden.
2. Till the Soil: Use a tiller or shovel to loosen the soil to a depth of at least 12 inches. This will improve drainage and aeration.
3. Amend the Soil: Add compost, manure, or other organic matter to improve the soil’s fertility and structure. Work it into the soil thoroughly.
4. Test the Soil pH: Use a soil testing kit to determine the pH of your soil. Most vegetables prefer a pH between 6.0 and 7.0. Amend the soil as needed to adjust the pH. Lime can raise the pH, while sulfur can lower it.
5. Level the Soil: Rake the soil to create a smooth, level surface.
6. Water the Soil: Water the soil thoroughly to settle it.
Choosing Your Vegetables: What to Grow?
This is the fun part! But it’s also important to be realistic.
* Consider Your Climate: Different vegetables thrive in different climates. Check your local growing zone to see what vegetables are best suited for your area.
* Think About Your Space: Some vegetables, like pumpkins and watermelons, need a lot of space. Others, like lettuce and spinach, can be grown in a small area.
* Grow What You Like to Eat: This seems obvious, but it’s worth repeating. There’s no point in growing vegetables that you don’t enjoy eating.
* Start with Easy Vegetables: If you’re a beginner, start with easy-to-grow vegetables like lettuce, spinach, radishes, and beans.
* Succession Planting: Plant different crops at different times to extend your harvest season. For example, you can plant lettuce in the spring and then plant tomatoes in the summer.
Here are some popular and relatively easy vegetables to start with:
* Tomatoes: A garden staple! Choose determinate varieties for smaller spaces.
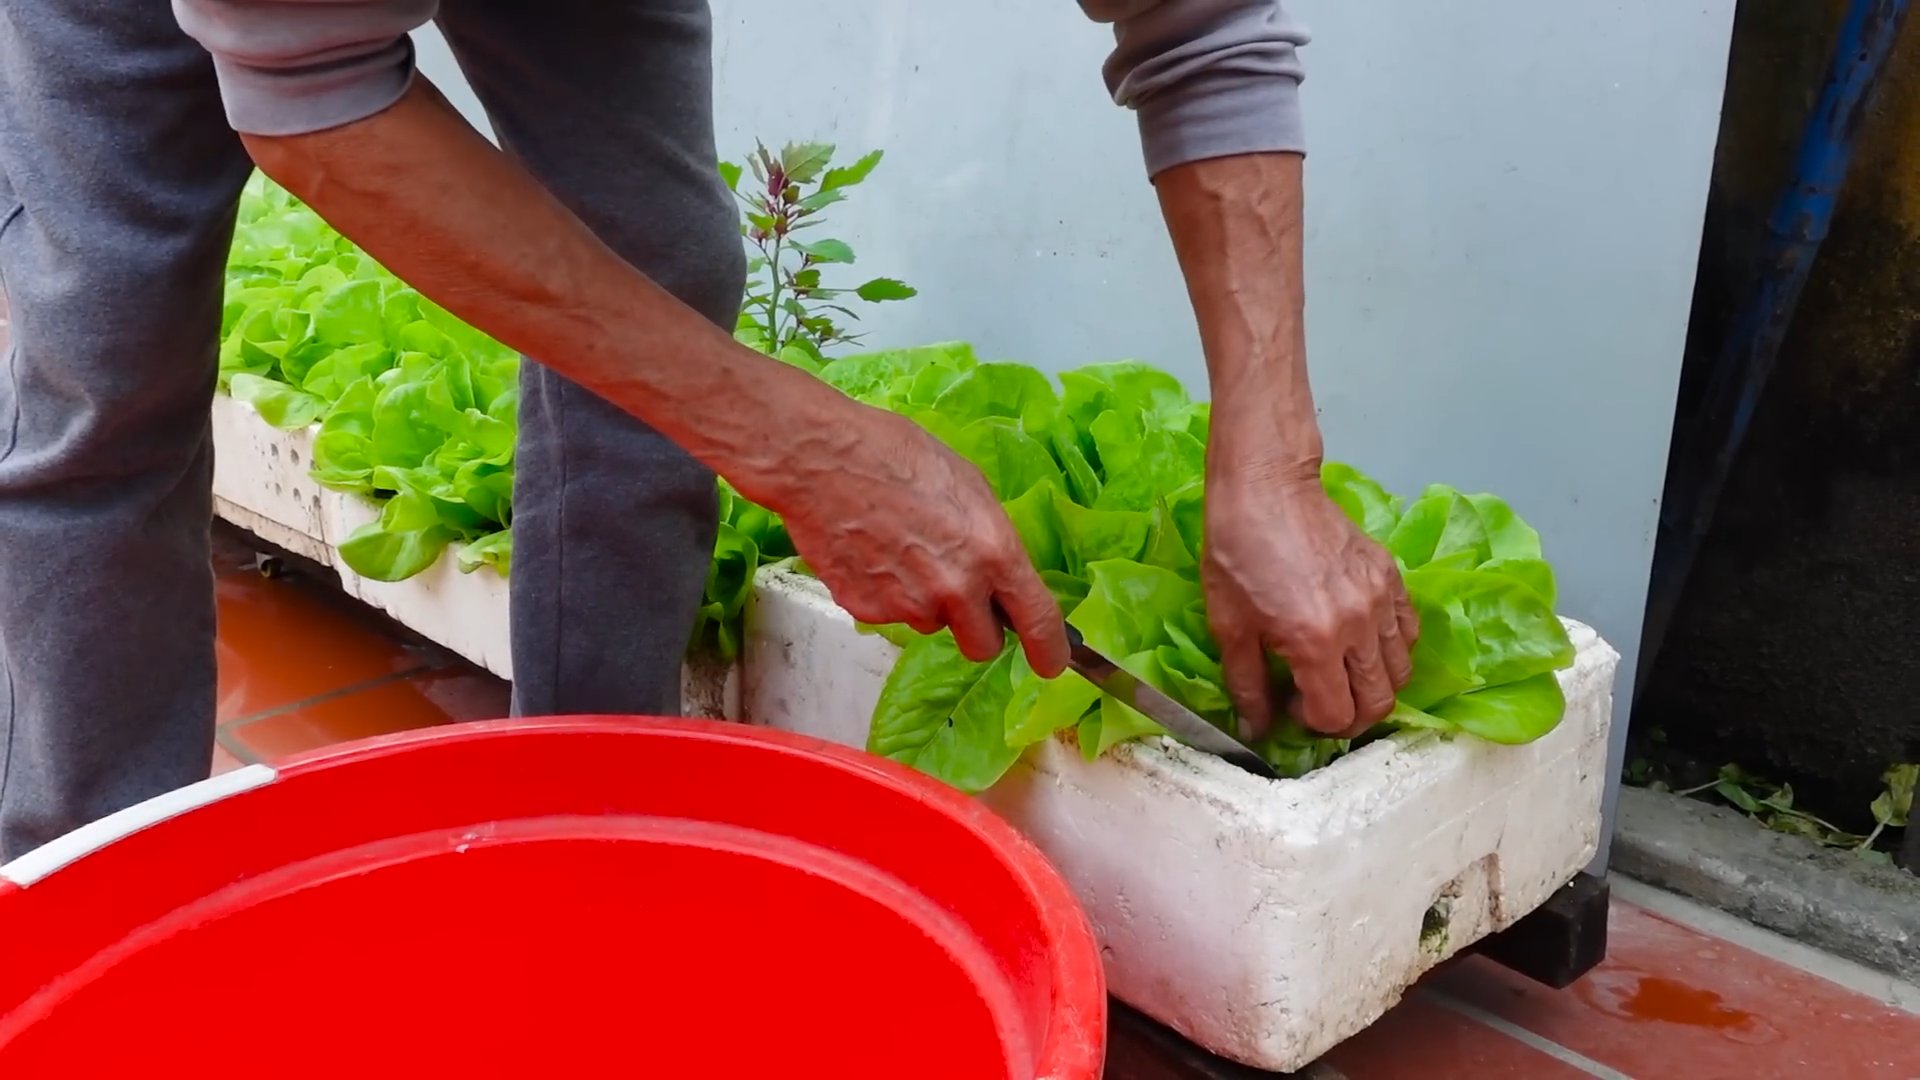
* Lettuce: Easy to grow and comes in many varieties.
* Radishes: Grow quickly and are great for beginners.
* Beans: Bush beans are compact and productive.
* Zucchini: Prolific producers! Be prepared to share with your neighbors.
* Peppers: Both sweet and hot peppers are relatively easy to grow.
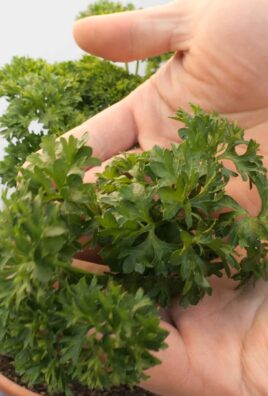
* Herbs: Basil, mint, oregano, and thyme are all easy to grow in containers or in the ground.
Planting Your Vegetables: Seeds vs. Seedlings
You have two options for starting your vegetables: seeds or seedlings.
* Seeds: Starting from seed is less expensive, but it requires more time and effort.
* Seedlings: Buying seedlings is more expensive, but it’s faster and easier.
Starting from Seeds: A Rewarding Experience
If you’re starting from seeds, you’ll need to start them indoors a few weeks before the last frost.
Materials You’ll Need:
* Seed starting trays or pots
* Seed starting mix
* Seeds
* Water
* Grow lights (optional, but recommended)
Step-by-Step Instructions:
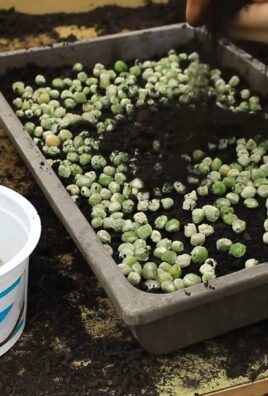
1. Fill the Trays or Pots: Fill the seed starting trays or pots with seed starting mix.
2. Plant the Seeds: Follow the instructions on the seed packet for planting depth and spacing.
3. Water the Seeds: Water the seeds gently to moisten the soil.
4. Provide Light: Place the trays or pots under grow lights or in a sunny window.
5. Keep the Soil Moist: Keep the soil moist but not soggy.
6. Harden Off the Seedlings: Before transplanting the seedlings outdoors, you’ll need to harden them off. This means gradually exposing them to outdoor conditions over a period of a week or two. Start by placing them in a sheltered spot for a few hours each day, and gradually increase the amount of time they spend outdoors.
Transplanting Seedlings: Getting Them in the Ground
Whether you started from seed or bought seedlings, transplanting them into your garden is a crucial step.
Step-by-Step Instructions:
1. Choose a Cloudy Day: Transplanting on a cloudy day will help prevent the seedlings from drying out.
2. Dig a Hole: Dig a hole that is slightly larger than the root ball of the seedling.
3. Remove the Seedling: Gently remove the seedling from its container.
4. Loosen the Roots: Gently loosen the roots

Conclusion
So, there you have it! Transforming your outdoor space with these backyard vegetable garden ideas isn’t just about growing your own food; it’s about cultivating a connection with nature, embracing sustainability, and enjoying the unparalleled satisfaction of harvesting fresh, flavorful produce right from your own backyard. We’ve explored a range of options, from space-saving vertical gardens perfect for patios and balconies to sprawling raised beds that can accommodate a diverse array of vegetables. We’ve touched upon the importance of soil health, sunlight, and companion planting, all crucial elements for a thriving garden.
But the real magic happens when you personalize these ideas to fit your unique circumstances and preferences. Don’t be afraid to experiment! Perhaps you’d like to incorporate a small herb garden alongside your vegetables, adding fragrant aromas and culinary delights to your harvest. Or maybe you’re drawn to the idea of a themed garden, focusing on Italian herbs and vegetables for authentic Mediterranean cuisine, or a salsa garden bursting with tomatoes, peppers, onions, and cilantro.
Consider adding decorative elements to your garden to enhance its aesthetic appeal. Trellises for climbing plants like cucumbers and beans can create a visually stunning backdrop, while strategically placed stones or pavers can define pathways and add texture. You could even incorporate a small water feature to attract beneficial insects and create a tranquil atmosphere.
For those with limited mobility, raised beds and container gardens are invaluable. They eliminate the need for bending and kneeling, making gardening accessible and enjoyable for everyone. Choose containers that are large enough to accommodate the root systems of your chosen vegetables, and be sure to provide adequate drainage.
Remember, success in gardening is a journey, not a destination. There will be challenges along the way, but don’t let them discourage you. Learn from your mistakes, adapt your strategies, and celebrate your successes. The rewards of a bountiful harvest and the satisfaction of nurturing your own food are well worth the effort.
We strongly encourage you to take the plunge and implement some of these backyard vegetable garden ideas. Start small if you’re feeling overwhelmed, and gradually expand your garden as your confidence grows. The most important thing is to get started!
And once you’ve experienced the joy of growing your own vegetables, we’d love to hear about it! Share your photos, tips, and stories with us in the comments section below. Let’s create a community of passionate gardeners who inspire and support each other. Together, we can transform our backyards into thriving havens of fresh, healthy food. So, get your hands dirty and start planting! Your taste buds (and your health) will thank you.
FAQ
What are the easiest vegetables to grow for beginners?
This is a very common question, and thankfully, there are several vegetables that are relatively easy to grow, even for those with no prior gardening experience. Leafy greens like lettuce, spinach, and kale are excellent choices. They germinate quickly, tolerate a wide range of conditions, and can be harvested continuously over a long period. Radishes are another fast-growing option, maturing in as little as three weeks. Bush beans are also relatively easy to grow and produce a generous harvest. Cherry tomatoes are a popular choice, as they are prolific and relatively resistant to pests and diseases. Finally, zucchini is known for its vigorous growth and abundant yields, making it a rewarding choice for beginners. Remember to choose varieties that are well-suited to your local climate and growing season.
How much sunlight do vegetables need?
Most vegetables require at least six hours of direct sunlight per day to thrive. However, some vegetables, such as leafy greens and root vegetables, can tolerate partial shade (4-6 hours of sunlight). When planning your garden, observe the amount of sunlight your chosen location receives throughout the day. If you’re unsure, use a sun calculator or a light meter to get an accurate reading. If your garden doesn’t receive enough sunlight, consider using grow lights to supplement natural light.
What kind of soil is best for a vegetable garden?
The ideal soil for a vegetable garden is well-draining, fertile, and rich in organic matter. Loamy soil, which is a mixture of sand, silt, and clay, is generally considered the best option. However, you can improve the quality of your soil by adding compost, aged manure, or other organic amendments. Before planting, it’s a good idea to test your soil’s pH level. Most vegetables prefer a slightly acidic pH of around 6.0 to 7.0. You can adjust the pH by adding lime to raise it or sulfur to lower it.
How often should I water my vegetable garden?
The frequency of watering depends on several factors, including the type of vegetables you’re growing, the weather conditions, and the type of soil you have. As a general rule, vegetables need about 1 inch of water per week. However, during hot, dry weather, you may need to water more frequently. The best way to determine if your plants need water is to check the soil moisture. Stick your finger into the soil about an inch deep. If the soil feels dry, it’s time to water. When watering, water deeply and thoroughly, allowing the water to soak into the soil. Avoid watering overhead, as this can promote fungal diseases.
What are some common pests and diseases that affect vegetable gardens, and how can I prevent them?
Common pests include aphids, cabbage worms, slugs, and squash bugs. Common diseases include powdery mildew, blight, and root rot. To prevent pests and diseases, practice good garden hygiene. Remove weeds and debris regularly, and water plants at the base to avoid wetting the foliage. Use organic pest control methods, such as insecticidal soap or neem oil, to control pests. Choose disease-resistant varieties of vegetables, and rotate your crops each year to prevent the buildup of soilborne diseases. Companion planting can also help to deter pests and diseases. For example, planting marigolds near tomatoes can help to repel nematodes.
Can I grow vegetables in containers?
Absolutely! Container gardening is a great option for those with limited space or poor soil. Choose containers that are large enough to accommodate the root systems of your chosen vegetables, and be sure to provide adequate drainage. Use a high-quality potting mix, and fertilize regularly. Container gardens tend to dry out more quickly than in-ground gardens, so you’ll need to water more frequently.
What is companion planting, and how can it benefit my vegetable garden?
Companion planting is the practice of planting different vegetables and herbs together to benefit each other. Some plants can deter pests, attract beneficial insects, or improve soil health. For example, planting basil near tomatoes can help to repel tomato hornworms. Planting carrots near onions can help to deter carrot root flies. Planting legumes, such as beans and peas, can help to fix nitrogen in the soil, which benefits other plants. Research different companion planting combinations to find the best pairings for your garden.
How do I harvest my vegetables at the right time?
Harvesting vegetables at the right time is crucial for optimal flavor and texture. Each vegetable has its own specific harvesting guidelines. For example, leafy greens can be harvested when the leaves are large enough to eat. Tomatoes should be harvested when they are fully colored and slightly soft to the touch. Root vegetables should be harvested when they reach the desired size. Consult a gardening guide or online resource for specific harvesting instructions for each vegetable you’re growing.
Leave a Comment