

Bathroom cleaning hacks – who doesn’t need them? Let’s be honest, tackling the bathroom is nobody’s favorite chore. It’s the one space we all dread, conjuring images of stubborn stains, lingering odors, and endless scrubbing. But what if I told you that keeping your bathroom sparkling clean doesn’t have to be a Herculean task? What if I could share some simple, effective, and even *fun* DIY tricks that will transform your cleaning routine?
For centuries, maintaining hygiene has been a cornerstone of healthy living. Ancient civilizations, from the Romans with their elaborate bathhouses to the Egyptians with their meticulous cleansing rituals, understood the importance of a clean environment. While our methods have evolved, the fundamental need for a sanitary space remains the same. Today, with our busy lives, we need efficient and affordable solutions to keep our homes, especially our bathrooms, fresh and inviting.
That’s where these bathroom cleaning hacks come in! I’m going to share my favorite DIY secrets that will save you time, money, and elbow grease. From conquering soap scum with everyday ingredients to banishing mildew with natural solutions, these tips will empower you to create a sparkling clean bathroom you can be proud of. Get ready to ditch the harsh chemicals and embrace a smarter, simpler approach to bathroom cleaning!
DIY Bathroom Cleaning Hacks: Sparkling Clean Without Breaking a Sweat!
Okay, let’s be honest, cleaning the bathroom is nobody’s favorite chore. But, with a few clever DIY hacks, you can transform your bathroom from a grimy disaster zone into a sparkling oasis without spending hours scrubbing. I’m going to share some of my favorite and most effective bathroom cleaning tricks that use common household items. Get ready to be amazed!
Tackling Soap Scum and Grime
Soap scum is the bane of every bathroom cleaner’s existence. It’s stubborn, unsightly, and seems to multiply overnight. But fear not! These hacks will help you conquer that scum in no time.
Hack 1: Vinegar Power for Shower Doors and Walls
Vinegar is my go-to for so many cleaning tasks, and it works wonders on soap scum. Its acidity helps break down the mineral deposits and greasy residue.
What you’ll need:
* White vinegar
* Spray bottle
* Microfiber cloth or sponge
* Optional: Dish soap
Step-by-step instructions:
1. Heat the vinegar: Pour the white vinegar into a microwave-safe container and heat it for about 1-2 minutes, until it’s warm but not boiling. Heating the vinegar makes it even more effective at dissolving soap scum.
2. Pour into spray bottle: Carefully pour the heated vinegar into a spray bottle. Be cautious, as the bottle might be hot.
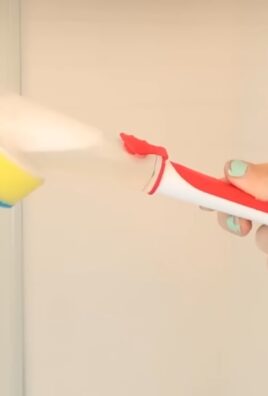
3. Spray the affected areas: Generously spray the vinegar onto your shower doors, walls, tiles, and any other surfaces covered in soap scum.
4. Let it sit: Allow the vinegar to sit for at least 15-30 minutes. This gives it time to penetrate and loosen the soap scum. For really stubborn buildup, you can let it sit for up to an hour.
5. Scrub (if needed): After the soaking time, use a microfiber cloth or sponge to scrub the surfaces. You should find that the soap scum comes off much easier than before. If you’re dealing with particularly tough spots, you can add a few drops of dish soap to your sponge for extra cleaning power.
6. Rinse thoroughly: Rinse all the surfaces with clean water to remove the vinegar and any remaining soap scum.
7. Dry and admire: Dry the surfaces with a clean towel or squeegee to prevent water spots. Step back and admire your sparkling clean shower!
Hack 2: Baking Soda Paste for Stubborn Stains
Baking soda is another cleaning superstar. Its mild abrasive properties make it perfect for scrubbing away stubborn stains without scratching surfaces.
What you’ll need:
* Baking soda
* Water
* Small bowl
* Sponge or scrub brush
Step-by-step instructions:
1. Make a paste: In a small bowl, mix baking soda with just enough water to create a thick paste. The consistency should be similar to toothpaste.
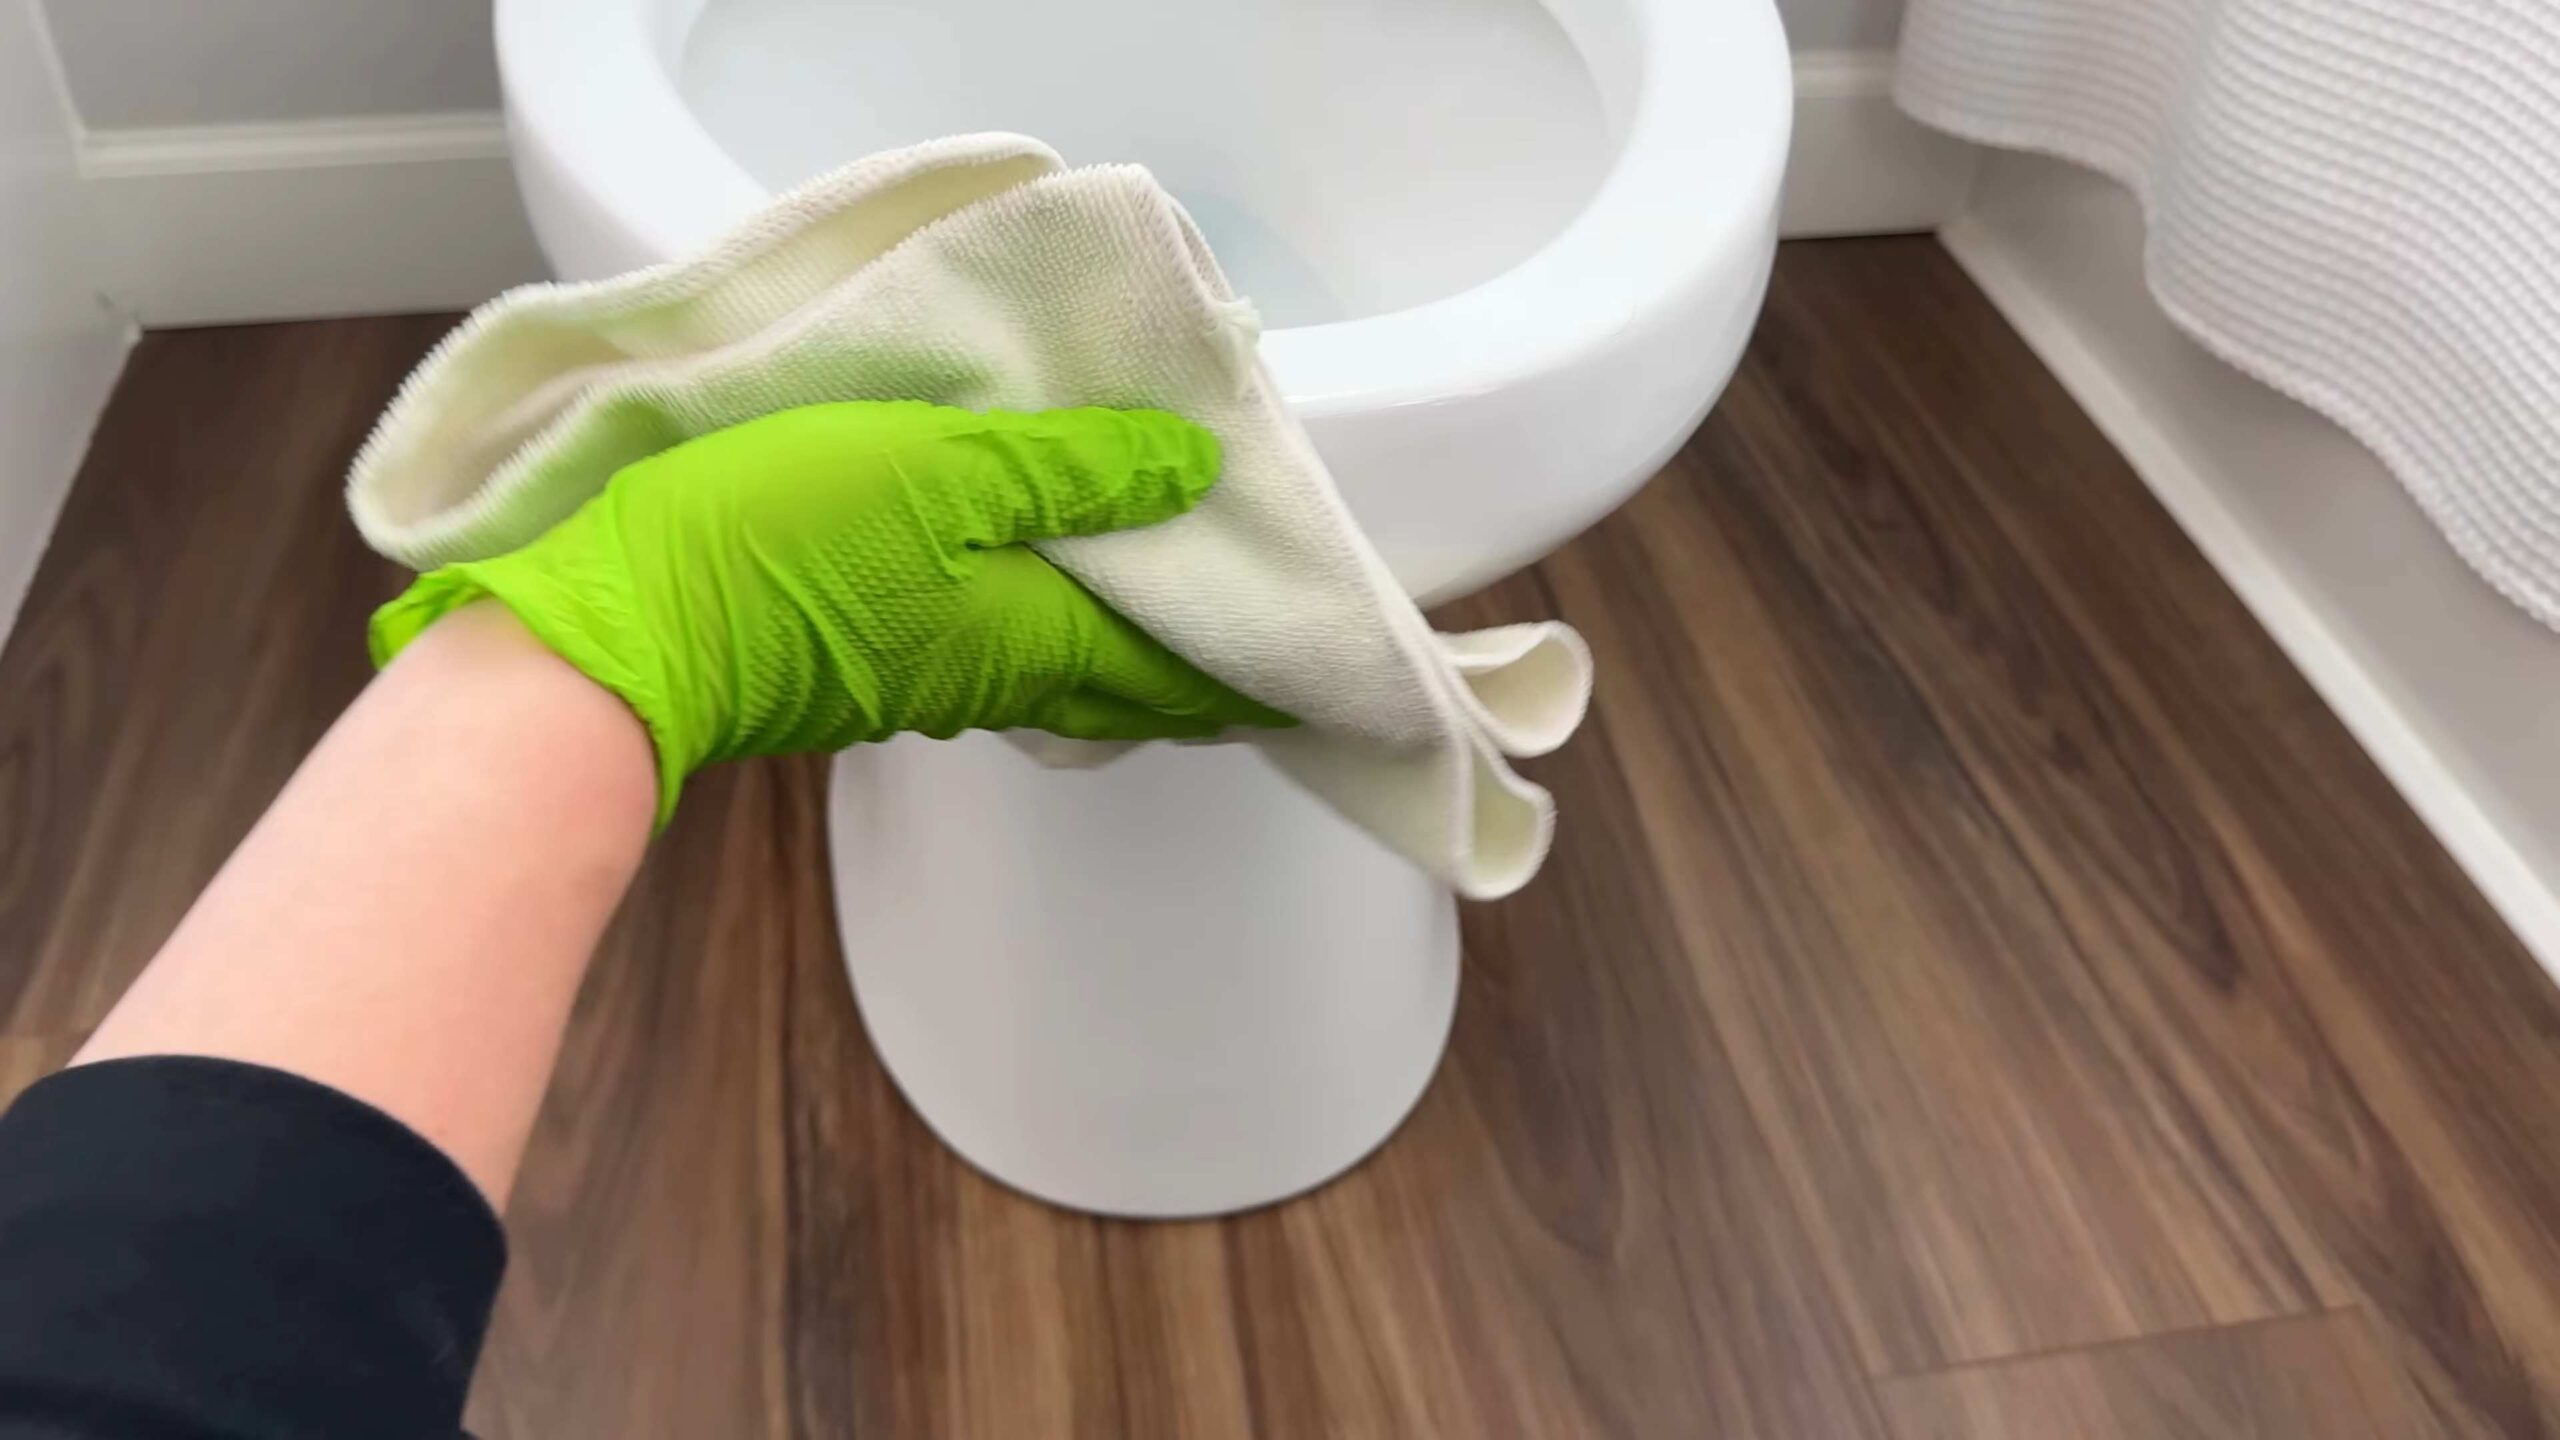
2. Apply the paste: Apply the baking soda paste to the areas with stubborn stains, such as grout lines, tile surfaces, or around the base of the toilet.
3. Let it sit: Allow the paste to sit for at least 10-15 minutes. This gives the baking soda time to loosen the stains. For tougher stains, you can let it sit for longer, even up to an hour.
4. Scrub: Use a sponge or scrub brush to scrub the affected areas. Apply firm pressure, but be careful not to scratch delicate surfaces.
5. Rinse thoroughly: Rinse all the surfaces with clean water to remove the baking soda paste and any loosened stains.
6. Dry and shine: Dry the surfaces with a clean towel to reveal a sparkling clean finish.
Cleaning the Toilet Like a Pro
Let’s face it, cleaning the toilet is the least glamorous part of bathroom cleaning. But with these hacks, you can make the task quicker and less unpleasant.
Hack 3: Fizzing Toilet Bombs
These DIY toilet bombs are not only effective at cleaning your toilet, but they also add a refreshing scent to your bathroom.
What you’ll need:
* 1 cup baking soda
* 1/2 cup citric acid (you can find this at most health food stores or online)
* 1/2 cup cornstarch
* A few drops of essential oil (lemon, tea tree, or lavender are great choices)
* Water in a spray bottle
* Silicone molds (optional, but they make the bombs look nicer)
Step-by-step instructions:
1. Combine dry ingredients: In a large bowl, combine the baking soda, citric acid, and cornstarch. Mix well to ensure all the ingredients are evenly distributed.
2. Add essential oil: Add a few drops of your favorite essential oil to the dry mixture. This will give your toilet bombs a pleasant scent and can also provide antibacterial benefits.
3. Slowly add water: Using a spray bottle, lightly spritz the dry mixture with water. Be very careful not to add too much water at once, as this will cause the mixture to fizz prematurely. You want the mixture to be just damp enough to hold its shape when you squeeze it.
4. Mix thoroughly: Use your hands to mix the ingredients together until they form a slightly damp, crumbly mixture.
5. Mold the bombs: If you’re using silicone molds, press the mixture firmly into the molds. If you don’t have molds, you can simply shape the mixture into small balls with your hands.
6. Let them dry: Place the molded or shaped toilet bombs on a sheet of parchment paper and let them dry completely. This may take several hours or even overnight.
7. Store and use: Once the toilet bombs are dry, store them in an airtight container. To use, simply drop one bomb into your toilet bowl and let it fizz. After the fizzing stops, scrub the bowl with a toilet brush and flush.
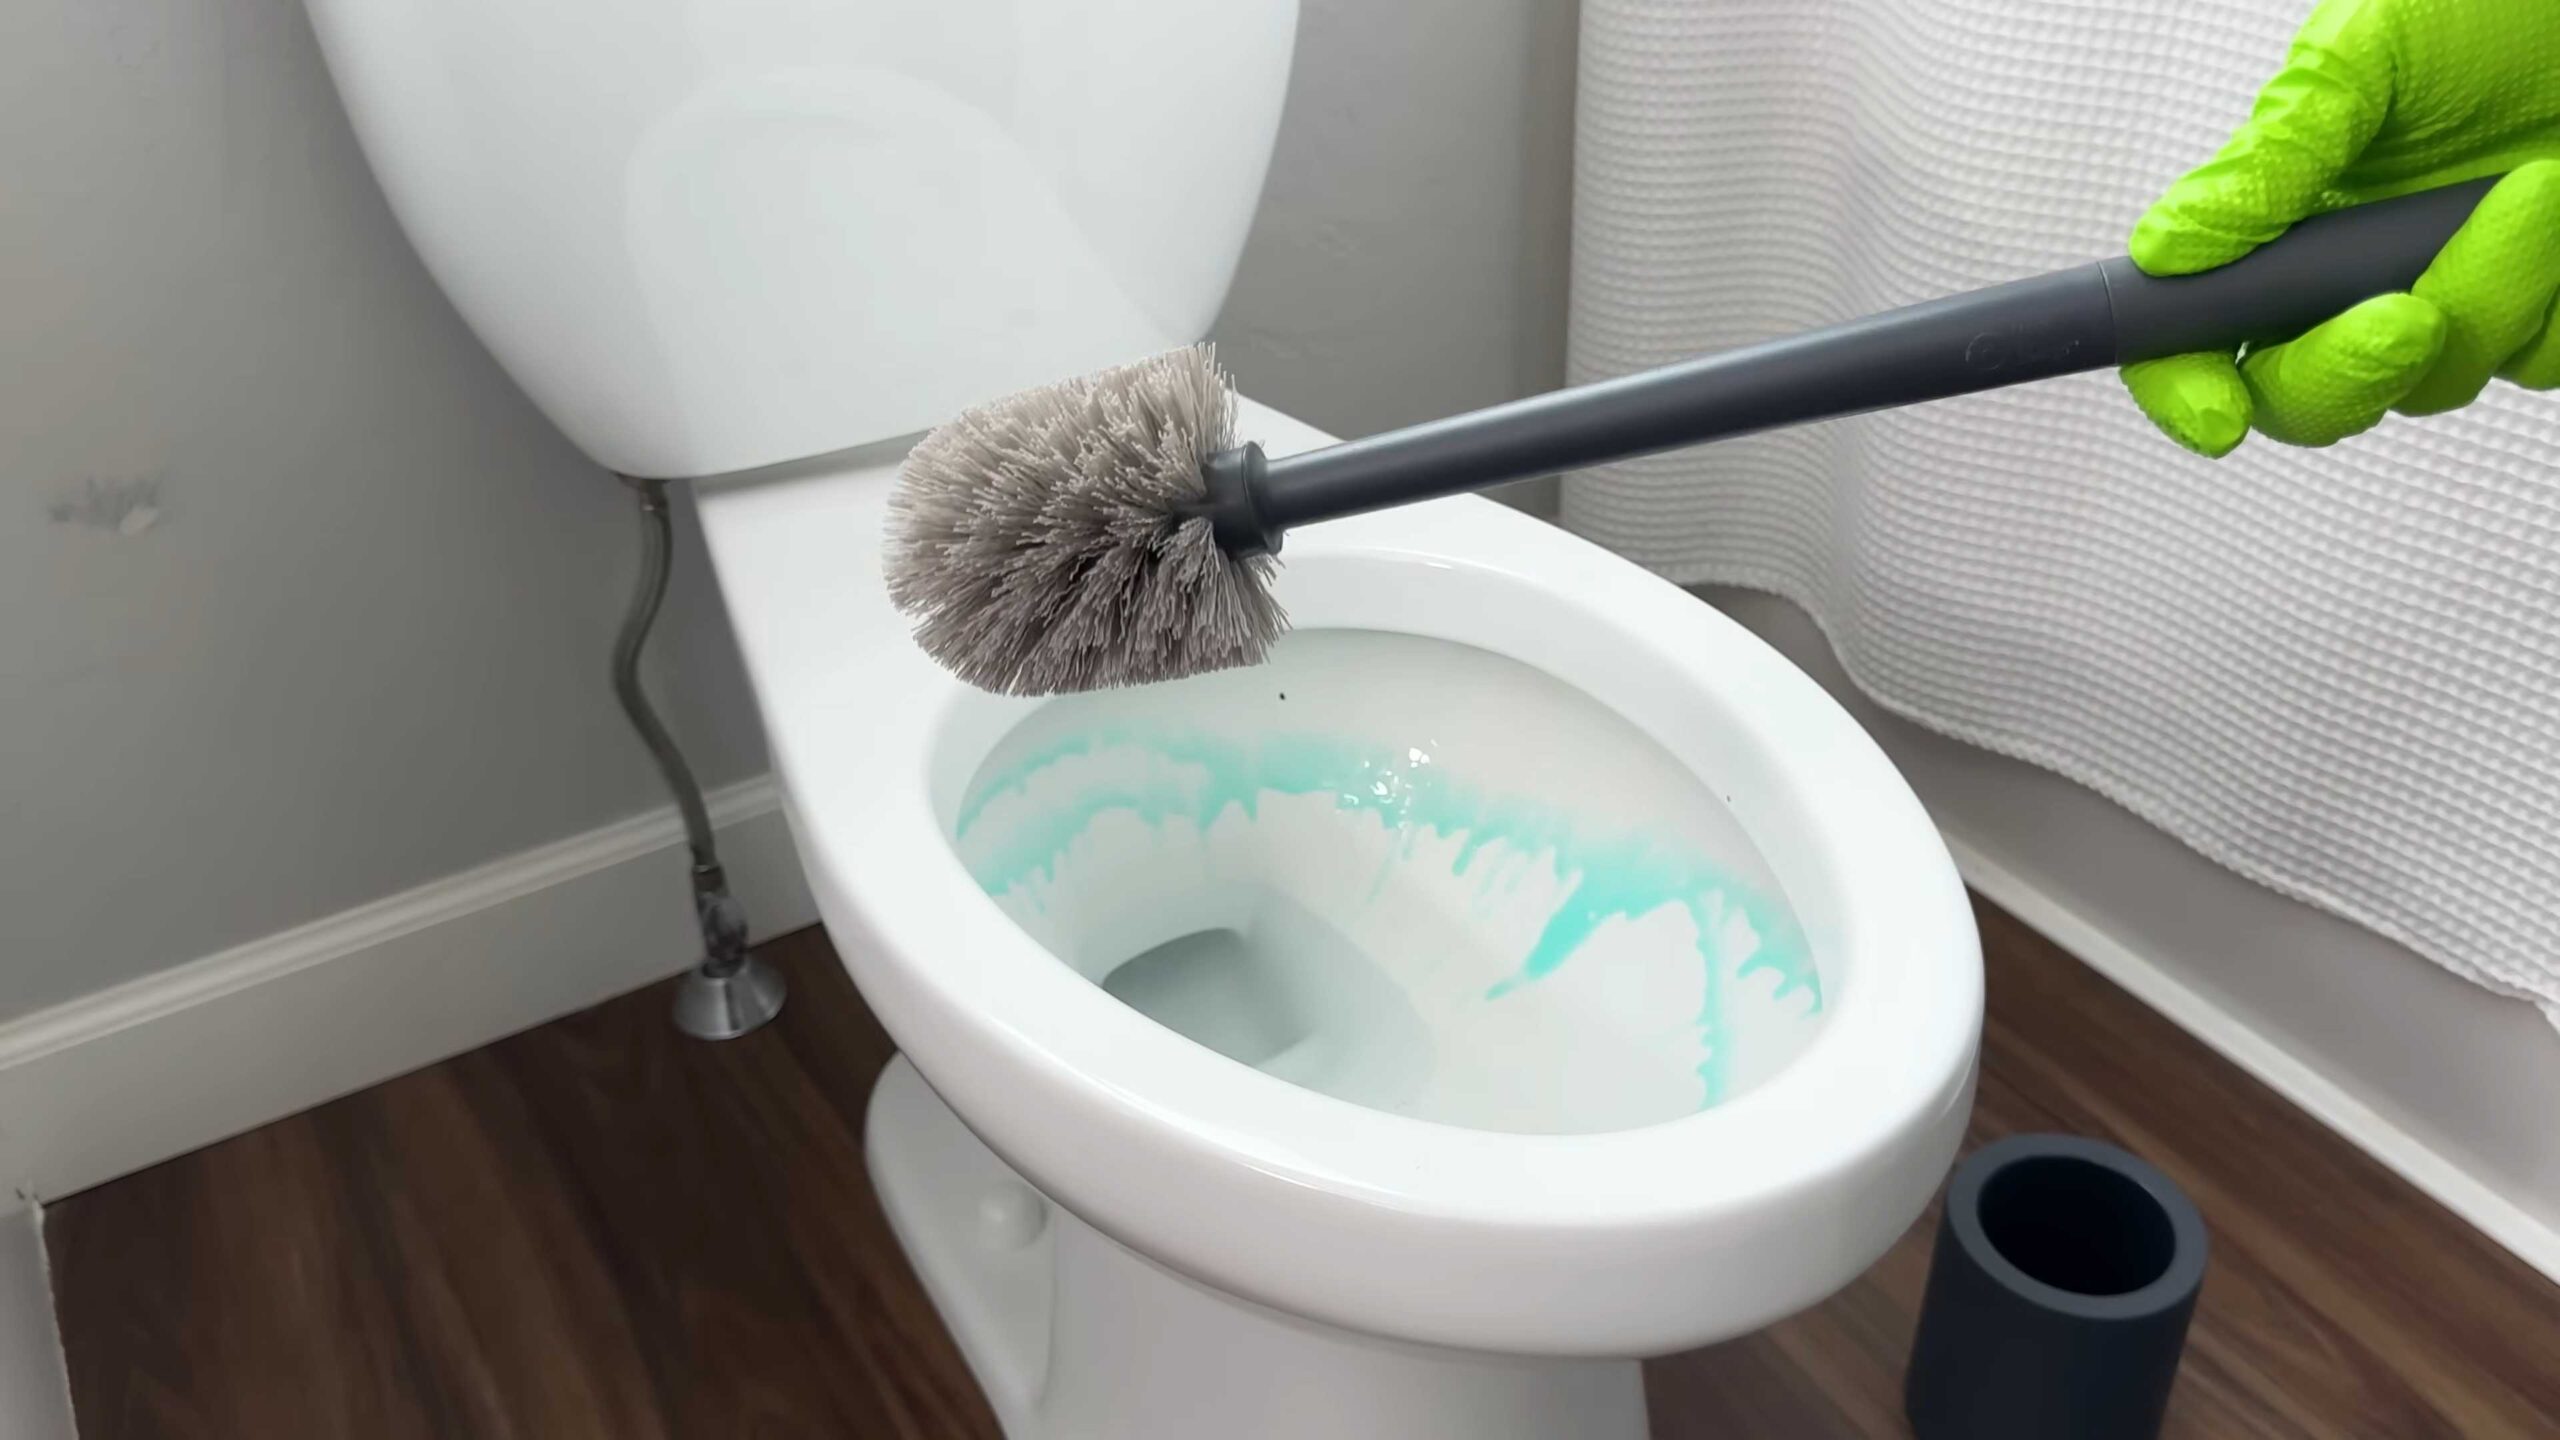
Hack 4: Vinegar and Baking Soda for a Deep Clean
This classic combination creates a powerful fizzing action that helps to loosen grime and disinfect your toilet bowl.
What you’ll need:
* 1 cup white vinegar
* 1/2 cup baking soda
* Toilet brush
Step-by-step instructions:
1. Pour in the baking soda: Pour the baking soda into the toilet bowl, making sure to cover the entire surface.
2. Add the vinegar: Slowly pour the white vinegar into the toilet bowl on top of the baking soda. You’ll notice that the mixture will start to fizz immediately.
3. Let it fizz: Allow the mixture to fizz for about 30 minutes. This gives the vinegar and baking soda time to break down any stains and grime.
4. Scrub: After the fizzing stops, use a toilet brush to scrub the entire toilet bowl, paying special attention to any areas with stubborn stains.
5. Flush: Flush the toilet to rinse away the vinegar and baking soda. Your toilet bowl should now be clean and fresh.
Shining Up Your Sink and Faucet
A sparkling clean sink and faucet can instantly brighten up your entire bathroom. These hacks will help you achieve that showroom shine.
Hack 5: Lemon Power for Faucet Fixtures
Lemon juice is a natural cleaner and disinfectant, and it works wonders on faucet fixtures. Its acidity helps to remove water spots and tarnish, leaving your faucets looking shiny and new.
What you’ll need:
* Lemon (cut in half)
* Soft cloth
Step-by-step instructions:
1. Rub the lemon: Take one half of the lemon and rub it directly onto your faucet fixtures, paying special attention to any areas with water spots or tarnish.
2. Let it sit: Allow the lemon juice to sit on the fixtures for about 5-10 minutes. This gives the acid time to break down the mineral deposits.
3. Wipe clean: Use a soft cloth to wipe away the lemon juice and any loosened grime.
4. Rinse and dry: Rinse the fixtures with clean water and dry them with a clean towel. Your faucets should now be sparkling clean and free of water spots.
Hack 6: Baking Soda and Toothpaste for a Polished Sink
This combination is perfect for removing stubborn stains and polishing your sink to a brilliant shine.
What you’ll need:
* Baking soda
* Toothpaste (non-gel)
* Soft cloth or sponge
Step-by-step instructions:
1. Mix the ingredients: In a small bowl, mix together a small amount of baking soda and toothpaste. The ratio should be about 1:1.
2. Apply to the sink: Apply the mixture to your sink, focusing on any areas with stains or discoloration.
3. Scrub gently: Use a soft cloth or sponge to gently scrub
Conclusion
So, there you have it! These simple, yet incredibly effective, bathroom cleaning hacks are a game-changer for anyone looking to maintain a sparkling clean bathroom without resorting to harsh chemicals or spending hours scrubbing. We’ve explored how to tackle common bathroom woes like stubborn soap scum, grimy grout, and dull showerheads using ingredients you likely already have in your pantry.
The beauty of these DIY solutions lies not only in their effectiveness but also in their versatility. Feel free to experiment with different essential oils in your vinegar cleaning solution for a personalized scent. Lavender, tea tree, and eucalyptus are all excellent choices known for their antibacterial properties and refreshing aromas. For tougher stains, consider letting the baking soda paste sit for a longer period before scrubbing. Remember, patience is key!
Beyond the specific hacks detailed above, the underlying principle is to embrace a more natural and sustainable approach to cleaning. By ditching the harsh chemicals, you’re not only protecting your health and the environment but also saving money in the long run. Plus, the satisfaction of creating your own effective cleaning solutions is truly rewarding.
Why is this a must-try? Because it’s effective, affordable, eco-friendly, and customizable. It’s a win-win-win-win! These bathroom cleaning hacks offer a practical and sustainable alternative to conventional cleaning products, allowing you to achieve a spotless bathroom while minimizing your environmental impact and saving money.
Don’t just take our word for it, though. We wholeheartedly encourage you to try these bathroom cleaning hacks for yourself. Start with the one that addresses your biggest bathroom cleaning challenge, and then gradually incorporate the others into your routine. You’ll be amazed at the difference they make.
We’re confident that these DIY solutions will transform your bathroom cleaning experience. They’re easy to implement, cost-effective, and deliver impressive results. Say goodbye to harsh chemicals and hello to a sparkling clean bathroom, naturally!
And most importantly, we want to hear about your experience! Share your before-and-after photos, your favorite variations, and any tips or tricks you’ve discovered along the way. Let’s build a community of DIY cleaning enthusiasts who are passionate about creating healthy and sustainable homes. Leave a comment below or tag us on social media using #DIYBathroomCleaning. We can’t wait to see your sparkling clean bathrooms!
Now, let’s move on to some frequently asked questions to address any lingering concerns you might have.
Frequently Asked Questions (FAQ)
Are these bathroom cleaning hacks safe for all bathroom surfaces?
Generally, yes, these hacks are safe for most common bathroom surfaces like tile, porcelain, glass, and stainless steel. However, it’s always a good idea to test any cleaning solution in an inconspicuous area first, especially on delicate surfaces like natural stone (marble, granite) or painted surfaces. Vinegar, in particular, can be acidic and may etch or dull certain materials. For natural stone, consider using a pH-neutral cleaner specifically designed for those surfaces. When in doubt, consult the manufacturer’s recommendations for your specific bathroom fixtures and materials.
How often should I use these bathroom cleaning hacks?
The frequency depends on how often your bathroom is used and how quickly it gets dirty. For general cleaning, once a week is usually sufficient. However, for areas prone to soap scum or mildew, like the shower, you may need to clean them more frequently, perhaps every few days. Regular maintenance is key to preventing buildup and making cleaning easier in the long run. A quick wipe-down after each shower can significantly reduce the need for deep cleaning later.
Can I use these bathroom cleaning hacks if I have sensitive skin or allergies?
While these DIY solutions are generally gentler than harsh chemical cleaners, it’s still important to take precautions if you have sensitive skin or allergies. Wear gloves when cleaning to protect your hands from irritation. If you’re concerned about allergic reactions, test a small amount of the cleaning solution on your skin before using it on a larger area. You can also adjust the recipes to suit your needs. For example, if you’re sensitive to vinegar, you can dilute it further or use a different cleaning agent altogether, such as lemon juice.
What if these bathroom cleaning hacks don’t work on stubborn stains?
Sometimes, stubborn stains require a little extra effort. For tough soap scum or hard water stains, try letting the cleaning solution sit for a longer period before scrubbing. You can also use a more abrasive scrubbing tool, such as a scrub brush with stiff bristles or a melamine sponge (Magic Eraser). For grout stains, a paste of baking soda and hydrogen peroxide can be very effective. Apply the paste to the grout, let it sit for several hours or overnight, and then scrub with a brush. If all else fails, you may need to consider using a commercial cleaner specifically designed for removing stubborn stains.
How do I prevent mold and mildew in my bathroom?
Prevention is always better than cure when it comes to mold and mildew. The key is to keep your bathroom well-ventilated and dry. After showering, open a window or turn on the exhaust fan to remove excess moisture. Wipe down wet surfaces, such as shower walls and doors, with a towel or squeegee. Regularly clean your shower curtain or liner to prevent mildew growth. You can also use a dehumidifier to reduce humidity levels in your bathroom.
Are these bathroom cleaning hacks safe for septic systems?
Yes, these DIY solutions are generally safe for septic systems. The ingredients used, such as vinegar, baking soda, and lemon juice, are biodegradable and won’t harm the beneficial bacteria in your septic tank. However, it’s important to avoid pouring large amounts of grease or oil down the drain, as this can clog your septic system.
Can I use these bathroom cleaning hacks on colored grout?
Yes, you can use these hacks on colored grout, but with caution. Vinegar, in particular, can potentially fade or discolor colored grout over time. It’s best to test the cleaning solution in an inconspicuous area first to ensure it doesn’t affect the color. If you’re concerned about discoloration, you can dilute the vinegar further or use a gentler cleaning agent, such as baking soda and water.
What are some other natural cleaning alternatives I can use in my bathroom?
Besides vinegar, baking soda, and lemon juice, there are several other natural cleaning alternatives you can use in your bathroom. Borax is a natural mineral that can be used to clean and disinfect surfaces. Hydrogen peroxide is a mild disinfectant that can be used to kill germs and remove stains. Castile soap is a gentle, all-purpose cleaner that can be used on a variety of surfaces. Essential oils, such as tea tree, lavender, and eucalyptus, have antibacterial and antifungal properties and can be added to cleaning solutions for extra cleaning power and a pleasant scent.
How do I make my bathroom smell fresh naturally?
There are several ways to make your bathroom smell fresh naturally. You can add a few drops of essential oils to your cleaning solutions. You can also place a bowl of baking soda in your bathroom to absorb odors. Another option is to create a DIY air freshener by mixing water and essential oils in a spray bottle. You can also place fresh herbs, such as lavender or rosemary, in your bathroom to add a natural fragrance.
What is the best way to clean a toilet naturally?
For a natural toilet cleaner, try pouring a cup of vinegar into the toilet bowl and letting it sit for at least 30 minutes, or even overnight. Then, sprinkle baking soda around the bowl and scrub with a toilet brush. The combination of vinegar and baking soda will create a fizzing action that helps to loosen stains and kill germs. You can also add a few drops of tea tree oil for extra disinfecting power.

Leave a Comment