

Bathroom cleaning hacks – who doesn’t need them? Let’s be honest, cleaning the bathroom is nobody’s favorite chore. It’s right up there with doing taxes and going to the dentist! But what if I told you that tackling that grimy grout and stubborn soap scum could be easier, faster, and even… dare I say… a little bit fun?
For centuries, people have been searching for the ultimate shortcuts to a sparkling clean bathroom. From ancient Roman bathhouses meticulously maintained by slaves to Victorian-era housewives armed with vinegar and elbow grease, the quest for a pristine porcelain throne has been a constant. While we may not have slaves (thank goodness!), we *do* have a wealth of knowledge and some seriously clever DIY tricks at our disposal.
In today’s busy world, time is precious. Spending hours scrubbing away at your bathroom is time you could be spending with family, pursuing hobbies, or simply relaxing. That’s where these bathroom cleaning hacks come in. I’m going to share some of my favorite DIY solutions that will save you time, money, and a whole lot of frustration. Get ready to transform your bathroom from a breeding ground for bacteria to a sparkling sanctuary with these simple, effective, and budget-friendly tips!
DIY Bathroom Cleaning Hacks: Sparkling Clean on a Budget!
Okay, let’s face it, cleaning the bathroom is nobody’s favorite chore. But a sparkling clean bathroom? That’s something we can all get behind! I’m going to share some of my favorite DIY bathroom cleaning hacks that are not only effective but also budget-friendly and use ingredients you probably already have in your pantry. Get ready to ditch those harsh chemicals and embrace a cleaner, fresher bathroom!
Tackling Soap Scum and Grime
Soap scum and grime are the bane of every bathroom cleaner’s existence. They cling to surfaces like they’re glued on! But don’t worry, I’ve got a few tricks up my sleeve.
Hack 1: Vinegar Power!
Vinegar is my go-to for so many cleaning tasks, and the bathroom is no exception. Its acidity helps break down soap scum and hard water stains like a champ.
What you’ll need:
* White vinegar
* Spray bottle
* Microfiber cloth or sponge
* Optional: Essential oils (for a nicer scent)
Step-by-step instructions:
1. Heat the vinegar: Pour the white vinegar into a microwave-safe container and heat it for about 1-2 minutes, until it’s warm but not boiling. Heating the vinegar makes it even more effective at dissolving grime.
2. Pour into spray bottle: Carefully pour the heated vinegar into a spray bottle. Be careful, it will be hot!
3. Add essential oils (optional): If you want to mask the vinegar smell, add a few drops of your favorite essential oil to the spray bottle. Lavender, tea tree, or lemon are all great choices.
4. Spray and soak: Generously spray the vinegar onto the affected areas, like shower walls, tiles, and the shower door. Let it soak for at least 15-30 minutes. The longer it soaks, the easier the grime will come off.
5. Scrub and rinse: After soaking, use a microfiber cloth or sponge to scrub the surfaces. You should see the soap scum and grime start to loosen. For stubborn areas, you might need to scrub a little harder.
6. Rinse thoroughly: Rinse the surfaces with clean water to remove any remaining vinegar and loosened grime.
7. Dry and admire: Dry the surfaces with a clean microfiber cloth to prevent water spots. Step back and admire your sparkling clean bathroom!
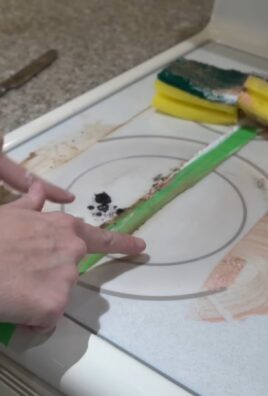
Hack 2: Baking Soda Paste for Stubborn Stains
For those really tough stains that vinegar alone can’t handle, baking soda is your best friend. Its mild abrasive properties help to scrub away stubborn grime without scratching surfaces.
What you’ll need:
* Baking soda
* Water
* Small bowl
* Sponge or scrub brush
Step-by-step instructions:
1. Make a paste: In a small bowl, mix baking soda with enough water to form a thick paste. The consistency should be similar to toothpaste.
2. Apply the paste: Apply the baking soda paste to the stained areas.
3. Let it sit: Let the paste sit for at least 15-20 minutes. This allows the baking soda to penetrate and loosen the grime.
4. Scrub: Use a sponge or scrub brush to scrub the stained areas. Apply a little pressure, but be careful not to scratch delicate surfaces.
5. Rinse: Rinse the surfaces thoroughly with clean water.
6. Repeat if necessary: If the stain is still visible, repeat the process.
7. Dry: Dry the surfaces with a clean cloth.
Cleaning the Toilet Like a Pro
The toilet is probably the least favorite part of the bathroom to clean, but it’s essential for maintaining a hygienic and fresh-smelling bathroom.
Hack 3: Fizzing Toilet Bombs
These DIY toilet bombs are not only fun to make but also effective at cleaning and deodorizing your toilet.
What you’ll need:
* 1 cup baking soda
* 1/2 cup citric acid (you can find this online or in some health food stores)
* 1/2 cup cornstarch
* A few tablespoons of water
* Essential oils (optional, for scent)
* Silicone molds (ice cube trays or small muffin tins work well)
Step-by-step instructions:
1. Combine dry ingredients: In a large bowl, combine the baking soda, citric acid, and cornstarch. Whisk them together until they are well mixed.
2. Add essential oils (optional): If you’re using essential oils, add a few drops to the dry ingredients. Mix well.
3. Slowly add water: Slowly add water, one tablespoon at a time, to the dry ingredients. Mix well after each addition. Be careful not to add too much water at once, as this will cause the mixture to fizz prematurely. You want the mixture to be damp enough to hold its shape when you squeeze it.
4. Pack into molds: Pack the mixture tightly into your silicone molds.
5. Let them dry: Let the toilet bombs dry completely for at least 24 hours.
6. Remove from molds: Once the toilet bombs are dry, carefully remove them from the molds.
7. Store: Store the toilet bombs in an airtight container in a cool, dry place.
8. Use: To use, simply drop a toilet bomb into the toilet bowl and let it fizz. Once the fizzing stops, scrub the bowl with a toilet brush and flush.
Hack 4: Vinegar and Baking Soda Power Duo
This is a classic cleaning combination that works wonders on toilet stains and odors.
What you’ll need:
* 1 cup white vinegar
* 1/2 cup baking soda
* Toilet brush
Step-by-step instructions:
1. Pour in vinegar: Pour the white vinegar into the toilet bowl.
2. Add baking soda: Immediately add the baking soda. The mixture will fizz.
3. Let it fizz: Let the mixture fizz for about 30 minutes. This allows the vinegar and baking soda to loosen stains and kill bacteria.
4. Scrub: Scrub the toilet bowl thoroughly with a toilet brush.
5. Flush: Flush the toilet.
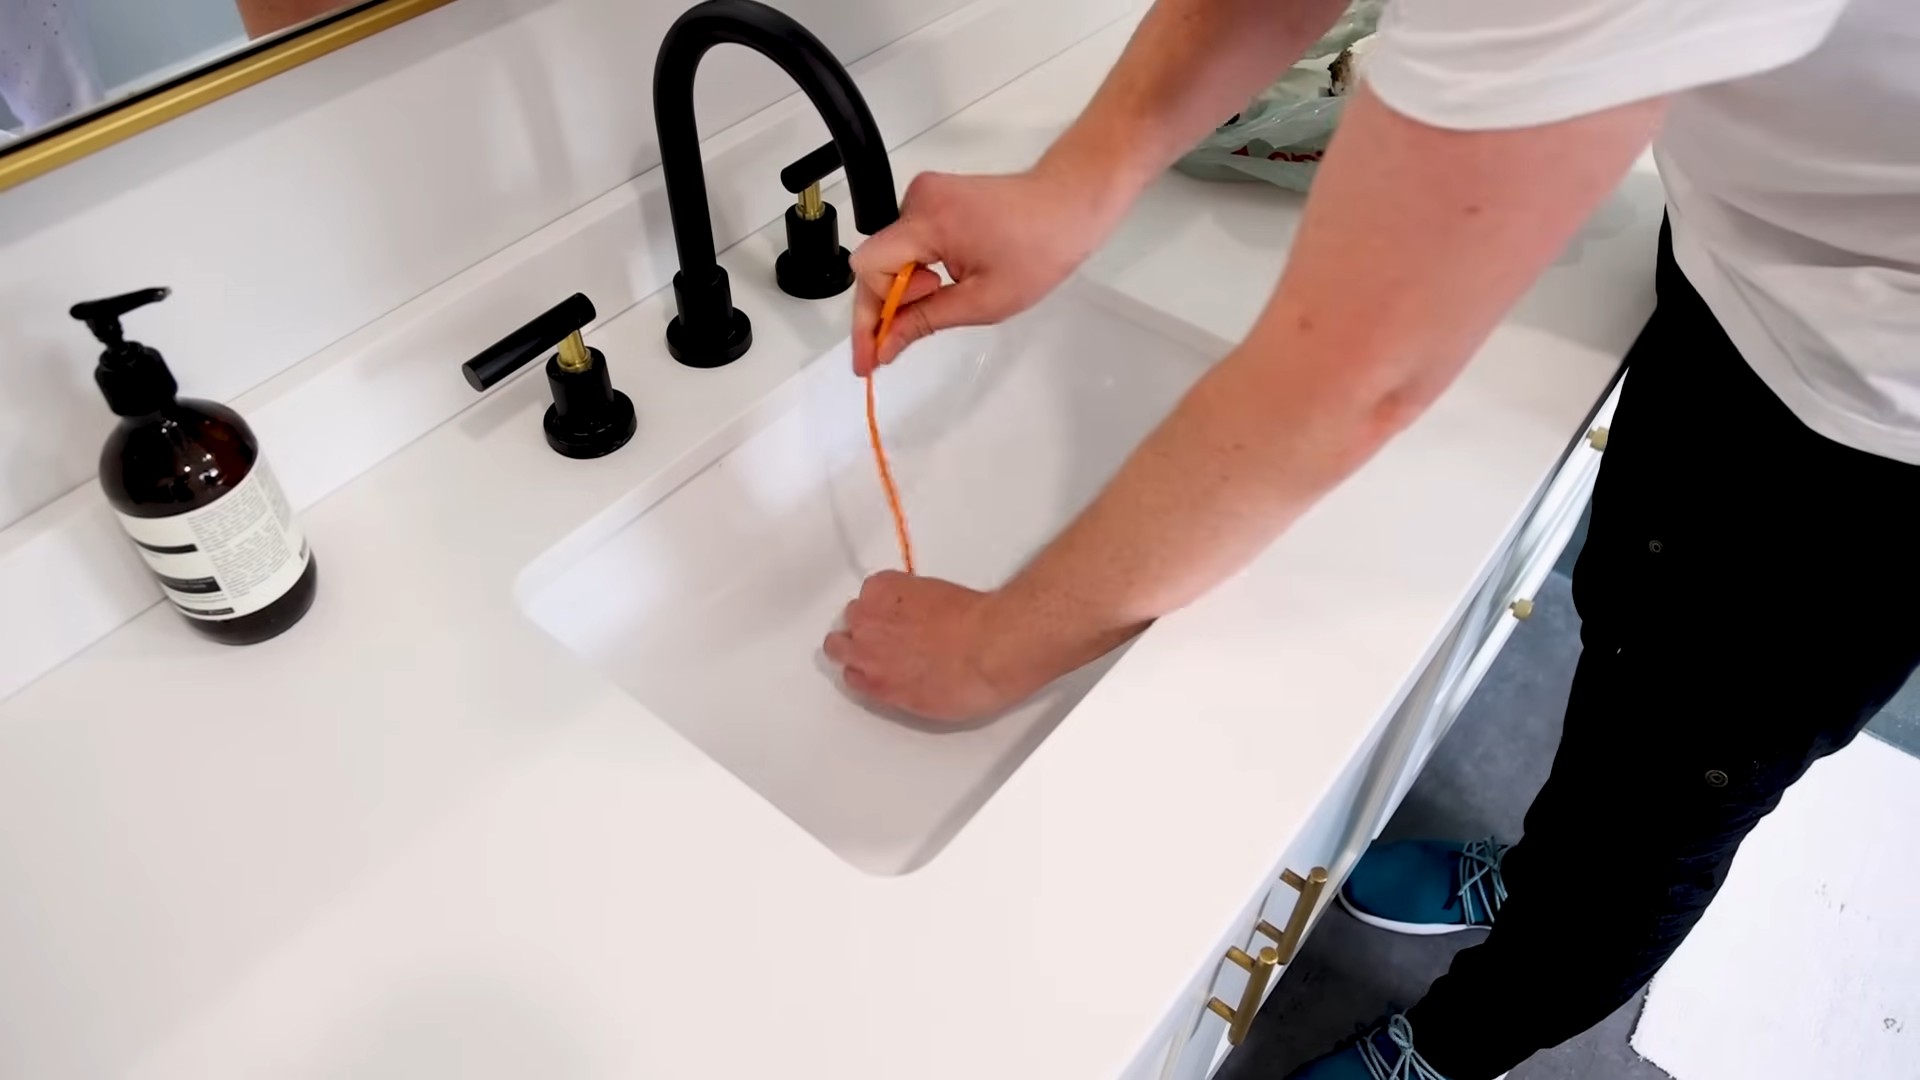
Shining Up Showerheads and Faucets
Hard water can leave unsightly mineral deposits on showerheads and faucets, making them look dull and dirty. Here’s how to restore their shine.
Hack 5: Vinegar Soak for Showerheads
This is a simple and effective way to remove mineral deposits from your showerhead.
What you’ll need:
* White vinegar
* Plastic bag
* Rubber band or twist tie
Step-by-step instructions:
1. Fill the bag: Fill the plastic bag with white vinegar.
2. Submerge the showerhead: Place the bag over the showerhead, ensuring that the showerhead is completely submerged in the vinegar.
3. Secure the bag: Secure the bag to the showerhead with a rubber band or twist tie.
4. Soak overnight: Let the showerhead soak in the vinegar overnight.
5. Remove the bag: Remove the bag and discard the vinegar.
6. Rinse: Rinse the showerhead thoroughly with clean water.
7. Wipe clean: Wipe the showerhead clean with a microfiber cloth.
Hack 6: Lemon Power for Faucets
Lemon juice is a natural cleaner and polisher that can help remove water spots and restore shine to your faucets.
What you’ll need:
* Lemon
* Soft cloth
Step-by-step instructions:
1. Cut the lemon: Cut a lemon in half.
2. Rub the faucet: Rub the cut side of the lemon over the faucets, paying attention to areas with water spots.
3. Let it sit: Let the lemon juice sit on the faucets for about 5-10 minutes.
4. Wipe clean: Wipe the faucets clean with a soft cloth.
5. Rinse: Rinse the faucets with clean water.
6. Dry: Dry the faucets with a clean cloth.
Cleaning Mirrors and Glass Surfaces
Streaky mirrors and glass shower doors can make your bathroom look dingy. Here’s how to achieve a streak-free shine.
Hack 7: Vinegar and Water Spray
This is a simple and effective way to clean mirrors and glass surfaces.
What you’ll need:
* White vinegar
* Water
* Spray bottle
* Microfiber cloth
Step-by-step instructions:
1. Mix the solution: In a spray bottle, mix equal parts white vinegar and water.
Conclusion
So, there you have it! These simple yet incredibly effective DIY bathroom cleaning hacks are a game-changer for anyone looking to maintain a sparkling clean bathroom without resorting to harsh chemicals or spending a fortune on commercial cleaners. We’ve covered everything from tackling stubborn soap scum to banishing mildew and grime, all using ingredients you likely already have in your pantry.
Why is this a must-try? Because it’s not just about cleaning; it’s about creating a healthier, more pleasant environment for yourself and your family. Commercial cleaners often contain volatile organic compounds (VOCs) that can irritate your lungs and skin. By switching to these DIY solutions, you’re reducing your exposure to these harmful chemicals while still achieving exceptional cleaning results. Plus, you’re saving money and reducing your environmental impact – a win-win for everyone!
But the beauty of these bathroom cleaning hacks lies in their adaptability. Feel free to experiment with different essential oils to customize the scent of your cleaners. Lavender, tea tree, and eucalyptus are all excellent choices for their antibacterial and antifungal properties, adding an extra layer of cleanliness and freshness. For tougher stains, consider adding a bit of borax to your cleaning paste for an extra boost of cleaning power. If you have hard water, using distilled water in your cleaning solutions can prevent mineral buildup and leave your surfaces looking even shinier.
Don’t be afraid to adjust the ratios of ingredients to suit your specific needs and preferences. A little more vinegar for extra grime-fighting power? Go for it! A touch more baking soda for added scrubbing action? Absolutely! The key is to find what works best for your bathroom and your cleaning style.
We’ve shown you how to make your own powerful toilet bowl cleaner, a streak-free mirror cleaner, and a grout cleaner that will make your tiles look brand new. We’ve even shared tips for keeping your showerhead free of mineral deposits and your drains flowing smoothly. These are all simple, actionable steps that you can incorporate into your regular cleaning routine to maintain a consistently clean and fresh bathroom.
Ready to ditch the harsh chemicals and embrace a more natural approach to bathroom cleaning? We encourage you to try these DIY bathroom cleaning hacks and see the difference for yourself. You’ll be amazed at how effective these simple solutions can be.
But don’t just take our word for it! We want to hear about your experiences. Did you try one of these hacks and find it particularly effective? Did you discover a variation that worked even better? Share your tips, tricks, and before-and-after photos in the comments below. Let’s create a community of DIY cleaning enthusiasts and help each other achieve sparkling clean bathrooms without breaking the bank or harming the environment. Your feedback is invaluable and will help us continue to refine and improve these DIY bathroom cleaning hacks. So, get cleaning, get creative, and get sharing! We can’t wait to hear from you!
FAQ
What are the benefits of using DIY bathroom cleaners compared to commercial cleaners?
DIY bathroom cleaners offer a multitude of benefits. Firstly, they are generally much cheaper than commercial cleaners, as they utilize common household ingredients like vinegar, baking soda, and lemon juice. Secondly, they are significantly less harmful to your health and the environment. Commercial cleaners often contain harsh chemicals, such as bleach, ammonia, and phthalates, which can cause respiratory irritation, skin allergies, and other health problems. These chemicals can also pollute waterways and harm aquatic life. DIY cleaners, on the other hand, are made with natural, biodegradable ingredients that are safer for you, your family, and the planet. Finally, DIY cleaners allow you to customize the scent and strength of your cleaning solutions to suit your preferences and needs.
Are DIY bathroom cleaners as effective as commercial cleaners?
In many cases, yes! While some stubborn stains or heavy-duty cleaning tasks might require a bit more elbow grease with DIY cleaners, they are generally very effective at removing dirt, grime, soap scum, and mildew. The key is to use the right ingredients and techniques for the specific cleaning task. For example, vinegar is excellent for dissolving hard water stains and soap scum, while baking soda is a gentle abrasive that can scrub away dirt and grime. Lemon juice is a natural disinfectant and deodorizer, and essential oils can add a pleasant scent and antibacterial properties. By combining these ingredients in the right proportions, you can create powerful and effective DIY bathroom cleaners that rival the performance of many commercial products.
What are some essential ingredients for making DIY bathroom cleaners?
A few key ingredients will form the foundation of your DIY bathroom cleaning arsenal. White vinegar is a must-have for its acidic properties, which make it effective at dissolving hard water stains, soap scum, and mildew. Baking soda is another essential ingredient, as it acts as a gentle abrasive for scrubbing away dirt and grime. Lemon juice is a natural disinfectant and deodorizer, and it can also help to brighten surfaces. Essential oils, such as tea tree, lavender, and eucalyptus, can add a pleasant scent and antibacterial properties to your cleaners. Finally, distilled water is a good choice for diluting your cleaning solutions, as it is free of minerals that can leave streaks or residue.
How do I store DIY bathroom cleaners?
Proper storage is crucial for maintaining the effectiveness and safety of your DIY bathroom cleaners. Always store your cleaners in labeled spray bottles or containers to avoid confusion and accidental ingestion. Use opaque or dark-colored bottles to protect the ingredients from light, which can degrade their effectiveness. Store your cleaners in a cool, dry place away from direct sunlight and heat. Keep them out of reach of children and pets. It’s also a good idea to make your cleaners in small batches, as they may lose their potency over time. Most DIY bathroom cleaners will last for several weeks or even months if stored properly.
Can I use DIY bathroom cleaners on all surfaces?
While most DIY bathroom cleaners are safe for use on a variety of surfaces, it’s always a good idea to test them on an inconspicuous area first to ensure they don’t cause any damage or discoloration. Avoid using acidic cleaners like vinegar or lemon juice on natural stone surfaces like marble or granite, as they can etch or dull the finish. Baking soda can be abrasive, so use it with caution on delicate surfaces. Always rinse surfaces thoroughly after cleaning to remove any residue. If you’re unsure about whether a particular cleaner is safe for a specific surface, consult the manufacturer’s instructions or contact a professional cleaner.
How often should I clean my bathroom using DIY methods?
The frequency of cleaning depends on how often the bathroom is used and how quickly it gets dirty. A general rule of thumb is to do a quick wipe-down of surfaces like the sink, countertop, and toilet seat every day or two to prevent the buildup of dirt and grime. A more thorough cleaning, including scrubbing the shower, toilet, and floor, should be done at least once a week. You may need to clean more frequently if you have a large family, pets, or if the bathroom is heavily used. Regular cleaning will not only keep your bathroom looking its best but also prevent the growth of mold and mildew, which can be harmful to your health.
What safety precautions should I take when making and using DIY bathroom cleaners?
While DIY bathroom cleaners are generally safer than commercial cleaners, it’s still important to take certain safety precautions. Always wear gloves to protect your skin from irritation. Avoid mixing different cleaning ingredients together, as this can create dangerous fumes. For example, never mix bleach with vinegar or ammonia, as this can produce toxic chlorine gas. Work in a well-ventilated area to avoid inhaling fumes. Keep your cleaning solutions out of reach of children and pets. If you accidentally ingest a cleaning solution, contact a poison control center or seek medical attention immediately. Always read and follow the instructions carefully when making and using DIY bathroom cleaners.

Leave a Comment