

Boost Watermelon Yield and get ready to enjoy the sweetest, juiciest watermelons you’ve ever tasted! Have you ever dreamt of biting into a homegrown watermelon, bursting with flavor, only to be disappointed by a small, lackluster fruit? I know I have! It’s a common frustration for many home gardeners, but don’t worry, I’m here to share some simple yet effective DIY tricks that will transform your watermelon patch.
Watermelons have a rich history, dating back thousands of years to Africa. They were even depicted in ancient Egyptian art! Over time, different cultures have developed unique methods for cultivating these delicious fruits. But even with centuries of knowledge, maximizing watermelon yield can still be a challenge. That’s where these DIY hacks come in.
Why do you need these tricks? Well, a bigger harvest means more watermelon to enjoy with family and friends, more to share with neighbors, and maybe even enough to try out some fun watermelon recipes! Plus, who doesn’t love the satisfaction of knowing they’ve nurtured a thriving garden? These DIY tips are designed to help you boost watermelon yield naturally and efficiently, without breaking the bank. Let’s dive in and unlock the secrets to a bountiful watermelon harvest!
Boosting Your Watermelon Yield: A DIY Guide to Sweet Success
Okay, watermelon lovers, let’s talk about getting more of those juicy, red delights from your garden! I’ve spent years experimenting with different techniques, and I’m excited to share my favorite DIY hacks for seriously boosting your watermelon yield. Get ready for a bumper crop!
Choosing the Right Variety and Location
Before we dive into the nitty-gritty, let’s make sure we’re starting with a solid foundation. The variety of watermelon you choose and where you plant it are crucial for success.
* Variety Selection: Opt for varieties known for high yields in your climate. Look for disease-resistant types, especially if you’ve had issues with fungal diseases in the past. Some of my personal favorites are ‘Sugar Baby’ (early and compact), ‘Crimson Sweet’ (classic flavor and size), and ‘Black Diamond’ (large and impressive). Do a little research on what thrives in your area!
* Sunlight is Key: Watermelons are sun-worshippers! They need at least 6-8 hours of direct sunlight per day. Choose a location in your garden that gets plenty of sunshine throughout the growing season.
* Well-Drained Soil: Watermelons hate soggy feet. Make sure your soil is well-drained. Amend heavy clay soil with compost and other organic matter to improve drainage.
* Space to Roam: Watermelon vines can get HUGE! Give them plenty of space to spread out. A good rule of thumb is to allow at least 4-6 feet between plants. If you’re short on space, consider growing them vertically on a trellis (more on that later!).
Preparing the Soil: The Foundation for Success
Watermelons are heavy feeders, so preparing the soil properly is essential for a bountiful harvest.
* Soil Testing: Before you do anything, test your soil! This will tell you what nutrients are lacking and allow you to amend accordingly. You can purchase a soil testing kit at most garden centers or send a sample to your local agricultural extension office.
* Amend with Compost: Compost is your best friend! It improves soil structure, drainage, and fertility. Work a generous amount of compost into the soil before planting. I usually aim for about 2-3 inches of compost worked into the top 6-8 inches of soil.
* Add Slow-Release Fertilizer: Watermelons need a steady supply of nutrients throughout the growing season. Incorporate a slow-release fertilizer into the soil at planting time. Look for a fertilizer that’s high in phosphorus and potassium, which are essential for fruit development. A balanced fertilizer like 10-10-10 will also work. Follow the instructions on the fertilizer package for application rates.
* Consider Raised Beds: If you have poor drainage or compacted soil, consider growing your watermelons in raised beds. Raised beds provide excellent drainage and allow you to create the perfect soil mix for your plants.
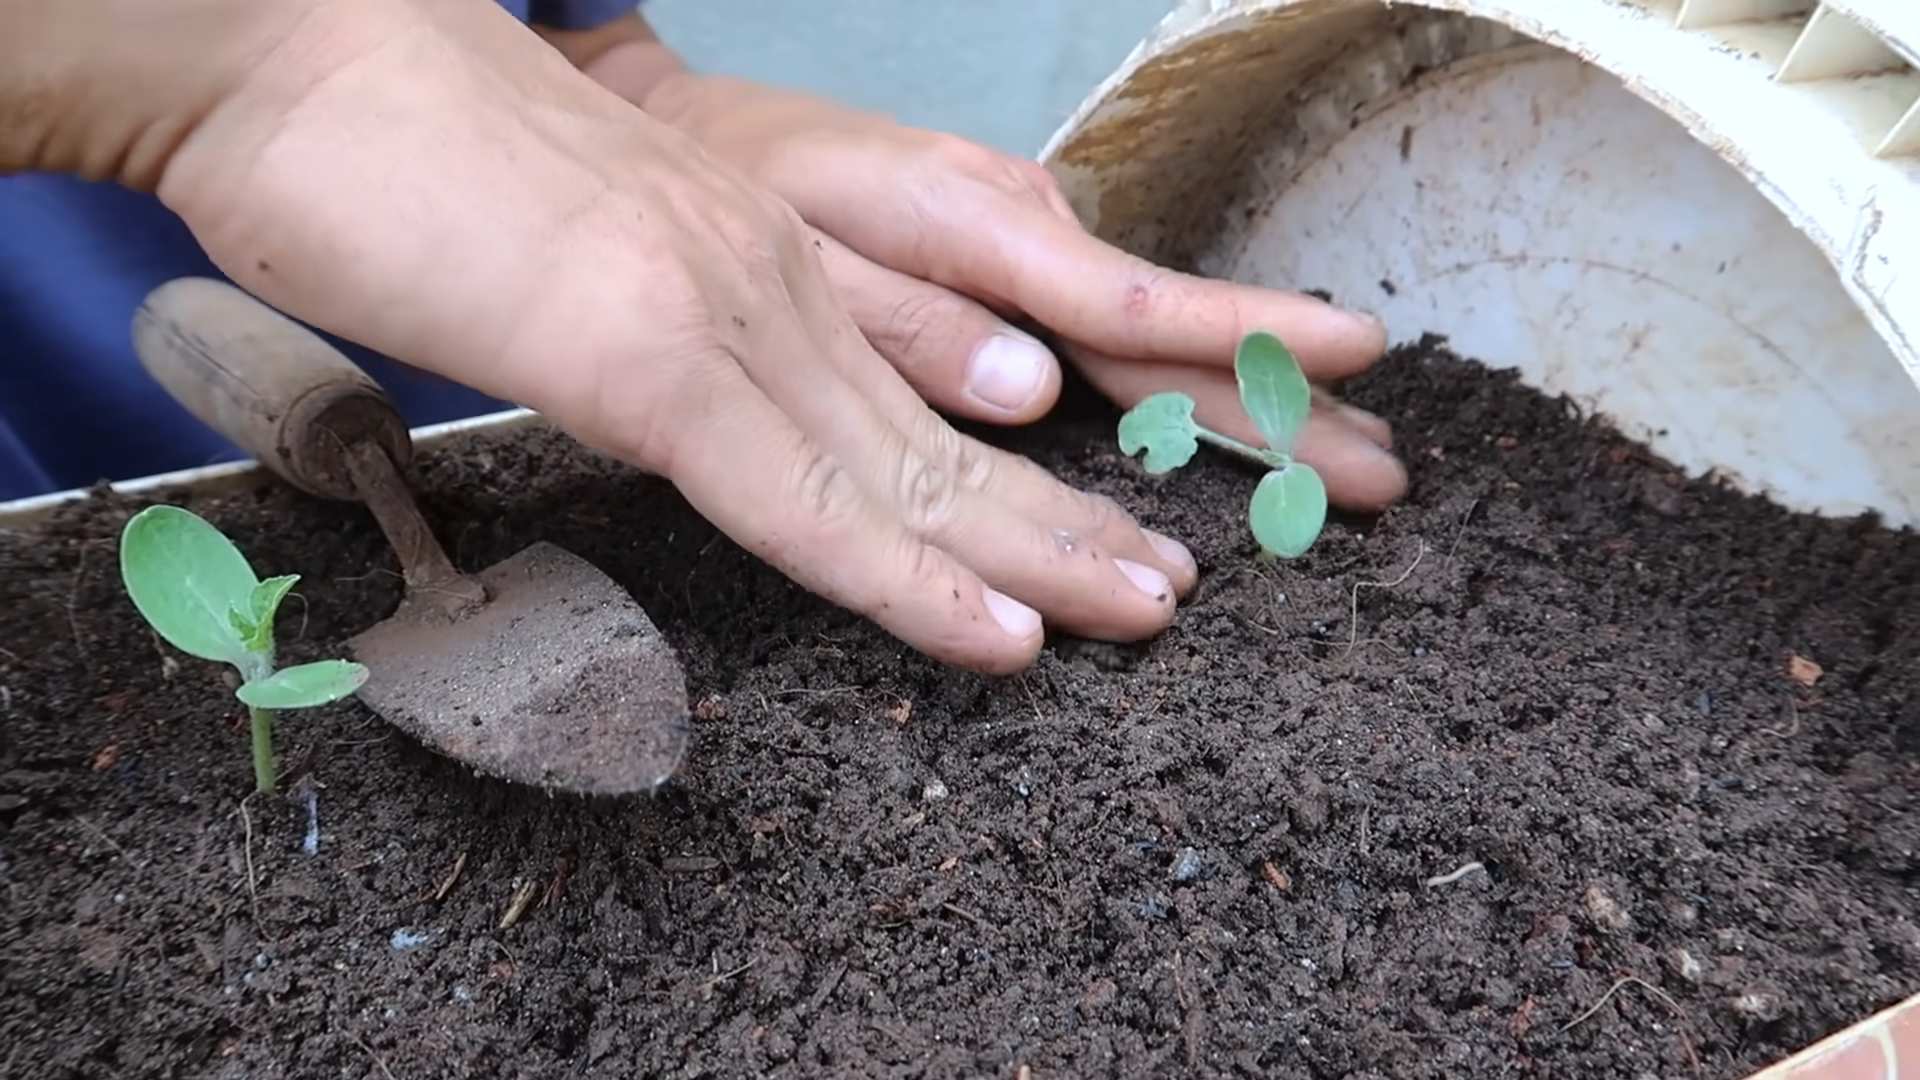
Planting Your Watermelon Seedlings or Seeds
Now for the fun part – getting those watermelon plants in the ground!
* Starting Seeds Indoors (Optional): You can start watermelon seeds indoors 4-6 weeks before the last expected frost. This gives you a head start on the growing season, especially in cooler climates. Sow seeds in peat pots or biodegradable containers to minimize root disturbance when transplanting. Keep the soil moist and warm (around 80-85°F) for optimal germination.
* Direct Sowing: If you live in a warm climate with a long growing season, you can direct sow watermelon seeds directly into the garden. Wait until the soil has warmed up to at least 70°F. Sow seeds about 1 inch deep and 2-3 feet apart.
* Transplanting Seedlings: If you started your seeds indoors, harden them off for a week before transplanting them into the garden. Hardening off involves gradually exposing the seedlings to outdoor conditions. Start by placing them in a sheltered location for a few hours each day, gradually increasing the amount of time they spend outdoors.
* Planting Depth and Spacing: When transplanting seedlings, plant them at the same depth they were growing in their containers. Space plants 4-6 feet apart to allow for adequate growth.
* Water Thoroughly: After planting, water the seedlings thoroughly to help them establish their roots.
Watering and Fertilizing for Maximum Growth
Consistent watering and fertilization are crucial for healthy watermelon plants and a high yield.
* Deep Watering: Watermelons need deep, infrequent watering. Water deeply at the base of the plants, allowing the soil to dry out slightly between waterings. Avoid overhead watering, which can promote fungal diseases.
* Soaker Hoses or Drip Irrigation: Soaker hoses or drip irrigation are ideal for watering watermelons. They deliver water directly to the roots, minimizing water waste and reducing the risk of fungal diseases.
* Fertilizing Schedule: Side-dress your watermelon plants with a balanced fertilizer every 2-3 weeks throughout the growing season. You can also use a liquid fertilizer diluted according to the package instructions.
* Foliar Feeding (Optional): Foliar feeding can provide a quick boost of nutrients to your watermelon plants. Use a diluted seaweed extract or fish emulsion spray. Apply the spray in the early morning or late evening to avoid burning the leaves.
Pollination: Ensuring Fruit Set
Watermelons require pollination to produce fruit. Here’s how to ensure successful pollination:
* Attract Pollinators: Plant flowers that attract pollinators, such as bees, butterflies, and hummingbirds, near your watermelon patch. Some good choices include sunflowers, zinnias, and lavender.
* Hand Pollination (If Necessary): If you’re not seeing a lot of pollinator activity, you can hand-pollinate your watermelon flowers. Identify the male and female flowers. The male flowers have a long, thin stem, while the female flowers have a small, immature fruit at the base. Use a small paintbrush or cotton swab to transfer pollen from the male flower to the female flower. Do this in the morning, when the pollen is most viable.
* One Male for Every Three Females: Make sure you have enough male flowers to pollinate the female flowers. A good rule of thumb is to have at least one male flower for every three female flowers.
Pruning and Training for Increased Yield
Pruning and training can help improve air circulation, reduce disease, and increase fruit production.
* Pruning Suckers: Remove any suckers (small shoots that grow from the base of the plant) to encourage the plant to focus its energy on fruit production.
* Training Vines: Train the vines to grow in a specific direction to maximize space and improve air circulation. You can use stakes, trellises, or even just guide the vines along the ground.
* Vertical Growing (Trellising): If you’re short on space, consider growing your watermelons vertically on a trellis. This also helps to improve air circulation and reduce the risk of fungal diseases. Use slings or netting to support the developing fruits. Smaller varieties like ‘Sugar Baby’ are best suited for trellising.
* Pinching Back Vines: Once the plant has set a few fruits, pinch back the ends of the vines to encourage the plant to focus its energy on ripening the existing fruits.
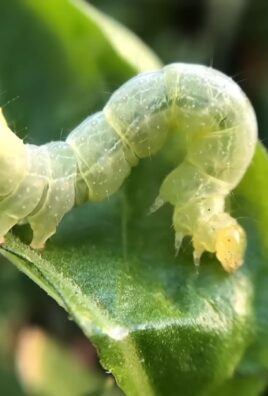
Protecting Your Watermelons from Pests and Diseases
Pests and diseases can significantly reduce your watermelon yield. Here’s how to protect your plants:
* Row Covers: Use row covers to protect young plants from pests and diseases. Remove the row covers once the plants start to flower to allow for pollination.
* Companion Planting: Plant companion plants that repel pests or attract beneficial insects. Some good choices for watermelons include marigolds, nasturtiums, and basil.
* Inspect Regularly: Inspect your plants regularly for signs of pests or diseases. Catching problems early can prevent them from spreading.
* Organic Pest Control: Use organic pest control methods, such as insecticidal soap or neem oil, to control pests.
* Fungicides: If you’re having problems with fungal diseases, use a fungicide according to the package instructions. Choose a fungicide that’s specifically labeled for use on watermelons.
* Crop Rotation: Rotate your crops each year to prevent the buildup of pests and diseases in the soil.
Mulching: Conserving Moisture and Suppressing Weeds
Mulching is an essential part of watermelon growing.
* Organic Mulch: Use organic mulch, such as straw, hay, or wood chips, to conserve moisture, suppress weeds, and regulate soil temperature.
* Black Plastic Mulch: Black plastic mulch can also be used to warm the soil and suppress weeds. However, it can also trap heat and overheat the soil in hot climates.
* Apply After Planting: Apply mulch after planting your watermelon seedlings or seeds.
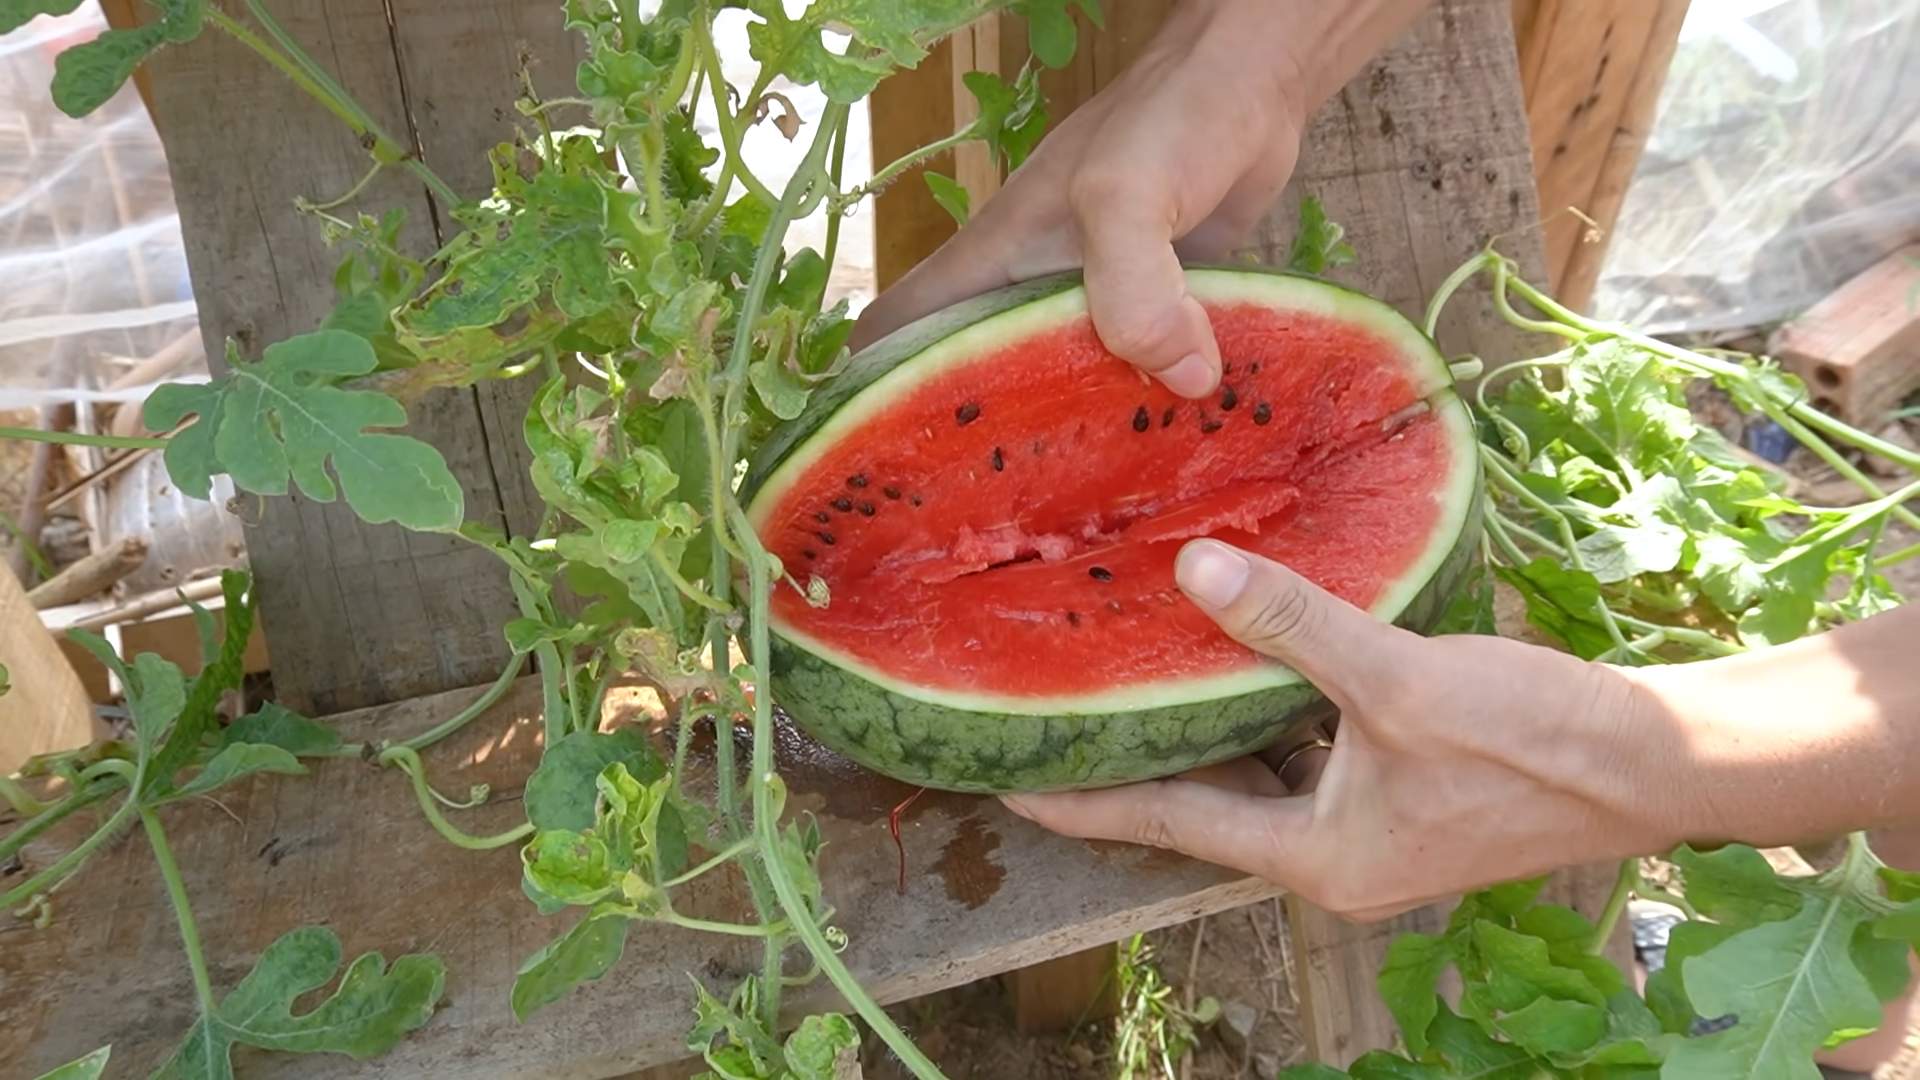
Harvesting Your Watermelons: The Sweet Reward
Knowing when to harvest your watermelons is crucial for getting the best flavor and texture.
*
Conclusion
So, there you have it! This simple, yet incredibly effective DIY trick to boost watermelon yield is a game-changer for any gardener, whether you’re a seasoned pro or just starting out. We’ve walked you through the process, highlighting the science behind why it works and providing practical tips to ensure your success.
But why is this a must-try? Because who doesn’t want more watermelons? Imagine biting into juicy, sweet, homegrown watermelons all summer long, knowing you played a direct role in their abundance. This isn’t just about quantity; it’s about quality too. By implementing this technique, you’re not only increasing the number of watermelons you harvest, but also potentially improving their size, sweetness, and overall health. You’re investing in a more bountiful and delicious harvest.
Beyond the core method we’ve outlined, there’s room for experimentation and personalization. Consider these variations to tailor the technique to your specific garden and preferences:
* Nutrient Boost: While the core method focuses on pollination, you can further enhance your watermelon yield by incorporating a balanced fertilizer specifically formulated for fruiting plants. Apply it according to the package instructions, being careful not to over-fertilize.
* Companion Planting: Surround your watermelon plants with beneficial companion plants like marigolds (to deter pests) or basil (to attract pollinators). This creates a more supportive ecosystem for your watermelons to thrive.
* Vertical Growing: If you’re short on space, consider training your watermelon vines to grow vertically on a trellis. This not only saves space but also improves air circulation, reducing the risk of fungal diseases. Just be sure to provide adequate support for the heavy fruits as they develop.
* Different Pollination Methods: While hand-pollination is effective, you can also attract more natural pollinators to your garden by planting flowers that bees and other insects love. Consider adding sunflowers, zinnias, or lavender to your garden to create a pollinator-friendly environment.
This DIY trick is more than just a technique; it’s an opportunity to connect with your garden, learn about the fascinating process of pollination, and ultimately, enjoy the fruits (literally!) of your labor. It’s a chance to become a more active participant in the growing process and witness firsthand the impact of your efforts.
We are confident that this method will significantly improve your watermelon harvest. But the real magic happens when you try it yourself and adapt it to your unique garden environment. So, grab your tools, get your hands dirty, and prepare to be amazed by the results.
We can’t wait to hear about your experiences! Share your photos, tips, and success stories in the comments below. Let’s create a community of watermelon enthusiasts and learn from each other. What worked best for you? Did you try any of the variations we suggested? What challenges did you encounter, and how did you overcome them? Your feedback is invaluable and will help other gardeners achieve their watermelon dreams. Let’s all work together to boost watermelon yield!
Frequently Asked Questions (FAQ)
What if I don’t have time to hand-pollinate every day?
That’s perfectly understandable! Hand-pollination is most effective when done early in the morning, but even a few days of focused effort can make a significant difference. Focus on the days when you see the most female flowers opening. Also, consider planting flowers that attract natural pollinators to supplement your efforts. Even if you only hand-pollinate a few flowers, you’re still increasing the chances of a successful harvest. Remember, every little bit helps!
How can I tell the difference between male and female watermelon flowers?
This is a crucial step! Male flowers have a long, thin stem directly behind the flower. Female flowers have a small, immature watermelon (a tiny swelling) between the flower and the stem. This is the ovary that will develop into the watermelon if the flower is successfully pollinated. If you’re unsure, take a close look at the base of the flower where it connects to the stem. The presence of that tiny watermelon is the giveaway.
What if it rains after I hand-pollinate?
Rain can wash away the pollen, rendering your hand-pollination efforts ineffective. If rain is in the forecast, try to cover the pollinated flowers with a small plastic bag or container to protect them. Remove the covering once the rain has stopped and the flower has had a chance to dry. Alternatively, you can re-pollinate the flowers after the rain, just to be sure.
My watermelon plants are flowering, but no watermelons are developing. What could be the problem?
There could be several reasons for this. Insufficient pollination is the most common culprit, which is why this DIY trick is so important. Other factors include:
* Lack of Nutrients: Watermelons are heavy feeders and need adequate nutrients to produce fruit. Make sure you’re providing a balanced fertilizer specifically formulated for fruiting plants.
* Water Stress: Watermelons need consistent watering, especially during flowering and fruit development. Avoid letting the soil dry out completely.
* Temperature Extremes: Watermelons prefer warm temperatures. If it’s too cold or too hot, the plants may not set fruit properly.
* Pest or Disease Problems: Check your plants regularly for signs of pests or diseases and take appropriate action to control them.
* Too Much Nitrogen: Excessive nitrogen can promote leafy growth at the expense of fruit production. Make sure your fertilizer has a balanced NPK ratio.
How long does it take for a watermelon to mature after pollination?
The time it takes for a watermelon to mature after pollination varies depending on the variety and growing conditions, but it generally takes between 30 and 50 days. You can tell a watermelon is ripe by looking for these signs:
* The tendril closest to the fruit turns brown and dries up.
* The spot where the watermelon rests on the ground turns from white to yellow.
* The watermelon sounds hollow when you thump it.
Can I use a paintbrush to transfer pollen instead of a cotton swab?
Yes, you can definitely use a small, soft-bristled paintbrush to transfer pollen. In fact, some gardeners prefer this method because it can be more efficient for collecting and transferring larger amounts of pollen. Just make sure the paintbrush is clean and dry before using it.
Is this DIY trick only for watermelons, or can it be used for other plants?
While this trick is specifically targeted at boost watermelon yield, the principle of hand-pollination can be applied to other plants that rely on insect pollination, such as squash, pumpkins, and cucumbers. If you’re having trouble getting these plants to set fruit, hand-pollination can be a helpful solution.
What if I don’t have any male flowers on my watermelon plant?
This is a less common issue, but it can happen. If you don’t have any male flowers, you can try to find pollen from a nearby watermelon plant or even a related plant like a squash or pumpkin. While cross-pollination may not result in the exact same type of watermelon, it can still stimulate fruit development. Alternatively, you can purchase pollen online from a reputable source.
Leave a Comment