

Budget kitchen cleaning supplies are often overlooked, but they’re the secret weapon to a sparkling clean and healthy kitchen without breaking the bank! Have you ever looked at the price tag of those fancy, specialized kitchen cleaners and felt a pang of guilt? I know I have! But what if I told you that you probably already have everything you need to tackle even the toughest kitchen messes right in your pantry?
For generations, resourceful homemakers have relied on simple, readily available ingredients to keep their kitchens clean and hygienic. Think about it – before the advent of commercial cleaners, vinegar, baking soda, and lemon juice were the go-to solutions for everything from disinfecting surfaces to removing stubborn stains. These time-tested methods are not only effective but also environmentally friendly and gentle on your wallet.
In today’s world, where we’re all looking for ways to save money and reduce our environmental footprint, mastering the art of using budget kitchen cleaning supplies is more important than ever. This DIY guide will walk you through simple, effective cleaning hacks using everyday items. You’ll learn how to create your own powerful cleaning solutions, tackle grease and grime with ease, and keep your kitchen sparkling clean without spending a fortune. Get ready to ditch those expensive cleaners and embrace the power of budget-friendly cleaning!

DIY Budget Kitchen Cleaning: Sparkling Clean Without Breaking the Bank
Okay, let’s face it, keeping a kitchen clean can feel like a never-ending battle. Between splatters, spills, and the general chaos of cooking, it’s easy for things to get grimy. But don’t worry! You don’t need to spend a fortune on fancy cleaning products to achieve a sparkling clean kitchen. I’m going to show you how to use common household items to create effective and budget-friendly cleaning solutions. Get ready to ditch those expensive cleaners and embrace the power of DIY!
Gathering Your Arsenal of Budget-Friendly Cleaning Supplies
Before we dive into the cleaning frenzy, let’s make sure we have all our supplies ready. The beauty of this approach is that you probably already have most of these items in your pantry or bathroom!
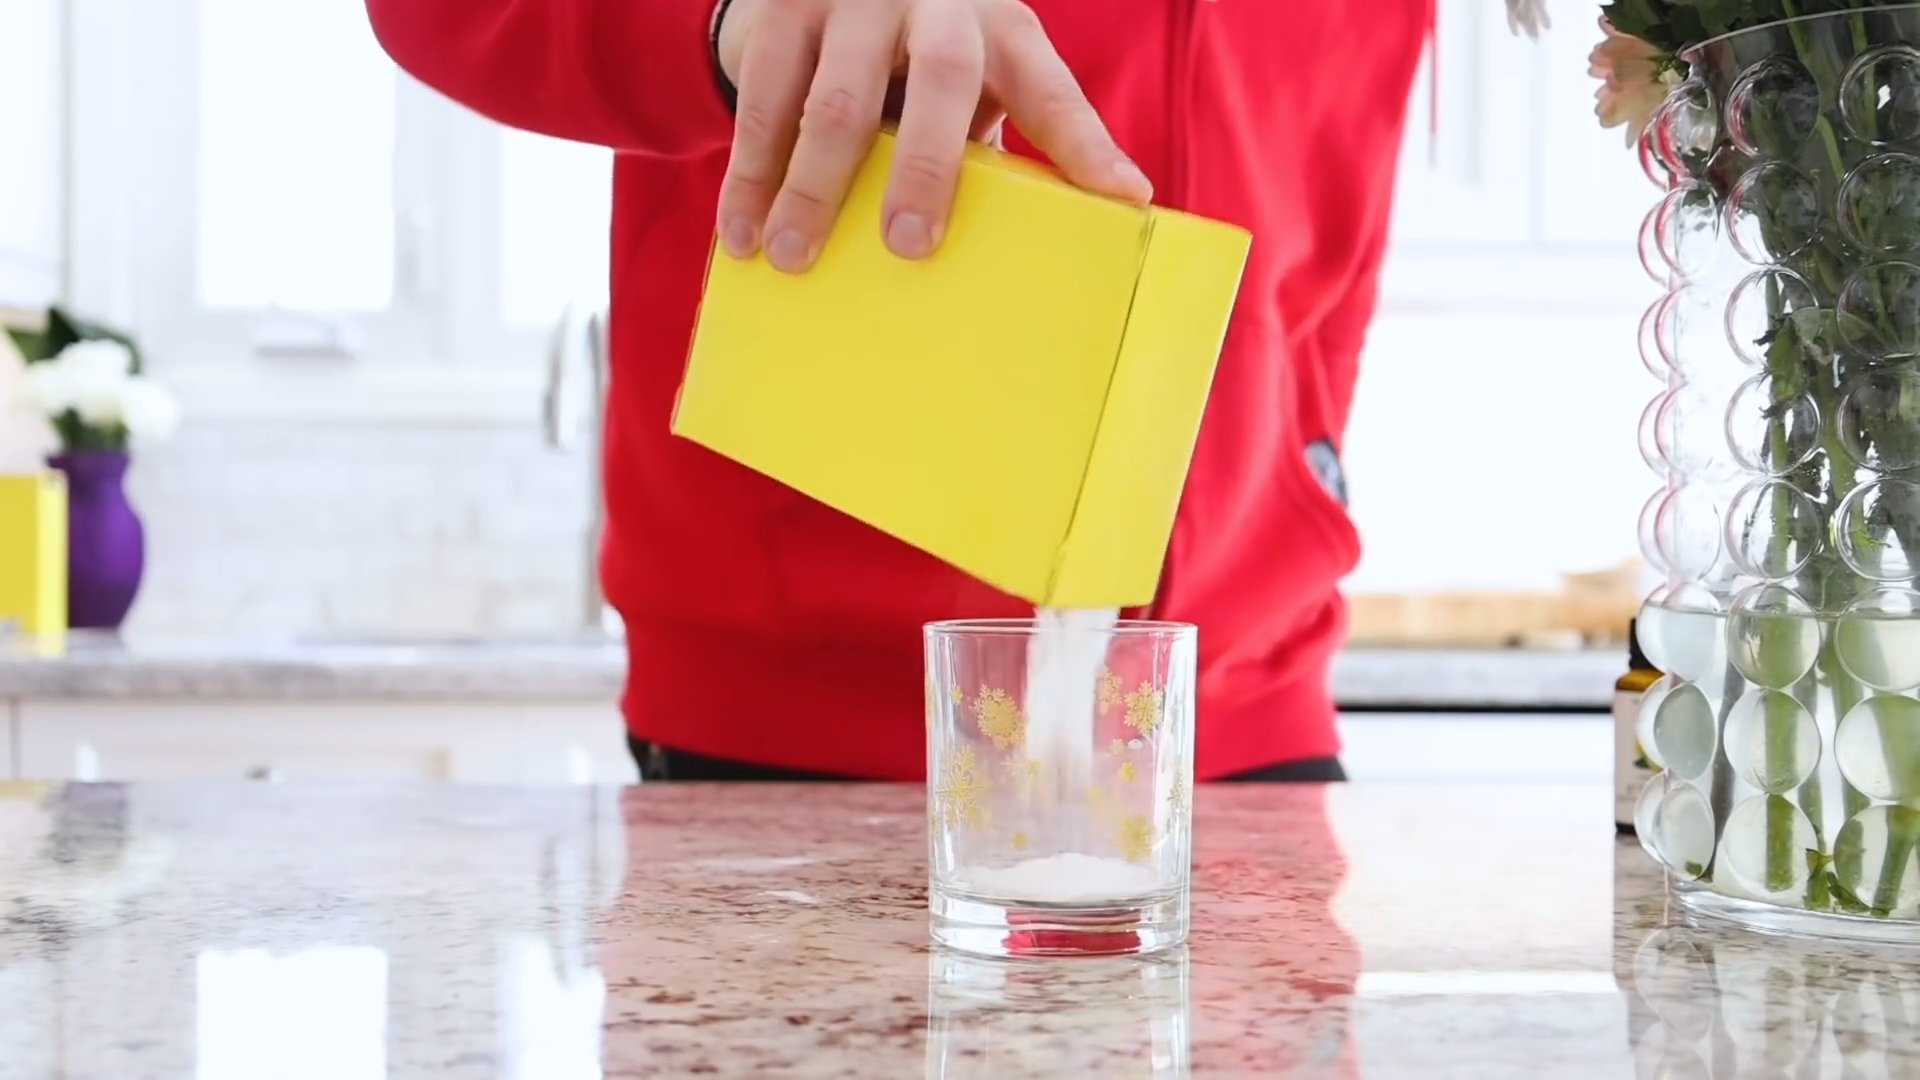
* White Vinegar: This is your all-purpose cleaning superhero. It’s a natural disinfectant, deodorizer, and grease cutter.
* Baking Soda: Another powerhouse ingredient! Baking soda is a gentle abrasive, perfect for scrubbing away stubborn stains and neutralizing odors.
* Lemon Juice: Not only does it smell amazing, but lemon juice is also a natural disinfectant and degreaser. Plus, it adds a lovely shine to surfaces.
* Dish Soap: A little goes a long way! Choose a basic, unscented dish soap for general cleaning.
* Salt: Coarse salt is great for scrubbing tough stains and grime.
* Olive Oil: Yes, you read that right! Olive oil can be used to polish stainless steel and wood surfaces.
* Essential Oils (Optional): Add a few drops of your favorite essential oil (like lemon, lavender, or tea tree) to your cleaning solutions for a pleasant scent and added antibacterial properties.
* Spray Bottles: You’ll need a few empty spray bottles to mix and store your cleaning solutions.
* Microfiber Cloths: These are essential for streak-free cleaning.
* Sponges: For scrubbing and wiping down surfaces.
* Scrub Brush: A sturdy scrub brush is helpful for tackling tough stains and grime in the sink and on countertops.
* Old Toothbrush: Perfect for cleaning grout and hard-to-reach areas.
* Rubber Gloves: Protect your hands from harsh cleaning solutions.
DIY Cleaning Recipes: Unleash the Power of Natural Ingredients
Now that we have our supplies, let’s get mixing! Here are some of my favorite DIY cleaning recipes that are both effective and budget-friendly:
* All-Purpose Cleaner: Mix equal parts white vinegar and water in a spray bottle. Add a few drops of your favorite essential oil for a pleasant scent.
* Grease Cutter: Combine 1/2 cup white vinegar, 1/4 cup baking soda, and a few drops of dish soap in a spray bottle. Fill the rest of the bottle with water.
* Oven Cleaner: Make a paste of baking soda and water. Spread the paste all over the inside of your oven and let it sit overnight.
* Microwave Cleaner: Heat a cup of water with a few slices of lemon in the microwave for a few minutes. The steam will loosen food particles, making it easy to wipe clean.
* Drain Cleaner: Pour 1/2 cup baking soda down the drain, followed by 1 cup of white vinegar. Let it fizz for 30 minutes, then flush with hot water.
* Stainless Steel Polish: Apply a small amount of olive oil to a microfiber cloth and buff stainless steel surfaces.
* Wood Polish: Mix equal parts olive oil and lemon juice. Apply to wood surfaces with a soft cloth and buff to a shine.
* Grout Cleaner: Make a paste of baking soda and water. Apply the paste to the grout and scrub with an old toothbrush.
Step-by-Step Kitchen Cleaning Guide: From Top to Bottom
Okay, let’s get down to business! I like to tackle kitchen cleaning in a systematic way, starting from the top and working my way down. This prevents dirt and grime from falling onto already cleaned surfaces.
1. Declutter and Clear the Counters
* Remove everything from your countertops: This includes appliances, utensils, and any other items that might be cluttering the space.
* Wipe down appliances: Use your all-purpose cleaner to wipe down the exterior of your appliances, such as the toaster, coffee maker, and blender.
* Put away dishes: Load the dishwasher or wash any dirty dishes by hand.
2. Clean the Cabinets
* Dust the cabinets: Use a microfiber cloth to dust the exterior of your cabinets, paying attention to the tops and sides.
* Wash the cabinets: Mix a solution of warm water and dish soap. Dip a sponge into the solution and wring out the excess water. Wipe down the cabinets, paying attention to areas that are greasy or stained.
* Rinse the cabinets: Use a clean, damp cloth to rinse the cabinets.
* Dry the cabinets: Use a clean, dry cloth to dry the cabinets.
3. Tackle the Sink
* Remove any food debris: Clear out any food particles from the sink and drain.
* Sprinkle baking soda: Sprinkle baking soda all over the sink.
* Scrub the sink: Use a scrub brush or sponge to scrub the sink, paying attention to the corners and edges.
* Rinse the sink: Rinse the sink with water.
* Disinfect the sink: Spray the sink with your all-purpose cleaner and let it sit for a few minutes.
* Rinse the sink again: Rinse the sink with water.
* Polish the sink (optional): If you have a stainless steel sink, you can polish it with a small amount of olive oil.
4. Clean the Countertops
* Spray with all-purpose cleaner: Spray your countertops with your all-purpose cleaner.
* Wipe down the countertops: Use a microfiber cloth to wipe down the countertops, paying attention to any spills or stains.
* Rinse the countertops: Use a clean, damp cloth to rinse the countertops.
* Dry the countertops: Use a clean, dry cloth to dry the countertops.
5. Deep Clean the Microwave
* Prepare the cleaning solution: Combine 1 cup of water and a few slices of lemon in a microwave-safe bowl.
* Microwave the solution: Heat the solution in the microwave for 3-5 minutes, or until the water boils and the microwave is filled with steam.
* Let it sit: Leave the door closed for 5-10 minutes to allow the steam to loosen any food particles.
* Wipe clean: Carefully remove the bowl and wipe down the inside of the microwave with a sponge or cloth.
6. Degrease the Stovetop
* Remove grates and burners: Take off the stovetop grates and burners.
* Soak grates and burners: Soak the grates and burners in a sink filled with hot, soapy water.
* Spray the stovetop: Spray the stovetop with your grease cutter.
* Let it sit: Let the grease cutter sit for a few minutes to loosen any grease and grime.
* Scrub the stovetop: Use a sponge or scrub brush to scrub the stovetop.
* Rinse the stovetop: Rinse the stovetop with water.
* Clean grates and burners: Scrub the grates and burners with a sponge or scrub brush.
* Rinse grates and burners: Rinse the grates and burners with water.
* Dry grates and burners: Dry the grates and burners with a clean cloth.
* Replace grates and burners: Put the grates and burners back on the stovetop.
7. Clean the Oven (If Needed)
* Prepare the baking soda paste: Make a paste of baking soda and water.
* Apply the paste: Spread the paste all over the inside of your oven, avoiding the heating elements.
* Let it sit overnight: Let the paste sit overnight.
* Scrub the oven: Use a sponge or scrub brush to scrub the oven.
* Rinse the oven: Rinse the oven with water.
* Dry the oven: Dry the oven with a clean cloth.
8. Mop the Floor
* Sweep or vacuum the floor: Remove any loose dirt and debris from the floor.
* Prepare the mopping solution: Mix a solution of warm water and white vinegar in a bucket.
* Mop the floor: Mop the floor with the solution, paying attention to any spills or stains.
* Rinse the floor: Rinse the floor with clean water.
*
Conclusion
So, there you have it! Mastering the art of creating your own budget kitchen cleaning supplies is not just about saving money; it’s about taking control of what you bring into your home, reducing your environmental impact, and discovering the satisfaction of DIY. We’ve explored simple yet effective recipes that utilize common household ingredients, transforming them into powerful cleaning agents that rival their store-bought counterparts.
Why is this a must-try? Because it empowers you to create a healthier, cleaner kitchen without breaking the bank. You’ll know exactly what’s in your cleaning solutions, avoiding harsh chemicals and unnecessary additives. Plus, the sheer versatility of these recipes allows you to customize them to your specific needs and preferences.
Feeling adventurous? Try infusing your vinegar cleaner with citrus peels for an extra boost of freshness and cleaning power. Experiment with different essential oil combinations to create signature scents that uplift your mood while you clean. For tougher stains, consider adding a bit of borax to your baking soda paste for enhanced scrubbing action. The possibilities are endless!
Don’t be intimidated by the idea of DIY. These recipes are incredibly easy to follow, requiring minimal effort and readily available ingredients. Start with one or two recipes and gradually expand your repertoire as you become more comfortable. You’ll be amazed at how quickly you can transform your cleaning routine and your kitchen.
We’re confident that once you experience the benefits of these homemade cleaning solutions, you’ll never go back to store-bought products. Not only will you save money, but you’ll also enjoy the peace of mind that comes with knowing you’re using safe, natural, and effective cleaning agents.
We encourage you to give these budget kitchen cleaning supplies a try. Share your experiences with us! Let us know which recipes worked best for you, what variations you tried, and any tips or tricks you discovered along the way. Your feedback will help us refine these recipes and inspire others to embrace the DIY cleaning revolution. Let’s create a community of eco-conscious cleaners who are passionate about saving money and protecting our planet.
Ready to ditch the expensive, chemical-laden cleaners and embrace a more sustainable and affordable approach?
Start experimenting today and discover the joy of creating your own budget kitchen cleaning supplies. Your kitchen – and your wallet – will thank you for it!
Frequently Asked Questions (FAQ)
Q: Are these homemade cleaning supplies as effective as store-bought cleaners?
A: Absolutely! Many of the ingredients used in these recipes, such as vinegar, baking soda, and lemon juice, have been used for cleaning for generations. They possess natural cleaning properties that can effectively remove grease, grime, and stains. While they may not be as heavily marketed as commercial cleaners, their effectiveness is undeniable. The key is to use the right recipe for the specific cleaning task and to allow the ingredients sufficient time to work their magic. For example, vinegar is a fantastic degreaser and disinfectant, while baking soda is a gentle abrasive that can scrub away stubborn stains. Lemon juice adds a refreshing scent and its acidity helps to cut through grease.
Q: Are these cleaning supplies safe to use around children and pets?
A: Generally, yes, these homemade cleaning supplies are much safer than many commercial cleaners, which often contain harsh chemicals that can be harmful if ingested or inhaled. However, it’s still important to exercise caution and keep all cleaning supplies, homemade or otherwise, out of reach of children and pets. While the ingredients are natural, some, like vinegar, can still cause irritation if they come into contact with eyes or skin. Always store your cleaning supplies in clearly labeled containers and avoid mixing different cleaning solutions together, as this can create dangerous fumes. If you have any concerns about the safety of a particular ingredient, consult with your pediatrician or veterinarian.
Q: Can I use these cleaning supplies on all surfaces in my kitchen?
A: While these homemade cleaning supplies are generally safe for most surfaces, it’s always a good idea to test them in an inconspicuous area first, especially on delicate or porous materials like marble, granite, or wood. Vinegar, for example, can etch marble and granite, so it’s best to avoid using it on these surfaces. Baking soda can also scratch some surfaces if used too aggressively. For wooden surfaces, a gentle cleaner made with olive oil and lemon juice is often a better choice. Always read the manufacturer’s instructions for your appliances and countertops to ensure that you’re using the appropriate cleaning products.
Q: How long will these homemade cleaning supplies last?
A: The shelf life of these homemade cleaning supplies varies depending on the ingredients used. Solutions containing water, such as vinegar-based cleaners, are best used within a few weeks to prevent bacterial growth. Dry ingredients, such as baking soda and borax, can last indefinitely if stored in airtight containers. To extend the shelf life of your homemade cleaning supplies, store them in a cool, dark place away from direct sunlight and heat. Always label your containers with the date you made the solution so you can keep track of its freshness.
Q: Can I add essential oils to these cleaning supplies?
A: Absolutely! Essential oils not only add a pleasant scent to your cleaning supplies but also offer additional cleaning and disinfecting properties. Tea tree oil, for example, is a natural antiseptic and antifungal agent, while lavender oil has antibacterial and antiviral properties. When adding essential oils, start with a few drops and adjust the amount to your preference. Be sure to use high-quality essential oils that are safe for cleaning purposes. Some essential oils can be harmful to pets, so do your research before using them around your furry friends. Popular choices for kitchen cleaning include lemon, orange, grapefruit, eucalyptus, and peppermint.
Q: What are some other budget-friendly ingredients I can use for kitchen cleaning?
A: Beyond vinegar, baking soda, and lemon juice, there are many other affordable ingredients you can use for kitchen cleaning. Salt is a great abrasive for scrubbing pots and pans, while club soda can remove stains from countertops and carpets. Hydrogen peroxide is a powerful disinfectant that can be used to clean cutting boards and sanitize surfaces. Even coffee grounds can be used to deodorize your garbage disposal. Get creative and experiment with different ingredients to find what works best for you. Remember to always research the properties of each ingredient before using it to ensure that it’s safe for the intended surface.
Q: What is the best way to store these homemade cleaning supplies?
A: Proper storage is essential for maintaining the effectiveness and safety of your homemade cleaning supplies. Use clean, airtight containers to prevent contamination and evaporation. Label each container clearly with the name of the solution and the date it was made. Store your cleaning supplies in a cool, dark place away from direct sunlight and heat. Keep them out of reach of children and pets. Avoid storing cleaning supplies near food or other household products to prevent accidental contamination. If you’re using spray bottles, make sure they are made of durable plastic that can withstand the acidity of vinegar or other cleaning agents.
Q: What if I don’t have all the ingredients listed in the recipes?
A: Don’t worry! The beauty of DIY cleaning is that you can often substitute ingredients based on what you have on hand. For example, if you don’t have white vinegar, you can use apple cider vinegar instead. If you don’t have lemon juice, you can use citric acid. If you don’t have borax, you can use washing soda. The key is to understand the properties of each ingredient and find a suitable alternative that offers similar cleaning power. If you’re unsure about a substitution, do some research online or consult with a DIY cleaning expert.
Q: How can I make my kitchen cleaning routine more sustainable?
A: There are many ways to make your kitchen cleaning routine more sustainable. Start by using reusable cleaning cloths and sponges instead of disposable paper towels. Invest in a refillable spray bottle and make your own cleaning solutions. Compost food scraps and other organic waste to reduce your landfill waste. Choose cleaning products that are biodegradable and eco-friendly. Avoid using harsh chemicals that can pollute waterways. By making small changes to your cleaning habits, you can significantly reduce your environmental impact.


Leave a Comment