

Clean Gas Stove Top: Is your gas stove top looking less than sparkling? Don’t worry, you’re not alone! We’ve all been there, staring at burnt-on food and greasy splatters, wondering how to tackle the mess without spending hours scrubbing. But what if I told you there’s a way to achieve a gleaming, like-new stove top with simple DIY tricks and hacks?
For generations, a clean and efficient cooking space has been a cornerstone of a happy home. From ancient hearths to modern gas stoves, the ability to prepare food safely and hygienically has always been a priority. While the technology has evolved, the challenge of keeping our cooking surfaces clean remains a constant.
Let’s face it, nobody enjoys spending their precious free time scrubbing away at stubborn stains. That’s why I’m so excited to share these easy and effective DIY methods for keeping your clean gas stove top in tip-top shape. These aren’t just cleaning tips; they’re time-saving, money-saving, and sanity-saving solutions that will transform your kitchen cleaning routine. Get ready to say goodbye to endless scrubbing and hello to a sparkling clean stove top you’ll be proud to show off!
DIY Hack: Sparkling Clean Gas Stove Top – The Ultimate Guide
Hey everyone! I know, I know, cleaning the gas stove top is probably nobody’s favorite chore. But trust me, with this method, it becomes a whole lot easier and the results are seriously satisfying. I’ve tried countless cleaners and techniques, and this is the one that consistently gives me that “like-new” shine. So, grab your supplies, put on some music, and let’s get started!
What You’ll Need:
* Baking Soda: Our trusty, natural cleaning agent.
* White Vinegar: The perfect partner for baking soda, creating a powerful fizzing action.
* Dish Soap: Cuts through grease and grime like a champ. I prefer a degreasing formula.
* Hydrogen Peroxide (3%): For extra sanitizing and stain removal.
* Microfiber Cloths: These are essential for streak-free cleaning.
* Soft Sponge: For gentle scrubbing.
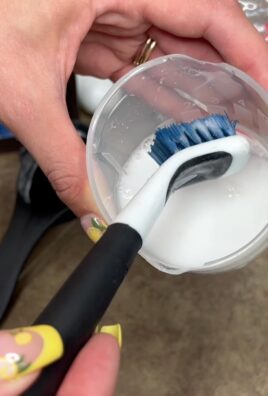
* Old Toothbrush: Perfect for getting into those hard-to-reach corners and crevices.
* Spray Bottle: To easily apply your cleaning solutions.
* Paper Towels: For wiping up excess liquid and drying.
* Rubber Gloves: To protect your hands from harsh chemicals and hot water.
* Small Bowl: For mixing your cleaning paste.
* Optional: Lemon essential oil (for a fresh scent)
Safety First!
Before we dive in, let’s talk safety. Always make sure your stove is completely cool before you start cleaning. And, of course, unplug it if it’s an electric ignition model. We don’t want any accidents! Also, make sure to ventilate the area well.
Phase 1: Disassembling and Soaking the Removable Parts
This is where we get down and dirty! Removing the grates and burner caps is key to a thorough clean.
1. Remove the Grates and Burner Caps: Carefully lift off the grates and burner caps from your stove top. These are usually the dirtiest parts, so we’ll give them some extra attention.
2. Prepare a Soaking Solution: Fill your sink or a large tub with hot water. Add a generous squirt of dish soap and about half a cup of baking soda. Stir well to dissolve the baking soda.
3. Soak the Grates and Burner Caps: Submerge the grates and burner caps in the hot, soapy water. Let them soak for at least 30 minutes, or even longer if they’re heavily soiled. The longer they soak, the easier it will be to remove the grime. I sometimes let mine soak overnight!
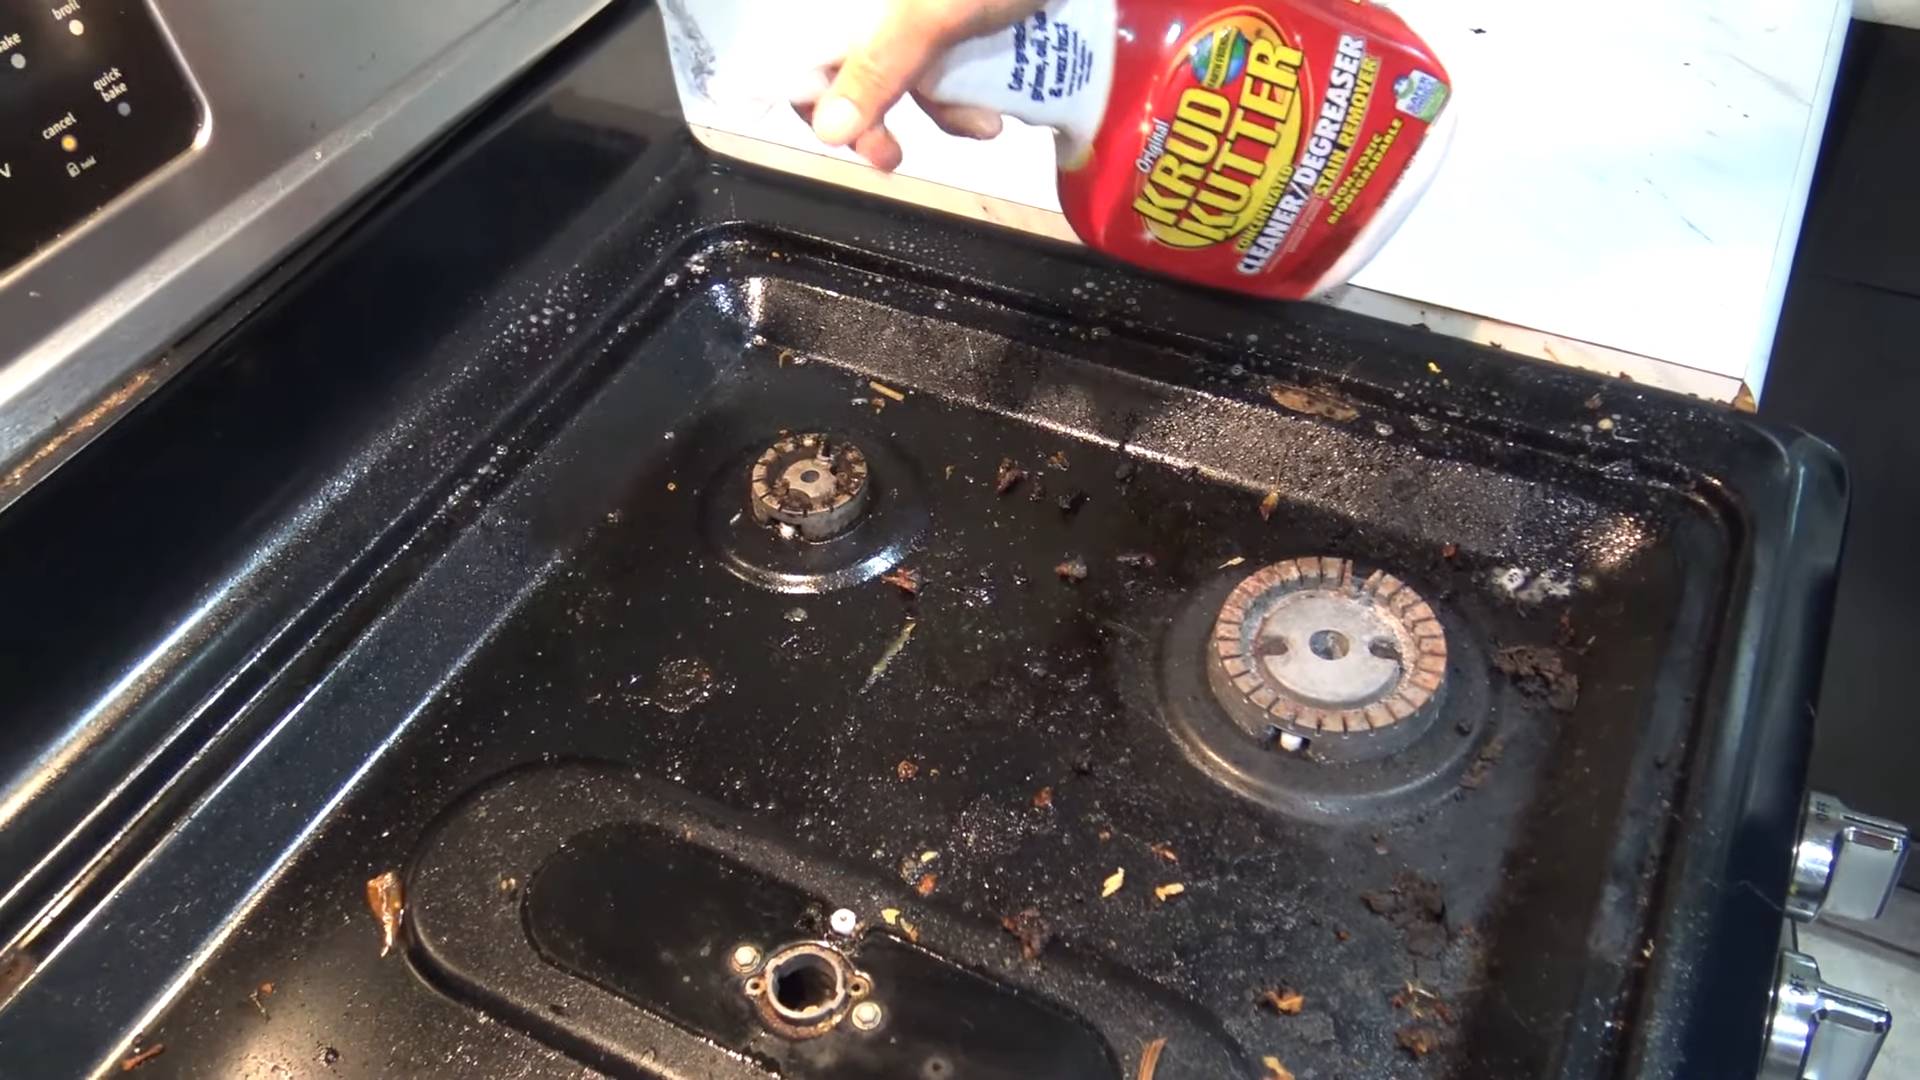
Phase 2: Cleaning the Stove Top Surface
While the grates and burner caps are soaking, let’s tackle the stove top itself.
1. Wipe Down Loose Debris: Use a dry paper towel or microfiber cloth to wipe away any loose food particles, crumbs, or spills from the stove top surface. This will prevent them from getting smeared around during the cleaning process.
2. Create a Baking Soda Paste: In your small bowl, mix together baking soda and a small amount of water to form a thick paste. The consistency should be similar to toothpaste.
3. Apply the Baking Soda Paste: Using your fingers or a soft sponge, apply the baking soda paste liberally to the stained and greasy areas of the stove top. Focus on areas with baked-on food or stubborn stains.
4. Let the Paste Sit: Allow the baking soda paste to sit on the stove top for at least 15-20 minutes. This will give the baking soda time to loosen the grime and break down the grease. For really tough stains, you can let it sit for even longer – up to an hour.
5. Spray with Vinegar: Fill your spray bottle with white vinegar. Lightly spray the baking soda paste with vinegar. You’ll notice a fizzing reaction – this is good! The fizzing helps to lift the dirt and grease.
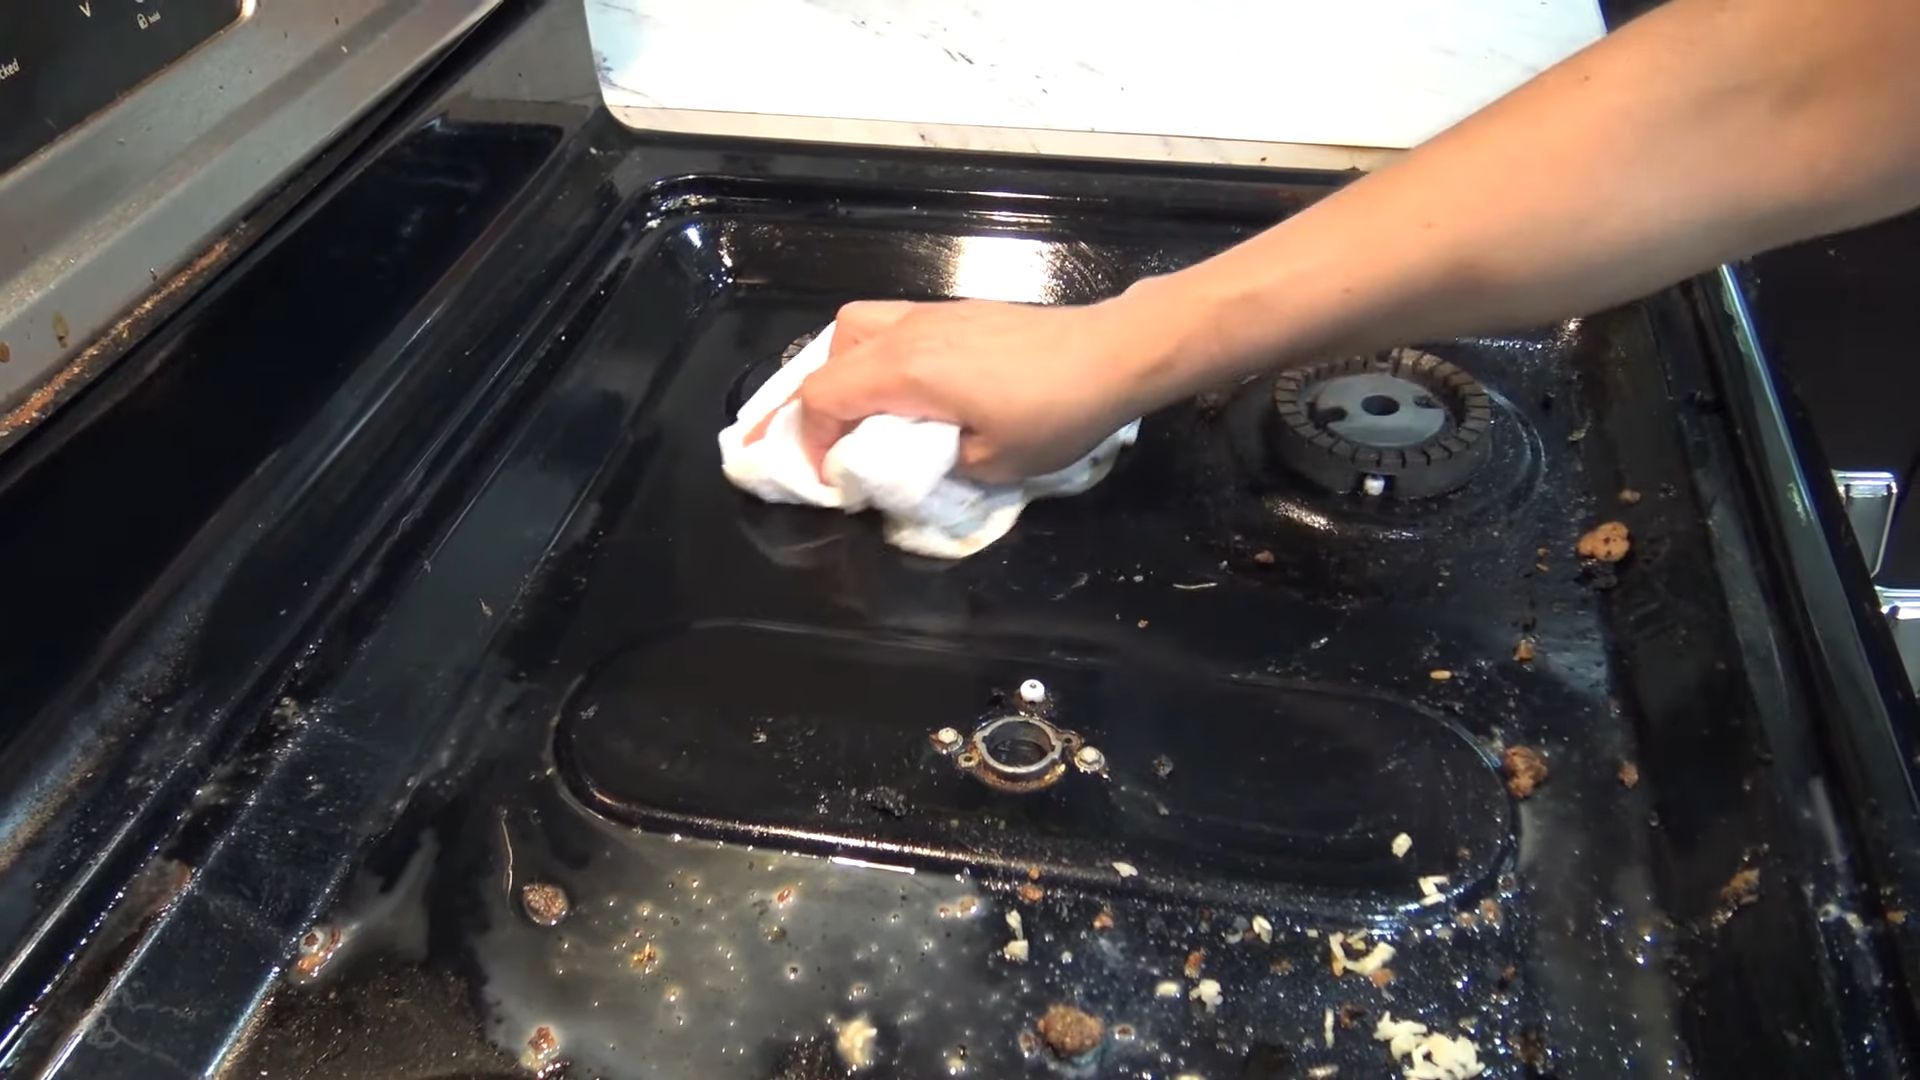
6. Scrub Gently: Using a soft sponge or microfiber cloth, gently scrub the stove top surface. Avoid using abrasive scrubbers, as they can scratch the surface. For stubborn areas, use the old toothbrush to get into the corners and crevices around the burners.
7. Wipe Away the Residue: Once you’ve scrubbed the entire surface, use a clean, damp microfiber cloth to wipe away the baking soda and vinegar residue. Rinse the cloth frequently to remove the dirt and grime.
8. Inspect and Repeat (If Necessary): Take a close look at the stove top surface. If you still see any stubborn stains or grease, repeat steps 3-7. Sometimes, a second application of the baking soda paste is needed for really tough messes.
9. Hydrogen Peroxide for Extra Cleaning (Optional): For extra sanitizing and stain removal, you can lightly spray the stove top with hydrogen peroxide (3%). Let it sit for a few minutes, then wipe it away with a clean, damp cloth.
10. Dry the Stove Top: Use a clean, dry microfiber cloth to thoroughly dry the stove top surface. This will prevent water spots and streaks.
Phase 3: Cleaning the Grates and Burner Caps
Now that the stove top is sparkling, let’s get those grates and burner caps looking their best.
1. Remove from Soaking Solution: Carefully remove the grates and burner caps from the soaking solution. Be careful, as the water may still be hot.
2. Scrub the Grates and Burner Caps: Using a soft sponge or scrub brush, scrub the grates and burner caps to remove any remaining dirt and grime. For stubborn areas, you can use the baking soda paste that we used on the stove top.
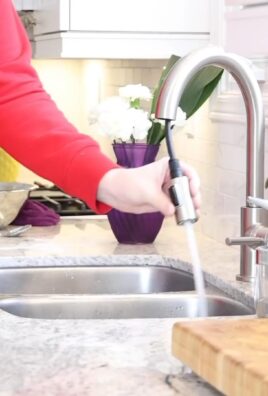
3. Rinse Thoroughly: Rinse the grates and burner caps thoroughly with clean water to remove all traces of soap and baking soda.
4. Dry Completely: Use a clean, dry towel to thoroughly dry the grates and burner caps. Make sure they are completely dry before placing them back on the stove top, as any moisture can cause rust.
Phase 4: Reassembling and Polishing
Almost there! Now it’s time to put everything back together and give it that final polish.
1. Replace the Burner Caps: Carefully place the burner caps back onto the stove top, making sure they are properly aligned.
2. Replace the Grates: Place the grates back onto the stove top, making sure they are securely in place.
3. Final Polish: Use a clean, dry microfiber cloth to give the entire stove top a final polish. This will remove any remaining streaks or smudges and leave your stove top looking sparkling clean.
4. Optional: Lemon Essential Oil: For a fresh, clean scent, you can add a few drops of lemon essential oil to a clean microfiber cloth and wipe down the stove top.
Tips and Tricks for Maintaining a Clean Stove Top
* Wipe Up Spills Immediately: The easiest way to keep your stove top clean is to wipe up spills as soon as they happen. This will prevent them from baking onto the surface and becoming difficult to remove.
* Regular Cleaning: Aim to clean your stove top at least once a week, or more often if you cook frequently.
* Use a Stove Top Protector: Consider using a stove top protector to prevent spills and splatters from reaching the surface.
* Avoid Abrasive Cleaners: Abrasive cleaners can scratch the surface of your stove top, so avoid using them.
* Clean Burner Ports: Periodically check the burner ports for clogs. Use a needle or pin to clear any blockages. This will ensure that your burners are working efficiently.
* Deep Clean Quarterly: Even with regular cleaning, a deep clean every few months will keep your stove top in tip-top shape.
And there you have it! A sparkling clean gas stove top, all thanks to a little DIY magic. I hope you found this guide helpful. Happy cleaning!
Conclusion
So, there you have it! Mastering the art of a sparkling clean gas stove top doesn’t require harsh chemicals or endless scrubbing. This simple, DIY method, using ingredients you likely already have in your pantry, is a game-changer for anyone who wants to maintain a pristine kitchen without the fuss. We’ve shown you how to banish grease, grime, and burnt-on food, leaving your gas stove top looking brand new.
Why is this DIY trick a must-try? Because it’s effective, affordable, and eco-friendly. Commercial cleaners often contain harsh chemicals that can be harmful to your health and the environment. This method relies on the power of readily available ingredients like baking soda, vinegar, and dish soap – all of which are gentle yet powerful cleaning agents. Plus, you’ll save money by avoiding expensive specialty cleaners.
But the benefits extend beyond just cleanliness and cost savings. A clean gas stove top is a safer gas stove top. Built-up grease and grime can be a fire hazard, so regularly cleaning your stove top is essential for preventing accidents. A sparkling stove top also makes cooking more enjoyable. It’s simply more pleasant to prepare meals in a clean and organized space.
Looking for variations? Absolutely! For particularly stubborn stains, you can create a paste of baking soda and hydrogen peroxide. Apply the paste to the affected area, let it sit for a few minutes, and then scrub gently. Another option is to use a lemon juice and salt scrub for extra degreasing power. The acidity of the lemon juice helps to break down grease, while the salt acts as a gentle abrasive. For stainless steel stove tops, be sure to wipe in the direction of the grain to avoid scratching. You can also use a microfiber cloth for a streak-free shine.
Don’t be afraid to experiment and find what works best for you and your stove top. The key is consistency. Regular cleaning, even just a quick wipe-down after each use, will prevent grime from building up and make your life much easier in the long run.
We are confident that this DIY method will transform your cleaning routine and leave you with a gas stove top that you can be proud of. So, ditch the harsh chemicals and embrace the power of natural cleaning.
Now, it’s your turn! We encourage you to try this DIY trick and see the amazing results for yourself. Share your experience with us in the comments below. We’d love to hear your tips, variations, and success stories. Let’s create a community of clean stove top enthusiasts!
Frequently Asked Questions (FAQ)
1. How often should I clean my gas stove top?
The frequency of cleaning depends on how often you cook. Ideally, you should wipe down your gas stove top after each use to prevent grease and food from building up. A more thorough cleaning, using the DIY method described above, should be done at least once a week, or more often if needed. If you notice spills or splatters, clean them up immediately to prevent them from becoming stubborn stains. Regular maintenance will make your cleaning tasks much easier in the long run.
2. What if I have really stubborn, burnt-on food on my gas stove top?
For particularly stubborn, burnt-on food, you may need to take a few extra steps. First, try soaking the area with a mixture of hot water and dish soap for about 15-20 minutes. This will help to loosen the grime. Then, create a paste of baking soda and hydrogen peroxide (or even just baking soda and water). Apply the paste to the affected area and let it sit for at least 30 minutes, or even overnight for really tough stains. After soaking, scrub gently with a non-abrasive sponge or a soft-bristled brush. Avoid using steel wool or abrasive cleaners, as they can scratch the surface of your gas stove top. You can also try using a plastic scraper to gently lift off the burnt-on food. Repeat the process if necessary.
3. Can I use this DIY cleaning method on all types of gas stove tops?
This DIY cleaning method is generally safe for most types of gas stove tops, including those made of stainless steel, porcelain, and enamel. However, it’s always a good idea to test the cleaning solution on a small, inconspicuous area first to ensure that it doesn’t damage the surface. For stainless steel stove tops, be sure to wipe in the direction of the grain to avoid scratching. Avoid using abrasive cleaners or scrub brushes on delicate surfaces. If you have a gas stove top with a special coating or finish, consult the manufacturer’s instructions before using any cleaning products.
4. What is the best way to clean the gas stove top burners?
Cleaning the gas stove top burners is an important part of maintaining your stove. First, make sure the burners are completely cool. Then, remove them from the stove top. Soak the burners in a solution of hot, soapy water for about 30 minutes. This will help to loosen any grease or food particles. Use a scrub brush or an old toothbrush to scrub the burners thoroughly, paying attention to any clogged holes. You can also use a wire to clear any debris from the burner ports. Rinse the burners with clean water and dry them completely before placing them back on the stove top. Make sure the burners are properly aligned before using the stove.
5. Is vinegar safe to use on my gas stove top?
Vinegar is a great natural cleaner, but it should be used with caution on certain surfaces. While it’s generally safe to use on stainless steel and porcelain gas stove tops, it can potentially damage certain types of enamel or stone surfaces. Always dilute vinegar with water before using it to clean your stove top. A 50/50 solution of vinegar and water is usually sufficient. Avoid using vinegar on cast iron grates, as it can cause them to rust. If you’re unsure whether vinegar is safe to use on your stove top, test it on a small, inconspicuous area first.
6. Can I use baking soda on my gas stove top?
Yes, baking soda is a fantastic and safe cleaner for gas stove tops. Its mild abrasive properties help to lift grime and grease without scratching the surface. You can use baking soda as a paste mixed with water or hydrogen peroxide for stubborn stains, or sprinkle it directly onto the stove top and scrub with a damp sponge. Baking soda is also a great deodorizer, so it can help to eliminate any lingering odors from cooking.
7. How do I prevent my gas stove top from getting so dirty in the first place?
Prevention is key to keeping your gas stove top clean and minimizing the need for deep cleaning. Here are a few tips:
* Wipe up spills and splatters immediately.
* Use splatter screens when frying or cooking with sauces.
* Clean your stove top regularly, even if it just means a quick wipe-down after each use.
* Avoid overfilling pots and pans.
* Use the correct size burner for the pot or pan you’re using.
* Consider using burner covers to protect the stove top from spills and splatters.
By following these simple tips, you can keep your gas stove top looking clean and new for longer.
8. What kind of cloths or sponges should I use to clean my gas stove top?
The best cloths and sponges to use for cleaning your gas stove top are those that are non-abrasive and won’t scratch the surface. Microfiber cloths are an excellent choice, as they are soft, absorbent, and effective at removing dirt and grease. You can also use a non-abrasive sponge or a soft-bristled brush. Avoid using steel wool or abrasive scrub pads, as they can scratch the surface of your stove top. When cleaning stainless steel, be sure to wipe in the direction of the grain to prevent streaks.
9. My gas stove top has a lot of scratches. Can I remove them?
Unfortunately, removing scratches from a gas stove top can be challenging, especially if the scratches are deep. However, there are a few things you can try. For minor scratches on stainless steel, you can try using a stainless steel cleaner and polish. Follow the manufacturer’s instructions carefully. You can also try using a scratch removal kit specifically designed for stainless steel appliances. For deeper scratches, you may need to consult a professional appliance repair technician. In some cases, it may be necessary to replace the scratched part of the stove top. Prevention is always the best approach, so be careful to avoid scratching your stove top in the first place.
10. Where can I find the ingredients for this DIY cleaning method?
The ingredients for this DIY cleaning method are readily available at most grocery stores and even in your own pantry. Baking soda, vinegar, dish soap, hydrogen peroxide, and lemon juice are all common household items. You can also find microfiber cloths and non-abrasive sponges at most stores that sell cleaning supplies. The affordability and accessibility of these ingredients are just another reason why this DIY cleaning method is such a great option.
Leave a Comment