

Clean greasy kitchen cabinets – the bane of every homeowner’s existence! Let’s face it, no matter how diligent you are with wiping down surfaces, those pesky grease splatters and airborne cooking oils always find their way onto your beautiful cabinets. But don’t despair! I’m here to share some amazing DIY tricks and hacks that will have your kitchen cabinets sparkling like new in no time.
Throughout history, a clean and organized kitchen has been a symbol of a well-maintained and welcoming home. From ancient hearths to modern culinary spaces, the kitchen has always been the heart of the household. And while our cooking methods have evolved, the challenge of keeping it clean, especially tackling greasy cabinets, remains a constant.
Why do you need these DIY tricks? Because store-bought cleaners can be expensive and often contain harsh chemicals that can damage your cabinets’ finish. Plus, who doesn’t love a good DIY project that saves money and uses ingredients you probably already have in your pantry? I’m going to show you how to clean greasy kitchen cabinets effectively and naturally, using simple, affordable methods. Get ready to say goodbye to grime and hello to a gleaming, grease-free kitchen!
DIY Guide: Banish Grease from Your Kitchen Cabinets!
Hey there, fellow DIY enthusiasts! Are your kitchen cabinets looking a little… well, let’s just say “loved”? Grease buildup is a common kitchen woe, but don’t despair! I’m going to walk you through a simple, effective, and budget-friendly method to restore your cabinets to their former glory. This isn’t just about cleaning; it’s about breathing new life into your kitchen!
What You’ll Need: Your Arsenal Against Grease
Before we dive in, let’s gather our supplies. Trust me, having everything ready will make the process so much smoother.
* Warm Water: The foundation of our cleaning solution.
* Dish Soap: A degreasing champion! I recommend a concentrated formula.
* Baking Soda: Our secret weapon for stubborn grease. It’s a gentle abrasive that works wonders.
* White Vinegar: Cuts through grease and grime like a hot knife through butter. Plus, it’s a natural disinfectant!
* Spray Bottle: For easy application of our cleaning solution.
* Microfiber Cloths: These are gentle on your cabinets and super absorbent. Avoid abrasive scrubbers that could scratch the finish.
* Soft-Bristled Brush (Optional): Great for getting into those hard-to-reach corners and crevices. An old toothbrush works perfectly!
* Old Towels: For drying the cabinets and protecting your countertops.
* Rubber Gloves: To protect your hands from the cleaning solution.
* Safety Glasses (Optional): Just in case you’re a bit splash-prone like me!
* Screwdriver (If removing hardware): Depending on how thorough you want to be, you might want to remove the cabinet hardware.
Step-by-Step: Conquering the Grease
Alright, let’s get down to business! Follow these steps, and you’ll be amazed at the transformation.
1. Prepare Your Workspace:
* Clear the countertops below your cabinets. You don’t want to accidentally splash cleaning solution on your belongings.
* Lay down old towels to protect your countertops from drips and spills.
* Open a window or turn on your kitchen fan for ventilation.
* Put on your rubber gloves and safety glasses (if using).
2. Mix Your Cleaning Solution:
* In a spray bottle, combine 1 cup of warm water, 1 tablespoon of dish soap, and 1/2 cup of white vinegar.
* Gently swirl the mixture to combine. Avoid shaking vigorously, as this can create excessive suds.
* If you have particularly stubborn grease buildup, you can add 1 tablespoon of baking soda to the mixture. Be aware that this may cause some fizzing.
3. Test in an Inconspicuous Area:
* Before applying the cleaning solution to the entire cabinet surface, test it in a small, hidden area, such as the inside of a cabinet door or the back of a drawer.
* Spray a small amount of the solution onto the test area and let it sit for a few minutes.
* Wipe the area with a clean microfiber cloth.
* Check for any discoloration, damage, or lifting of the finish. If everything looks good, you can proceed to clean the rest of the cabinets.
4. Apply the Cleaning Solution:
* Spray the cleaning solution onto a small section of the cabinet surface.
* Don’t saturate the wood, as this can damage the finish. A light mist is all you need.
* Let the solution sit for a few minutes to loosen the grease and grime.
5. Scrub Gently:
* Using a clean microfiber cloth, gently scrub the cabinet surface in a circular motion.
* For stubborn grease spots, apply a small amount of baking soda directly to the spot and scrub gently with a damp cloth or soft-bristled brush.
* Be careful not to scrub too hard, as this can scratch the finish.
* If you’re using a soft-bristled brush, focus on getting into corners, crevices, and around hardware.
6. Rinse with Clean Water:
* Dampen a clean microfiber cloth with clean water.
* Wipe the cabinet surface to remove any remaining cleaning solution and loosened grease.
* Rinse the cloth frequently to avoid spreading the grease around.
7. Dry Thoroughly:
* Use a clean, dry towel to thoroughly dry the cabinet surface.
* Pay attention to corners, edges, and any areas where water may have accumulated.
* Drying the cabinets completely will prevent water spots and mildew growth.
8. Repeat as Needed:
* If your cabinets are particularly greasy, you may need to repeat steps 4-7 several times.
* Don’t be discouraged if the grease doesn’t come off immediately. Persistence is key!
9. Clean the Hardware (Optional):
* If you removed the cabinet hardware, clean it separately.
* Soak the hardware in a solution of warm water and dish soap for a few minutes.
* Scrub the hardware with a soft-bristled brush to remove any grease and grime.
* Rinse the hardware with clean water and dry thoroughly.
10. Reassemble and Admire:
* Once the cabinets and hardware are completely dry, reattach the hardware to the cabinets.
* Step back and admire your sparkling clean kitchen cabinets!
Tackling Extra-Stubborn Grease: Advanced Techniques
Sometimes, the basic cleaning solution just isn’t enough. For those truly stubborn grease stains, here are a few extra tricks up my sleeve:
* Baking Soda Paste: Mix baking soda with a small amount of water to form a thick paste. Apply the paste to the grease stain and let it sit for 15-20 minutes. Then, scrub gently with a damp cloth and rinse thoroughly.
* Oil Soap: Oil soap is a gentle cleanser that’s specifically designed for wood surfaces. It can be effective at removing grease and grime without damaging the finish. Follow the instructions on the product label.
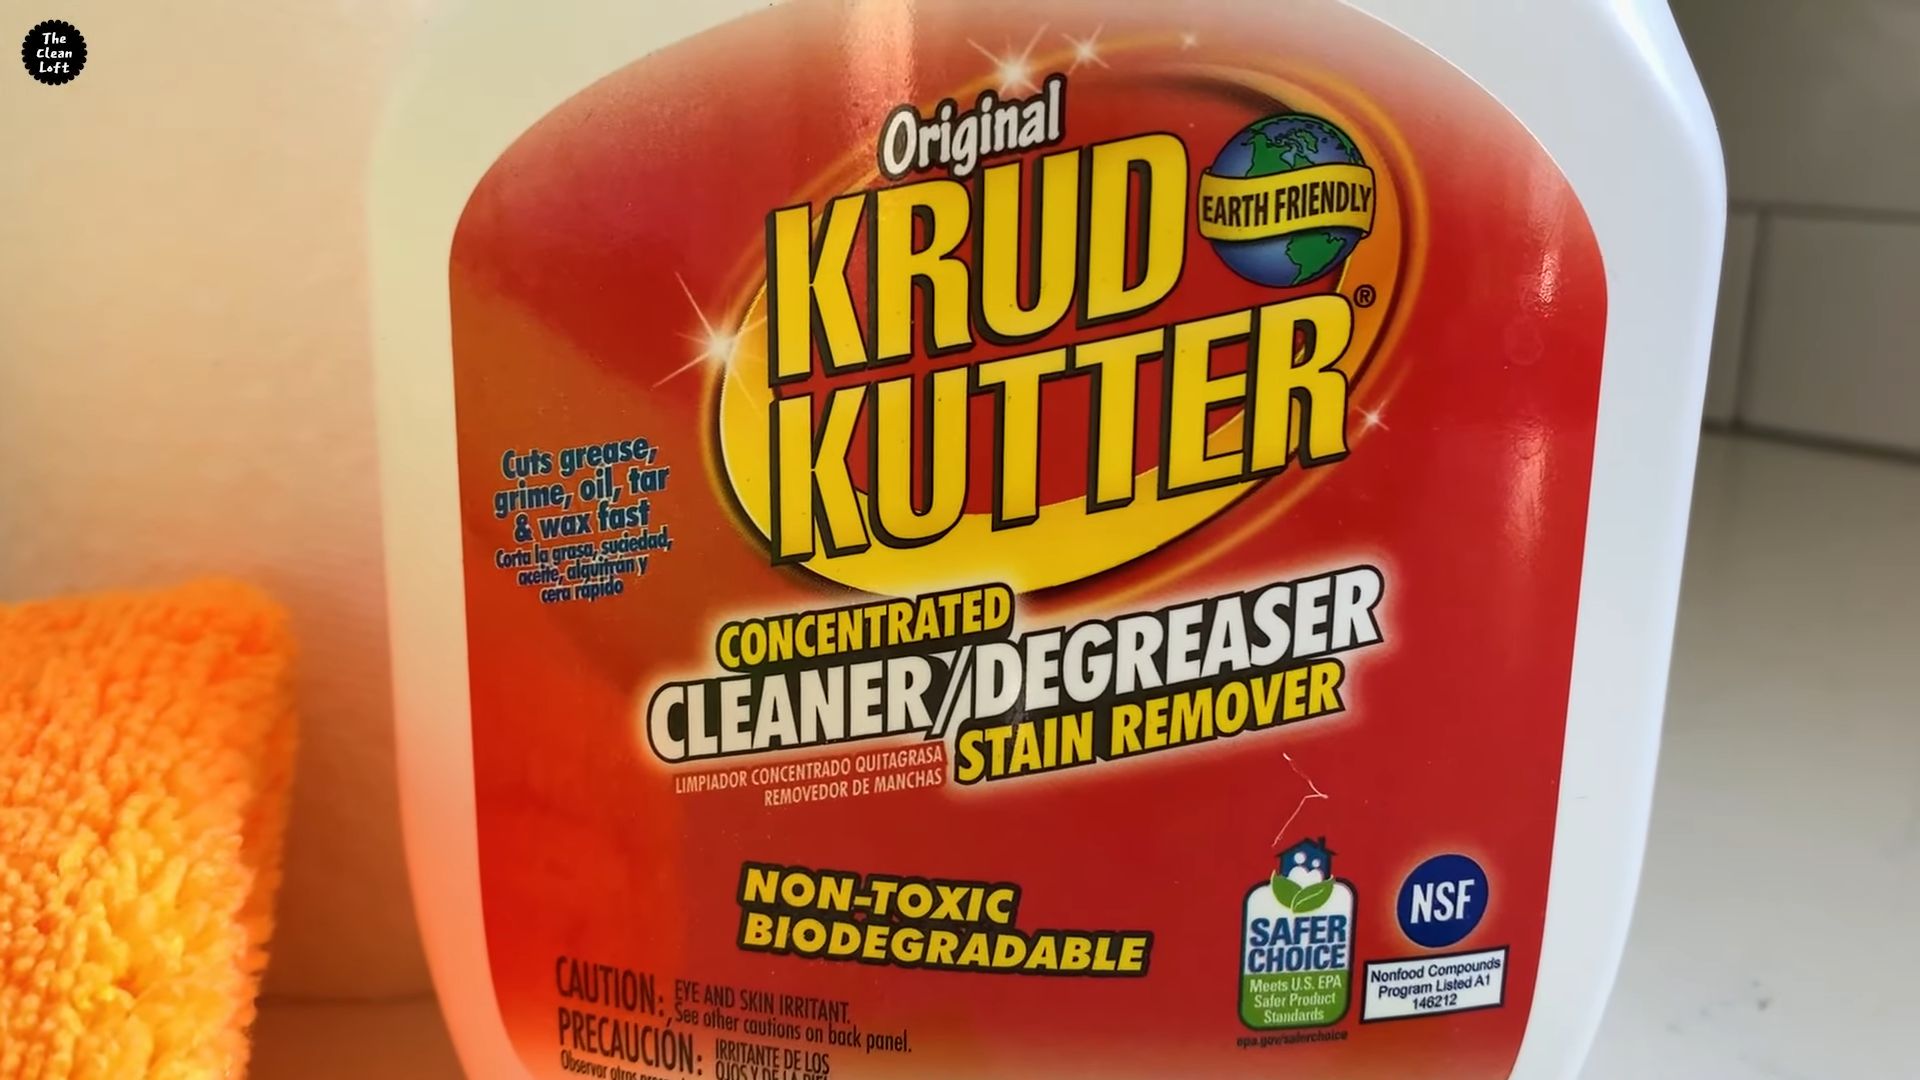
* Commercial Degreasers: If all else fails, you can try using a commercial degreaser. Be sure to choose a degreaser that’s safe for use on wood surfaces and follow the instructions on the product label carefully. Always test in an inconspicuous area first!
* Magic Eraser: Use with caution! While Magic Erasers can be effective at removing grease, they are abrasive and can damage the finish of your cabinets if used too aggressively. Test in an inconspicuous area first and use a light touch.
Preventing Future Grease Buildup: Proactive Measures
Cleaning your cabinets is great, but preventing grease buildup in the first place is even better! Here are a few tips to keep your cabinets looking their best:
* Wipe Up Splatters Immediately: Don’t let grease splatters sit on your cabinets. Wipe them up as soon as they happen with a damp cloth.
* Use Your Range Hood: Turn on your range hood whenever you’re cooking, especially when frying or sautéing. This will help to vent grease and smoke out of your kitchen.
* Regular Cleaning: Make it a habit to wipe down your cabinets with a damp cloth every week or two. This will prevent grease from building up over time.
* Consider a Backsplash: A backsplash behind your stove can protect your cabinets from grease splatters.
* Use Cabinet Liners: Line your cabinets with shelf liners to protect them from spills and stains.
A Few Extra Tips and Tricks:
* Don’t Forget the Tops of Your Cabinets: The tops of your cabinets can accumulate a surprising amount of dust and grease. Be sure to clean them regularly.
* Use a Ladder or Step Stool: If you have tall cabinets, use a ladder or step stool to reach the upper areas safely.
* Take Breaks: Cleaning your kitchen cabinets can be a time-consuming task. Take breaks as needed to avoid fatigue.
* Enlist Help: If you have a lot of cabinets to clean, ask a friend or family member to help you.
* Enjoy the Process: Put on some music, grab a drink, and make cleaning your cabinets a fun and rewarding experience!
Remember: Always test any cleaning solution in an inconspicuous area before applying it to the entire cabinet surface. And, if you’re unsure about anything, consult a professional cleaning service.
Cleaning your greasy kitchen cabinets doesn’t have to be a daunting task. With the right tools, techniques, and a little elbow grease, you can restore your cabinets to their former glory and create a cleaner, brighter, and more inviting kitchen! Happy cleaning!

Conclusion
So, there you have it! Conquering greasy kitchen cabinets doesn’t require harsh chemicals or expensive cleaning services. This simple, DIY trick, using readily available ingredients, is a game-changer for anyone looking to revitalize their kitchen space. We’ve shown you how to effectively cut through the grime and restore the shine to your cabinets, all while saving money and minimizing your environmental impact.
The beauty of this method lies in its adaptability. Feel free to experiment with the ratios of ingredients to find what works best for your specific type of cabinet finish and the level of grease buildup. For instance, if you’re dealing with particularly stubborn grease, consider adding a bit more baking soda to your paste for extra scrubbing power. Or, if you prefer a more fragrant cleaning experience, a few drops of your favorite essential oil, like lemon or orange, can be added to the solution. Just be sure to test any new additions on an inconspicuous area first to ensure they don’t damage the finish.
Beyond the basic recipe, consider these variations to tailor the cleaning solution to your needs:
* For painted cabinets: Use a slightly diluted solution and avoid excessive scrubbing to prevent damaging the paint. A soft cloth is your best friend here.
* For wood cabinets: Always wipe in the direction of the wood grain to avoid scratching. You can also add a small amount of olive oil to the cleaning solution for added moisture and shine.
* For laminate cabinets: These are generally quite durable, but avoid using abrasive scrubbers that could scratch the surface.
This DIY approach isn’t just about cleaning; it’s about taking pride in your home and creating a healthier living environment. By avoiding harsh chemicals, you’re protecting yourself, your family, and the planet. Plus, the satisfaction of seeing your cabinets transform from greasy and dull to clean and gleaming is truly rewarding.
We wholeheartedly encourage you to try this DIY trick for cleaning greasy kitchen cabinets. It’s easy, affordable, and effective. Once you’ve experienced the results for yourself, we’d love to hear about it! Share your before-and-after photos, your tips and tricks, and any variations you tried in the comments below. Let’s create a community of clean cabinet enthusiasts and inspire others to ditch the harsh chemicals and embrace a more natural approach to cleaning. Your feedback will not only help others but also contribute to refining this method for even better results. So, grab your ingredients, roll up your sleeves, and get ready to transform your kitchen!
Frequently Asked Questions (FAQ)
1. What type of cabinets is this DIY cleaning solution safe for?
This DIY cleaning solution is generally safe for most types of kitchen cabinets, including painted, wood, and laminate. However, it’s always a good idea to test the solution on an inconspicuous area first to ensure it doesn’t damage the finish. For painted cabinets, use a diluted solution and avoid excessive scrubbing. For wood cabinets, wipe in the direction of the wood grain. For laminate cabinets, avoid abrasive scrubbers. If you have antique or very delicate cabinets, consult with a professional before using any cleaning solution.
2. Can I use vinegar instead of dish soap?
While vinegar is a popular cleaning agent, it’s not recommended as a direct substitute for dish soap in this recipe. Dish soap is specifically designed to cut through grease, which is the primary issue with greasy kitchen cabinets. Vinegar, while effective for some cleaning tasks, may not be as effective at removing grease and can potentially damage certain cabinet finishes, especially if used undiluted. If you choose to use vinegar, dilute it significantly with water and test it on an inconspicuous area first. However, for optimal results, stick with dish soap.
3. How often should I clean my kitchen cabinets?
The frequency of cleaning your kitchen cabinets depends on how often you cook and the amount of grease and grime that accumulates. As a general guideline, aim to clean your cabinets thoroughly every 1-3 months. However, if you notice grease buildup or spills, clean them immediately to prevent them from becoming more difficult to remove. Regular spot cleaning can also help maintain the cleanliness of your cabinets and reduce the need for deep cleaning.
4. What if the grease is really stubborn and doesn’t come off easily?
For particularly stubborn grease, you can try a few different approaches. First, increase the amount of baking soda in your paste for extra scrubbing power. You can also let the cleaning solution sit on the greasy area for a longer period of time, up to 15-20 minutes, to allow it to penetrate and loosen the grease. If that doesn’t work, try using a soft-bristled brush or an old toothbrush to gently scrub the area. Avoid using abrasive scrubbers, as they can scratch the cabinet finish. As a last resort, you can try using a commercial degreaser specifically designed for kitchen cabinets, but be sure to follow the manufacturer’s instructions carefully and test it on an inconspicuous area first.
5. Can I add essential oils to the cleaning solution?
Yes, you can add a few drops of your favorite essential oil to the cleaning solution for a more pleasant scent. Lemon, orange, and grapefruit essential oils are particularly effective at cutting through grease and leaving a fresh, clean scent. However, be sure to use pure essential oils and avoid synthetic fragrances, as they may contain harsh chemicals that can damage your cabinets. Also, test the essential oil on an inconspicuous area first to ensure it doesn’t discolor or damage the finish.
6. What type of cloth should I use to clean my cabinets?
Microfiber cloths are the best choice for cleaning kitchen cabinets. They are soft, absorbent, and non-abrasive, making them ideal for removing grease and grime without scratching the surface. You can also use a soft cotton cloth, but avoid using paper towels, as they can leave behind lint. Be sure to use a clean cloth for each section of the cabinet to avoid spreading grease and grime.
7. How do I prevent grease from building up on my kitchen cabinets in the first place?
Prevention is key to keeping your kitchen cabinets clean and grease-free. Here are a few tips to help prevent grease buildup:
* Use your range hood or exhaust fan whenever you’re cooking, especially when frying or sautéing.
* Wipe up spills and splatters immediately.
* Avoid placing appliances that produce grease, such as deep fryers, directly under your cabinets.
* Regularly clean your stovetop and backsplash to prevent grease from splattering onto your cabinets.
* Consider using a protective coating, such as a cabinet wax or polish, to help repel grease and grime.
8. Is baking soda safe for all cabinet finishes?
Baking soda is generally safe for most cabinet finishes, but it’s mildly abrasive. Therefore, it’s crucial to use it with caution, especially on delicate or easily scratched surfaces. Always test the baking soda paste on an inconspicuous area first. When scrubbing, use gentle pressure and avoid excessive rubbing. For painted cabinets, dilute the baking soda paste with more water to reduce its abrasiveness. If you’re concerned about scratching your cabinets, you can try using a non-abrasive cleaner specifically designed for kitchen cabinets instead.
9. What is the best way to dry the cabinets after cleaning?
After cleaning your kitchen cabinets, it’s important to dry them thoroughly to prevent water spots and mildew growth. Use a clean, dry microfiber cloth to wipe down the cabinets, paying attention to any crevices or corners where water may accumulate. You can also use a fan to help speed up the drying process. Avoid using a hair dryer, as the heat can damage the cabinet finish.
10. Can I use this method to clean other greasy surfaces in my kitchen?
Yes, this DIY cleaning method can be used to clean other greasy surfaces in your kitchen, such as your stovetop, backsplash, and range hood. However, be sure to test the solution on an inconspicuous area first to ensure it doesn’t damage the surface. For stovetops, avoid using abrasive scrubbers that can scratch the surface. For backsplashes, pay attention to the grout lines, as they can be difficult to clean. For range hoods, remove the filters and clean them separately.

Leave a Comment