

Clean refrigerator coils vacuum: Sounds like a chore, right? But trust me, it’s a game-changer for your fridge and your wallet! We often overlook the unsung heroes of our homes, and the refrigerator coils are definitely among them. Think of them as the lungs of your refrigerator, constantly working to keep your food fresh and your drinks chilled.
Now, you might be wondering, “Why bother cleaning them?” Well, imagine running a marathon with a stuffy nose. That’s essentially what your refrigerator is doing when its coils are covered in dust and grime. This forces it to work harder, consuming more energy and potentially shortening its lifespan. In the days before energy efficiency was a major concern, refrigerators were built to be incredibly robust, but modern models are designed with efficiency in mind, making regular maintenance like cleaning the coils even more crucial.
For centuries, people have relied on methods to keep food cold, from using ice houses to root cellars. Today, we have the convenience of refrigerators, but that convenience comes with a responsibility to maintain them. Learning how to clean refrigerator coils vacuum is a simple DIY task that can save you money on your energy bill, extend the life of your appliance, and ensure your food stays fresh. I’m going to show you exactly how to do it, step-by-step, with minimal effort and maximum impact. Let’s get started!
DIY Refrigerator Coil Cleaning: A Step-by-Step Guide
Hey there, fellow DIY enthusiasts! Is your fridge working overtime? Is your energy bill creeping up? Chances are, your refrigerator coils are dusty and struggling to do their job. Don’t worry, cleaning them is a super easy DIY project that can save you money and extend the life of your fridge. I’m going to walk you through the whole process, step-by-step. Let’s get started!
Why Clean Your Refrigerator Coils?
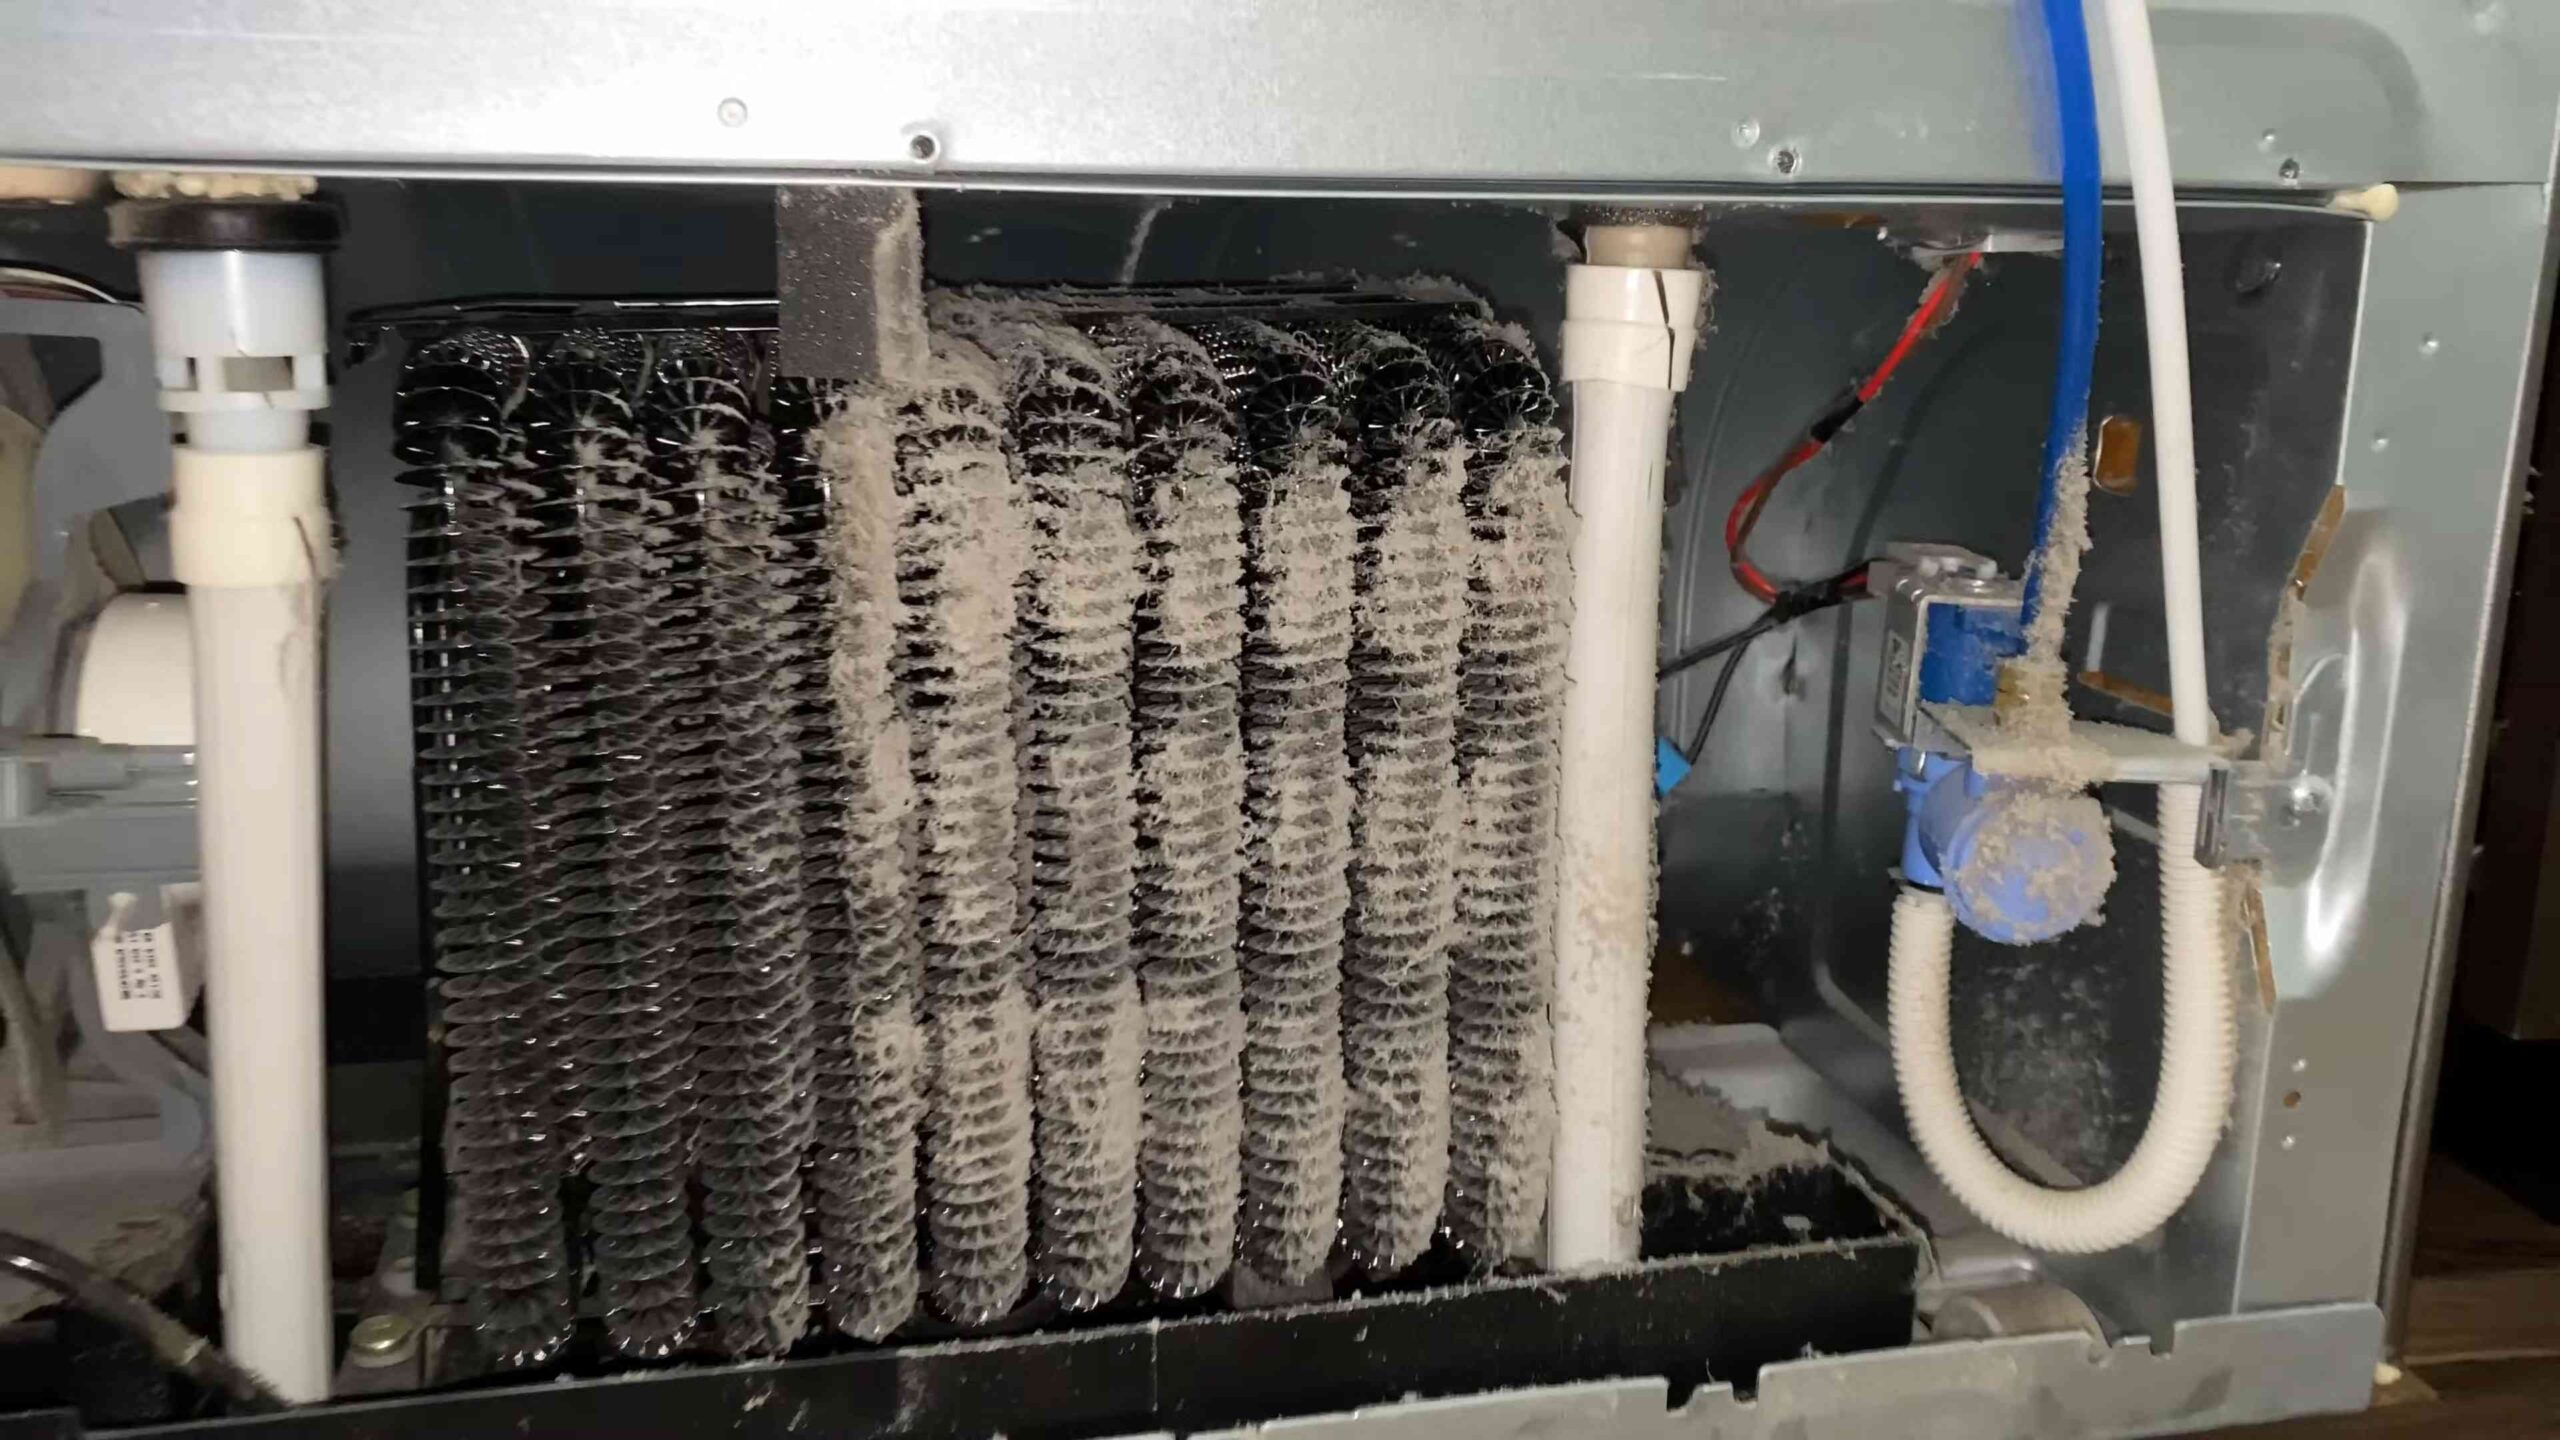
Before we dive in, let’s quickly cover why this is so important. Refrigerator coils are responsible for releasing heat from the refrigerant inside your fridge. When they’re covered in dust, pet hair, and other debris, they can’t efficiently dissipate heat. This forces your refrigerator to work harder, using more energy and potentially leading to premature failure. Think of it like trying to run a marathon while wearing a heavy coat – not fun!
What You’ll Need
Here’s a list of everything you’ll need for this project:
* A vacuum cleaner with a hose attachment and a brush attachment (a crevice tool is also helpful).
* A coil cleaning brush (you can find these at most appliance stores or online). If you don’t have one, a long, thin brush or even a paintbrush can work in a pinch.
* A screwdriver (usually a Phillips head or flathead, depending on your fridge).
* A flashlight or headlamp.
* Gloves (optional, but recommended).
* A damp cloth or sponge.
* A small bowl of warm water with a mild dish soap (optional, for stubborn grime).
Safety First!
This is super important: Before you start any work on your refrigerator, you need to unplug it! This will prevent any electrical shocks. Also, be careful when moving the refrigerator, especially if you’re doing it alone. They can be surprisingly heavy.
Locating Your Refrigerator Coils
The location of your refrigerator coils depends on the model of your fridge. Here’s where you’ll typically find them:
* **On the back of the refrigerator:** This is the most common location. You’ll usually see a large, black, grid-like structure.
* **At the bottom of the refrigerator (behind a kick plate):** Some refrigerators have their coils located behind a removable kick plate at the bottom front.
* **On top of the refrigerator (usually covered by a panel):** This is less common, but some older models have their coils on top.
Step-by-Step Cleaning Guide
Okay, let’s get to the actual cleaning!
1. **Unplug the Refrigerator:** I can’t stress this enough! Unplug the refrigerator from the power outlet.
2. **Locate the Coils:** Determine where your refrigerator coils are located (back, bottom, or top).
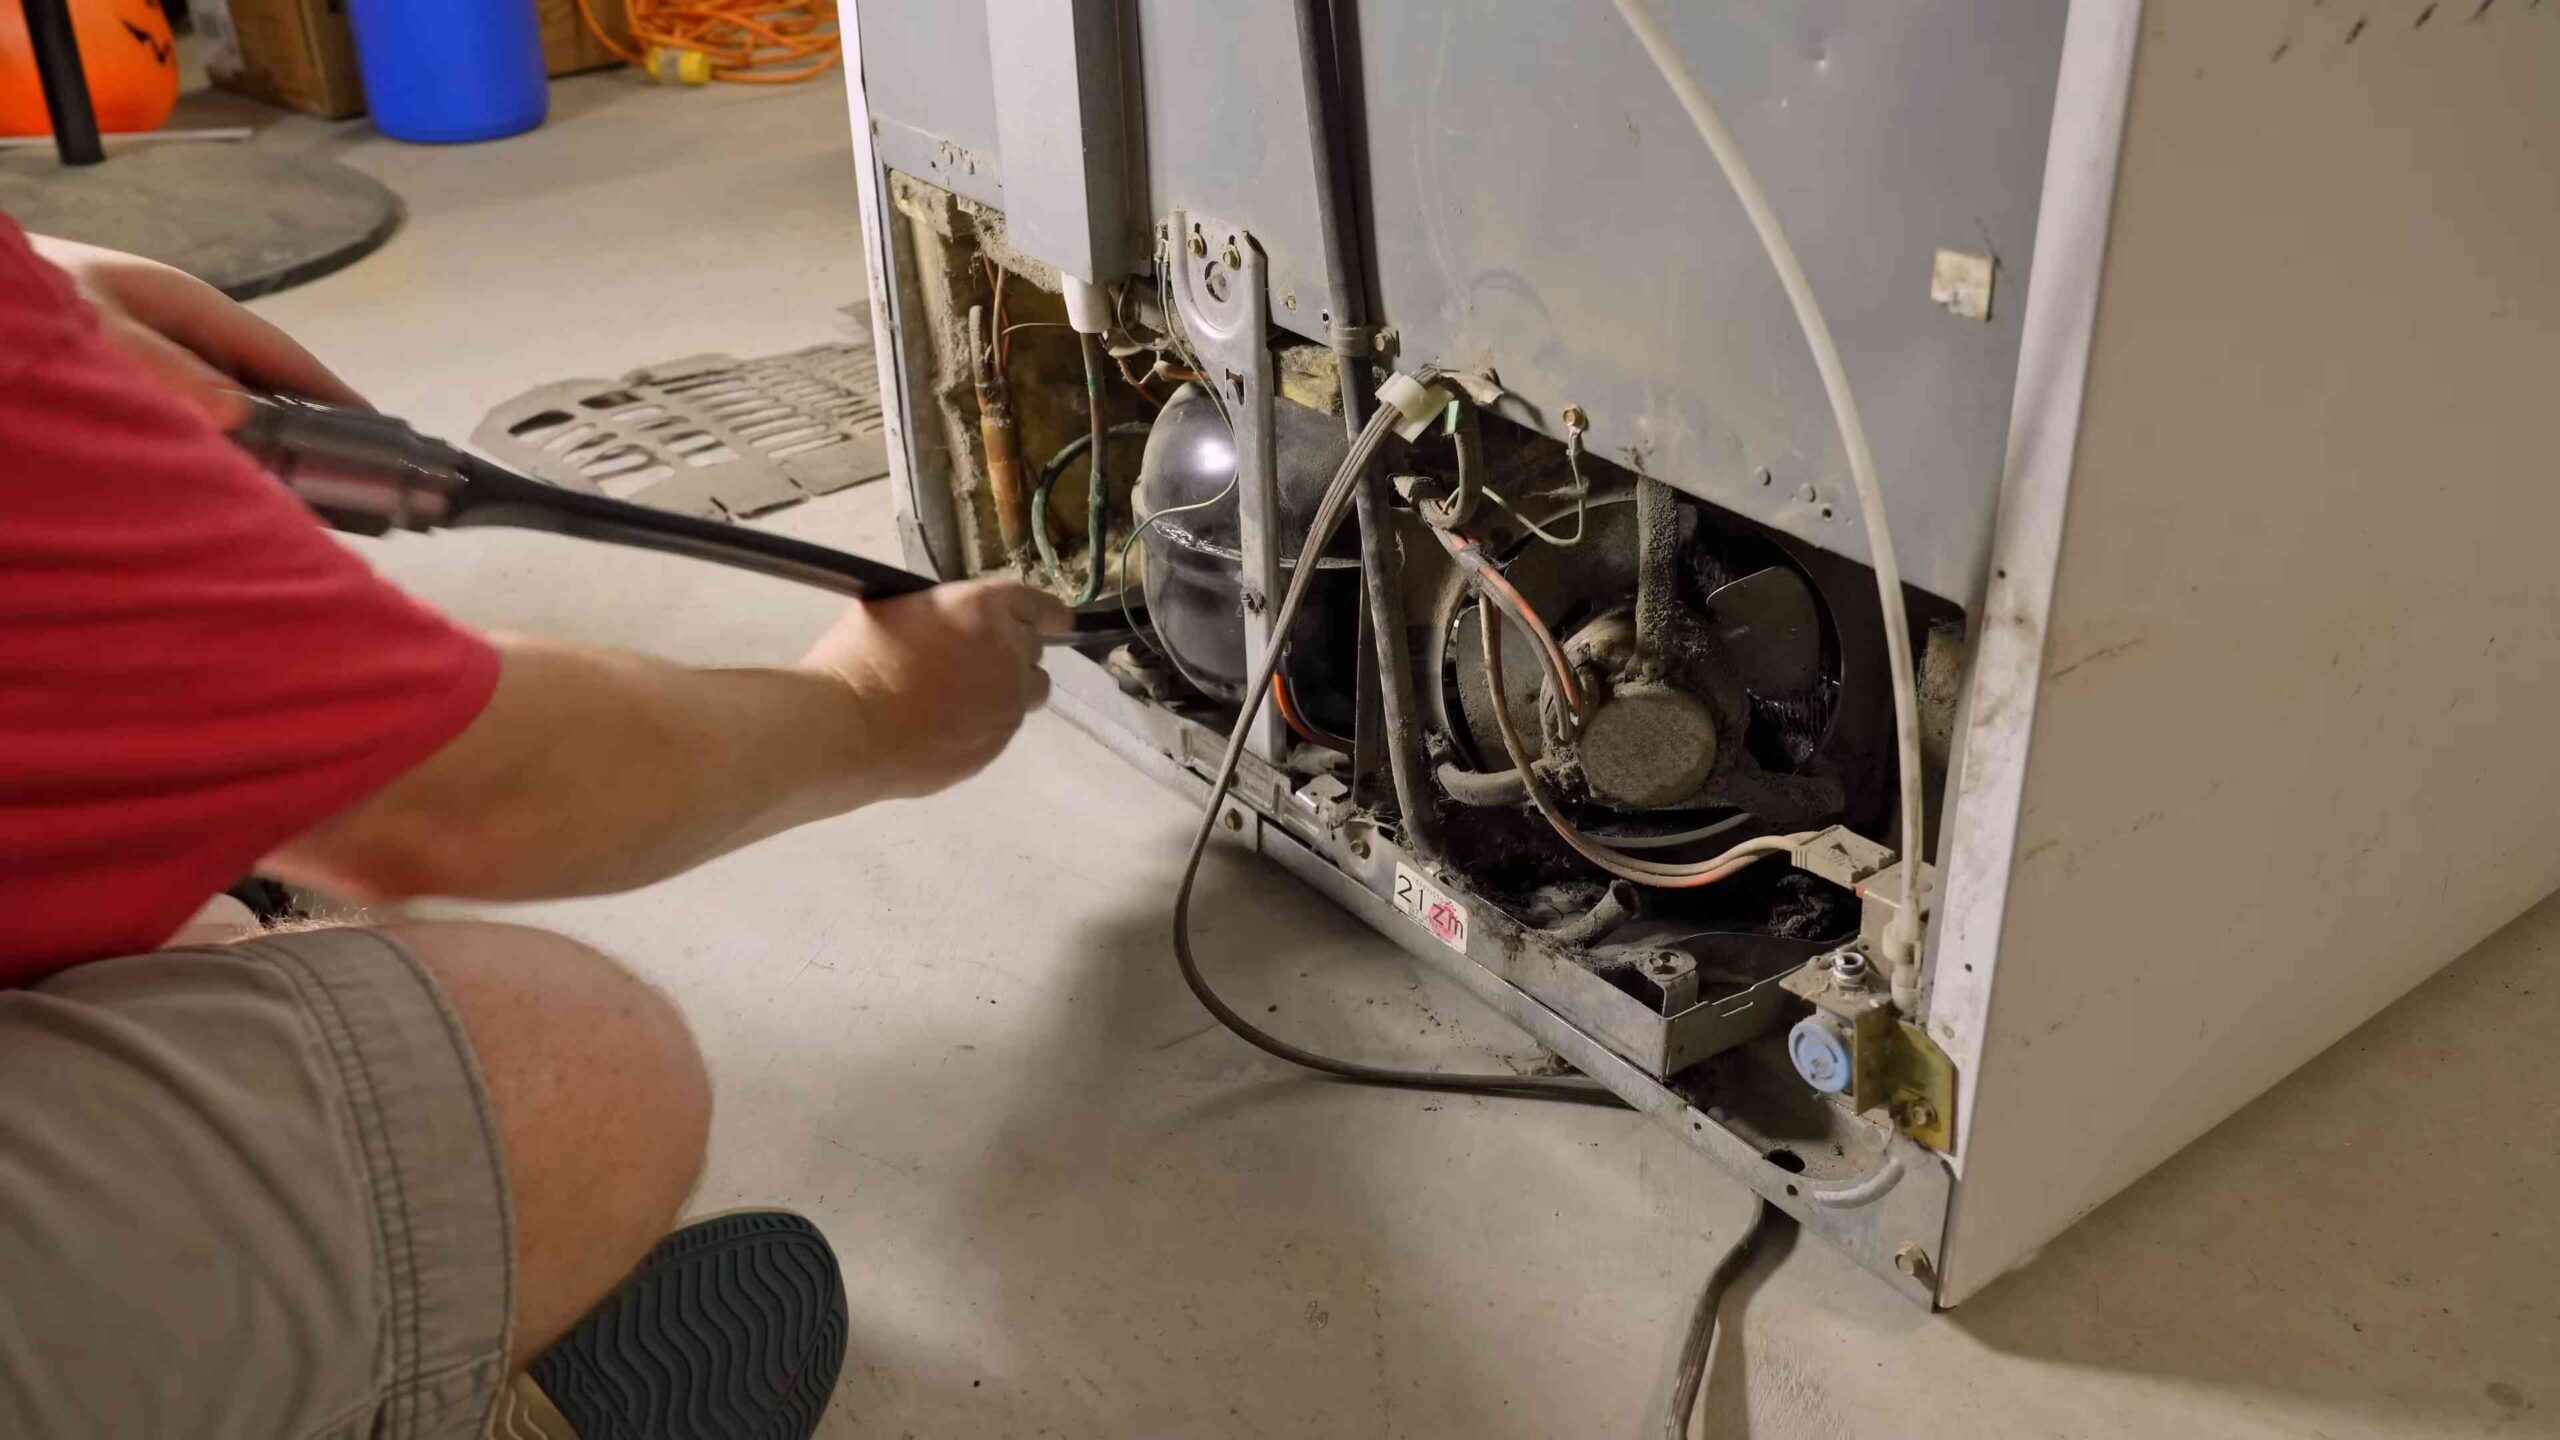
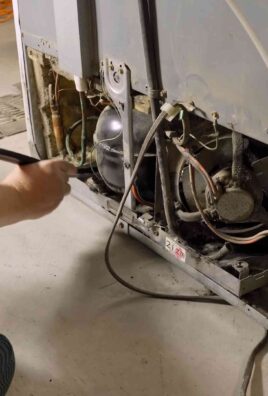
3. **Prepare the Area:** If the coils are on the back, carefully pull the refrigerator away from the wall. Be mindful of any water lines or electrical cords. If the coils are at the bottom, you’ll need to remove the kick plate. This usually involves unscrewing a few screws or using a screwdriver to gently pry it off. If the coils are on top, you’ll need to remove the access panel. Again, this usually involves unscrewing a few screws.
4. **Initial Vacuuming:** Use the vacuum cleaner with the brush attachment to remove as much loose dust and debris as possible from the coils. Go over the entire surface of the coils, paying attention to any areas with heavy buildup. The crevice tool can be helpful for getting into tight spaces.
5. **Coil Brush Cleaning:** Now, use the coil cleaning brush (or your alternative brush) to gently loosen any remaining dust and debris that the vacuum couldn’t remove. Work the brush between the coils, being careful not to damage them. Be gentle! You don’t want to bend or break the delicate fins.
6. **Second Vacuuming:** Vacuum up all the dust and debris that you loosened with the coil brush. Again, use the brush attachment and the crevice tool to get into all the nooks and crannies.
7. **Stubborn Grime Removal (Optional):** If you encounter any stubborn grime or sticky residue, dip a damp cloth or sponge into the warm soapy water and gently wipe the affected areas. Be sure to wring out the cloth well so that it’s not dripping wet. You don’t want to get water into the electrical components. After wiping with the soapy water, wipe again with a clean, damp cloth to remove any soap residue.
8. **Inspect and Repeat:** Inspect the coils to make sure they are clean. If you see any remaining dust or debris, repeat steps 5-7.
9. **Clean the Surrounding Area:** While you have the refrigerator pulled out, take the opportunity to clean the floor behind it. This is a great way to prevent dust from accumulating on the coils again quickly.
10. **Reassemble and Plug In:** Once you’re satisfied that the coils are clean, reassemble any panels or kick plates that you removed. Carefully push the refrigerator back into place, being mindful of any water lines or electrical cords. Finally, plug the refrigerator back into the power outlet.
Additional Tips and Tricks
* **Frequency:** I recommend cleaning your refrigerator coils at least twice a year, or more often if you have pets or live in a dusty environment.
* **Pet Hair:** If you have pets, you’ll likely find a lot of pet hair on your refrigerator coils. A vacuum cleaner with a HEPA filter is especially helpful for removing pet hair.
* **Coil Condenser Fan:** Some refrigerators have a coil condenser fan that helps to circulate air around the coils. If your refrigerator has a fan, make sure to clean it as well. You can usually access the fan by removing a panel on the back of the refrigerator.
* **Don’t Use Harsh Chemicals:** Avoid using harsh chemicals or abrasive cleaners on your refrigerator coils. These can damage the coils and potentially void your warranty.
* **Professional Cleaning:** If you’re not comfortable cleaning your refrigerator coils yourself, you can always hire a professional appliance repair technician to do it for you.
Troubleshooting
* **Can’t Find the Coils:** If you’re having trouble locating your refrigerator coils, consult your refrigerator’s owner’s manual.
* **Coils are Frozen:** If your refrigerator coils are frozen, it could be a sign of a more serious problem. Contact a qualified appliance repair technician.
* **Refrigerator Still Not Cooling:** If your refrigerator is still not cooling properly after cleaning the coils, there could be other issues, such as a faulty compressor or a refrigerant leak. Again, contact a qualified appliance repair technician.
Benefits of Clean Coils
* **Improved Energy Efficiency:** Clean coils allow your refrigerator to run more efficiently, saving you money on your energy bill.
* **Extended Refrigerator Life:** By reducing the strain on your refrigerator’s components, cleaning the coils can help to extend its lifespan.
* **Better Cooling Performance:** Clean coils allow your refrigerator to maintain a more consistent temperature, keeping your food fresher for longer.
* **Reduced Noise:** A refrigerator that’s working harder due to dirty coils can be noisier. Cleaning the coils can help to reduce the noise level.
And that’s it! Cleaning your refrigerator coils is a simple and effective way to improve your refrigerator’s performance and save money. I hope this guide has been helpful. Happy cleaning!
Conclusion
So, there you have it! Cleaning your refrigerator coils with a vacuum is not just a chore; it’s an investment in the longevity and efficiency of your appliance. We’ve walked you through the simple steps, highlighting the benefits of improved cooling, reduced energy consumption, and a quieter running refrigerator. By regularly tackling this often-overlooked task, you’re actively preventing costly repairs and extending the lifespan of your fridge.
Think about it: a refrigerator working harder than it needs to, struggling to maintain the correct temperature, is a drain on your wallet and a potential hazard for your food. Dirty coils act as insulators, trapping heat and forcing the compressor to work overtime. This not only increases your electricity bill but also puts unnecessary strain on the components, leading to premature failure.
This DIY trick is a must-try because it’s incredibly easy, cost-effective, and delivers tangible results. You likely already have the necessary tool – a vacuum cleaner with a hose attachment – making it a zero-cost solution. The process itself takes only a few minutes, and the payoff is significant. You’ll notice a difference in how your refrigerator operates, and you’ll have the satisfaction of knowing you’re contributing to a more sustainable household.
But don’t just take our word for it! We encourage you to give this simple cleaning method a try. You can even experiment with variations to suit your specific needs and preferences. For instance, if you have a particularly stubborn buildup of dust and debris, you can use a soft-bristled brush attachment on your vacuum to gently loosen the grime before vacuuming it away. Alternatively, for hard-to-reach areas, consider using a crevice tool to get into those tight spaces. Some people even use a can of compressed air to blow out any remaining dust after vacuuming.
Remember to always unplug your refrigerator before you begin cleaning the coils for safety reasons. And if you’re unsure about the location of the coils on your specific model, consult your owner’s manual.
We’re confident that once you experience the benefits of regularly cleaning your refrigerator coils, you’ll make it a part of your routine maintenance. It’s a small effort that yields big rewards.
So, grab your vacuum, unplug your fridge, and get ready to experience the difference a clean set of coils can make. We’d love to hear about your experience! Share your tips, tricks, and results in the comments below. Let’s create a community of refrigerator coil cleaning enthusiasts! Let us know if this simple DIY trick helped you save money and improve your refrigerator’s performance. Your feedback will help others discover the benefits of this easy and effective maintenance task.
Frequently Asked Questions (FAQ)
Why is it so important to clean my refrigerator coils?
Cleaning your refrigerator coils is crucial for maintaining the efficiency and longevity of your appliance. Dirty coils act as insulators, preventing the refrigerator from effectively dissipating heat. This forces the compressor to work harder, leading to increased energy consumption, higher electricity bills, and potential premature failure of the compressor. Regular cleaning ensures optimal cooling performance, reduces energy waste, and extends the lifespan of your refrigerator.
How often should I clean my refrigerator coils?
The frequency of cleaning depends on your environment. If you have pets, live in a dusty area, or have a lot of foot traffic near your refrigerator, you should clean the coils more frequently, perhaps every 3-6 months. In general, aim to clean them at least twice a year. A good way to remember is to clean them when you change your clocks for daylight saving time.
Where are the refrigerator coils located?
The location of the coils varies depending on the refrigerator model. In most refrigerators, the coils are located at the back of the unit, either exposed or behind a removable panel. In some newer models, the coils may be located at the bottom, behind a kick plate. Consult your refrigerator’s owner’s manual for specific instructions on locating the coils. If you can’t find your manual, you can usually find a digital copy on the manufacturer’s website by searching for your refrigerator’s model number.
What type of vacuum cleaner should I use?
Any vacuum cleaner with a hose attachment will work for cleaning refrigerator coils. A vacuum with a brush attachment is even better, as it can help loosen stubborn dust and debris. If you have a handheld vacuum, that can also be effective, especially for reaching tight spaces. The key is to use a vacuum with sufficient suction to remove the dust and dirt from the coils.
Is it safe to use a vacuum cleaner on the refrigerator coils?
Yes, it is generally safe to use a vacuum cleaner on the refrigerator coils, as long as you take a few precautions. Always unplug the refrigerator before you begin cleaning to avoid any electrical hazards. Be gentle when vacuuming the coils to avoid damaging them. Use a brush attachment or crevice tool to reach tight spaces and loosen stubborn dirt. Avoid using excessive force, as this could bend or break the coils.
Can I use a damp cloth to clean the coils?
While you can use a damp cloth to wipe down the coils, it’s generally recommended to use a vacuum cleaner first to remove the bulk of the dust and debris. If you choose to use a damp cloth, make sure it is only slightly damp and not dripping wet. Avoid getting any water inside the refrigerator’s components. After wiping the coils with a damp cloth, allow them to air dry completely before plugging the refrigerator back in.
What if I can’t reach the coils easily?
If the coils are located in a hard-to-reach area, consider using a crevice tool attachment on your vacuum cleaner. This will allow you to get into tight spaces and remove dust and debris more effectively. You can also try using a long-handled brush or duster to reach the coils. If you’re still having trouble, you may need to remove the refrigerator from its location to gain better access to the coils.
Will cleaning the coils really make a difference in my energy bill?
Yes, cleaning the coils can make a noticeable difference in your energy bill. When the coils are dirty, the refrigerator has to work harder to maintain the correct temperature, which consumes more energy. By cleaning the coils, you’re allowing the refrigerator to operate more efficiently, which can lead to significant savings on your electricity bill over time. The amount of savings will vary depending on the size and efficiency of your refrigerator, as well as the amount of dust and dirt on the coils.
What are the other benefits of cleaning the refrigerator coils?
In addition to saving energy and money, cleaning the refrigerator coils can also improve the overall performance of your refrigerator. A clean refrigerator will cool more effectively, keeping your food fresher for longer. It can also reduce the noise level of your refrigerator, as the compressor won’t have to work as hard. Furthermore, cleaning the coils can extend the lifespan of your refrigerator by preventing premature wear and tear on the components.
What if I clean the coils and my refrigerator still isn’t cooling properly?
If you’ve cleaned the coils and your refrigerator is still not cooling properly, there may be other issues at play. Check the door seals to make sure they are airtight. Make sure the temperature settings are correct. If the problem persists, you may need to consult a qualified appliance repair technician. There could be issues with the compressor, refrigerant levels, or other components that require professional attention.


Leave a Comment