

Clean Shower with Vinegar Soap: Are you tired of battling stubborn soap scum and mildew in your shower? I know I am! It feels like a never-ending chore, doesn’t it? But what if I told you there’s a simple, effective, and surprisingly affordable solution hiding in your pantry?
For generations, vinegar has been a go-to cleaning agent, lauded for its natural disinfecting properties. Think back to your grandmother’s cleaning rituals – chances are, vinegar played a starring role! This isn’t just an old wives’ tale; the acetic acid in vinegar is a powerful weapon against grime and bacteria. Combining it with soap creates a dynamic duo that tackles even the most challenging shower messes.
Why is this DIY trick so essential? Well, harsh chemical cleaners can be expensive, irritating to sensitive skin, and frankly, not great for the environment. This clean shower with vinegar soap method offers a natural alternative that’s gentle, effective, and budget-friendly. Plus, who doesn’t love the satisfaction of creating their own cleaning solutions? I’m excited to share this simple recipe and some helpful tips to keep your shower sparkling clean, naturally!
DIY Sparkling Shower: Vinegar and Soap Power!
Okay, let’s face it, cleaning the shower is nobody’s favorite chore. But a grimy shower can really bring down the whole bathroom vibe. I’ve tried countless commercial cleaners, and honestly, nothing beats this simple, effective, and budget-friendly DIY solution using vinegar and dish soap. Trust me, your shower will thank you!
What You’ll Need:
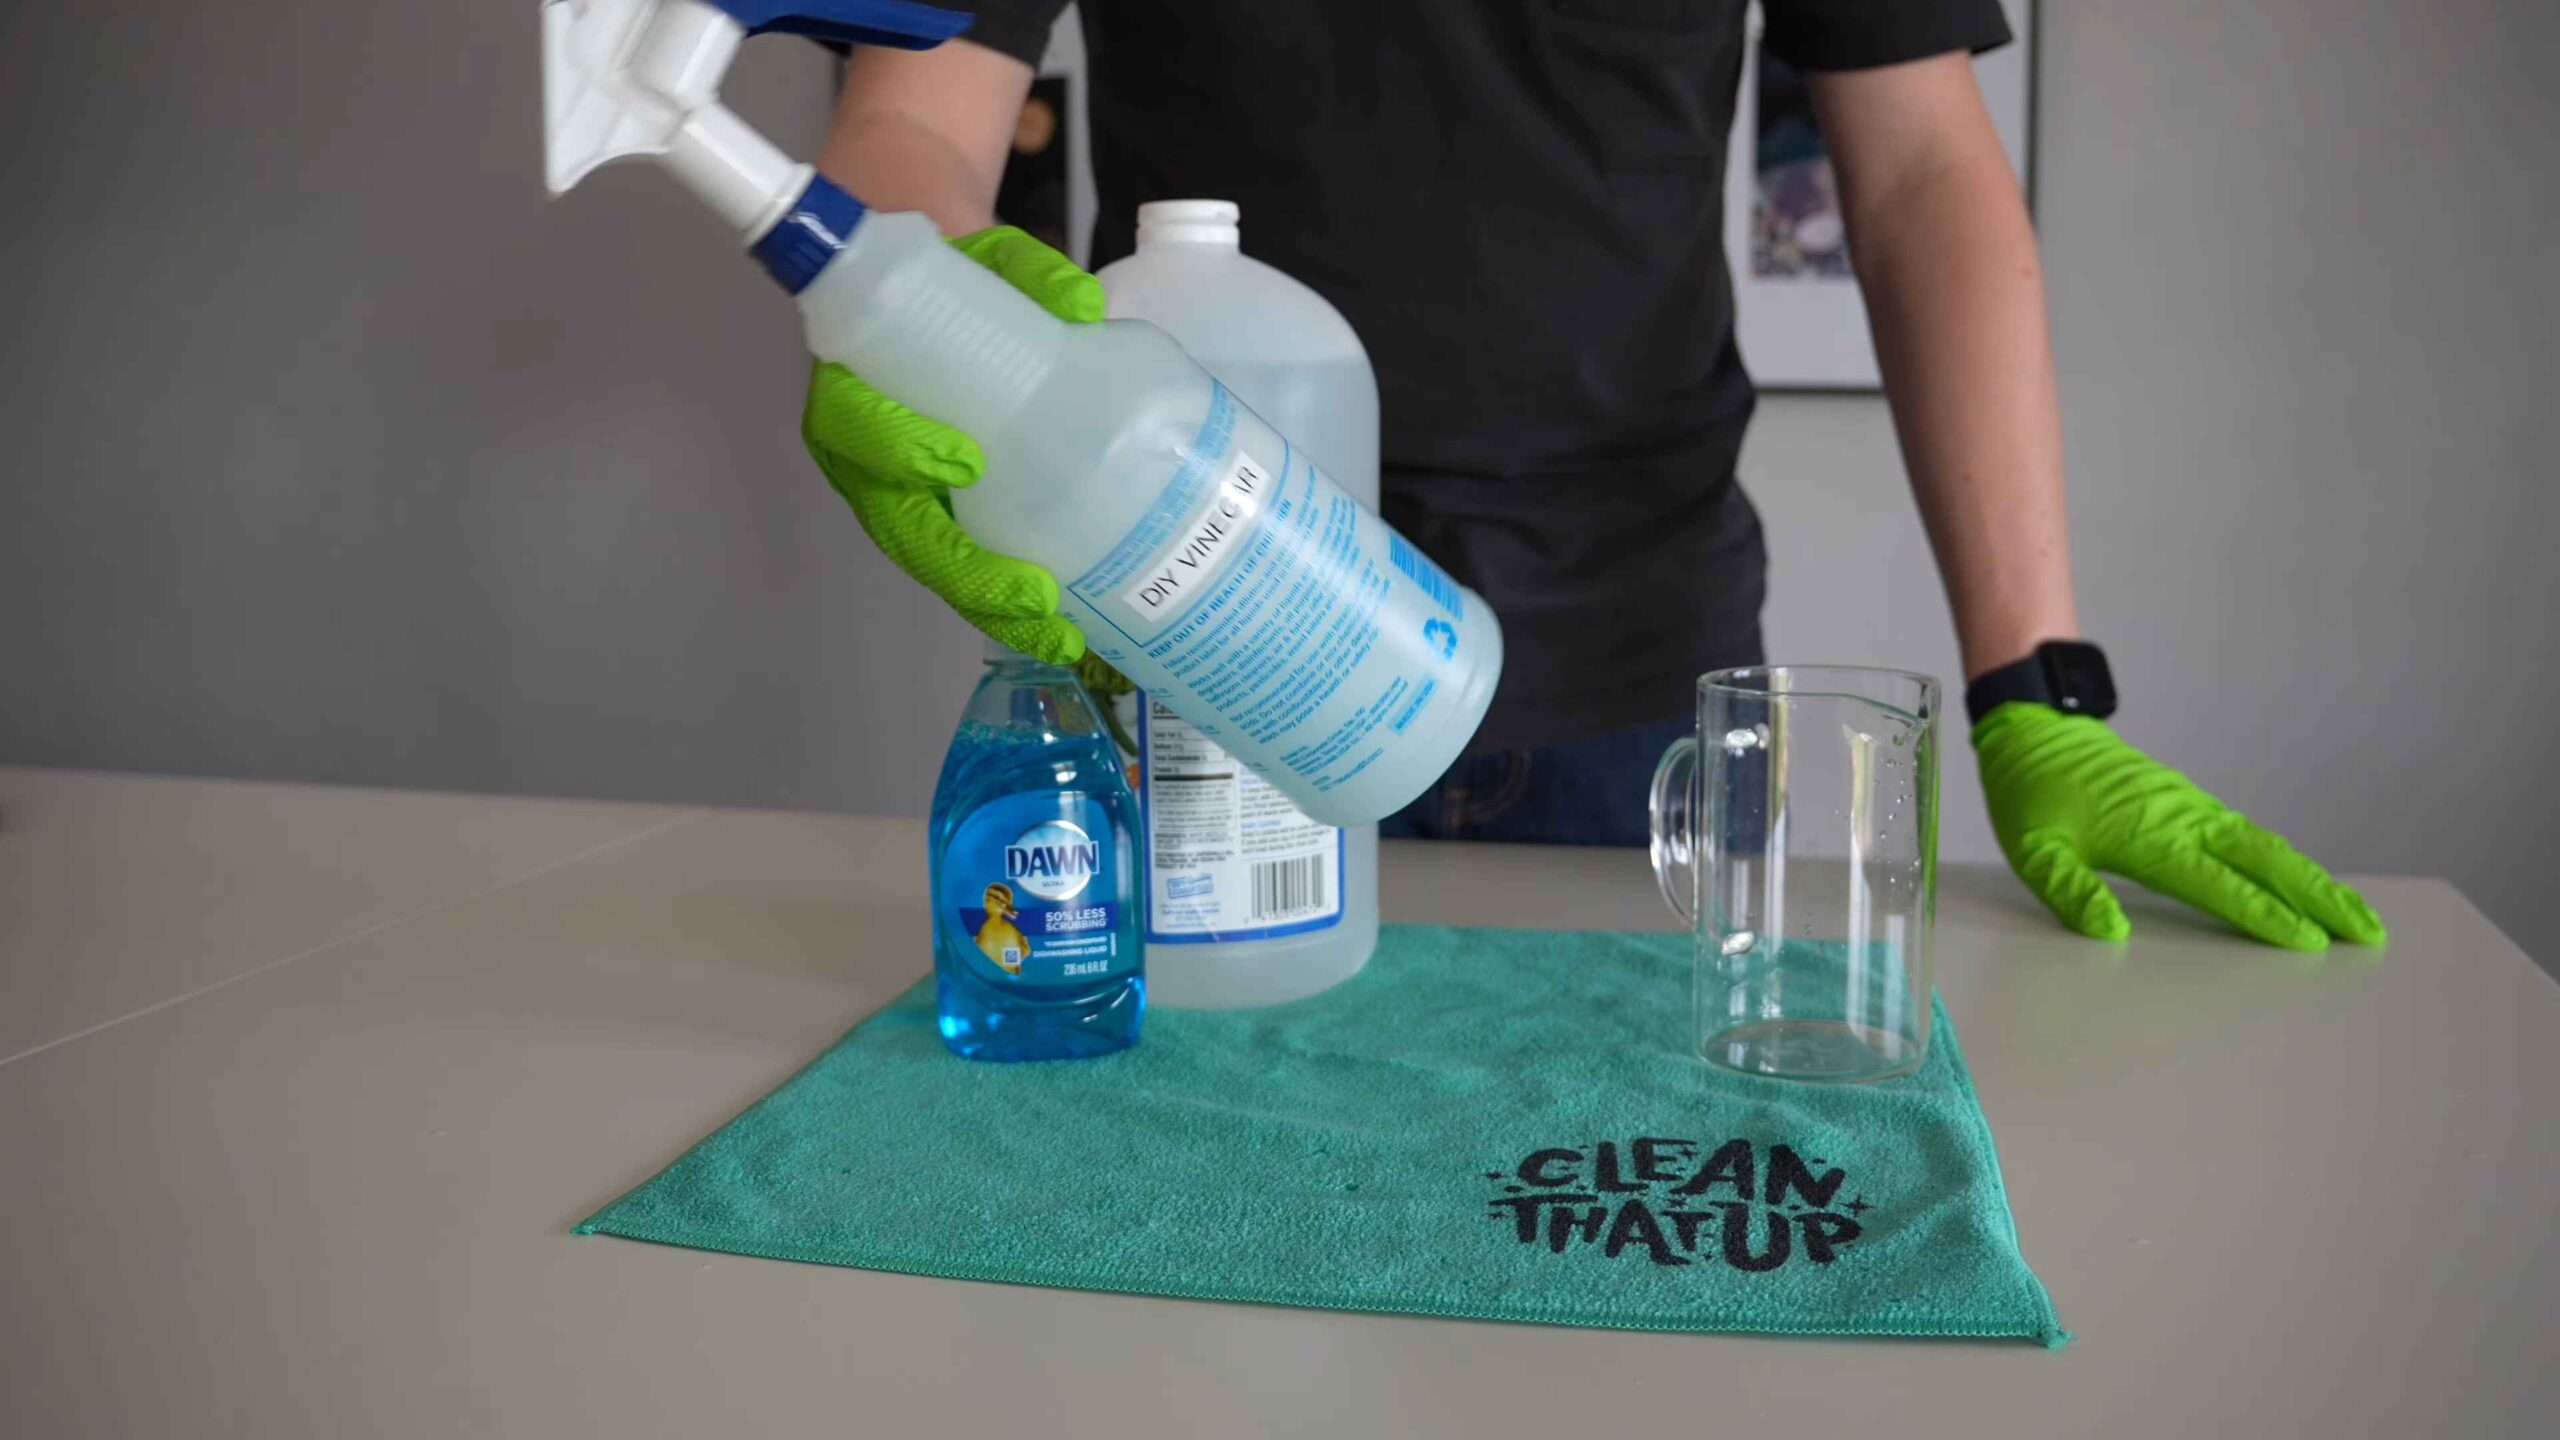
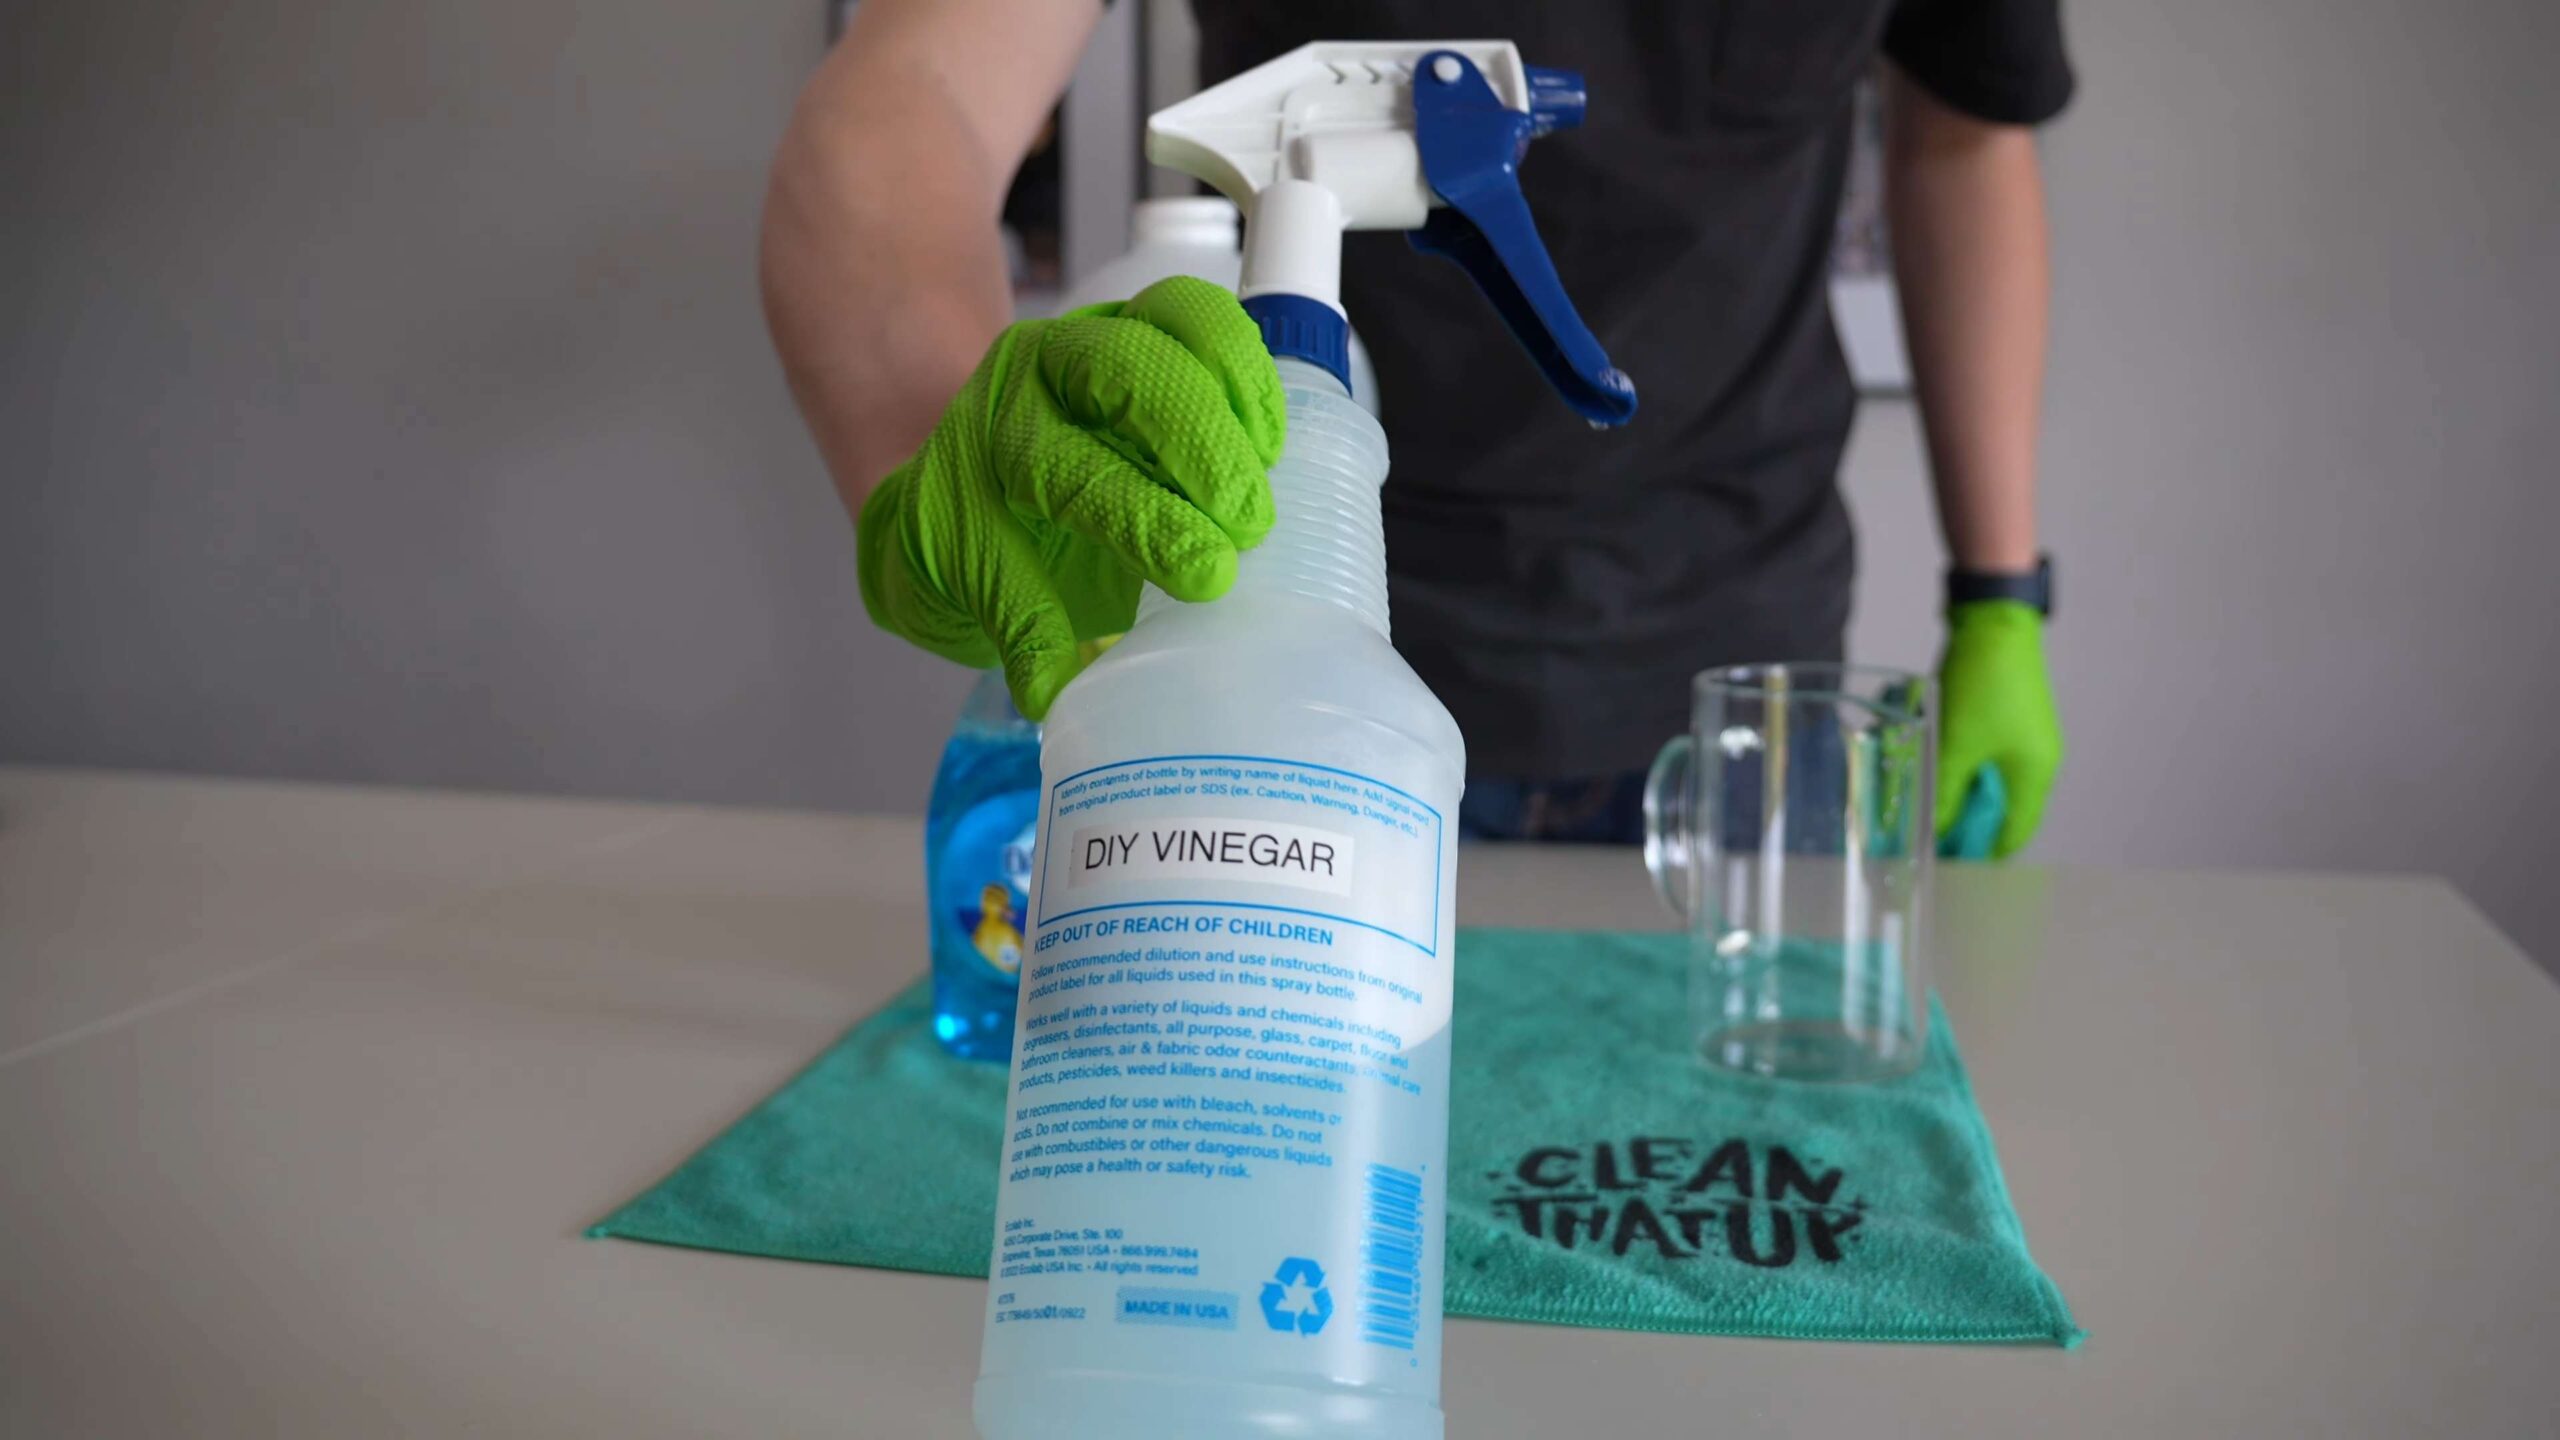
* White Vinegar
* Dish Soap (Dawn is my go-to, but any grease-cutting dish soap will work)
* Spray Bottle
* Scrub Brush or Sponge
* Microfiber Cloth or Squeegee
* Gloves (optional, but recommended)
* Safety Glasses (recommended, especially when spraying overhead)
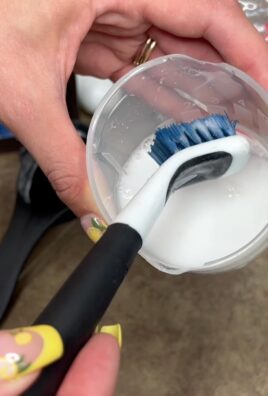
* Old Toothbrush (for those hard-to-reach spots)
* Small Bowl (for soaking showerhead if needed)
Why This Works: The Science Behind the Sparkle
Vinegar is a natural acid that’s fantastic at dissolving soap scum, hard water stains, and mildew. Dish soap helps to cut through grease and grime, lifting it away from surfaces. When combined, they create a powerful cleaning duo that’s tough on dirt but gentle on your shower.
Step-by-Step Instructions: Let’s Get Cleaning!
1. Prepare the Vinegar Solution: This is the key! You’ll need to heat the vinegar to make it even more effective. I usually microwave about 1 cup of white vinegar for 2-3 minutes, until it’s hot but not boiling. Be careful when handling hot vinegar!
2. Mix the Cleaning Solution: In your spray bottle, combine the hot vinegar with an equal amount of dish soap. I usually do a 1:1 ratio, so if you have 1 cup of vinegar, add 1 cup of dish soap. Gently swirl the bottle to mix the solution. Avoid shaking vigorously, as this can create excessive suds.
3. Protect Yourself: Put on your gloves and safety glasses. This is especially important if you’re spraying overhead, as you don’t want the solution getting in your eyes.
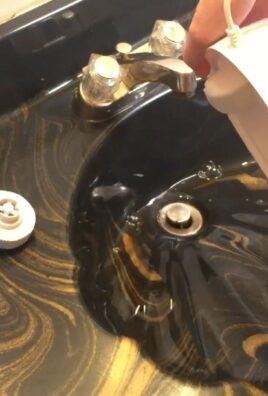
4. Spray the Shower: Generously spray the entire shower with the vinegar and soap solution. Focus on areas with heavy soap scum, mildew, or hard water stains. Don’t be shy! Really coat those problem areas.
5. Let it Sit: This is where the magic happens. Allow the solution to sit on the shower surfaces for at least 30 minutes, or even longer for tougher stains. I sometimes let it sit for a few hours, or even overnight, for really stubborn grime. The longer it sits, the easier it will be to scrub away the dirt.
6. Scrub-a-dub-dub: After the solution has had time to soak, it’s time to scrub! Use your scrub brush or sponge to thoroughly scrub all surfaces of the shower, including the walls, floor, door, and fixtures. For those hard-to-reach corners and grout lines, use your old toothbrush. You’ll be amazed at how easily the grime comes off!
7. Rinse Thoroughly: Once you’ve scrubbed everything, rinse the shower thoroughly with hot water. Make sure to remove all traces of the cleaning solution.
8. Dry and Shine: Use a microfiber cloth or squeegee to dry the shower surfaces. This will help prevent water spots and leave your shower sparkling clean.
Dealing with Stubborn Areas: Advanced Cleaning Techniques
Sometimes, you might encounter areas that are particularly stubborn and require a little extra attention. Here are a few tips for tackling those tough spots:
Showerhead Cleaning
Over time, showerheads can become clogged with mineral deposits, reducing water pressure. Here’s how to clean them:
1. Remove the Showerhead (If Possible): If your showerhead is easily removable, unscrew it from the shower arm.
2. Soak in Vinegar: Fill a small bowl with white vinegar and submerge the showerhead in the vinegar. Let it soak for at least 30 minutes, or even overnight for heavily clogged showerheads.
3. Scrub and Rinse: After soaking, use an old toothbrush to scrub away any remaining mineral deposits. Rinse the showerhead thoroughly with water.
4. Reinstall the Showerhead: Reattach the showerhead to the shower arm.
5. If Showerhead is Not Removable: If you can’t remove the showerhead, fill a plastic bag with white vinegar and secure it around the showerhead with a rubber band or twist tie. Make sure the showerhead is completely submerged in the vinegar. Let it soak for at least 30 minutes, or even overnight. Then, remove the bag and rinse the showerhead thoroughly with water.
Grout Cleaning
Grout can be a breeding ground for mildew and grime. Here’s how to clean it effectively:
1. Apply a Paste: Mix baking soda with a small amount of water to create a paste.
2. Apply to Grout: Apply the paste to the grout lines.
3. Scrub with Toothbrush: Use an old toothbrush to scrub the grout lines thoroughly.
4. Rinse Thoroughly: Rinse the grout lines with water.
5. For Stubborn Stains: For stubborn stains, you can try using a bleach pen or a commercial grout cleaner. Be sure to follow the manufacturer’s instructions carefully.
Glass Shower Doors
Glass shower doors are notorious for accumulating soap scum and water spots. Here’s how to keep them sparkling:
1. Use a Squeegee: After each shower, use a squeegee to remove excess water from the glass doors. This will help prevent water spots from forming.
2. Vinegar and Water Solution: Mix equal parts white vinegar and water in a spray bottle. Spray the solution on the glass doors and wipe them down with a microfiber cloth.
3. Baking Soda Paste: For stubborn soap scum, make a paste of baking soda and water. Apply the paste to the soap scum and let it sit for a few minutes. Then, scrub the area with a sponge or cloth and rinse thoroughly.
4. Lemon Juice: Lemon juice is a natural acid that can help dissolve soap scum and water spots. Cut a lemon in half and rub it directly on the glass doors. Let it sit for a few minutes, then rinse thoroughly.
Tips for Maintaining a Clean Shower: Prevention is Key!
The best way to keep your shower clean is to prevent grime from building up in the first place. Here are a few tips for maintaining a clean shower:
* Squeegee After Each Shower: As mentioned earlier, using a squeegee after each shower is one of the most effective ways to prevent water spots and soap scum from forming on glass shower doors and walls.
* Ventilate the Bathroom: Always run the bathroom fan during and after showering to help remove moisture from the air. This will help prevent mildew from growing.
* Use a Daily Shower Cleaner: Consider using a daily shower cleaner to help prevent soap scum and mildew from building up. You can find commercial daily shower cleaners, or you can make your own by mixing equal parts white vinegar and water in a spray bottle.
* Wash Shower Curtains and Liners: Wash your shower curtains and liners regularly to remove soap scum and mildew. Most shower curtains and liners can be washed in the washing machine on a gentle cycle.
* Regular Cleaning: Even with preventative measures, it’s still important to clean your shower regularly. Aim to clean your shower at least once a week to keep it sparkling clean.
Safety Precautions: Handle with Care!
While this DIY cleaning solution is effective and relatively safe, it’s important to take a few precautions:
* Wear Gloves: Vinegar can be irritating to the skin, so it’s best to wear gloves when cleaning.
* Wear Safety Glasses: Protect your eyes from splashes by wearing safety glasses, especially when spraying overhead.
* Ventilate the Bathroom: Make sure the bathroom is well-ventilated when cleaning with vinegar.
* Do Not Mix with Bleach: Never mix vinegar with bleach, as this can create toxic fumes.
* Test on a Small Area: Before cleaning the entire shower, test the solution on a small, inconspicuous area to make sure it doesn’t damage the surface.
Troubleshooting: What if it Doesn’t Work?
Sometimes, despite your best efforts, you might encounter situations where the cleaning solution doesn’t work as well as you’d hoped. Here are a few troubleshooting tips:
* Increase the Vinegar Concentration: If the solution isn’t strong enough, try increasing the amount of vinegar. You can even use straight vinegar for particularly stubborn stains.
* Increase the Soaking Time: Allow the solution to soak for a longer period of time. Sometimes, it just takes more time for the vinegar to break down the grime.
* Use a More Abrasive Scrub Brush: If the grime is really stuck on,
Conclusion
So, there you have it! Ditching those harsh chemicals and embracing the power of vinegar and soap for a sparkling clean shower is not just a trend; it’s a revolution in home cleaning. We’ve explored a simple yet incredibly effective DIY trick that promises to transform your shower cleaning routine, leaving you with a gleaming space and a clear conscience.
Why is this a must-try? Because it’s effective, affordable, and eco-friendly. Commercial shower cleaners are often packed with ingredients that can irritate your skin, pollute the air, and damage your plumbing over time. This DIY solution, on the other hand, harnesses the natural cleaning power of vinegar and the gentle cleansing action of soap to dissolve soap scum, mildew, and hard water stains without the harmful side effects. You’ll breathe easier, save money, and contribute to a healthier planet – all while enjoying a pristine shower.
But the beauty of this DIY trick lies in its adaptability. Feel free to experiment with different types of soap. Castile soap is a popular choice for its gentle yet effective cleaning properties. You can also try using dish soap, but be mindful of the potential for excessive suds. A few drops of your favorite essential oil, like tea tree, lavender, or eucalyptus, can add a refreshing scent and boost the cleaning power. For particularly stubborn stains, consider letting the vinegar and soap solution sit for a longer period before scrubbing. You can even preheat the shower by running hot water for a few minutes to loosen the grime before applying the cleaner.
Don’t be afraid to customize this recipe to suit your specific needs and preferences. The key is to find the right balance of vinegar, soap, and water that works best for your shower and your cleaning style.
We’re confident that once you try this DIY shower cleaner, you’ll never go back to those harsh chemical-laden products again. It’s a game-changer for anyone looking for a safe, effective, and sustainable way to keep their shower sparkling clean.
So, what are you waiting for? Gather your ingredients, mix up a batch of this amazing DIY shower cleaner, and prepare to be amazed. We encourage you to try this clean shower with vinegar soap method and share your experience with us! Let us know what variations you tried, what worked best for you, and any tips or tricks you discovered along the way. Your feedback will help us refine this recipe and make it even better for everyone. Share your before-and-after photos on social media using #DIYCleanShower and inspire others to ditch the chemicals and embrace the power of natural cleaning. Let’s create a community of clean, healthy, and happy homes, one sparkling shower at a time!
Frequently Asked Questions (FAQ)
1. What kind of vinegar should I use for this DIY shower cleaner?
White distilled vinegar is the best choice for cleaning. It’s inexpensive, readily available, and has a high acidity level, making it effective at dissolving soap scum, mildew, and hard water stains. Avoid using other types of vinegar, such as apple cider vinegar or balsamic vinegar, as they may contain sugars or pigments that could leave a residue on your shower surfaces.
2. Can I use any type of soap in this recipe?
While you can experiment with different types of soap, castile soap is generally recommended for its gentle yet effective cleaning properties. It’s also biodegradable and free of harsh chemicals, making it a more eco-friendly option. Dish soap can also be used, but be mindful of the potential for excessive suds. Avoid using hand soap or body wash, as they may contain ingredients that can leave a residue on your shower surfaces.
3. Will the vinegar smell linger in my shower?
The vinegar smell will dissipate quickly after you rinse the shower. If you’re particularly sensitive to the smell of vinegar, you can add a few drops of your favorite essential oil to the solution to mask the odor. Tea tree, lavender, and eucalyptus are all great choices for their refreshing scent and antibacterial properties.
4. How often should I use this DIY shower cleaner?
The frequency of cleaning will depend on how often you use your shower and how prone it is to soap scum and mildew buildup. As a general guideline, cleaning your shower once a week is a good starting point. If you notice buildup occurring more quickly, you may need to clean it more frequently.
5. Can I use this cleaner on all shower surfaces?
This DIY shower cleaner is generally safe to use on most shower surfaces, including tile, fiberglass, and glass. However, it’s always a good idea to test it on a small, inconspicuous area first to ensure that it doesn’t damage the surface. Avoid using this cleaner on natural stone surfaces, such as marble or granite, as the acidity of the vinegar can etch the stone.
6. What if I have really stubborn soap scum or mildew?
For particularly stubborn soap scum or mildew, you can try a few different approaches. First, let the vinegar and soap solution sit on the affected area for a longer period, up to 30 minutes or even an hour. You can also try using a scrub brush or sponge with a slightly abrasive surface to help loosen the grime. For really tough stains, you can make a paste of baking soda and water and apply it to the area before spraying with the vinegar and soap solution. The baking soda will act as a gentle abrasive to help scrub away the stains.
7. Can I store the leftover DIY shower cleaner?
Yes, you can store the leftover DIY shower cleaner in a spray bottle for future use. Be sure to label the bottle clearly so that you don’t accidentally use it for something else. The cleaner should be good for several weeks, but it’s best to use it within a month for optimal effectiveness.
8. Is this DIY shower cleaner safe for septic systems?
Yes, this DIY shower cleaner is generally safe for septic systems. Vinegar and soap are both biodegradable and won’t harm the beneficial bacteria in your septic tank. However, it’s always a good idea to use cleaning products sparingly, regardless of whether they’re commercial or homemade.
9. Can I use this cleaner on shower curtains or doors?
Yes, this cleaner works great on shower curtains and doors. For shower curtains, spray the cleaner on the curtain and let it sit for a few minutes before rinsing with water. For shower doors, spray the cleaner on the door and use a sponge or squeegee to wipe it clean.
10. What are some other natural cleaning alternatives I can use in my home?
Besides vinegar and soap, there are many other natural cleaning alternatives you can use in your home. Baking soda is a great all-purpose cleaner and deodorizer. Lemon juice is a natural disinfectant and can be used to remove stains and brighten surfaces. Essential oils can be used to add fragrance and boost the cleaning power of your homemade cleaners. With a little research and experimentation, you can create a whole arsenal of natural cleaning products that are safe, effective, and good for the environment.

Leave a Comment