

Clean Washing Machine with Vinegar: Is your washing machine starting to smell a little…funky? Don’t worry, you’re not alone! We’ve all been there. That musty odor is a sign that grime, detergent residue, and hard water deposits are building up inside, impacting your laundry’s freshness and even the machine’s performance. But before you call a repair technician, let me tell you a secret: you can banish that stink and restore your washing machine to its sparkling best with a simple, natural solution – vinegar!
Using vinegar as a cleaning agent isn’t a new fad. In fact, our grandmothers relied on vinegar for countless household tasks, appreciating its powerful cleaning properties long before fancy detergents lined store shelves. It’s a testament to the effectiveness of simple, natural solutions.
Why is it so important to clean washing machine with vinegar regularly? Well, a dirty washing machine isn’t just smelly; it can also harbor bacteria and mold, which can transfer to your clothes. Plus, buildup can reduce your machine’s efficiency, leading to longer wash cycles and higher energy bills. This DIY trick is a game-changer because it’s affordable, eco-friendly, and incredibly effective. I’m going to show you exactly how to use vinegar to deep clean your washing machine, leaving it fresh, sanitized, and ready to tackle your dirtiest laundry!
DIY: Sparkling Clean Washing Machine with Vinegar (and a Little Elbow Grease!)
Okay, let’s face it, we all rely on our washing machines to keep our clothes fresh and clean. But what about the washing machine itself? It’s easy to forget that this hardworking appliance needs a little TLC too! Over time, detergent residue, fabric softener buildup, and even mold can accumulate, leading to funky smells and less-than-optimal cleaning performance.
But don’t worry! You don’t need expensive cleaning products to get your washing machine sparkling again. This DIY method uses simple, affordable vinegar (and a bit of baking soda for extra oomph!) to naturally clean and deodorize your machine. I’ve been using this method for years, and it works like a charm.
What You’ll Need:
* White Vinegar (about 4 cups)
* Baking Soda (about 1/4 cup)
* Old Toothbrush or Scrub Brush
* Microfiber Cloth or Sponge
* Empty Spray Bottle (optional, but helpful)
* Rubber Gloves (optional, but recommended)
Why Vinegar and Baking Soda?
Vinegar is a natural disinfectant and deodorizer. Its acidity helps break down soap scum, mineral deposits, and mildew. Baking soda is a mild abrasive that helps scrub away stubborn grime and further neutralizes odors. Together, they create a powerful cleaning duo without the harsh chemicals found in many commercial cleaners.
Step-by-Step Cleaning Guide:
Here’s the breakdown of how we’re going to tackle this cleaning project:
* **Phase 1: The Vinegar Wash (Deep Clean)**: This is the main cleaning cycle that will loosen and remove most of the buildup.
* **Phase 2: Scrub-a-Dub-Dub (Manual Cleaning)**: We’ll get down and dirty, scrubbing away any remaining residue in those hard-to-reach areas.
* **Phase 3: Baking Soda Boost (Odor Neutralization)**: A final rinse with baking soda will help eliminate any lingering odors and leave your machine smelling fresh.
* **Phase 4: Wipe Down and Prevention (Maintenance)**: We’ll finish by wiping down the exterior and discussing how to prevent future buildup.
Phase 1: The Vinegar Wash (Deep Clean)
This is where the magic happens! The vinegar will work its way through the machine, loosening all the gunk and grime.
1. **Empty the Washing Machine:** Make sure your washing machine is completely empty. No clothes, no stray socks, nothing!
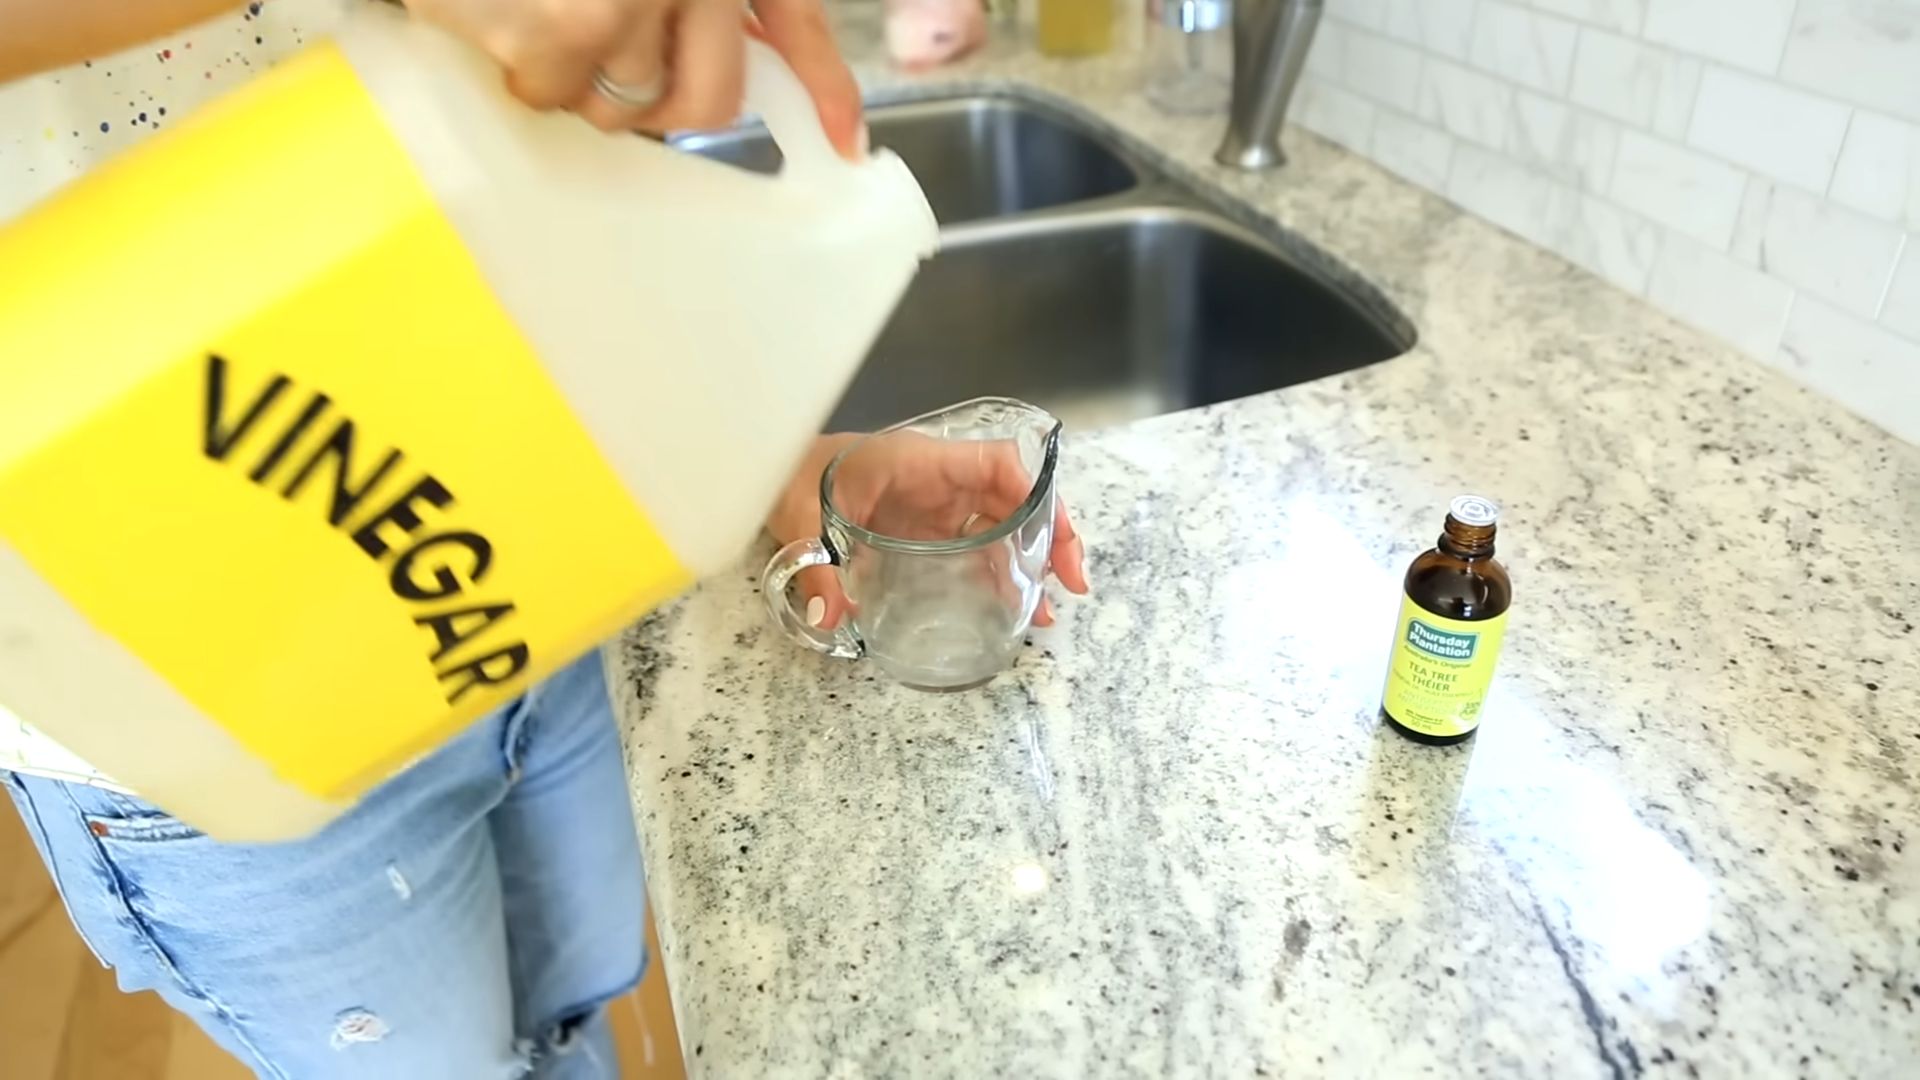
2. **Add Vinegar to the Detergent Dispenser:** Pour about 2 cups of white vinegar into the detergent dispenser. If you have a dispenser for bleach, you can add about 1/2 cup of vinegar there as well.
3. **Pour Vinegar into the Drum (for Top-Loaders):** If you have a top-loading washing machine, pour the remaining 2 cups of white vinegar directly into the drum. For front-loaders, you can skip this step, as the vinegar in the dispenser will be sufficient.
4. **Run a Hot Water Cycle:** Set your washing machine to the hottest water setting and the largest load size. Choose a regular wash cycle.
5. **Let it Run!** Let the entire cycle run its course. This will give the vinegar plenty of time to work its cleaning magic.
Phase 2: Scrub-a-Dub-Dub (Manual Cleaning)
While the vinegar wash is doing its thing, we can focus on the areas that need a little extra attention.
1. **Clean the Detergent and Fabric Softener Dispensers:** Remove the detergent and fabric softener dispensers (if removable). Soak them in a solution of warm water and vinegar (about 1 cup of vinegar per gallon of water) for about 30 minutes. This will loosen any dried-on residue.
2. **Scrub the Dispensers:** After soaking, use your old toothbrush or scrub brush to scrub away any remaining residue from the dispensers. Rinse them thoroughly with clean water and set them aside to dry.
3. **Clean the Rubber Gasket (Front-Loaders):** This is a crucial step for front-loading washing machines! The rubber gasket around the door is a notorious breeding ground for mold and mildew. Carefully peel back the gasket and inspect for any buildup.
4. **Spray with Vinegar Solution (Gasket):** Fill your empty spray bottle with a solution of equal parts white vinegar and water. Spray the vinegar solution liberally onto the rubber gasket, paying close attention to any areas with visible mold or mildew.
5. **Scrub the Gasket:** Use your old toothbrush or scrub brush to scrub the gasket thoroughly. You may need to use a bit of elbow grease to remove stubborn buildup.
6. **Wipe Clean (Gasket):** Use a microfiber cloth or sponge to wipe the gasket clean. Make sure to dry it thoroughly to prevent future mold growth.
7. **Clean the Top of the Agitator (Top-Loaders):** If you have a top-loading machine with an agitator, remove the cap on top of the agitator (if possible). You might find some hidden grime underneath! Clean it with a vinegar solution and a scrub brush.
8. **Wipe Down the Exterior:** Use a damp microfiber cloth to wipe down the exterior of your washing machine. Pay attention to the control panel, the door, and any other areas that tend to get dirty.
Phase 3: Baking Soda Boost (Odor Neutralization)
Now that we’ve deep cleaned and scrubbed, it’s time to neutralize any lingering odors with baking soda.
1. **Add Baking Soda to the Drum:** Sprinkle about 1/4 cup of baking soda directly into the drum of your washing machine.
2. **Run a Rinse Cycle:** Set your washing machine to a rinse cycle with cold water. This will help remove any remaining vinegar and baking soda residue and leave your machine smelling fresh.
Phase 4: Wipe Down and Prevention (Maintenance)
We’re almost done! Just a few final touches to ensure a clean and fresh washing machine.
1. **Wipe Down the Drum:** After the rinse cycle is complete, use a clean, dry microfiber cloth to wipe down the inside of the washing machine drum. This will help remove any remaining moisture and prevent water spots.
2. **Leave the Door Ajar:** To prevent mold and mildew growth, leave the washing machine door slightly ajar after each use. This will allow air to circulate and dry out the interior.
3. **Clean the Lint Trap Regularly:** Don’t forget to clean the lint trap after each load of laundry! A clogged lint trap can reduce the efficiency of your washing machine and even pose a fire hazard.
4. **Repeat the Cleaning Process Regularly:** I recommend cleaning your washing machine with vinegar and baking soda every 1-3 months, depending on how frequently you use it. Regular cleaning will prevent buildup and keep your machine running smoothly.
Extra Tips and Tricks:
* For extra stubborn mold or mildew, you can create a paste of baking soda and water and apply it to the affected areas. Let it sit for about 30 minutes before scrubbing and rinsing.
* If you have hard water, you may need to clean your washing machine more frequently.
* Avoid using excessive amounts of detergent or fabric softener, as this can contribute to buildup.
* Consider using a washing machine cleaner specifically designed for your machine type (HE or standard) in addition to this DIY method for a more thorough clean.
* Always consult your washing machine’s owner’s manual for specific cleaning instructions and recommendations.
Troubleshooting:
* Strong Vinegar Smell: Don’t worry if your washing machine smells strongly of vinegar after cleaning. The smell will dissipate quickly. You can also run an extra rinse cycle with plain water to help remove the vinegar smell.
* Stubborn Stains: If you have stubborn stains or buildup that won’t come off with scrubbing, you can try using a stronger cleaning solution, such as bleach. However, be sure to follow the manufacturer’s instructions carefully and wear appropriate safety gear.
* Mold and Mildew: If you have a significant mold or mildew problem, you may need to consult a professional cleaning service.
By following these simple steps, you can keep your washing machine clean, fresh, and running smoothly for years to come. Happy cleaning!

Conclusion
So, there you have it! Cleaning your washing machine with vinegar isn’t just a chore; it’s an investment in the longevity and efficiency of your appliance, and ultimately, the cleanliness of your clothes. We’ve walked through the simple steps, highlighting how this natural, readily available ingredient can banish grime, eliminate odors, and keep your washing machine running smoothly.
Why is this DIY trick a must-try? Because it’s effective, affordable, and environmentally friendly. Commercial washing machine cleaners often contain harsh chemicals that can be detrimental to both your machine and the environment. Vinegar, on the other hand, is a gentle yet powerful cleaning agent that breaks down residue and eliminates bacteria without leaving behind harmful toxins. Plus, let’s be honest, who doesn’t love saving money?
But the benefits extend beyond just cost savings. A clean washing machine means cleaner clothes. Think about it: if your washing machine is harboring mold, mildew, or detergent buildup, those contaminants can transfer to your laundry, leaving your clothes smelling less than fresh and potentially irritating your skin. By regularly cleaning your washing machine with vinegar, you’re ensuring that your clothes are truly getting clean.
Looking for variations? Absolutely! For an extra boost of cleaning power, consider adding a half-cup of baking soda to the drum along with the vinegar. The combination of vinegar and baking soda creates a fizzing action that helps to loosen stubborn grime. You can also add a few drops of your favorite essential oil, like lavender or tea tree oil, to the vinegar for a pleasant scent. Just be sure to use essential oils sparingly, as some can stain fabrics. Another variation is to use distilled white vinegar for the cleaning cycle and then follow it with a cycle using a cup of borax for extra sanitizing power, especially if you frequently wash heavily soiled items.
Don’t forget to clean the dispenser drawers and rubber seals! These areas are often overlooked but can harbor a significant amount of mold and mildew. Use a toothbrush or small scrub brush dipped in a vinegar solution to scrub these areas clean. For stubborn stains, let the vinegar solution sit for a few minutes before scrubbing.
We are confident that once you experience the difference a clean washing machine makes, you’ll never go back to using harsh chemical cleaners. The process is simple, the results are impressive, and the peace of mind knowing you’re using a natural and safe cleaning method is priceless.
So, what are you waiting for? Grab a bottle of vinegar and give your washing machine the spa day it deserves! We encourage you to try this DIY trick and share your experience with us in the comments below. Let us know if you have any questions or if you’ve discovered any other helpful tips for keeping your washing machine sparkling clean. We can’t wait to hear from you! Remember, a clean washing machine is a happy washing machine, and a happy washing machine means cleaner, fresher laundry for you and your family. Embrace the power of vinegar and transform your laundry routine today!
Frequently Asked Questions
How often should I clean my washing machine with vinegar?
The frequency with which you should clean your washing machine with vinegar depends on how often you use it. As a general rule, we recommend cleaning your washing machine with vinegar at least once a month. If you use your washing machine frequently, or if you notice any signs of mold, mildew, or unpleasant odors, you may need to clean it more often. For households with pets or those who frequently wash heavily soiled items, cleaning every two weeks might be beneficial. Regular cleaning prevents buildup and keeps your machine running efficiently.
Can I use apple cider vinegar instead of white vinegar?
While apple cider vinegar does have some cleaning properties, we recommend using distilled white vinegar for cleaning your washing machine. Distilled white vinegar is more acidic than apple cider vinegar, making it more effective at breaking down residue and eliminating bacteria. Apple cider vinegar also has a stronger odor that may linger in your washing machine after cleaning. However, if distilled white vinegar is unavailable, apple cider vinegar can be used as a substitute, but you might need to repeat the cleaning cycle for optimal results.
Will vinegar damage my washing machine?
No, vinegar will not damage your washing machine. In fact, vinegar is a gentle and effective cleaning agent that is safe to use on most washing machine components. However, it’s important to use the correct amount of vinegar and to follow the instructions carefully. Avoid using vinegar in combination with bleach, as this can create harmful fumes. Also, while vinegar is generally safe for rubber seals, prolonged exposure to highly concentrated vinegar might degrade them over time. Diluting the vinegar with water can help mitigate this risk.
My washing machine smells like vinegar after cleaning. How do I get rid of the smell?
The vinegar smell should dissipate after a few hours. If the smell persists, run an empty rinse cycle with a cup of baking soda. The baking soda will help to neutralize any remaining vinegar odor. You can also leave the washing machine door open to air it out. Another option is to add a few drops of your favorite essential oil to the rinse cycle for a pleasant scent. Ensure the washing machine is completely dry after the rinse cycle to prevent mold growth.
I have a high-efficiency (HE) washing machine. Can I still use vinegar to clean it?
Yes, you can use vinegar to clean a high-efficiency (HE) washing machine. However, it’s important to use the correct amount of vinegar and to follow the manufacturer’s instructions. HE washing machines use less water than traditional washing machines, so you may need to use less vinegar. Check your washing machine’s manual for specific recommendations. Also, ensure that the vinegar is properly diluted to avoid any potential issues with the machine’s sensors or components.
What if I have a front-loading washing machine? Are there any special considerations?
Front-loading washing machines are particularly prone to mold and mildew growth due to their airtight seals. When cleaning a front-loading washing machine with vinegar, pay special attention to the rubber seal around the door. Use a toothbrush or small scrub brush dipped in a vinegar solution to scrub the seal clean. Also, be sure to wipe down the inside of the door and the area around the seal after each use to prevent moisture buildup. Leave the door slightly ajar after each wash to allow air to circulate and prevent mold growth.
Can I use vinegar to clean the detergent dispenser?
Absolutely! The detergent dispenser is a common area for detergent buildup and mold growth. To clean the detergent dispenser, remove it from the washing machine and soak it in a solution of equal parts vinegar and water for about 30 minutes. Then, use a toothbrush or small scrub brush to scrub away any remaining residue. Rinse the dispenser thoroughly with water before replacing it in the washing machine. For stubborn buildup, you can use a paste of baking soda and water to scrub the dispenser.
What are the signs that my washing machine needs cleaning?
There are several signs that indicate your washing machine needs cleaning. These include:
* Unpleasant odors coming from the washing machine
* Visible mold or mildew growth
* Detergent residue buildup
* Clothes that don’t smell fresh after washing
* Reduced washing machine efficiency
* Water not draining properly
If you notice any of these signs, it’s time to clean your washing machine with vinegar. Regular cleaning will help to prevent these problems and keep your washing machine running smoothly.
Can I use vinegar and bleach together to clean my washing machine?
No, you should never use vinegar and bleach together. Mixing vinegar and bleach creates chlorine gas, which is a toxic and potentially deadly gas. Always use vinegar and bleach separately, and never mix them together. If you want to use bleach to sanitize your washing machine, run a separate cleaning cycle with bleach after cleaning with vinegar. Be sure to rinse the washing machine thoroughly between cycles to remove any traces of vinegar or bleach.
My washing machine has a self-cleaning cycle. Do I still need to clean it with vinegar?
Even if your washing machine has a self-cleaning cycle, it’s still a good idea to clean it with vinegar periodically. Self-cleaning cycles can help to remove some buildup, but they may not be as effective as a thorough cleaning with vinegar. Using vinegar in addition to the self-cleaning cycle will help to ensure that your washing machine is truly clean and free of mold, mildew, and detergent residue. Consider using vinegar every other time you would normally run the self-cleaning cycle to maintain optimal cleanliness.

Leave a Comment