

Cleaning Tips and Hacks: Let’s face it, nobody loves cleaning, but what if I told you there were ways to make it faster, easier, and even…dare I say…a little bit fun? Forget spending hours scrubbing and stressing – I’m about to share some game-changing DIY cleaning tricks that will transform your home from chaotic to sparkling in no time!
Throughout history, cultures around the world have developed unique and ingenious methods for keeping their homes clean. From ancient Egyptians using natron (a natural salt mixture) to clean surfaces, to the Victorian era’s obsession with meticulous dusting and polishing, the pursuit of a clean and healthy living space is a timeless human endeavor. But let’s be honest, we don’t have time for all that fuss these days!
That’s where these cleaning tips and hacks come in. In today’s busy world, who has hours to dedicate to cleaning? We’re all juggling work, family, and social lives, and the last thing we want to do is spend our precious free time scrubbing toilets. These DIY solutions are designed to save you time, money, and energy, using simple ingredients you probably already have in your pantry. I’m going to show you how to tackle those tough cleaning tasks with minimal effort, leaving you with more time to enjoy the things you actually love. Get ready to say goodbye to cleaning overwhelm and hello to a sparkling, stress-free home!
DIY Cleaning Hacks: Sparkling Home, Happy You!
Hey there, fellow cleaning enthusiasts! Let’s face it, cleaning isn’t exactly anyone’s favorite pastime. But a clean home is a happy home, right? So, I’m going to share some of my absolute favorite DIY cleaning hacks that will save you time, money, and maybe even a little sanity. Get ready to ditch those harsh chemicals and embrace the power of natural ingredients!
Hack 1: The Magic of Baking Soda and Vinegar
This dynamic duo is a cleaning powerhouse! Baking soda is a mild abrasive and deodorizer, while vinegar is a natural disinfectant and descaler. Together, they create a fizzing action that loosens grime and dirt like nobody’s business.
Clogged Drain Buster
Is your sink draining slower than molasses in January? Don’t reach for those expensive drain cleaners just yet! Try this simple trick:
1. Pour it in: Start by pouring about 1 cup of baking soda down the drain.
2. Vinegar time: Follow that with 1 cup of white vinegar.
3. Fizz and bubble: Let the mixture fizz and bubble for about 30 minutes. You might want to cover the drain with a stopper to contain the reaction.
4. Flush it out: After 30 minutes, flush the drain with hot water for several minutes. If the clog is stubborn, repeat the process.
Oven Cleaning Made Easy
Cleaning the oven is one of those chores we all dread. But with this baking soda paste, it becomes surprisingly manageable.
1. Empty the oven: Remove all racks and any loose debris from the oven.
2. Make the paste: In a bowl, mix 1/2 cup of baking soda with enough water to form a thick paste.
3. Coat the oven: Spread the paste evenly over all interior surfaces of the oven, avoiding the heating elements.
4. Let it sit: Let the paste sit overnight (or for at least 12 hours). This is crucial for loosening the baked-on grime.
5. Wipe it away: The next day, use a damp cloth or sponge to wipe away the baking soda paste. You might need to scrub a bit in stubborn areas.
6. Vinegar rinse: Fill a spray bottle with white vinegar and spray down the interior of the oven. This will react with any remaining baking soda and help to remove it.
7. Final wipe down: Wipe the oven clean with a damp cloth.
8. Replace the racks: Put the oven racks back in, and you’re done!
Hack 2: Lemon Power for a Fresh Scent and Clean Shine
Lemons aren’t just for lemonade! Their acidity makes them a fantastic natural cleaner and deodorizer. Plus, they leave behind a lovely, fresh scent.
Microwave Cleaning Magic
Burnt-on food splatters in the microwave? No problem! This lemon steam cleaning trick is a game-changer.
1. Lemon water: Fill a microwave-safe bowl with 1 cup of water and add the juice of one lemon (or several lemon slices).
2. Microwave it: Microwave the mixture on high for 3-5 minutes, or until the water boils and the microwave is filled with steam.
3. Let it sit: Let the bowl sit in the microwave for another 5-10 minutes. This allows the steam to loosen the grime.
4. Wipe it clean: Carefully remove the bowl (it will be hot!) and wipe down the interior of the microwave with a damp cloth or sponge. The splatters should wipe away easily.
Garbage Disposal Freshener
A stinky garbage disposal can make your whole kitchen smell unpleasant. Here’s how to freshen it up with lemons:
1. Cut the lemons: Cut a few lemon halves into smaller pieces.
2. Grind them up: Turn on the cold water and run the garbage disposal.
3. Drop them in: Drop the lemon pieces into the disposal, one at a time. The lemon peels will help to clean and deodorize the disposal.
4. Rinse and repeat: Continue running the water and disposal for about 30 seconds to flush out any remaining lemon pieces.
DIY All-Purpose Cleaner
This simple cleaner is great for countertops, sinks, and other surfaces.
1. Infuse the vinegar: Place lemon peels into a jar and cover them with white vinegar.
2. Let it steep: Allow the mixture to steep for about a week. This allows the lemon oils to infuse into the vinegar.
3. Strain and dilute: Strain the vinegar to remove the lemon peels. Dilute the lemon-infused vinegar with water in a spray bottle (a 1:1 ratio is a good starting point).
4. Spray and wipe: Spray the cleaner onto surfaces and wipe clean with a damp cloth.
Hack 3: The Power of Essential Oils
Essential oils aren’t just for aromatherapy! Many essential oils have antibacterial, antifungal, and antiviral properties, making them excellent natural cleaners. Plus, they add a lovely scent to your home.
DIY Disinfectant Spray
This spray is perfect for disinfecting surfaces like doorknobs, light switches, and countertops.
1. Gather your ingredients: You’ll need a spray bottle, water, white vinegar, and your favorite essential oils (tea tree, lavender, eucalyptus, and lemon are all good choices).
2. Mix it up: Fill the spray bottle with water, leaving about an inch of space at the top. Add 1/4 cup of white vinegar and 10-20 drops of essential oils.
3. Shake well: Shake the bottle well to combine the ingredients.
4. Spray and wipe: Spray the disinfectant onto surfaces and let it sit for a few minutes before wiping clean with a damp cloth.
Homemade Furniture Polish
This polish will help to keep your wooden furniture looking its best.
1. Gather your ingredients: You’ll need a spray bottle, olive oil, white vinegar, and lemon essential oil.
2. Mix it up: In the spray bottle, combine 1/4 cup of olive oil, 1/4 cup of white vinegar, and 10-15 drops of lemon essential oil.
3. Shake well: Shake the bottle well to combine the ingredients.
4. Spray and polish: Spray a small amount of the polish onto a soft cloth and buff your wooden furniture.
Hack 4: Cleaning with Borax
Borax, also known as sodium borate, is a naturally occurring mineral with powerful cleaning properties. It’s a great alternative to harsh chemical cleaners.
Laundry Booster
Add borax to your laundry routine to boost the cleaning power of your detergent and help remove stains.
1. Add to the wash: Add 1/2 cup of borax to your washing machine along with your regular detergent.
2. Wash as usual: Wash your clothes as usual. Borax is safe for most fabrics, but it’s always a good idea to test it on a small, inconspicuous area first.
Toilet Bowl Cleaner
Borax can help to clean and deodorize your toilet bowl.
1. Sprinkle it in: Sprinkle 1/2 cup of borax into the toilet bowl.
2. Let it sit: Let it sit for at least 30 minutes, or even overnight.
3. Scrub and flush: Scrub the toilet bowl with a toilet brush and then flush.
Hack 5: Cleaning with Hydrogen Peroxide
Hydrogen peroxide is a mild antiseptic with bleaching and disinfecting properties. It’s a great option for tackling stains and sanitizing surfaces.
Stain Remover
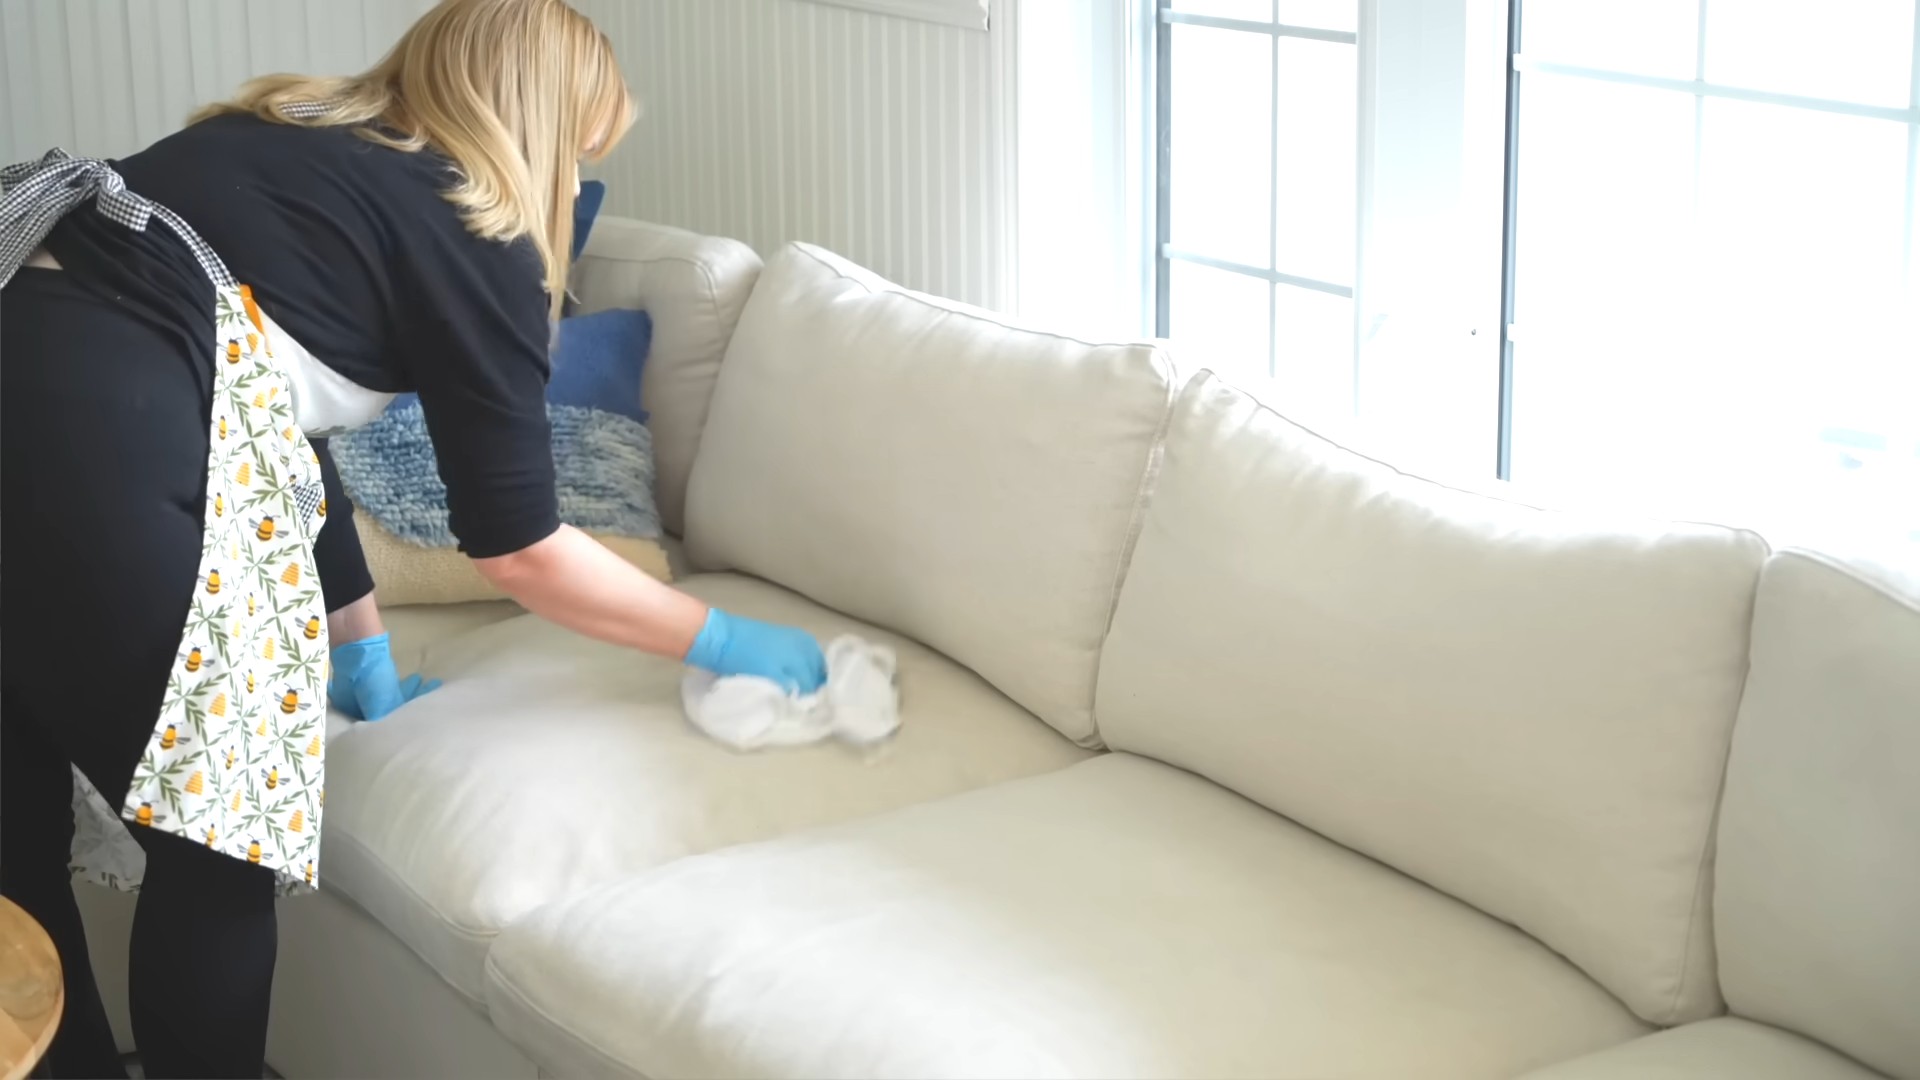
Hydrogen peroxide can be used to remove a variety of stains from clothing, carpets, and other surfaces.
1. Test it first: Always test hydrogen peroxide on a small, inconspicuous area first to make sure it doesn’t damage the material.
2. Apply to the stain: Apply hydrogen peroxide directly to the stain.
3. Let it sit: Let it sit for a few minutes.
4. Blot and rinse: Blot the stain with a clean cloth and then rinse with water.
Cutting Board Sanitizer
Cutting boards can harbor bacteria, so it’s important to sanitize them regularly.
1. Clean the board: Wash the cutting board with soap and water.
2. Spray with peroxide: Spray the cutting board with hydrogen peroxide.
3. Let it sit: Let it sit for a few minutes.
4. Rinse and dry: Rinse the cutting board with water and let it air dry.
Important Safety Tips
* Always test cleaning solutions on a small, inconspicuous area first to make sure they don’t damage the surface.
* Never mix bleach with ammonia or other
Conclusion
So, there you have it! This simple yet incredibly effective DIY cleaning trick is a game-changer for anyone looking to maintain a sparkling clean home without breaking the bank or relying on harsh chemicals. We’ve walked you through the process, highlighting its ease, affordability, and eco-friendliness. But why is this particular method a must-try?
Firstly, its versatility is unmatched. Whether you’re tackling stubborn grime in your bathroom, grease splatters in your kitchen, or dusty surfaces throughout your living space, this DIY solution rises to the occasion. It’s a single recipe that replaces a multitude of specialized cleaning products, decluttering your cabinets and simplifying your cleaning routine.
Secondly, the ingredients are likely already in your pantry! No more last-minute trips to the store or expensive specialty cleaners. This DIY approach empowers you to create a powerful cleaning agent with items you readily have on hand, saving you time and money.
Thirdly, and perhaps most importantly, it’s a safer and healthier alternative to many commercial cleaners. By avoiding harsh chemicals, you’re protecting yourself, your family, and your pets from potential respiratory irritants and other harmful substances. You can breathe easy knowing you’re cleaning with a solution that’s gentle yet effective.
But the beauty of this DIY cleaning trick lies not only in its simplicity but also in its adaptability. Feel free to experiment with variations to suit your specific needs and preferences. For instance, if you’re dealing with particularly stubborn stains, consider adding a tablespoon of borax to the mixture for an extra boost of cleaning power. For a refreshing scent, infuse your solution with a few drops of your favorite essential oil, such as lemon, lavender, or tea tree. Remember to always test any new variation on a small, inconspicuous area first to ensure it doesn’t damage the surface.
Don’t be afraid to get creative and tailor the recipe to your unique cleaning challenges!
We wholeheartedly encourage you to give this DIY cleaning trick a try. We’re confident that you’ll be amazed by the results. Not only will you achieve a cleaner and fresher home, but you’ll also experience the satisfaction of creating your own effective and eco-friendly cleaning solution.
Once you’ve tried it, we’d love to hear about your experience! Share your tips, variations, and before-and-after photos with us in the comments section below. Let’s build a community of DIY cleaning enthusiasts and inspire others to embrace a more sustainable and cost-effective approach to home cleaning. Your insights could be invaluable to someone else just starting their DIY cleaning journey. So, go ahead, give it a whirl, and let us know what you think! Happy cleaning!
FAQ
What exactly makes this DIY cleaning trick so effective?
The effectiveness of this DIY cleaning solution stems from the synergistic action of its ingredients. Typically, these solutions combine the degreasing power of dish soap, the disinfecting properties of vinegar or hydrogen peroxide, and the cleaning boost of baking soda. Dish soap breaks down grease and grime, while vinegar or hydrogen peroxide helps to kill bacteria and mold. Baking soda acts as a mild abrasive, gently scrubbing away dirt and stains without scratching surfaces. The combination creates a powerful cleaning agent that tackles a wide range of household messes.
Can I use this DIY cleaner on all surfaces?
While this DIY cleaner is generally safe for most surfaces, it’s crucial to exercise caution and test it on an inconspicuous area first. Avoid using vinegar-based solutions on natural stone surfaces like marble or granite, as the acidity can etch and damage them. Similarly, be careful when using hydrogen peroxide on colored fabrics, as it may cause fading. Always check the manufacturer’s recommendations for cleaning specific surfaces and materials. For delicate surfaces, you might want to dilute the solution further or opt for a gentler alternative.
How long does the DIY cleaning solution last?
The shelf life of your DIY cleaning solution depends on the ingredients you use. Solutions containing vinegar or hydrogen peroxide are best used within a few weeks, as these ingredients can lose their potency over time. Solutions made with just dish soap and water can last longer, but it’s still recommended to use them within a month or two to prevent bacterial growth. Store your DIY cleaner in a clean, airtight container in a cool, dark place to maximize its shelf life. If you notice any changes in color, odor, or consistency, discard the solution and make a fresh batch.
Is it safe to mix different cleaning agents together?
No, it is generally not safe to mix different cleaning agents together, especially those containing bleach and ammonia. Mixing these chemicals can create toxic fumes that can be harmful or even fatal. Always use cleaning agents separately and follow the manufacturer’s instructions carefully. When making DIY cleaning solutions, stick to tried-and-true recipes and avoid experimenting with unknown combinations. If you’re unsure about the safety of mixing certain ingredients, err on the side of caution and avoid doing so.
Can I add essential oils to my DIY cleaning solution?
Yes, adding essential oils to your DIY cleaning solution can provide a pleasant scent and enhance its cleaning properties. Many essential oils, such as lemon, tea tree, and eucalyptus, have antibacterial and antifungal properties that can help to disinfect surfaces. When adding essential oils, use a few drops per cup of cleaning solution and shake well before each use. Be sure to choose high-quality essential oils and avoid using them on surfaces that may be sensitive to oils, such as wood furniture.
What are some variations of this DIY cleaning trick for specific cleaning tasks?
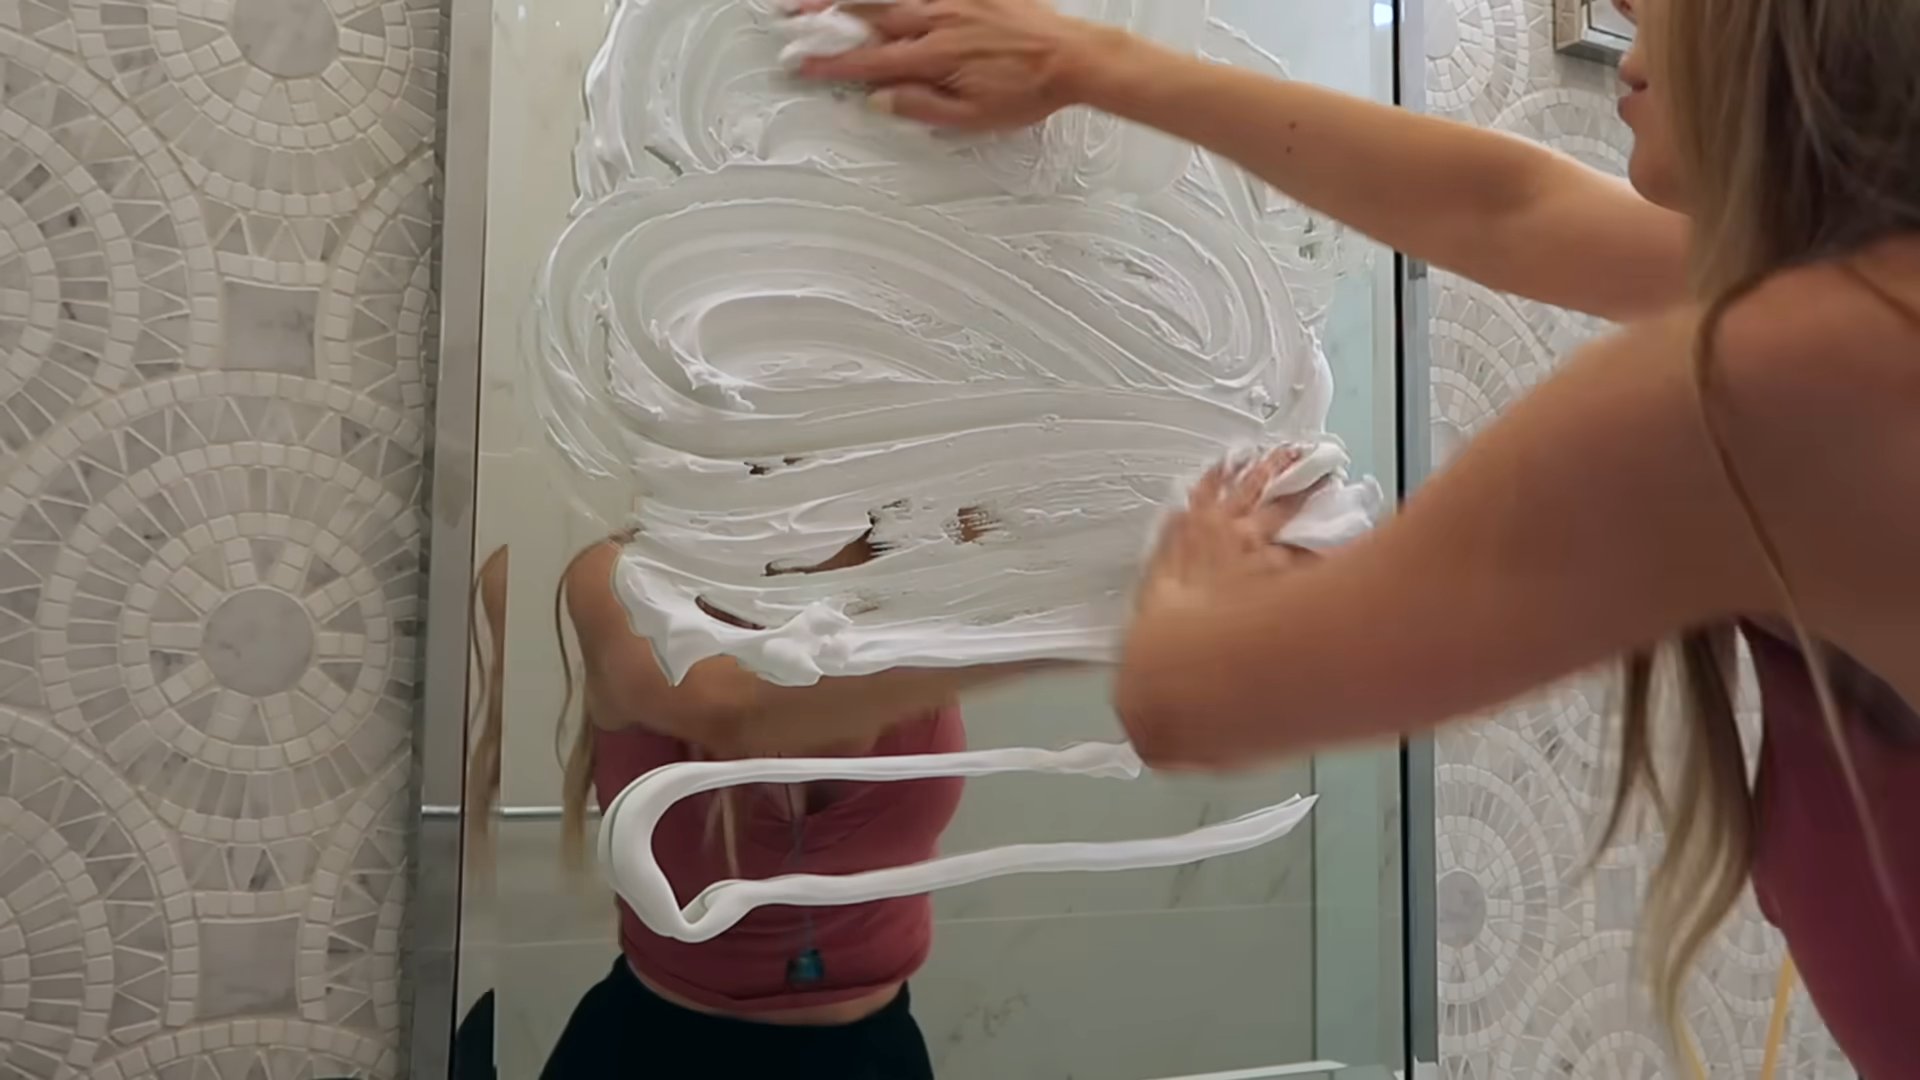
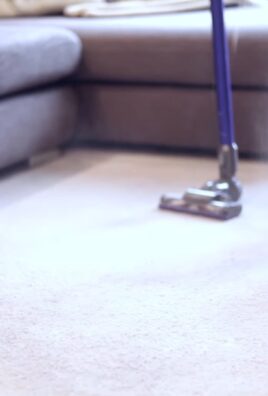
There are many variations of this DIY cleaning trick that you can customize for specific cleaning tasks. For example, for cleaning bathroom tiles and grout, you can make a paste of baking soda and water and apply it to the affected areas. Let it sit for a few minutes, then scrub with a brush and rinse with water. For cleaning windows and mirrors, you can mix equal parts vinegar and water in a spray bottle and use it to wipe down the surfaces. For cleaning carpets and upholstery, you can sprinkle baking soda on the affected areas, let it sit for a few hours, then vacuum it up.
What if I don’t have vinegar or hydrogen peroxide? What can I use instead?
If you don’t have vinegar or hydrogen peroxide, you can use lemon juice as a natural alternative. Lemon juice has acidic properties that can help to disinfect and deodorize surfaces. You can also use a mild dish soap and water solution for general cleaning tasks. For tougher stains, you can try using a paste of baking soda and water or a commercial cleaning product that is specifically designed for the task.
How do I store my DIY cleaning solution properly?
Store your DIY cleaning solution in a clean, airtight container in a cool, dark place. Label the container clearly with the contents and the date it was made. Keep the solution out of reach of children and pets. Avoid storing the solution in direct sunlight or near heat sources, as this can cause it to degrade. If you notice any changes in color, odor, or consistency, discard the solution and make a fresh batch.
What if the DIY cleaning solution doesn’t work on a particular stain or mess?
If the DIY cleaning solution doesn’t work on a particular stain or mess, you may need to try a different approach. For stubborn stains, you can try using a commercial cleaning product that is specifically designed for the task. You can also try using a more abrasive cleaning tool, such as a scrub brush or a scouring pad. Be sure to test any new cleaning product or tool on an inconspicuous area first to ensure it doesn’t damage the surface.
How can I make this DIY cleaning trick more eco-friendly?
To make this DIY cleaning trick more eco-friendly, you can use sustainable and biodegradable ingredients. Choose dish soap that is made with plant-based ingredients and is free of harsh chemicals. Use vinegar that is made from organic apples or other sustainable sources. Avoid using plastic spray bottles and containers, and opt for glass or metal alternatives instead. You can also compost any leftover ingredients or packaging. By making these small changes, you can reduce your environmental impact and create a more sustainable cleaning routine.


Leave a Comment