

Deep Cleaning Tips: Let’s face it, the thought of a top-to-bottom house clean can feel overwhelming, right? I get it! But what if I told you that tackling those neglected corners and stubborn grime spots could be surprisingly satisfying, and even a little fun? This isn’t just about sparkling surfaces; it’s about creating a healthier, happier home environment for you and your loved ones.
For centuries, cultures around the world have recognized the importance of a clean living space. From ancient rituals involving cleansing herbs to the meticulous cleaning practices in many Eastern traditions, a tidy home has always been linked to well-being and peace of mind. Think of it as a fresh start, a way to declutter not just your physical space, but also your mental one.
In today’s busy world, it’s easy to let cleaning slide. But neglecting those deep cleaning tasks can lead to a build-up of dust, allergens, and bacteria, impacting your health and overall comfort. That’s where these deep cleaning tips come in! I’m going to share some of my favorite DIY tricks and hacks that will make the process easier, more efficient, and even a little enjoyable. Get ready to transform your home into a sparkling sanctuary – one room at a time!
DIY Deep Cleaning: Revitalize Your Home Like a Pro!
Okay, let’s get real. Deep cleaning isn’t exactly *fun*, but the feeling of a sparkling clean home? Totally worth it! I’m going to walk you through my tried-and-true method for a top-to-bottom deep clean that will leave your house feeling refreshed and revitalized. Get ready to roll up your sleeves!
Gather Your Supplies: The Arsenal of Clean
Before we dive in, let’s make sure we have everything we need. Trust me, running back and forth for supplies is a major buzzkill. Here’s my go-to list:
* Microfiber cloths: Seriously, invest in a bunch of these. They’re amazing for everything!
* All-purpose cleaner: Choose your favorite. I personally love a good citrus scent.
* Glass cleaner: Streak-free shine is the goal!
* Bathroom cleaner: Something that tackles soap scum and mildew.
* Toilet bowl cleaner: Gotta keep that throne sparkling.
* Oven cleaner: The heavy-duty stuff for baked-on grime.
* Dish soap: For hand-washing and pre-treating stains.
* Baking soda: A natural cleaning powerhouse!
* White vinegar: Another natural wonder, great for disinfecting and deodorizing.
* Rubber gloves: Protect those hands!
* Scrub brushes: Different sizes for different tasks.
* Sponges: Both abrasive and non-abrasive.
* Vacuum cleaner: With all the attachments!
* Mop and bucket: For sparkling floors.
* Duster: Extendable ones are great for high places.
* Magic Eraser: For those stubborn marks.
* Trash bags: For all the clutter we’re about to banish.
* Old toothbrush: Perfect for getting into tight corners.
* Screwdriver: For removing vent covers and light fixtures (safely, of course!).
The Deep Cleaning Game Plan: Room by Room
We’re going to tackle this room by room to keep things organized and prevent overwhelm. I like to start with the least favorite rooms first – get them out of the way!
1. The Kitchen: Conquering the Culinary Chaos
The kitchen is often the heart of the home, but it can also be a breeding ground for grime. Let’s get it sparkling!
1. Empty the Refrigerator: Toss out expired food and wipe down all the shelves and drawers with warm, soapy water. Don’t forget the door compartments!
2. Clean the Oven: This is usually the worst part, but it’s so satisfying when it’s done. Follow the instructions on your oven cleaner (or use a baking soda paste – see below for details).
3. Clean the Microwave: Heat a cup of water with a tablespoon of vinegar in the microwave for a few minutes. The steam will loosen the grime, making it easy to wipe clean.
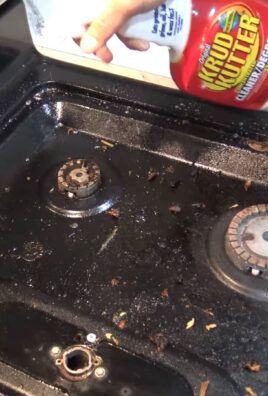
4. Clean the Stovetop: Remove the grates and soak them in hot, soapy water. Scrub the stovetop with an all-purpose cleaner and a non-abrasive sponge.
5. Clean the Dishwasher: Run an empty cycle with a cup of white vinegar in the top rack. You can also sprinkle baking soda on the bottom of the dishwasher before running the cycle for extra cleaning power.
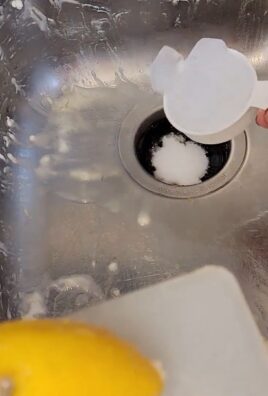
6. Clean the Sink: Scrub the sink with baking soda and a sponge. Rinse thoroughly and dry with a microfiber cloth.
7. Wipe Down Cabinets and Drawers: Use an all-purpose cleaner to wipe down the exterior of all cabinets and drawers. Don’t forget the hardware!
8. Clean the Countertops: Wipe down all countertops with an all-purpose cleaner. Pay special attention to areas where food is prepared.
9. Sweep and Mop the Floor: Sweep or vacuum the floor to remove any loose debris. Then, mop the floor with a floor cleaner.
10. Clean the Backsplash: Wipe down the backsplash with an all-purpose cleaner. Use an old toothbrush to scrub any grout lines.
11. Empty the Trash Can and Clean It: Rinse it out with soapy water and spray with disinfectant.
2. The Bathrooms: Banishing Bacteria and Soap Scum
Bathrooms can quickly become breeding grounds for bacteria and soap scum. Let’s tackle them head-on!
1. Clean the Toilet: Apply toilet bowl cleaner to the inside of the bowl and let it sit for a few minutes. Scrub with a toilet brush and flush. Wipe down the exterior of the toilet with a disinfectant cleaner.
2. Clean the Shower/Tub: Spray the shower/tub with a bathroom cleaner and let it sit for a few minutes. Scrub with a sponge or scrub brush. Rinse thoroughly.
3. Clean the Showerhead: Fill a plastic bag with white vinegar and secure it around the showerhead with a rubber band. Let it soak for a few hours or overnight. Remove the bag and run the shower to flush out any remaining vinegar.
4. Clean the Sink and Countertop: Scrub the sink with baking soda and a sponge. Rinse thoroughly and dry with a microfiber cloth. Wipe down the countertop with an all-purpose cleaner.
5. Clean the Mirror: Spray the mirror with glass cleaner and wipe clean with a microfiber cloth.
6. Clean the Floor: Sweep or vacuum the floor to remove any loose debris. Then, mop the floor with a floor cleaner.
7. Clean the Grout: Mix baking soda with water to form a paste. Apply the paste to the grout lines and let it sit for a few minutes. Scrub with an old toothbrush and rinse thoroughly.
8. Clean the Exhaust Fan: Turn off the power to the exhaust fan. Remove the cover and vacuum out any dust and debris. Wash the cover with soap and water and let it dry completely before reattaching it.
3. The Bedrooms: Creating a Sanctuary of Serenity
Bedrooms should be relaxing and inviting. Let’s create a sanctuary!
1. Strip the Beds: Wash all bedding, including sheets, pillowcases, and comforters.
2. Dust All Surfaces: Dust all furniture, including dressers, nightstands, and headboards. Don’t forget to dust picture frames and lamps.
3. Clean Mirrors and Windows: Spray mirrors and windows with glass cleaner and wipe clean with a microfiber cloth.
4. Vacuum or Mop the Floor: Vacuum or mop the floor to remove any dust and debris.
5. Organize Closets and Drawers: This is a great time to declutter your closets and drawers. Get rid of any clothes or items that you no longer need or use.
6. Dust Ceiling Fans: Use an extendable duster to reach ceiling fans.
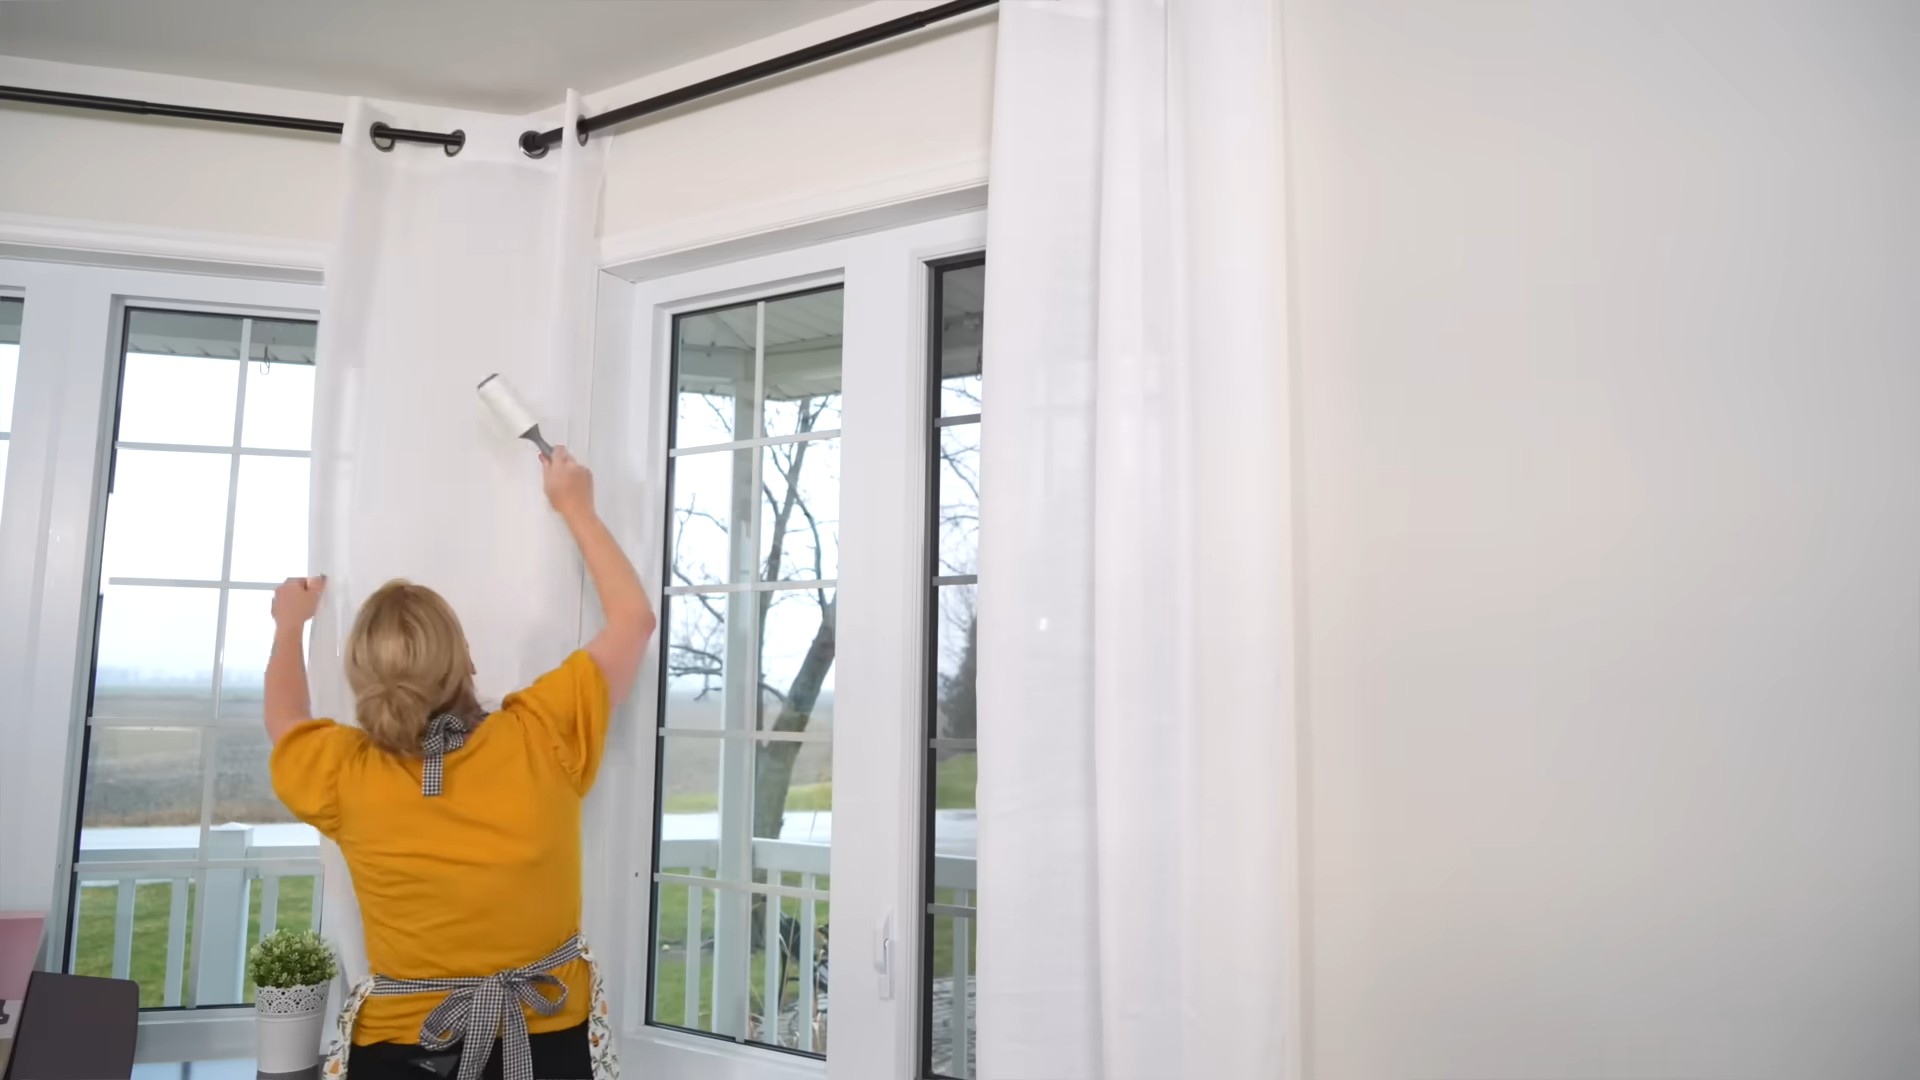
7. Wash Curtains or Blinds: Follow the manufacturer’s instructions for washing curtains or blinds.
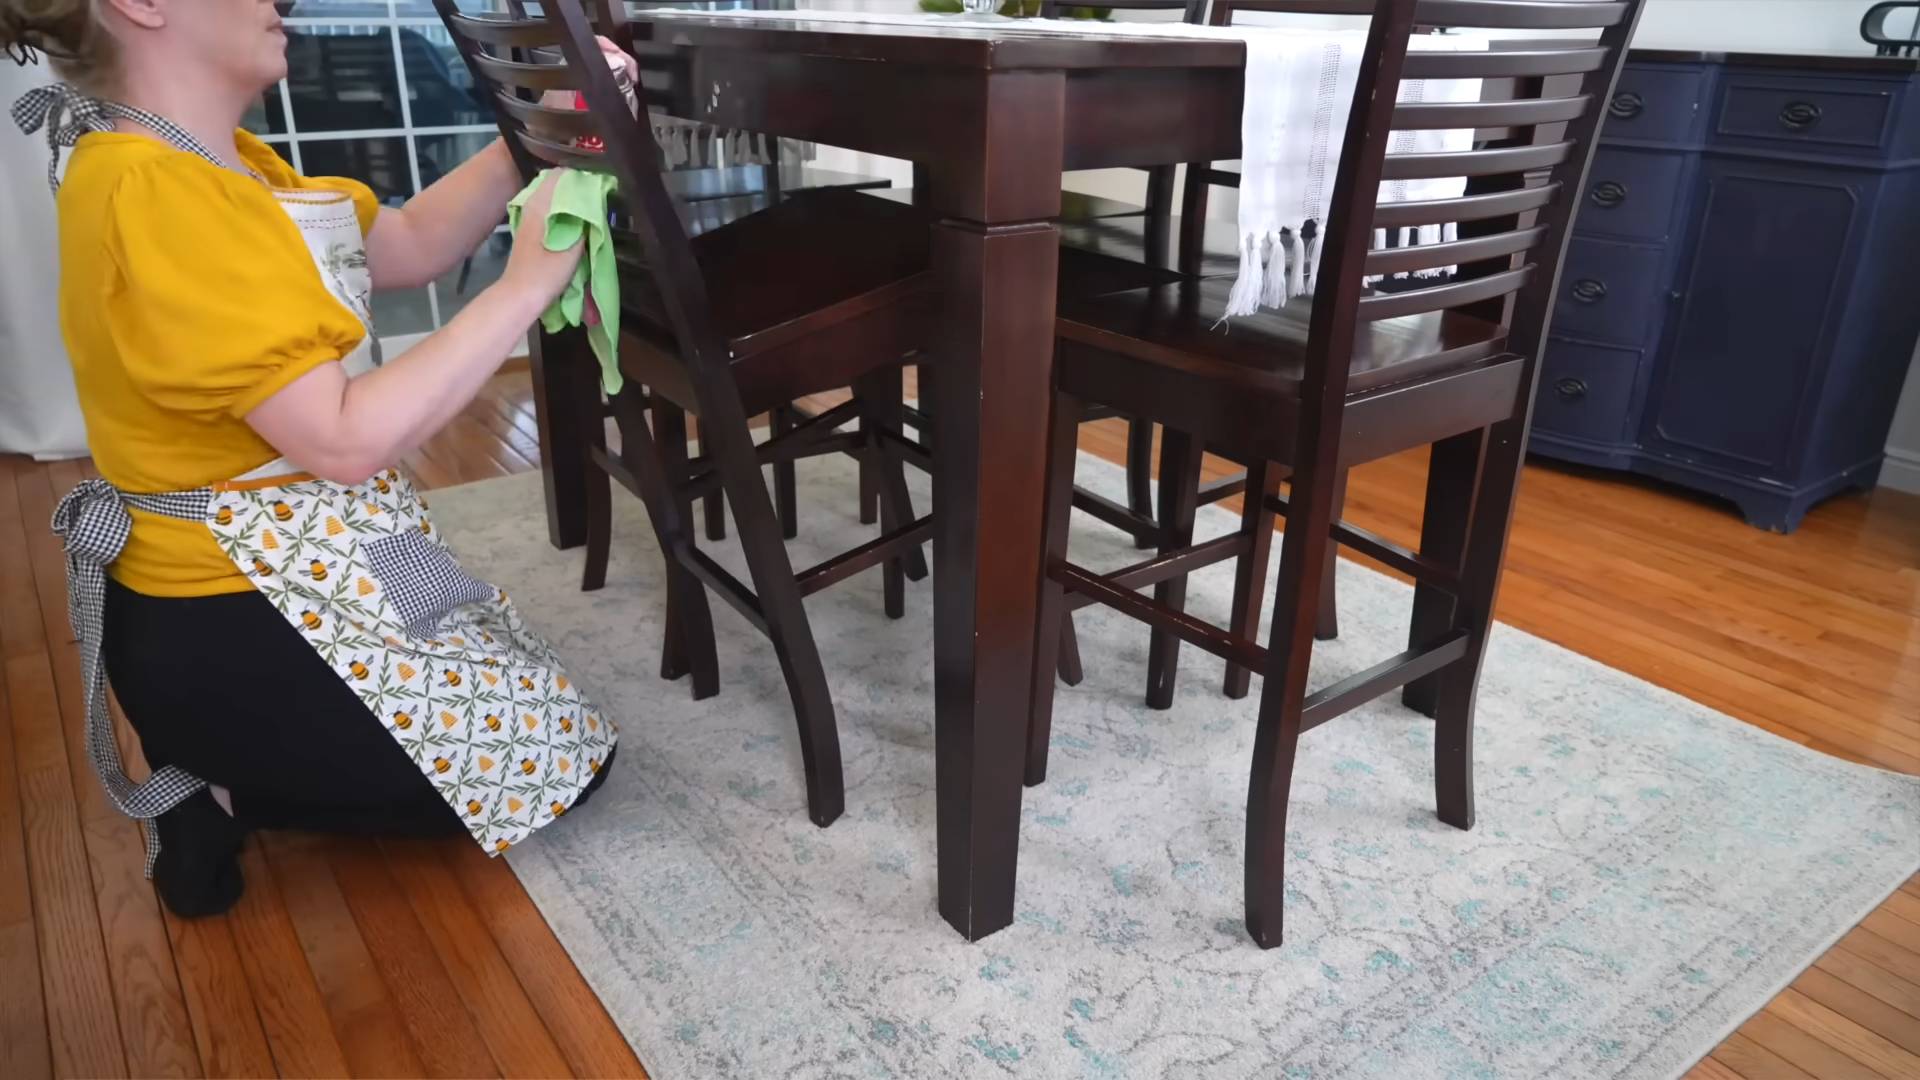
4. The Living Areas: Refreshing the Gathering Spaces
Living areas are where we spend a lot of time, so let’s make them clean and comfortable.
1. Dust All Surfaces: Dust all furniture, including coffee tables, end tables, and entertainment centers. Don’t forget to dust picture frames, lamps, and shelves.
2. Vacuum or Mop the Floor: Vacuum or mop the floor to remove any dust and debris.
3. Clean Upholstery: Vacuum upholstery to remove any loose dirt and debris. Spot clean any stains with a upholstery cleaner.
4. Clean Windows and Mirrors: Spray windows and mirrors with glass cleaner and wipe clean with a microfiber cloth.
5. Dust Ceiling Fans: Use an extendable duster to reach ceiling fans.
6. Wash Curtains or Blinds: Follow the manufacturer’s instructions for washing curtains or blinds.
7. Organize Bookshelves: Dust bookshelves and organize books and other items.
Specialized Cleaning Tasks: Going the Extra Mile
These tasks might not be part of your regular cleaning routine, but they make a big difference in the overall cleanliness of your home.
1. Cleaning Baseboards: Wipe down baseboards with a damp cloth and an all-purpose cleaner.
2. Cleaning Light Fixtures: Turn off the power to the light fixture. Remove the cover and wash it with soap and water. Let it dry completely before reattaching it.
3. Cleaning Window Tracks: Use a small brush or vacuum attachment to remove dirt and debris from window tracks.
4. Cleaning Door Knobs and Light Switches: Wipe down door knobs and light switches with a disinfectant cleaner.
5. Cleaning Electronics: Use a microfiber cloth to dust electronics. Avoid using liquid cleaners on electronics.
6. Cleaning Vents: Remove vent covers and wash them with soap and water. Vacuum
Conclusion
So, there you have it! This deep cleaning trick isn’t just another chore; it’s a game-changer for maintaining a healthy and happy home. We’ve walked you through the steps, highlighted the benefits, and hopefully, inspired you to ditch those harsh chemicals and embrace a more natural and effective cleaning routine.
Why is this a must-try? Because it’s simple, cost-effective, and incredibly powerful. You’re not just surface cleaning; you’re getting deep down into the grime and buildup that accumulates over time, leaving your home truly refreshed. Think of it as a reset button for your living space, a way to breathe new life into tired surfaces and create a healthier environment for you and your family. Plus, you’ll be amazed at the difference it makes – from brighter tiles to fresher smelling rooms, the results speak for themselves.
But don’t just take our word for it! We encourage you to experiment and find what works best for you.
Here are a few suggestions and variations to consider:
* **Scent Customization:** While the basic recipe is fantastic, feel free to add a few drops of your favorite essential oils for a personalized scent boost. Lavender, lemon, tea tree, and eucalyptus are all excellent choices for their cleaning and aromatherapy properties.
* **Surface Specific Tweaks:** For particularly stubborn stains on grout, try creating a paste with baking soda and a little water, applying it directly to the stain, and letting it sit for a few minutes before scrubbing. For delicate surfaces, test the solution in an inconspicuous area first to ensure it doesn’t cause any damage.
* **Deep Cleaning Schedule:** Incorporate this deep cleaning trick into your regular cleaning routine. Aim for a deep clean every month or two, depending on the level of traffic and use in your home. This will help prevent buildup and keep your home consistently fresh and clean.
* **Pre-Treatment Power:** For heavily soiled areas, consider pre-treating with a simple solution of warm water and dish soap before applying the deep cleaning mixture. This will help loosen the grime and make the cleaning process even more effective.
* Vinegar Alternative: If you are sensitive to the smell of vinegar, you can substitute it with lemon juice. Lemon juice has similar cleaning properties and leaves a fresh, citrusy scent.
We’re confident that once you experience the transformative power of this deep cleaning trick, you’ll never go back to your old ways. It’s a simple, sustainable, and satisfying way to keep your home sparkling clean and healthy.
So, go ahead, give it a try! We’re eager to hear about your experiences. Share your before-and-after photos, your favorite scent combinations, and any tips or tricks you discover along the way. Let’s create a community of clean-home enthusiasts who are passionate about natural and effective cleaning solutions. Your feedback will not only help others but also inspire us to continue sharing valuable cleaning tips and tricks. We believe that a clean home is a happy home, and we’re excited to help you achieve that! Don’t forget to use the hashtag #DeepCleaningDIY when you share your results on social media. We can’t wait to see your sparkling homes!
Frequently Asked Questions (FAQ)
What exactly is considered “deep cleaning” and why is it important?
Deep cleaning goes beyond your regular weekly or daily cleaning routine. It involves tackling those often-overlooked areas and tasks that accumulate dirt, grime, and allergens over time. This includes things like cleaning grout, washing curtains, scrubbing baseboards, cleaning inside appliances, and decluttering thoroughly. It’s important because it not only improves the appearance of your home but also contributes to a healthier living environment by removing dust mites, mold spores, and other allergens that can trigger allergies and respiratory problems. Regular deep cleaning also helps to prolong the life of your furniture, appliances, and other household items.
How often should I perform a deep clean?
The frequency of deep cleaning depends on several factors, including the size of your home, the number of occupants, the presence of pets, and your lifestyle. As a general guideline, aim for a deep clean every 3-6 months. However, high-traffic areas like kitchens and bathrooms may require more frequent attention. If you have pets or allergies, you might consider deep cleaning more often, perhaps every 2-3 months. Observe your home and adjust your cleaning schedule accordingly.
What are the essential supplies I need for deep cleaning?
While the specific supplies may vary depending on the areas you’re cleaning, some essential items include:
* Microfiber cloths: These are excellent for dusting, wiping surfaces, and absorbing spills.
* Sponges: Use non-abrasive sponges for cleaning delicate surfaces.
* Scrub brushes: A stiff-bristled brush is helpful for scrubbing grout, tiles, and other tough-to-clean areas.
* Vacuum cleaner: A vacuum with attachments is essential for cleaning carpets, rugs, upholstery, and hard floors.
* Mop and bucket: For cleaning hard floors.
* Cleaning solutions: Choose natural or commercial cleaning solutions based on your preferences and the surfaces you’re cleaning.
* Rubber gloves: Protect your hands from harsh chemicals and dirt.
* Spray bottles: For diluting and applying cleaning solutions.
* Dust mask: To protect yourself from dust and allergens.
* Old toothbrush: Perfect for cleaning tight spaces and grout lines.
Are there any specific safety precautions I should take when deep cleaning?
Yes, safety is paramount when deep cleaning. Always wear rubber gloves to protect your hands from harsh chemicals and dirt. Ensure proper ventilation by opening windows or using a fan. Avoid mixing different cleaning products, as this can create dangerous fumes. If you’re using a ladder, make sure it’s stable and secure. When cleaning electrical appliances, unplug them first. If you have any allergies or sensitivities, wear a dust mask to protect yourself from allergens. Always read and follow the instructions on cleaning product labels.
Can I use this deep cleaning trick on all surfaces?
While the deep cleaning trick described in the conclusion is generally safe and effective, it’s always best to test it in an inconspicuous area first, especially on delicate surfaces like wood, painted walls, or natural stone. Some surfaces may be sensitive to vinegar or other ingredients. If you’re unsure, consult the manufacturer’s instructions or a professional cleaner.
How do I deal with stubborn stains during deep cleaning?
Stubborn stains may require extra attention and specialized cleaning solutions. For grout stains, try a paste of baking soda and water or a commercial grout cleaner. For hard water stains, vinegar or lemon juice can be effective. For grease stains, dish soap or a degreaser may be necessary. Always test the cleaning solution in an inconspicuous area first and follow the manufacturer’s instructions. You may also need to use a scrub brush or sponge to agitate the stain.
What’s the best way to declutter before deep cleaning?
Decluttering is an essential part of deep cleaning. Before you start cleaning, take some time to remove any unnecessary items from the areas you’ll be cleaning. This will make it easier to clean and prevent you from simply moving dirt and dust around. Sort through your belongings and get rid of anything you no longer need, use, or love. Donate, sell, or discard unwanted items. Organize the remaining items in a way that makes sense for you and your lifestyle.
How can I maintain a clean home after deep cleaning?
Maintaining a clean home after deep cleaning requires establishing a regular cleaning routine. This includes daily tasks like making beds, wiping down counters, and sweeping floors, as well as weekly tasks like vacuuming, mopping, and cleaning bathrooms. By staying on top of these tasks, you can prevent dirt and grime from building up and make your next deep clean much easier. Also, encourage all members of your household to participate in maintaining cleanliness.
What are some eco-friendly deep cleaning alternatives?
Many effective and eco-friendly deep cleaning alternatives exist. Vinegar, baking soda, lemon juice, and essential oils are all natural ingredients that can be used to clean various surfaces. You can also find commercially available eco-friendly cleaning products that are made with plant-based ingredients and are free of harsh chemicals. When choosing cleaning products, look for certifications like Green Seal or EcoLogo.
How do I clean appliances during a deep clean?
Cleaning appliances is an important part of deep cleaning. For your oven, use a commercial oven cleaner or a paste of baking soda and water. For your refrigerator, remove all items and wipe down the interior with a solution of warm water and baking soda. For your dishwasher, run a cycle with vinegar or a commercial dishwasher cleaner. For your washing machine, run a cycle with bleach or a commercial washing machine cleaner. Always follow the manufacturer’s instructions for cleaning your appliances.

Leave a Comment