

DIY Bottle Glasses: Ever looked at a discarded glass bottle and thought, “There has to be something cool I can do with that?” I know I have! We’re constantly surrounded by waste, and finding creative ways to repurpose it is not only satisfying but also incredibly eco-friendly. Turning old bottles into stylish drinking glasses is a fantastic way to reduce waste and add a personal touch to your home.
The art of glass recycling and repurposing has roots stretching back centuries. Historically, resourceful individuals have always found ways to give new life to discarded materials. Today, with growing environmental awareness, the practice has become even more vital. Creating DIY Bottle Glasses is more than just a fun project; it’s a small step towards a more sustainable lifestyle.
Why should you learn this DIY trick? Well, for starters, imagine serving your favorite beverages in glasses you crafted yourself! It’s a fantastic conversation starter and a unique way to impress your guests. Plus, it’s a budget-friendly alternative to buying new glassware. In this article, I’ll guide you through the process step-by-step, ensuring you can safely and easily transform those empty bottles into beautiful, functional glasses. Let’s get started and turn trash into treasure!
DIY Bottle Glasses: Turn Trash into Treasure!
Hey there, fellow DIY enthusiasts! Ever looked at a pile of empty bottles and thought, “There has to be something cool I can do with these?” Well, you’re in luck! Today, I’m going to walk you through the process of transforming those discarded bottles into stylish and unique drinking glasses. It’s a fun project, a great way to recycle, and you’ll end up with some seriously impressive glassware.
What You’ll Need
Before we dive in, let’s gather our supplies. Safety first, so make sure you have everything ready before you start.
* **Empty Glass Bottles:** Choose bottles with smooth surfaces and interesting shapes. Wine bottles, beer bottles, even some juice bottles can work. Just make sure they’re clean and dry.
* **Bottle Cutter:** This is the most crucial tool. There are several types available, from simple scoring tools to more elaborate machines. I recommend a bottle cutter with adjustable rollers for consistent cuts.
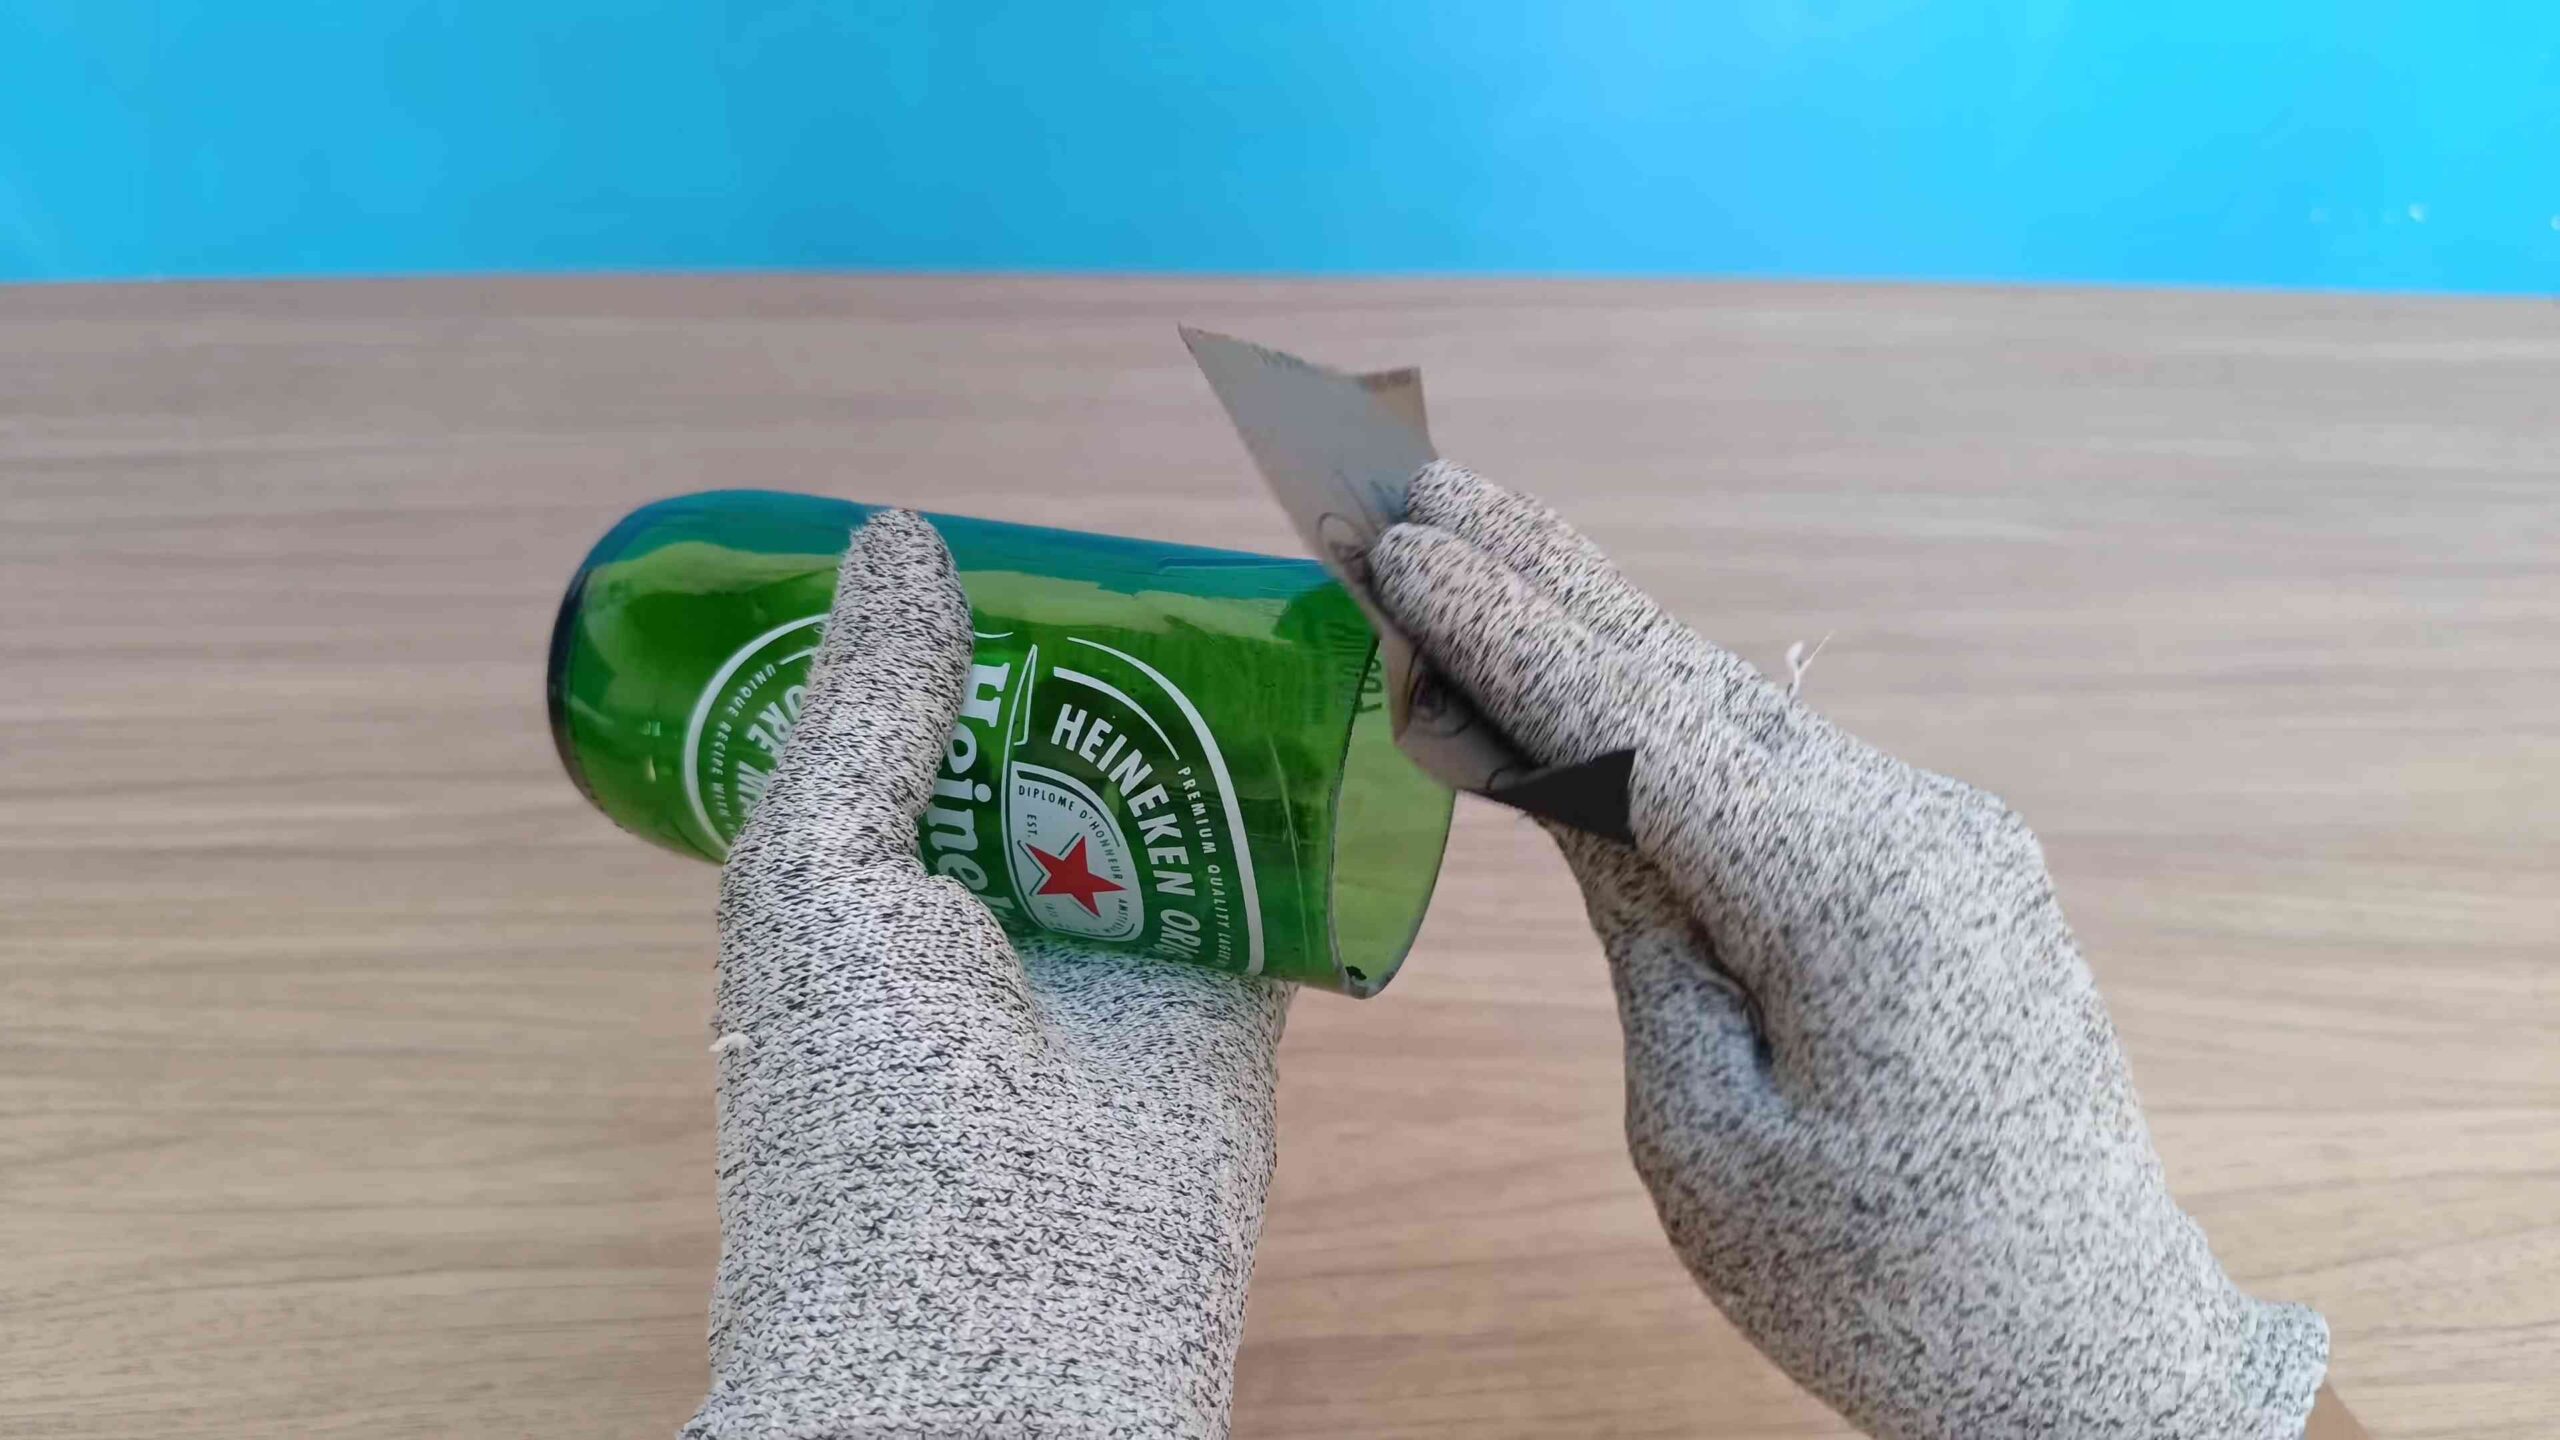
* **Safety Glasses:** Absolutely essential! Glass shards are no joke.
* **Gloves:** Protect your hands from cuts and sharp edges.
* **Sandpaper:** You’ll need a variety of grits, from coarse (around 80 grit) to very fine (around 400 grit or higher). This is key for smoothing the edges.
* **Water:** You’ll need both hot and cold water for the separation process. A large bucket or sink is ideal.
* **Kettle or Pot:** For heating the water.
* **Towel:** To protect your work surface and for drying the bottles.
* **Optional: Polishing Compound:** For an extra-smooth, professional finish.
* **Optional: Cork Coasters:** To protect your furniture from condensation.
The Cutting Process
This is where the magic happens! Take your time and be patient. A steady hand and consistent pressure are key to a clean break.
1. **Prepare the Bottle Cutter:** Adjust the bottle cutter to the desired height. This will determine the height of your glass. Make sure the bottle sits securely on the rollers.
2. **Score the Bottle:** Place the bottle on the cutter and apply gentle, even pressure while rotating the bottle against the cutting wheel. You want to create a clean, consistent score line all the way around the bottle. Only one pass is needed. Don’t press too hard; a light, even score is better than a deep, uneven one.
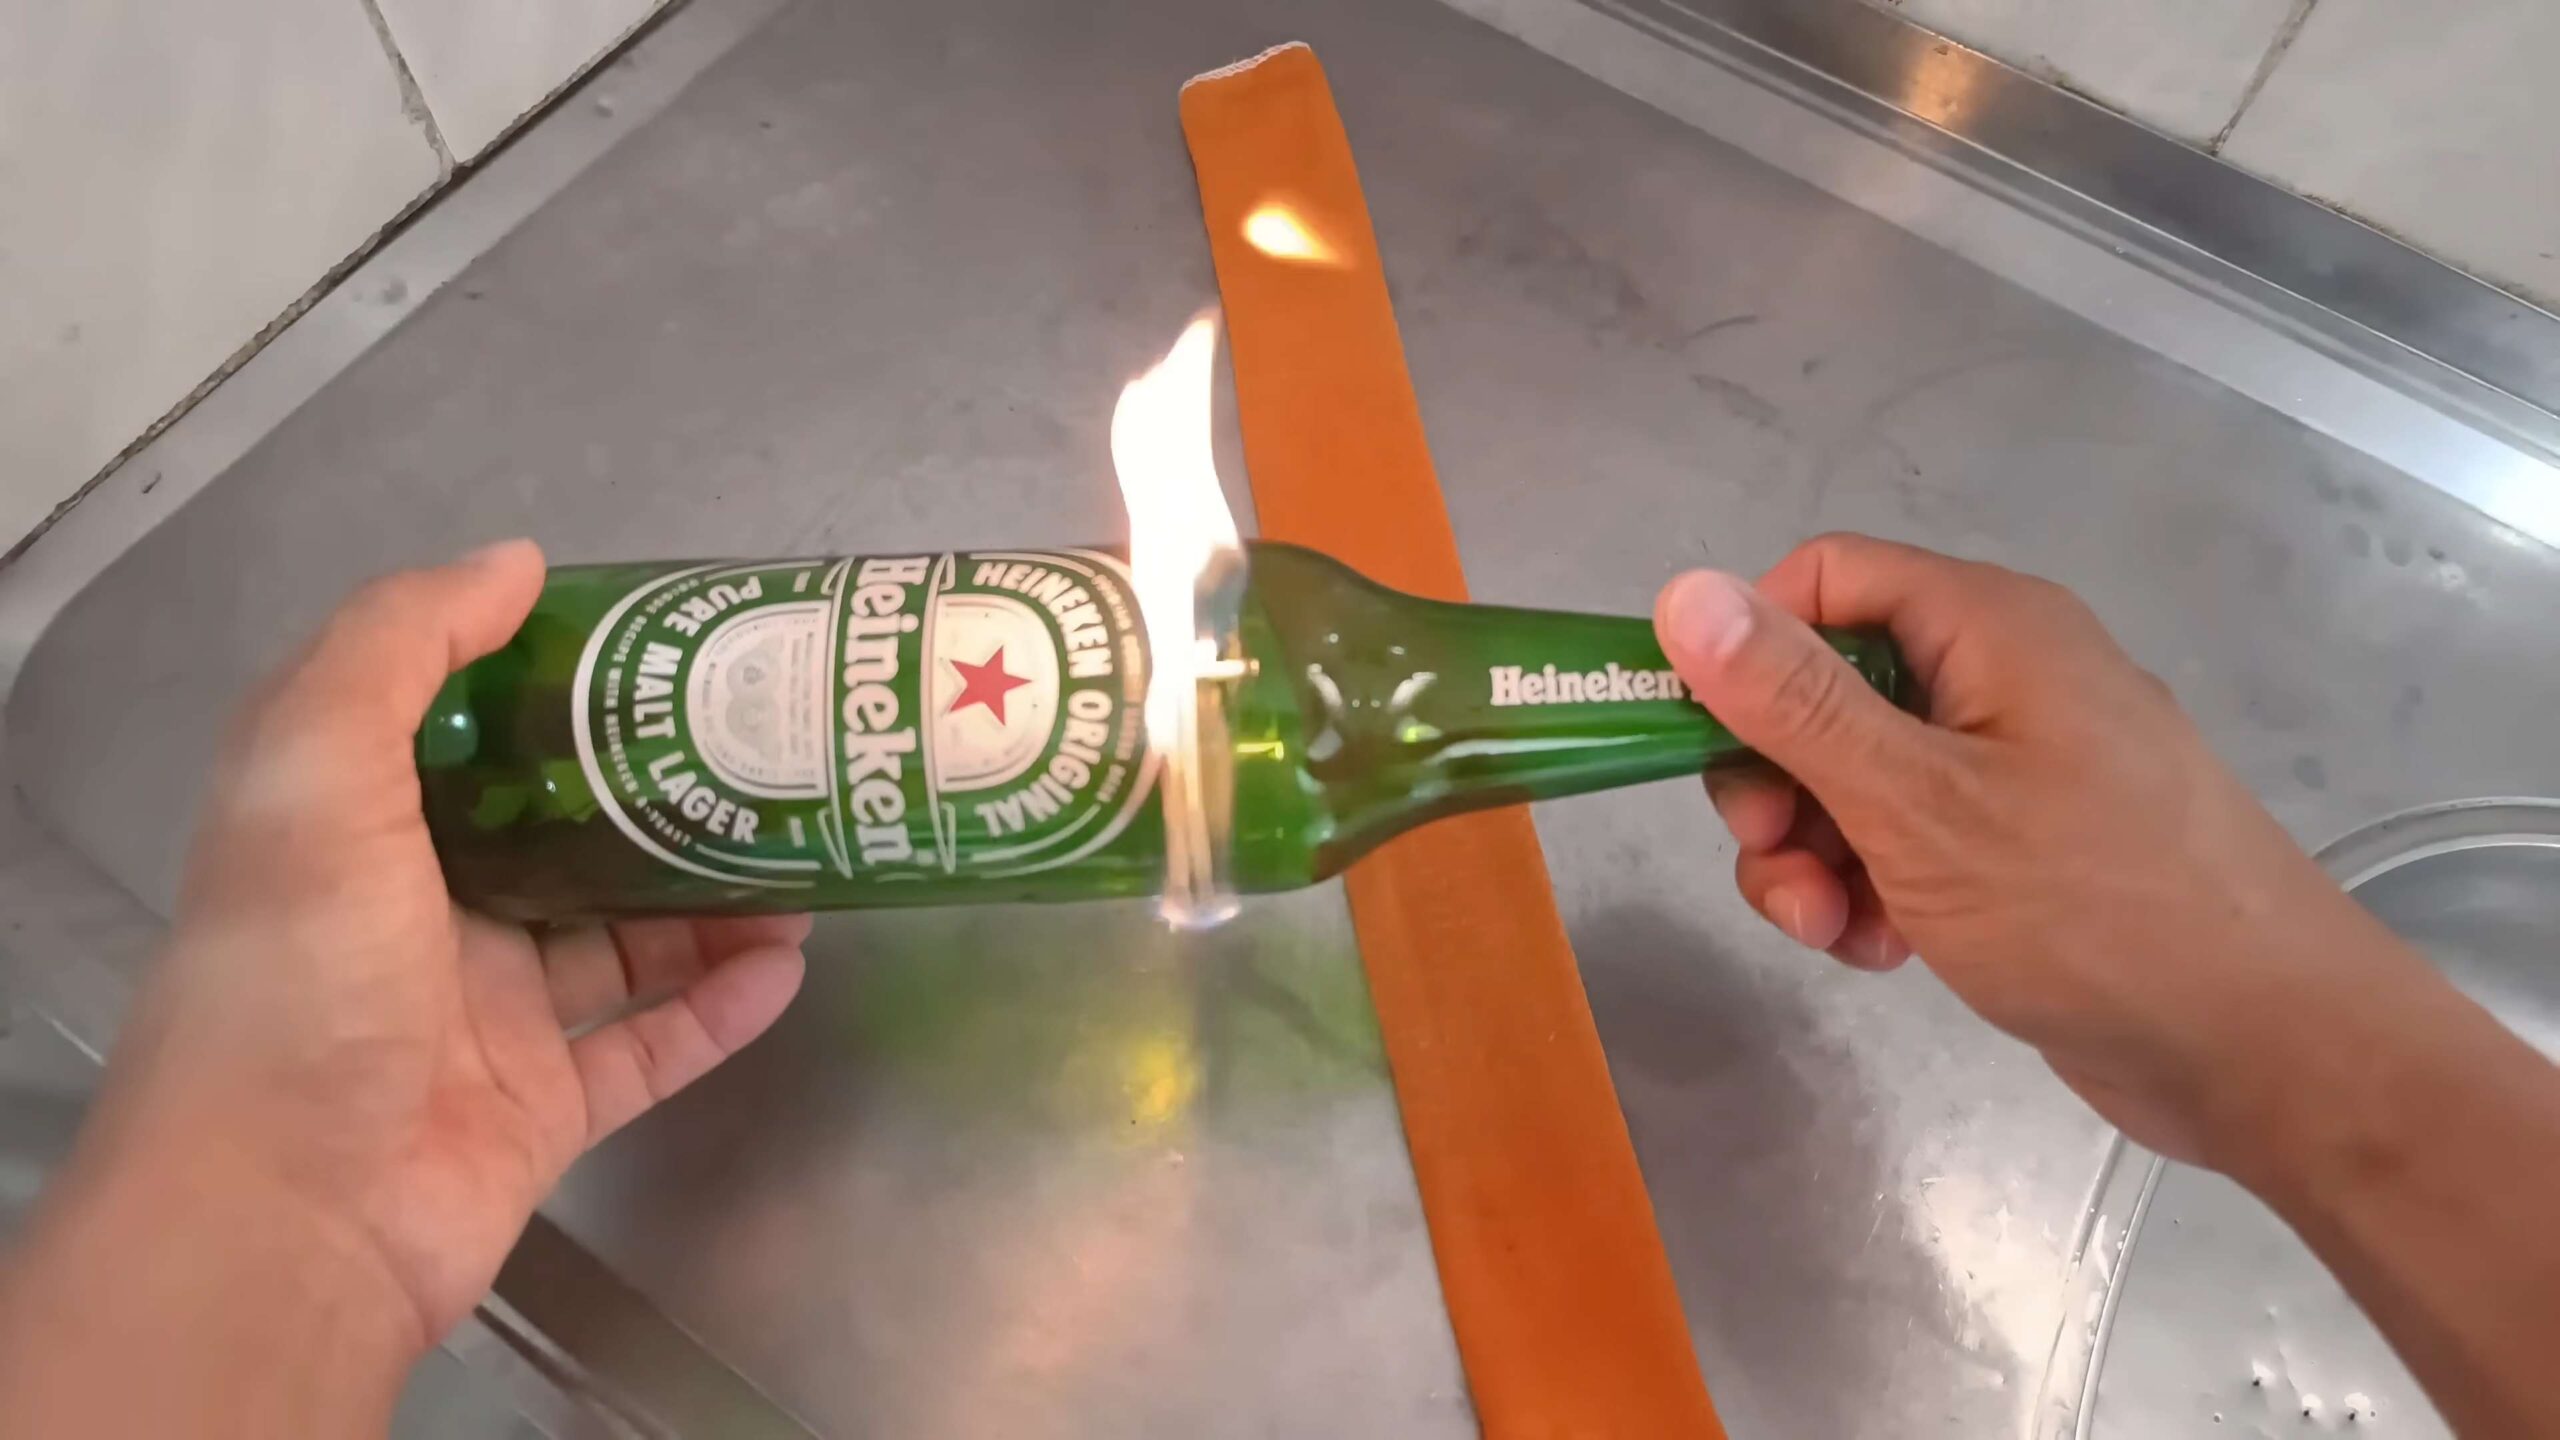
3. **Separate the Bottle:** This is the trickiest part, but with the hot and cold water method, it’s surprisingly easy.
* Safety First: Put on your safety glasses and gloves.
* The Hot/Cold Cycle: Pour hot (not boiling) water over the score line for about 20-30 seconds. Then, immediately switch to cold water for another 20-30 seconds.
* Repeat: Continue alternating between hot and cold water. You should hear a cracking sound as the glass weakens along the score line.
* The Break: Eventually, the bottle should separate cleanly along the score. If it doesn’t break after several cycles, gently tap the bottle near the score line with a wooden spoon or similar object. Be careful!
* Troubleshooting: If the break is uneven, don’t worry! We’ll fix it in the sanding phase.
Sanding and Smoothing
This is where you transform a sharp, potentially dangerous edge into a smooth, comfortable rim. This process is crucial for safety and aesthetics.
1. **Coarse Sanding (80-120 Grit):** Start with the coarse sandpaper to remove any large chips or unevenness from the edge. Wet the sandpaper and the edge of the glass. Sand in a circular motion, applying even pressure. This step is all about shaping the edge.
2. **Medium Sanding (180-220 Grit):** Switch to medium-grit sandpaper to refine the shape and remove scratches from the coarse sanding. Continue sanding in a circular motion, keeping the sandpaper and glass wet.
3. **Fine Sanding (320-400 Grit):** Now, use the fine-grit sandpaper to smooth the edge further. This step is about creating a smooth, even surface.
4. **Ultra-Fine Sanding (600+ Grit):** For the final touch, use ultra-fine sandpaper (600 grit or higher) to polish the edge to a smooth, almost glass-like finish. This step is optional but highly recommended for a professional look and feel.
5. **Rinse and Inspect:** After each sanding step, rinse the glass thoroughly with water and inspect the edge for any remaining imperfections.
Polishing (Optional)
If you want to take your glasses to the next level, consider polishing them.
1. **Apply Polishing Compound:** Apply a small amount of polishing compound to a clean cloth.
2. **Polish the Edge:** Rub the cloth along the edge of the glass in a circular motion, applying gentle pressure.
3. **Buff:** Use a clean, dry cloth to buff the edge until it shines.
Final Touches
Now that your glasses are cut, sanded, and polished, it’s time for the final touches.
1. **Wash Thoroughly:** Wash the glasses thoroughly with soap and water to remove any remaining glass dust or polishing compound.
2. **Dry Completely:** Dry the glasses completely with a clean towel.
3. **Inspect Again:** Give your glasses one last inspection to ensure there are no sharp edges or imperfections.
4. **Add Cork Coasters (Optional):** To protect your furniture from condensation, consider adding cork coasters to the bottom of your glasses. You can glue them on with a strong adhesive.
Tips and Tricks for Success
* Practice Makes Perfect: Don’t be discouraged if your first attempt isn’t perfect. It takes practice to get a clean cut and a smooth edge.
* Choose the Right Bottles: Bottles with smooth, even surfaces are easier to cut and sand. Avoid bottles with textured surfaces or complex shapes.
* Keep Everything Wet: Wet sanding is essential for preventing the glass from overheating and cracking. It also helps to remove glass dust and create a smoother finish.
* Be Patient: Don’t rush the process. Take your time and pay attention to detail.
* Experiment with Different Techniques: There are many different ways to cut and sand glass. Experiment with different techniques to find what works best for you.
* Safety is Paramount: Always wear safety glasses and gloves when working with glass.
* Consider a Bottle Cutting Machine: If you plan on making a lot of bottle glasses, consider investing in a bottle cutting machine. These machines can make the cutting process much easier and more consistent.
* Get Creative with Decoration: Once you’ve mastered the basics, you can get creative with decorating your glasses. You can paint them, etch them, or even add decals.
Troubleshooting Common Problems
* **Uneven Break:** If the bottle breaks unevenly, don’t panic! You can usually fix it with sanding. Just focus on smoothing out the rough edges.
* **Chipping:** Chipping can occur if you apply too much pressure during the cutting or sanding process. Be gentle and use a light touch.
* **Cracking:** Cracking can occur if the glass overheats during the sanding process. Keep the glass and sandpaper wet to prevent overheating.
* **Difficulty Separating:** If you’re having trouble separating the bottle, try applying more hot and cold water cycles. You can also try gently tapping the bottle near the score line with a wooden spoon.
Beyond Glasses: Other Bottle Projects
Once you’ve mastered the art of cutting bottles, you can use your skills to create all sorts of other cool projects, such as:
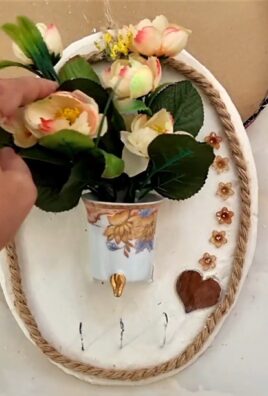
* **Vases:** Cut the top off a bottle and sand the edges to create a unique vase.
* **Candle Holders:** Cut the bottom off a bottle and place a candle inside.
* **Lamps:** Drill a hole in the side of a bottle and run a lamp cord through it.
* **Planters:** Cut a bottle in half and use the bottom half as a planter.
* **Wind Chimes:** Cut bottles into different shapes and hang them from a string to create a wind chime.
So there you have it! With a little patience and practice, you can transform those empty bottles into beautiful and functional drinking glasses. It’s a rewarding project that’s good for the environment and a great way to express your creativity. Happy crafting!
Conclusion
So, there you have it! Transforming ordinary glass bottles into stylish and functional drinking glasses is not only a fantastic way to reduce waste and embrace sustainability, but it’s also an incredibly rewarding DIY project. We’ve walked you through the process, highlighting the key steps and safety precautions to ensure a smooth and successful experience.
Why is this DIY bottle glasses trick a must-try? Because it’s more than just crafting; it’s about creativity, resourcefulness, and adding a personal touch to your home. Imagine serving your favorite beverages in glasses you crafted yourself – a true conversation starter and a testament to your ingenuity. Plus, think of the money you’ll save by upcycling instead of buying new glassware!
But the fun doesn’t stop there. Feel free to experiment with different bottle shapes, sizes, and colors to create a truly unique collection. Consider using etching cream to add personalized designs, monograms, or even intricate patterns to your finished glasses. You could also explore different sanding techniques to achieve varying levels of smoothness and texture. For a rustic look, leave some of the original bottle label visible. If you’re feeling particularly adventurous, try adding a decorative rim using glass paint or even metal leaf.
The possibilities are truly endless! This project is a blank canvas for your creativity. Don’t be afraid to experiment and personalize your DIY bottle glasses to perfectly match your style and preferences.
We understand that embarking on a new DIY project can sometimes feel daunting, but we assure you that with a little patience and attention to detail, you’ll be amazed at what you can achieve. Remember to prioritize safety throughout the process, wearing appropriate protective gear and following the instructions carefully.
We are confident that you’ll find this DIY project both enjoyable and fulfilling. So, gather your materials, unleash your inner artist, and get ready to transform those empty bottles into beautiful, one-of-a-kind drinking glasses.
We can’t wait to see what you create! Share your finished DIY bottle glasses with us on social media using #DIYBottleGlasses and tag us @YourBrandName (replace with your actual brand name). We’re eager to see your unique designs and hear about your experience. Happy crafting! Let us know if you have any questions or need any help along the way. We are here to support your creative journey.
Frequently Asked Questions (FAQs)
Q: What types of bottles are best suited for making DIY bottle glasses?
A: Generally, thicker glass bottles work best. Wine bottles, beer bottles, and some juice bottles are excellent choices. Avoid using very thin glass bottles, as they are more prone to cracking during the cutting and sanding process. Bottles with smooth, even surfaces are also easier to work with. Consider the shape of the bottle as well; bottles with interesting curves or unique designs can result in particularly attractive glasses. Clear or lightly colored bottles are ideal for showcasing the beverage inside, but darker bottles can also create a dramatic and stylish effect.
Q: What safety precautions should I take when cutting glass bottles?
A: Safety is paramount when working with glass. Always wear safety glasses to protect your eyes from glass shards. Use heavy-duty gloves to protect your hands from cuts. Work in a well-ventilated area to avoid inhaling any glass dust. When scoring the bottle, apply even pressure and avoid pressing too hard, which can cause the glass to shatter unexpectedly. When separating the bottle, use caution and be prepared for the glass to break. Dispose of any broken glass pieces carefully and responsibly. Consider using a specialized glass cutting kit that includes safety equipment and instructions.
Q: What type of sandpaper should I use to smooth the edges of the glass?
A: Start with a coarser grit sandpaper (around 120-220 grit) to remove any sharp edges and rough spots. Then, gradually move to finer grit sandpaper (around 320-400 grit) to smooth the edges further. Finally, use very fine grit sandpaper (around 600-800 grit) to polish the edges and create a smooth, comfortable drinking surface. Wet sanding (using sandpaper with water) is recommended, as it helps to reduce friction, prevent the sandpaper from clogging, and minimize the amount of glass dust produced.
Q: How can I ensure that the edges of my DIY bottle glasses are perfectly smooth?
A: Patience and persistence are key. Spend ample time sanding the edges, gradually moving to finer grits of sandpaper. Regularly check the edges for any remaining sharp spots or rough areas. You can also use a specialized glass polishing compound to achieve an even smoother finish. Consider using a rotary tool with a sanding attachment for more precise and efficient sanding. Remember to keep the sandpaper wet throughout the sanding process.
Q: Can I use a bottle cutter that uses heat instead of scoring and breaking?
A: Yes, there are bottle cutters that use heat to separate the glass. These typically involve rotating the bottle while applying heat along a scored line. While some find this method easier, it still requires caution and proper technique. Ensure you follow the manufacturer’s instructions carefully and wear appropriate safety gear. The heat method can sometimes result in uneven breaks or require additional sanding to smooth the edges.
Q: How do I clean my DIY bottle glasses?
A: Hand washing is recommended to preserve the smoothness of the edges and prevent any potential damage. Use warm, soapy water and a soft sponge or cloth. Avoid using abrasive cleaners or scouring pads, as they can scratch the glass. Rinse thoroughly and dry with a clean towel. While some DIY bottle glasses may be dishwasher safe, it’s best to err on the side of caution and hand wash them to ensure their longevity.
Q: Can I add decorations to my DIY bottle glasses?
A: Absolutely! There are many ways to personalize your DIY bottle glasses. You can use glass paint to add designs, patterns, or monograms. Etching cream can be used to create frosted or textured effects. You can also add decorative rims using glass beads, wire, or other embellishments. Be sure to use materials that are food-safe and heat-resistant if you plan to use the glasses for hot beverages.
Q: What if the bottle breaks unevenly when I’m trying to separate it?
A: An uneven break can happen. Don’t despair! You can still salvage the project. Use a diamond file or a rotary tool with a grinding attachment to even out the edge. Then, proceed with the sanding process as usual. You may need to spend a little extra time sanding to achieve a smooth, even finish. If the break is too severe, you may need to start with a new bottle.
Q: Are there any resources or tutorials that you recommend for making DIY bottle glasses?
A: Yes, there are many helpful resources available online. Search for video tutorials on YouTube or other video-sharing platforms. Look for blog posts or articles that provide detailed instructions and tips. Consider joining online crafting communities or forums where you can ask questions and share your experiences with other DIY enthusiasts. Always cross-reference information from multiple sources to ensure accuracy and safety.
Q: Can I sell the DIY bottle glasses that I make?
A: Yes, you can sell the DIY bottle glasses that you make, provided that you comply with all applicable laws and regulations. Be sure to check local regulations regarding the sale of handmade goods. Consider obtaining any necessary permits or licenses. Clearly label your products as handmade and specify that they are made from recycled materials. Price your products competitively and market them effectively to reach your target audience.
Leave a Comment