

DIY Cabinet Degreaser: Are your kitchen cabinets looking a little… sticky? Let’s face it, grease happens. It’s a silent, invisible enemy that slowly coats our beloved cabinets, turning them from sparkling clean to dull and grimy. But don’t despair! Before you reach for harsh chemicals or consider a costly professional cleaning, I’m here to share a simple, effective, and budget-friendly solution: a DIY cabinet degreaser that you can whip up with ingredients you probably already have in your pantry.
For generations, resourceful homemakers have relied on natural cleaning solutions to keep their homes sparkling. Before the age of mass-produced cleaning products, ingredients like vinegar, baking soda, and lemon were the go-to for tackling tough messes. This tradition of DIY cleaning is not only cost-effective but also allows us to control the ingredients we’re bringing into our homes, minimizing exposure to potentially harmful chemicals.
Why is a DIY cabinet degreaser so essential? Because greasy cabinets aren’t just unsightly; they can also attract dust and bacteria, creating an unhygienic environment in your kitchen. Plus, tackling grease buildup early prevents it from becoming a stubborn, baked-on mess that’s much harder to remove later. I’m going to show you how to create a powerful degreaser that will leave your cabinets looking fresh, clean, and ready to shine. Get ready to say goodbye to grease and hello to a sparkling kitchen!
DIY Cabinet Degreaser: Restore Your Kitchen’s Shine!
Okay, let’s face it, kitchen cabinets are magnets for grease, grime, and all sorts of sticky messes. Store-bought degreasers can be harsh and expensive, so I’m going to show you how to whip up your own powerful and eco-friendly cabinet degreaser using ingredients you probably already have in your pantry! This method is safe for most cabinet finishes, but as always, test in an inconspicuous area first.
What You’ll Need:
Before we dive in, let’s gather our supplies. This is a pretty simple recipe, so you won’t need anything too fancy.
* Baking Soda: This is our gentle abrasive and deodorizer. It helps lift grease without scratching.
* White Vinegar: The acid in vinegar cuts through grease and grime like a champ.
* Dish Soap: A little dish soap helps emulsify the grease and lift it away. I prefer a grease-cutting formula.
* Warm Water: Warm water helps dissolve the baking soda and activate the cleaning power of the other ingredients.
* Spray Bottle: For easy application.
* Microfiber Cloths: These are gentle on your cabinets and won’t leave lint behind.
* Soft-Bristled Brush (Optional): For tackling stubborn spots or textured cabinets.
* Gloves (Optional): To protect your hands, especially if you have sensitive skin.
* Small Bowl or Container: For mixing the degreaser.
Mixing the Magic Potion: The Degreaser Recipe
Now for the fun part! We’re going to create our degreasing solution. I’ve found this ratio works best, but feel free to adjust it slightly based on the level of grime on your cabinets.
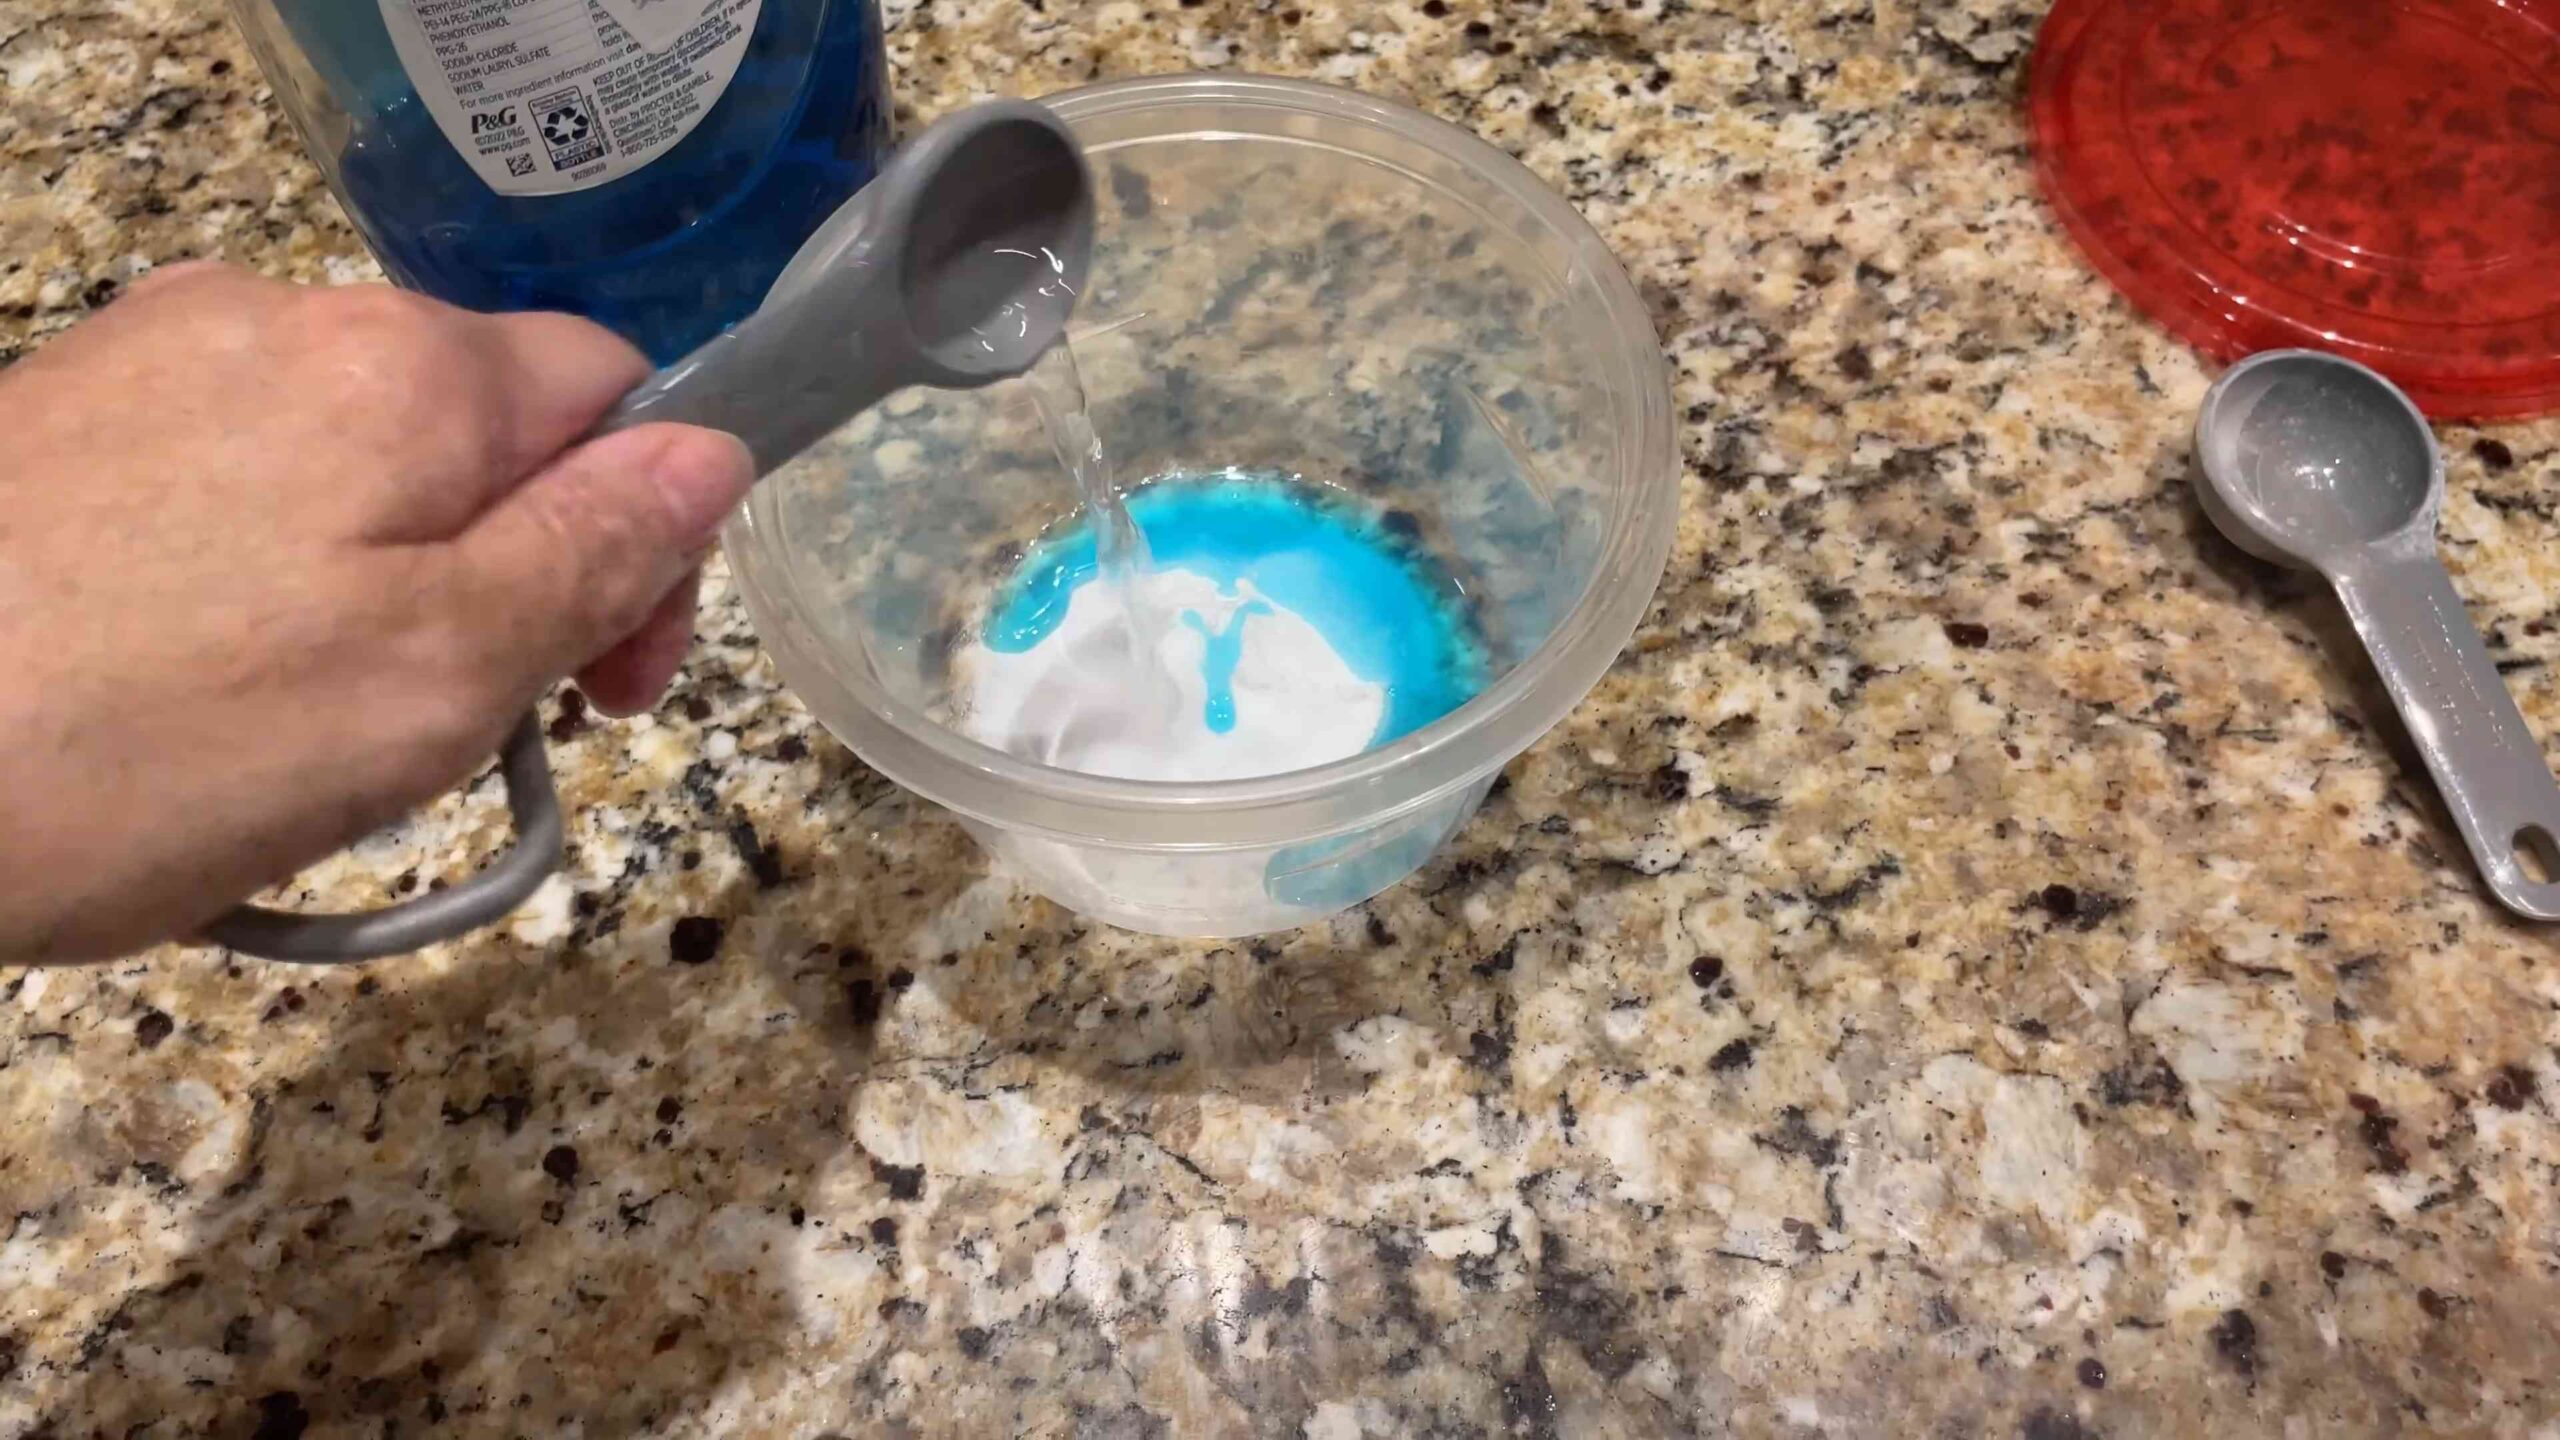
1. Combine Baking Soda and Water: In your bowl or container, mix 1/4 cup of baking soda with 1 cup of warm water. Stir until the baking soda is mostly dissolved. Don’t worry if there are a few small clumps; they’ll dissolve as you go.
2. Add Vinegar: Slowly pour in 1/4 cup of white vinegar. Be prepared for a little fizzing action! This is the chemical reaction between the baking soda and vinegar, and it’s perfectly normal.
3. Add Dish Soap: Add 1 tablespoon of dish soap. Gently stir to combine all the ingredients. Avoid creating too many bubbles.
4. Transfer to Spray Bottle: Carefully pour the mixture into your spray bottle. You might want to use a funnel to avoid spills.
Degreasing Your Cabinets: Step-by-Step Guide
Alright, we’ve got our degreaser ready to go. Now it’s time to tackle those greasy cabinets! Remember to test in an inconspicuous area first to ensure the solution doesn’t damage the finish. A good spot is inside a cabinet door or on the side of a lower cabinet.
1. Prepare the Area: Clear the countertops below the cabinets you’ll be cleaning. Cover them with a towel or newspaper to protect them from drips.
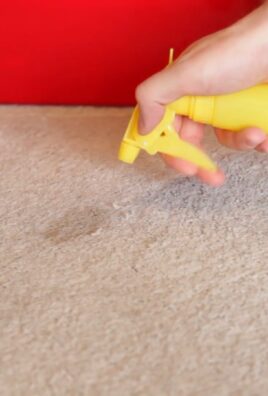
2. Spray the Degreaser: Lightly spray the degreaser onto a small section of your cabinets. Don’t saturate the wood, especially if you have wood cabinets.
3. Let it Sit (Briefly!): Allow the degreaser to sit for a minute or two. This gives it time to loosen the grease and grime. Don’t let it sit for too long, as it could potentially damage the finish.
4. Wipe with a Microfiber Cloth: Using a clean microfiber cloth, wipe the sprayed area in a circular motion. Apply gentle pressure to remove the grease and grime. You’ll be amazed at how easily it comes off!
5. Tackle Stubborn Spots: For stubborn spots, you can use a soft-bristled brush to gently scrub the area. Be careful not to scratch the finish. You can also make a paste of baking soda and water and apply it directly to the spot, letting it sit for a few minutes before wiping it away.
6. Rinse (Optional): If you feel like there’s a residue left behind, you can rinse the area with a clean, damp microfiber cloth. Be sure to wring out the cloth well so you’re not adding too much water to the cabinets.
7. Dry the Cabinets: Use a clean, dry microfiber cloth to dry the cabinets thoroughly. This will prevent water spots and help restore their shine.
8. Repeat: Repeat steps 2-7 on the remaining sections of your cabinets until they’re all clean and grease-free.
9. Clean Hardware: Don’t forget the hardware! You can remove the knobs and pulls and soak them in warm, soapy water. Use a soft brush to scrub away any grime. Rinse and dry them thoroughly before reattaching them to the cabinets.
Dealing with Different Cabinet Finishes
The beauty of this DIY degreaser is that it’s generally safe for most cabinet finishes. However, here are a few things to keep in mind:
* Painted Cabinets: Painted cabinets are usually pretty durable, but it’s still important to test in an inconspicuous area first. Avoid using abrasive scrubbers, as they can scratch the paint.
* Wood Cabinets: Wood cabinets can be more sensitive to moisture. Be sure to wring out your cloths well and dry the cabinets thoroughly after cleaning. Avoid using harsh chemicals or abrasive cleaners, as they can damage the finish.
* Laminate Cabinets: Laminate cabinets are generally easy to clean. This DIY degreaser should work well on them.
* Glass-Front Cabinets: For glass-front cabinets, you can use a glass cleaner to clean the glass panels. Be careful not to get the degreaser on the glass, as it can leave streaks.
Tips and Tricks for Sparkling Cabinets
Here are a few extra tips and tricks to help you get the best results:
* Clean Regularly: The best way to keep your cabinets clean is to clean them regularly. Wipe them down with a damp cloth every week or two to prevent grease and grime from building up.
* Address Splatters Immediately: Clean up spills and splatters as soon as they happen. This will prevent them from drying and becoming harder to remove.
* Ventilate the Kitchen: Open a window or turn on the exhaust fan while you’re cleaning to ventilate the kitchen.
* Use a Magic Eraser (Sparingly): For really stubborn spots, you can try using a magic eraser. However, be careful, as magic erasers can be abrasive and may damage the finish on some cabinets. Test in an inconspicuous area first.
* Consider a Protective Coating: After cleaning your cabinets, you can apply a protective coating, such as a furniture polish or wax, to help protect them from future grease and grime.
* Don’t Forget the Top of the Cabinets: The tops of cabinets are often overlooked, but they can accumulate a lot of dust and grease. Use a vacuum cleaner with a brush attachment to remove the dust, then wipe them down with the degreaser.
* Deep Clean Annually: Even with regular cleaning, it’s a good idea to do a deep clean of your cabinets at least once a year. This will help remove any built-up grease and grime and keep your cabinets looking their best.
* Proper Ventilation is Key: Make sure your kitchen is properly ventilated when cooking. Use your range hood or open a window to help remove grease and steam from the air. This will help prevent grease from building up on your cabinets in the first place.
Why This DIY Degreaser Works
The effectiveness of this DIY degreaser lies in the synergistic action of its ingredients:
* Baking Soda: Acts as a mild abrasive to gently scrub away stuck-on grime without scratching surfaces. Its alkaline nature also helps neutralize acidic grease.
* White Vinegar: Contains acetic acid, which effectively cuts through grease and dissolves mineral deposits. It’s also a natural disinfectant.
* Dish Soap: Contains surfactants that reduce surface tension, allowing the degreaser to penetrate and lift grease more effectively. It also helps emulsify the grease, making it easier to wipe away.
* Warm Water: Aids in dissolving the baking soda and activating the cleaning power of the other ingredients.
Safety First!
While this DIY degreaser is generally safe, it’s always a good idea to take a few precautions:
* Test in an Inconspicuous Area: As mentioned before, always test the degreaser in an inconspicuous area before applying it to the entire surface.
* Wear Gloves: If you have sensitive skin, wear gloves to protect your hands from irritation.
* Avoid Contact with Eyes: Avoid getting the degreaser in your eyes. If contact occurs, rinse thoroughly with water.
* Keep Out of Reach of Children and Pets: Store the degreaser in a safe place out of reach

Conclusion
So, there you have it! A simple, effective, and budget-friendly way to tackle even the greasiest cabinet grime. This DIY cabinet degreaser isn’t just about saving money; it’s about knowing exactly what’s going onto the surfaces in your home, especially in areas where you prepare food. Commercial degreasers often contain harsh chemicals that can linger and potentially contaminate your kitchen environment. By making your own, you control the ingredients and can tailor the formula to your specific needs and preferences.
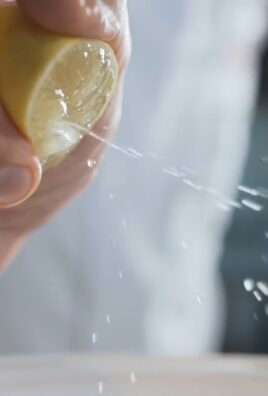
Why is this DIY trick a must-try? Because it works! It cuts through grease and grime without the need for harsh chemicals, leaving your cabinets sparkling clean and your kitchen smelling fresh. It’s also incredibly versatile. Feel free to experiment with different essential oils for a customized scent. Lemon, orange, or grapefruit essential oils are particularly effective at cutting through grease and leaving a bright, citrusy aroma. You could also add a few drops of tea tree oil for its antibacterial properties.
Looking for variations? For heavily soiled cabinets, consider letting the degreaser sit for a longer period – perhaps 10-15 minutes – before wiping it away. You can also use a soft-bristled brush to gently scrub stubborn areas. For painted cabinets, always test the degreaser in an inconspicuous area first to ensure it doesn’t damage the finish. If you’re concerned about scratching, use a microfiber cloth instead of a sponge.
Beyond cabinets, this DIY degreaser can be used on a variety of surfaces, including stovetops, backsplashes, and even greasy tools. Just remember to always test it in a small, hidden area first to ensure compatibility.
We’re confident that once you try this DIY cabinet degreaser, you’ll be amazed by the results. It’s a simple, effective, and eco-friendly way to keep your kitchen clean and healthy.
Don’t just take our word for it – give it a try! We encourage you to experiment with the recipe, find what works best for you, and share your experiences in the comments below. We’d love to hear your tips, variations, and success stories. Let’s build a community of clean-cabinet enthusiasts! Share your before-and-after photos and let us know how this DIY solution has transformed your kitchen. Your feedback will help others discover the power of homemade cleaning solutions and create a healthier, happier home.
Frequently Asked Questions (FAQ)
What kind of soap should I use for the DIY cabinet degreaser?
Dish soap is the key ingredient here, but not all dish soaps are created equal. Opt for a grease-cutting dish soap for the best results. Look for brands that specifically advertise their ability to tackle tough grease. Avoid using hand soap, as it’s not formulated to break down grease as effectively. If you have sensitive skin, consider using a hypoallergenic dish soap to minimize irritation.
Can I use vinegar instead of baking soda?
While vinegar is a popular cleaning agent, it’s not recommended as a direct substitute for baking soda in this recipe. Baking soda is a mild abrasive that helps to lift grease and grime, while vinegar is an acid that can be too harsh for some cabinet finishes, especially painted or varnished surfaces. The combination of baking soda and dish soap creates a gentle yet effective cleaning solution. If you’re concerned about the acidity of vinegar, it’s best to stick with the baking soda.
How often should I degrease my kitchen cabinets?
The frequency of degreasing depends on how often you cook and the amount of grease that accumulates in your kitchen. As a general rule, degreasing your cabinets every 1-3 months is a good practice. However, if you cook frequently or notice a significant buildup of grease, you may need to degrease them more often. Regular cleaning will prevent grease from hardening and becoming more difficult to remove.
Will this DIY degreaser work on all types of cabinets?
This DIY degreaser is generally safe for most types of cabinets, including wood, laminate, and painted cabinets. However, it’s always a good idea to test it in an inconspicuous area first to ensure it doesn’t damage the finish. Pay particular attention to painted cabinets, as some finishes may be more sensitive to cleaning solutions. If you’re unsure about the type of finish on your cabinets, consult the manufacturer’s instructions or a professional cleaner.
How do I prevent grease buildup on my cabinets in the first place?
Prevention is key to keeping your cabinets clean and grease-free. Here are a few tips to minimize grease buildup:
* Use your range hood or exhaust fan whenever you’re cooking. This will help to vent grease and steam away from your cabinets.
* Wipe down your cabinets regularly with a damp cloth to remove any splatters or spills.
* Consider using a backsplash behind your stovetop to protect your walls and cabinets from grease.
* Avoid frying foods too often, as this can generate a lot of grease.
* Store cooking oils and fats in airtight containers to prevent them from splattering.
What if the grease is really stubborn and won’t come off?
For particularly stubborn grease stains, you may need to take a few extra steps. First, try letting the degreaser sit on the stain for a longer period of time – up to 30 minutes. You can also use a soft-bristled brush to gently scrub the area. If the grease still won’t budge, try making a paste of baking soda and water and applying it to the stain. Let the paste sit for a few minutes before wiping it away. In extreme cases, you may need to use a commercial degreaser, but always test it in an inconspicuous area first.
Can I add essential oils to the DIY cabinet degreaser?
Yes, adding essential oils is a great way to customize your DIY cabinet degreaser and add a pleasant scent to your kitchen. Lemon, orange, grapefruit, and tea tree essential oils are all excellent choices for cutting through grease and providing antibacterial benefits. Add a few drops of your favorite essential oil to the mixture before using it. Be sure to use pure essential oils, as synthetic fragrances may not be as effective.
How should I store the leftover DIY cabinet degreaser?
Store any leftover DIY cabinet degreaser in a clean, airtight container. A spray bottle is ideal for easy application. Label the container clearly so you don’t accidentally mistake it for something else. Store the degreaser in a cool, dry place away from direct sunlight. The shelf life of the degreaser is typically a few weeks, but it’s best to use it within a month for optimal effectiveness. If the mixture starts to separate or develop an unusual odor, discard it and make a fresh batch.
Leave a Comment