

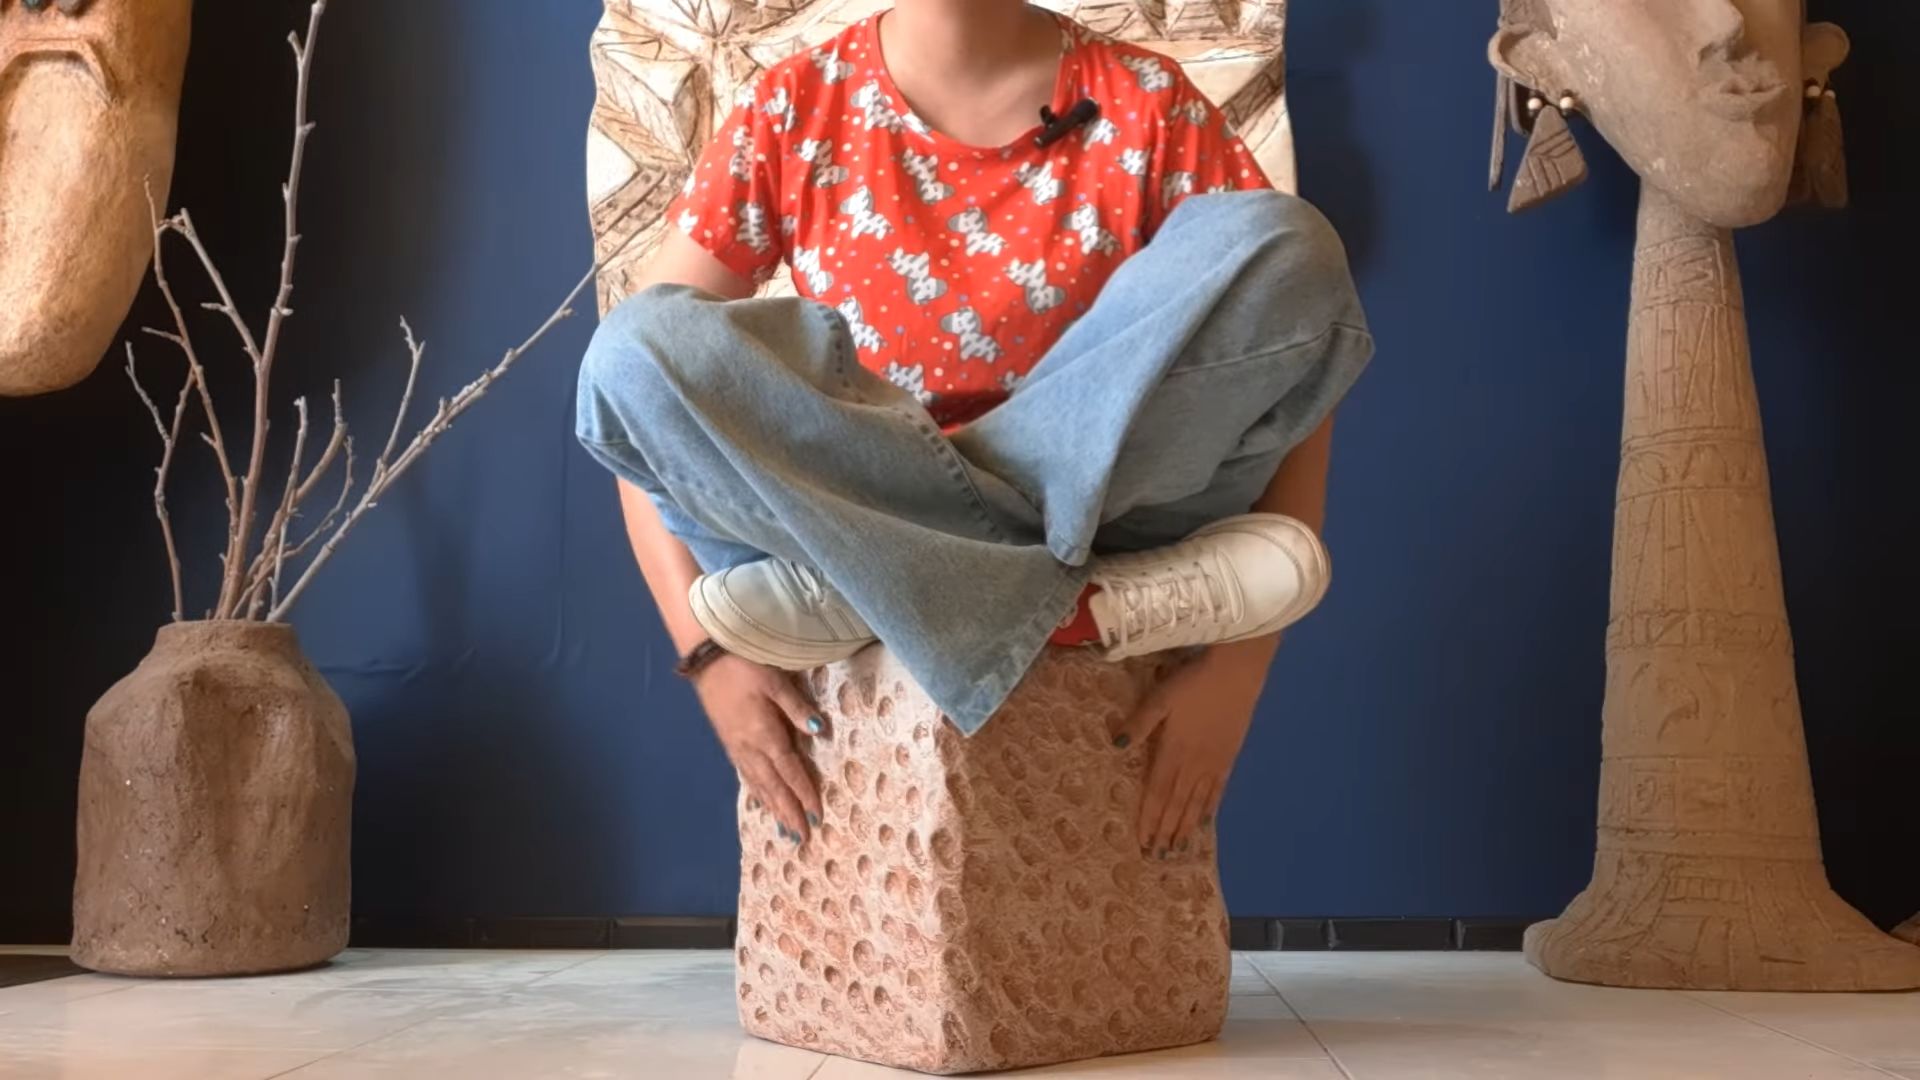
DIY Egg Carton Ottoman: Who knew that humble egg cartons could be transformed into a stylish and functional piece of furniture? I’m always on the lookout for creative ways to repurpose everyday items, and this DIY project is a game-changer!
Upcycling, the art of transforming waste materials into something new and valuable, has roots stretching back centuries. From necessity during times of scarcity to a conscious effort to reduce waste in our modern era, the spirit of making something from nothing has always resonated with resourceful individuals. This DIY egg carton ottoman embodies that spirit perfectly.
Let’s face it, buying new furniture can be expensive and often contributes to environmental waste. This project offers a fantastic alternative. Not only is it budget-friendly, but it also allows you to personalize your living space with a unique, eco-conscious piece. Plus, who doesn’t love the satisfaction of saying, “I made that!”? This DIY egg carton ottoman is a fun and rewarding project that will add character and comfort to your home, all while helping you reduce your carbon footprint. So, gather your egg cartons, and let’s get crafting!
DIY Egg Carton Ottoman: Comfort and Sustainability Combined!
Hey there, fellow DIY enthusiasts! I’m so excited to share this project with you – a super comfy and surprisingly sturdy ottoman made almost entirely from recycled egg cartons! Not only is it a fantastic way to reduce waste, but it also adds a unique, eco-friendly touch to your home. Get ready to transform those humble egg cartons into a functional and stylish piece of furniture.
Materials You’ll Need:
Before we dive in, let’s gather all the necessary materials. Trust me, having everything organized beforehand will make the process much smoother.
* A LOT of egg cartons (cardboard or paper pulp, not styrofoam). I used around 150 for mine, but the exact number will depend on the size you want your ottoman to be. Start saving now, or ask friends and family to contribute!
* Strong packing tape (the wider, the better).
* Scissors or a utility knife.
* A large piece of cardboard (for the base and top). Think old appliance boxes!
* Upholstery foam (at least 2 inches thick). You can often find remnants or discounted pieces at fabric stores.
* Fabric of your choice (enough to cover the entire ottoman with some extra for tucking and securing). I went with a durable canvas, but you can use anything that suits your style.
* Staple gun and staples.
* Hot glue gun and glue sticks (optional, but helpful for extra security).
* Measuring tape or ruler.
* Pencil or marker.
* Optional: Decorative legs (available at most hardware stores).
* Optional: Buttons for tufting (if you want a more decorative look).
* Optional: Batting or quilt batting (for extra padding under the fabric).
Preparing the Egg Cartons: The Foundation of Your Ottoman
This is probably the most time-consuming part, but it’s crucial for creating a solid and stable structure.
1. Cut and Flatten: Using your scissors or utility knife, carefully cut the egg cartons into individual cups. Then, flatten each cup as much as possible. You don’t need them perfectly flat, just enough to stack them neatly. Be careful with the utility knife!
2. Stack and Tape: Now, start stacking the flattened egg carton cups. I found that stacking them in groups of 4 or 5 worked best. Secure each stack tightly with packing tape. Wrap the tape around the stack multiple times to ensure it’s really secure. Think of these stacks as the building blocks of your ottoman.
3. Create Bricks: Once you have a good number of stacks, start combining them to create larger “bricks.” I made bricks by taping 4 stacks together, creating a square shape. Again, use plenty of packing tape to bind them tightly. The more secure these bricks are, the sturdier your ottoman will be.
4. Repeat: Keep making these bricks until you have enough to build the base of your ottoman to your desired size and height. Remember to consider the size of your cardboard base when determining how many bricks you need.
Building the Ottoman Base: Layering and Securing
Now that we have our egg carton bricks, it’s time to assemble the base of the ottoman.
1. Cut the Cardboard Base: Using your measuring tape and pencil, draw a circle or square (or whatever shape you prefer) on your large piece of cardboard. This will be the base of your ottoman. Make sure it’s large enough to accommodate the egg carton bricks you’ve made. Carefully cut out the cardboard shape with your utility knife.
2. First Layer of Bricks: Arrange the egg carton bricks on the cardboard base, covering the entire surface. You can use hot glue to secure them to the cardboard, but I found that the weight of the bricks and subsequent layers was enough to hold them in place. Just make sure they’re packed tightly together.
3. Second Layer (and Beyond): Continue adding layers of egg carton bricks, stacking them on top of each other. Stagger the bricks in each layer to create a more stable structure, like you would when building a brick wall. This will help distribute the weight evenly.
4. Taping the Layers: As you add layers, use packing tape to secure the bricks together. Wrap the tape around the entire ottoman, both horizontally and vertically, to bind all the layers into a single, solid unit. Don’t be shy with the tape! The more secure, the better.
5. Achieving Desired Height: Keep adding layers until you reach your desired ottoman height. Remember to account for the thickness of the upholstery foam and fabric when determining the final height.
Adding the Top and Foam: Comfort is Key!
Now we’re going to add the top and foam to make it comfortable to sit on.
1. Cut the Cardboard Top: Using the same shape and dimensions as the cardboard base, cut out another piece of cardboard. This will be the top of your ottoman.
2. Attach the Top: Place the cardboard top on top of the egg carton structure. Secure it with packing tape, wrapping the tape around the entire ottoman to bind the top to the base. You can also use hot glue for extra security.
3. Cut the Foam: Measure the top of your ottoman and cut the upholstery foam to the same size. If you want a softer edge, you can round the corners of the foam.
4. Attach the Foam: Place the foam on top of the cardboard top. You can use spray adhesive to secure it, but I found that it stayed in place well enough without it. If you’re using batting, wrap the batting around the foam and secure it with spray adhesive or a few stitches. This will create a softer, more rounded look.
Upholstering the Ottoman: Bringing it to Life!
This is where your creativity really shines! Choose a fabric that you love and that complements your home decor.
1. Measure and Cut the Fabric: Measure the circumference and height of your ottoman. Add several inches to each measurement to allow for tucking and stapling. Cut the fabric to the appropriate size.
2. Position the Fabric: Center the fabric over the ottoman, making sure there’s an equal amount of fabric on all sides.
3. Staple the Fabric: Starting on one side, pull the fabric taut and staple it to the bottom of the cardboard base. Use your staple gun to secure the fabric, spacing the staples a few inches apart. Work your way around the ottoman, pulling the fabric taut as you go.
4. Corners and Curves: When you reach the corners or curves, you’ll need to pleat or fold the fabric to create a smooth finish. There are many different techniques for handling corners, so experiment to find what works best for you. You can also watch some online tutorials for tips and tricks.
5. Tucking and Securing: Once you’ve stapled the fabric all the way around, tuck the excess fabric under the bottom edge of the ottoman and staple it in place. Make sure the fabric is smooth and wrinkle-free.
6. Finishing Touches: If you’re using decorative legs, attach them to the bottom of the ottoman according to the manufacturer’s instructions. If you want to add buttons for tufting, mark the desired locations on the fabric and use a long needle and thread to pull the fabric through the foam and secure the buttons.
Optional Enhancements: Customizing Your Creation
Want to take your egg carton ottoman to the next level? Here are a few ideas:
* Decorative Legs: Adding legs can elevate the ottoman and give it a more polished look. Choose legs that complement your fabric and overall style.
* Tufting: Tufting adds a touch of elegance and sophistication. It involves creating indentations in the fabric by pulling it through the foam and securing it with buttons.
* Piping: Adding piping around the edges of the ottoman can create a clean and professional finish.
* Storage: With a little modification, you can turn your ottoman into a storage unit. Simply add a hinged lid and a storage compartment inside.
* Paint the Egg Cartons: Before assembling, you could paint the egg cartons for a pop of color or a more uniform look.
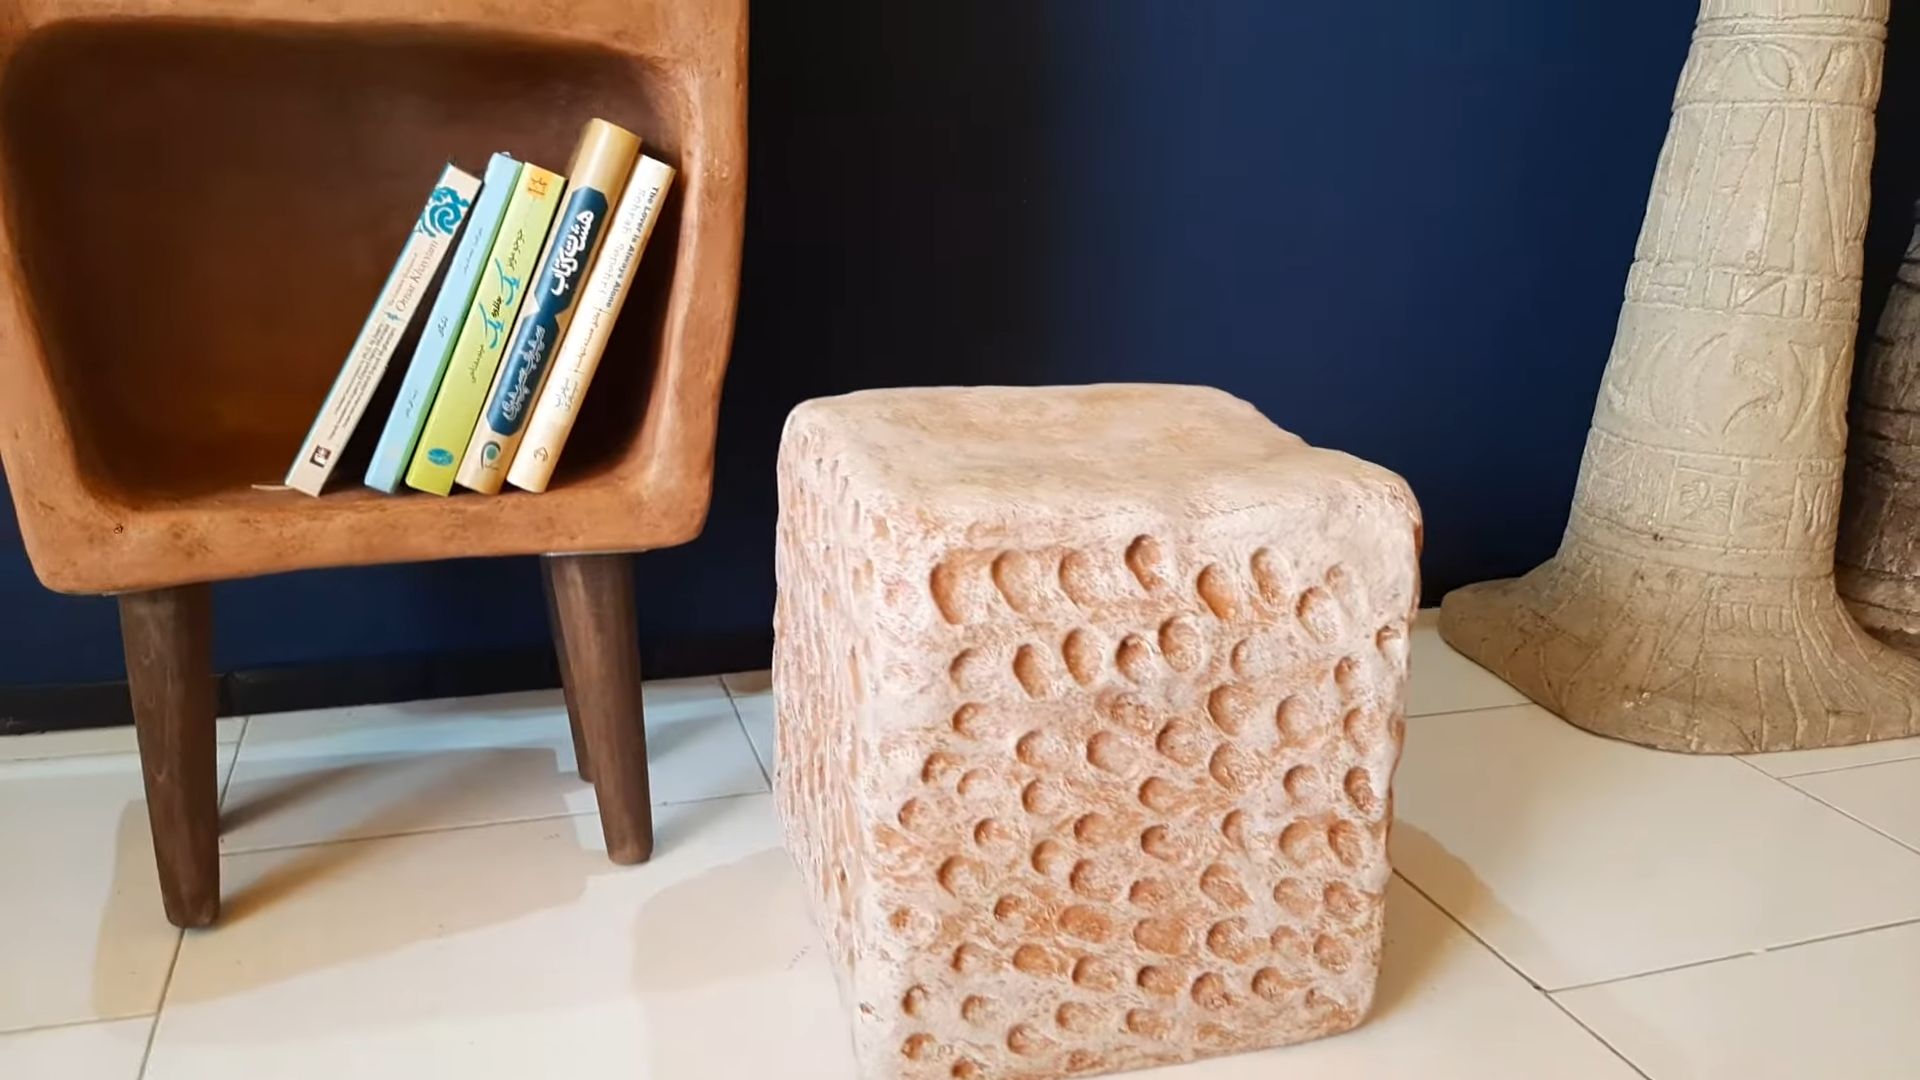
Final Thoughts: Enjoy Your Eco-Friendly Ottoman!
And there you have it! A beautiful, functional, and eco-friendly ottoman made from recycled egg cartons. I hope you enjoyed this DIY project as much as I did. It’s a great way to reduce waste, get creative, and add a unique touch to your home decor. Now, sit back, relax, and enjoy your new ottoman! I’m sure it will be a conversation starter for years to come. Happy crafting!
Conclusion
So, there you have it! Transforming humble egg cartons into a stylish and surprisingly sturdy ottoman is not just a fun craft project; it’s a testament to the power of resourcefulness and creative upcycling. This DIY egg carton ottoman project is a must-try for several compelling reasons.
First and foremost, it’s incredibly budget-friendly. Instead of shelling out a significant amount of money for a new piece of furniture, you’re repurposing materials that would otherwise end up in the trash. This makes it an accessible project for anyone, regardless of their budget. Secondly, it’s a fantastic way to reduce your environmental footprint. By giving these egg cartons a new life, you’re actively participating in waste reduction and promoting sustainable living.
Beyond the practical benefits, this project offers a unique opportunity for personalization. The possibilities are truly endless when it comes to customizing your ottoman. You can choose fabrics that perfectly complement your existing décor, experiment with different paint colors and patterns, or even add embellishments like buttons, tassels, or embroidery.
Consider these variations to truly make it your own:
* **The Rustic Charm Ottoman:** Use burlap or linen fabric for a natural, textured look. Stain the wooden base with a dark walnut finish for added warmth.
* **The Bohemian Oasis Ottoman:** Opt for vibrant, patterned fabrics like ikat or paisley. Add colorful tassels or pom-poms around the base for a playful touch.
* **The Modern Minimalist Ottoman:** Choose a sleek, solid-colored fabric like gray or navy. Keep the design clean and simple for a contemporary feel.
* **The Kid-Friendly Ottoman:** Use durable, washable fabric in bright colors. Consider adding fun appliqués or embroidery featuring animals or cartoon characters.
* **The Storage Ottoman:** Incorporate a hinged lid to create a hidden storage compartment inside the ottoman. This is perfect for storing blankets, pillows, or toys.
Don’t be afraid to experiment with different shapes and sizes as well. While this guide focuses on a square or rectangular ottoman, you could easily adapt the design to create a round or even an irregularly shaped ottoman. The key is to have fun and let your creativity shine!
The durability of your finished ottoman will largely depend on the quality of the egg cartons you use and the care you take in constructing it. However, with proper construction and a sturdy base, your DIY egg carton ottoman can easily withstand regular use. It’s perfect as a footrest, an extra seat, or even a small side table.
We wholeheartedly encourage you to embark on this rewarding DIY adventure. Not only will you end up with a unique and functional piece of furniture, but you’ll also experience the satisfaction of creating something beautiful and useful from recycled materials.
Once you’ve completed your DIY egg carton ottoman, we’d love to see your creations! Share your photos and experiences on social media using the hashtag #EggCartonOttomanDIY. We can’t wait to see the amazing and innovative designs you come up with! Let’s inspire others to embrace the joy of upcycling and create a more sustainable future, one egg carton at a time.
Frequently Asked Questions (FAQ)
1. How many egg cartons do I need for this project?
The number of egg cartons required will depend on the desired size of your ottoman. A good estimate is between 50 and 100 egg cartons for a standard-sized ottoman (approximately 16″ x 16″ x 16″). It’s always better to have a few extra on hand, just in case some are damaged or you need to make adjustments. Start collecting well in advance of when you plan to start the project.
2. What kind of glue is best for this project?
A strong adhesive is crucial for ensuring the stability of your ottoman. Hot glue is a popular choice because it dries quickly and provides a strong bond. However, you can also use wood glue or construction adhesive for a more permanent hold. If using hot glue, be sure to use a high-temperature glue gun and work in small sections to prevent the glue from cooling too quickly. For wood glue, clamp the sections together while they dry to ensure a strong bond.
3. How do I ensure the ottoman is sturdy enough to sit on?
The sturdiness of your ottoman depends on several factors: the quality of the egg cartons, the strength of the adhesive, and the reinforcement of the structure. Use egg cartons made from thick, sturdy cardboard. Reinforce the corners and edges of the ottoman with extra layers of cardboard or wood. A solid wooden base is essential for providing stability and preventing the ottoman from collapsing. Consider adding internal supports, such as cardboard tubes or wooden dowels, to further strengthen the structure.
4. What type of fabric is best for covering the ottoman?
The best fabric for covering your ottoman depends on your personal preferences and the intended use of the ottoman. Durable fabrics like canvas, denim, or upholstery fabric are ideal for high-traffic areas. Softer fabrics like velvet or corduroy can add a touch of luxury. Consider using stain-resistant or waterproof fabrics if you have children or pets. Be sure to choose a fabric that is easy to clean and maintain.
5. Can I paint the egg cartons before assembling the ottoman?
Yes, you can definitely paint the egg cartons before assembling the ottoman. This is a great way to add color and personality to your project. Use acrylic paint or spray paint for best results. Apply several thin coats of paint, allowing each coat to dry completely before applying the next. Be sure to paint the inside of the egg cartons as well, to prevent any unsightly cardboard from showing through.
6. How do I clean the finished ottoman?
The cleaning method will depend on the type of fabric you used to cover the ottoman. For most fabrics, you can spot clean with a damp cloth and mild detergent. Avoid using harsh chemicals or abrasive cleaners, as these can damage the fabric. For more stubborn stains, consider using a fabric stain remover. If you used a washable fabric, you may be able to remove the cover and machine wash it. Always follow the manufacturer’s instructions for cleaning the fabric.
7. Can I make this ottoman with my kids?
Absolutely! This is a fantastic project to do with kids. It’s a fun and educational way to teach them about recycling and upcycling. However, adult supervision is required, especially when using hot glue or sharp tools. Let your kids help with tasks like painting the egg cartons, choosing the fabric, and adding embellishments. This is a great opportunity to foster their creativity and problem-solving skills.
8. What if I don’t have enough egg cartons? Where can I get more?
If you don’t have enough egg cartons, you can ask friends, family, and neighbors to save them for you. You can also check with local restaurants, cafes, and grocery stores, as they often have a surplus of egg cartons. Some craft stores may also sell egg cartons in bulk. Alternatively, you could supplement your egg carton supply with other recycled materials, such as cardboard boxes or newspaper.
9. How long does it take to complete this project?
The time it takes to complete this project will depend on your skill level and the complexity of your design. On average, it takes about 2-3 days to complete the ottoman, including the time it takes to collect the egg cartons, assemble the structure, and cover it with fabric. Be sure to allocate enough time for each step of the process, and don’t rush.
10. Can I use different materials instead of egg cartons?
While this guide focuses on using egg cartons, you can certainly experiment with other recycled materials. Cardboard boxes, plastic bottles, or even old tires can be used to create a similar structure. The key is to choose materials that are strong, durable, and easy to work with. Be sure to adjust the construction method accordingly, depending on the materials you choose.

Leave a Comment