

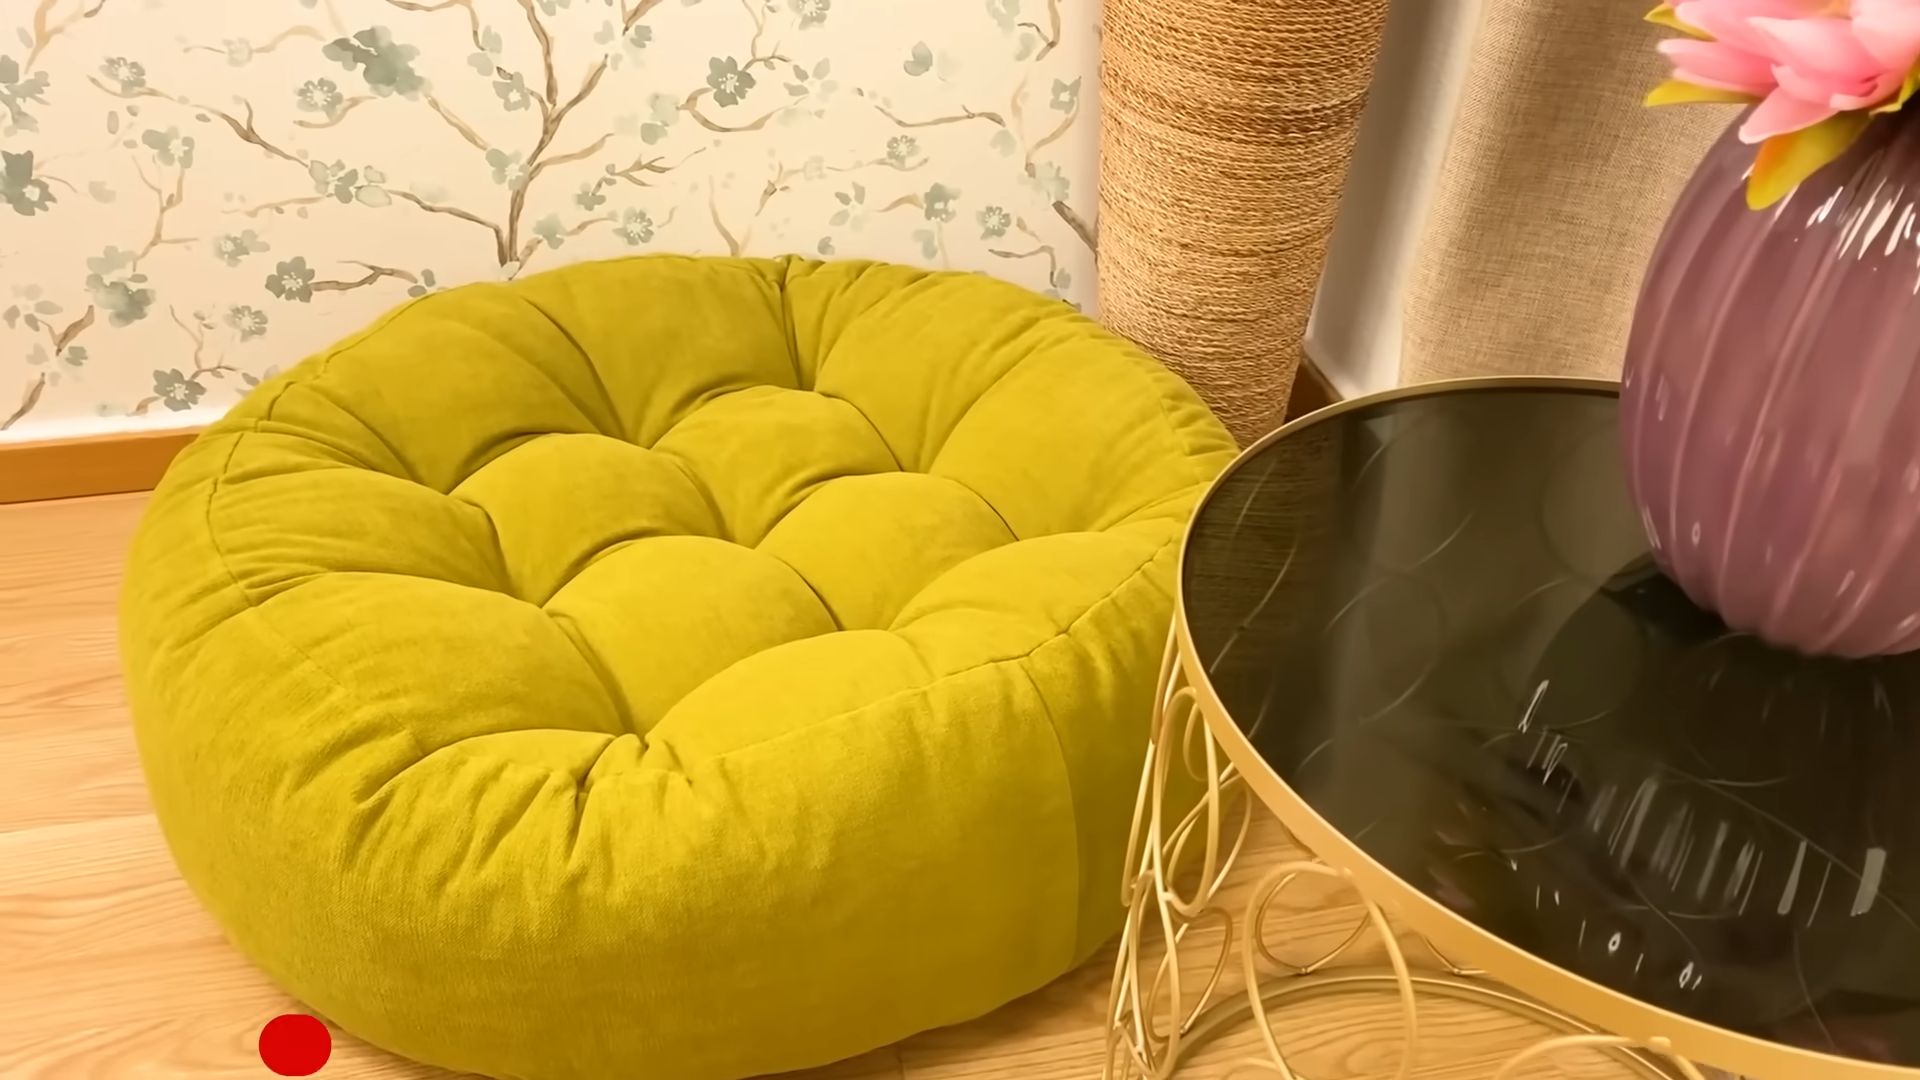
DIY Floor Puff Cushion: Imagine sinking into a cloud of comfort, right in your living room, crafted entirely by your own two hands. Sounds dreamy, right? Well, stop imagining and start creating! This isn’t just about adding another piece of furniture; it’s about injecting personality, comfort, and a touch of “you” into your home.
Historically, floor cushions have been a staple in cultures around the world, from the vibrant tapestries of the Middle East to the minimalist tatami mats of Japan. They represent a relaxed, communal way of living, inviting us to slow down and connect with our surroundings. But let’s be honest, store-bought cushions can be expensive and often lack that unique charm. That’s where the magic of DIY comes in!
In today’s fast-paced world, we all crave a little bit of cozy. A DIY floor puff cushion offers the perfect solution. It’s a budget-friendly way to add extra seating, create a comfy reading nook, or simply elevate your home decor. Plus, it’s a fantastic way to repurpose old fabrics and give them a new lease on life. I’m going to show you how to create a stylish and comfortable floor puff cushion that will become your new favorite spot in the house. Get ready to unleash your inner crafter and transform your space, one stitch at a time!
DIY Floor Puff Cushion: Cozy Comfort You Can Create!
Hey there, fellow DIY enthusiasts! Are you looking for a comfy and stylish addition to your living space? I’m going to walk you through creating your very own floor puff cushion. This project is surprisingly easy, even for beginners, and the result is a versatile piece of furniture perfect for lounging, reading, or just adding a touch of bohemian flair to your home. Let’s get started!
Materials You’ll Need:
Before we dive in, let’s gather all the necessary materials. This will make the process smoother and prevent any frustrating mid-project supply runs.
* Fabric: This is where you can really let your personality shine! I recommend using a durable fabric like canvas, denim, upholstery fabric, or even a thick cotton. The amount you’ll need depends on the size of your desired puff cushion. For a standard size (around 30 inches in diameter), I’d suggest at least 2 yards. If you’re using patterned fabric, make sure to account for pattern matching.
* Inner Lining Fabric (Optional but Recommended): This will hold the filling and prevent it from escaping. Muslin or any inexpensive cotton fabric works great. You’ll need the same amount as your outer fabric.
* Filling: This is what will give your puff cushion its squishiness! You have several options here:
* Polystyrene Beads (Beanbag Filling): These are lightweight and conform to your body, but they can be messy if they escape.
* Shredded Foam: A more eco-friendly option, shredded foam provides good support and is less likely to spill.
* Fabric Scraps: If you’re looking for a truly sustainable option, use fabric scraps from old clothes or other sewing projects. This will give your puff cushion a unique, textured feel.
* Combination: You can even combine different fillings to achieve your desired level of comfort and support.
* Amount: The amount of filling you need will depend on the size of your cushion and the type of filling you choose. Start with a large bag and adjust as needed.
* Sewing Machine: A sewing machine will make this project much faster and easier, but you can also sew it by hand if you’re feeling ambitious.
* Thread: Choose a thread that matches your fabric.
* Scissors or Rotary Cutter: For cutting the fabric.
* Measuring Tape or Ruler: For accurate measurements.
* Pins: To hold the fabric pieces together while sewing.
* Chalk or Fabric Marker: For marking the fabric.
* Large Bowl or Funnel (Optional): To help with filling the cushion.
* Zipper (Optional): If you want to be able to remove and wash the cover, add a zipper to one of the seams. A 20-22 inch zipper should be sufficient.
Cutting the Fabric:
This is a crucial step, so take your time and be precise!
1. Determine the Size: Decide on the desired diameter of your floor puff cushion. I’m going for a 30-inch diameter, which means a 15-inch radius.
2. Create a Pattern (Optional): You can create a paper pattern for a perfect circle. Tie a string to a pencil and a fixed point (like a pin). The length of the string should be equal to the radius of your circle. Hold the fixed point in the center of your paper and move the pencil around it, keeping the string taut, to draw a perfect circle.
3. Cut the Fabric:
* Outer Fabric: Fold your outer fabric in half, then in half again. Place the corner where all the folds meet at the center of your pattern (or where you plan to draw your circle). Using your chalk or fabric marker, trace the circle onto the fabric. Cut through all four layers of fabric to create two identical circles.
* Inner Lining Fabric (Optional): Repeat the same process with your inner lining fabric. You’ll also need two circles of this fabric.
Sewing the Inner Lining (Optional):
This step is optional but highly recommended, as it will make your puff cushion more durable and easier to clean.
1. Pin the Circles Together: Place the two inner lining fabric circles right sides together (meaning the sides you want to be on the outside are facing each other). Pin them together around the edges, leaving a 10-12 inch opening for filling.
2. Sew the Seam: Using your sewing machine, sew around the perimeter of the circle, using a 1/2 inch seam allowance. Remember to leave the opening unsewn.
3. Turn Right Side Out: Carefully turn the inner lining right side out through the opening.
Sewing the Outer Cover:
Now for the fun part – creating the outer cover that will give your puff cushion its unique look!
1. Pin the Circles Together: Place the two outer fabric circles right sides together. Pin them together around the edges.
2. Sew the Seam (Leaving an Opening): Using your sewing machine, sew around the perimeter of the circle, using a 1/2 inch seam allowance. Leave a 10-12 inch opening for inserting the inner lining (if you made one) and the filling.
3. Adding a Zipper (Optional): If you want to add a zipper for easy removal and washing, now’s the time!
* Prepare the Opening: Press the edges of the opening inward by 1/2 inch.
* Pin the Zipper: Place the zipper face down along the edge of the opening, aligning the zipper teeth with the folded edge of the fabric. Pin it securely.
* Sew the Zipper: Using a zipper foot on your sewing machine, sew the zipper in place. Repeat on the other side of the opening.
4. Turn Right Side Out: Carefully turn the outer cover right side out through the opening.
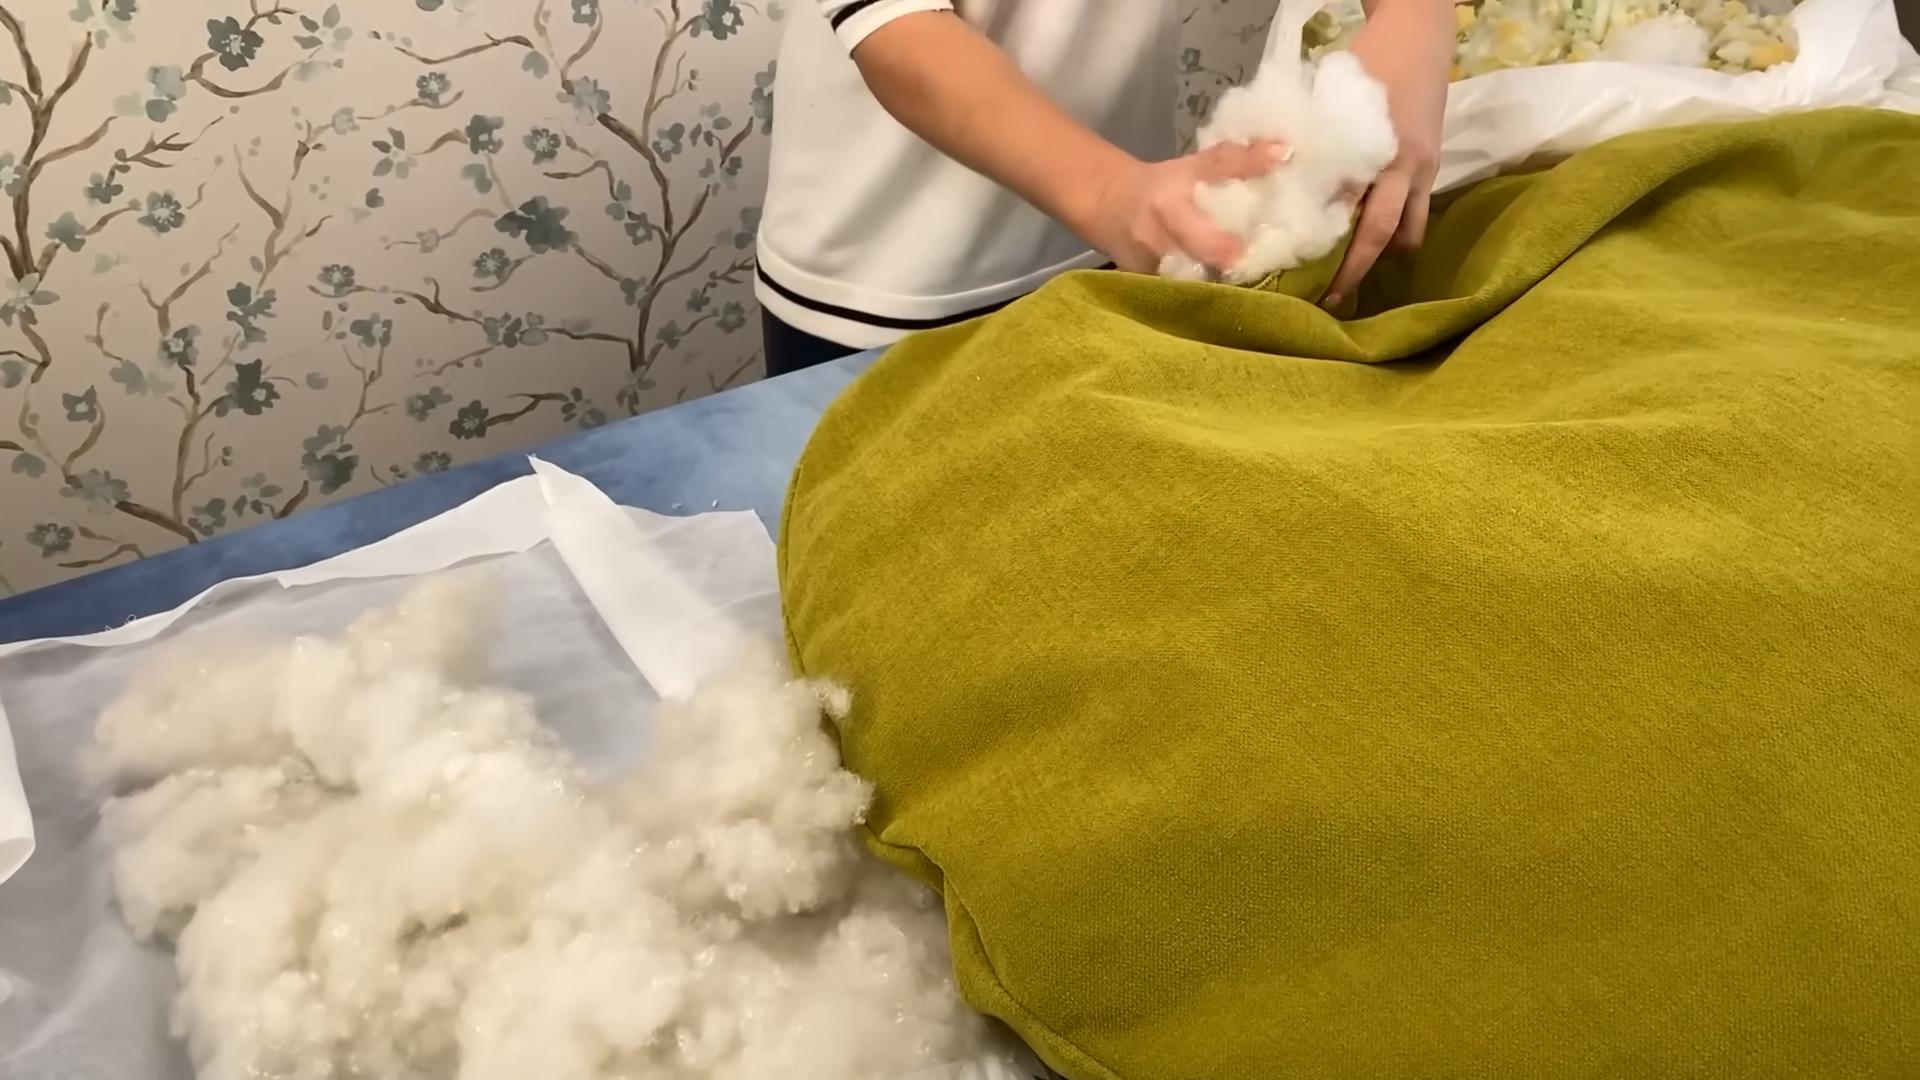
Filling the Cushion:
This can be a bit messy, so I recommend doing it in a well-ventilated area and having a vacuum cleaner handy!
1. Insert the Inner Lining (If Used): Carefully insert the inner lining into the outer cover. Make sure it’s evenly distributed.
2. Start Filling: Using a large bowl or funnel (optional), carefully pour the filling into the opening. Start with a small amount and gradually add more, fluffing the cushion as you go.
3. Adjust the Filling: Continue adding filling until the cushion is firm but still comfortable. You want it to be supportive but not too stiff.
4. Close the Opening:
* Without a Zipper: Fold the edges of the opening inward by 1/2 inch. Pin the opening closed. Using a needle and thread, hand-stitch the opening closed using a blind stitch for an invisible finish.
* With a Zipper: Simply close the zipper!
Finishing Touches:
Now that your floor puff cushion is complete, you can add some finishing touches to make it even more special.
* Topstitching: For a more polished look, you can topstitch around the perimeter of the cushion, about 1/4 inch from the edge.
* Tufting (Optional): Tufting adds a decorative element and helps to keep the filling evenly distributed. To tuft, use a long needle and strong thread to sew through the cushion at regular intervals, creating a dimpled effect. Secure the thread on both sides with a knot.
* Embellishments (Optional): Add tassels, pom-poms, or other embellishments to personalize your puff cushion.
Alternative Shapes and Sizes:
Don’t feel limited to a round shape! You can easily adapt this tutorial to create square, rectangular, or even triangular floor puff cushions. Simply adjust the shape of your fabric pieces accordingly. You can also experiment with different sizes to create a set of cushions for various purposes. A smaller cushion could be used as a footrest, while a larger one could serve as a comfortable seat.
Choosing the Right Fabric:
The fabric you choose will greatly impact the look and feel of your floor puff cushion. Consider the following factors when selecting your fabric:
* Durability: Choose a fabric that can withstand regular use and wear and tear.
* Comfort: Opt for a fabric that feels soft and comfortable against your skin.
* Style: Select a fabric that complements your existing décor and reflects your personal style.
* Care: Consider the ease of cleaning and maintenance. Some fabrics are machine washable, while others require dry cleaning.
Filling Alternatives in Detail:
Let’s delve deeper into the different filling options, as this is a key decision that affects the comfort and longevity of your puff cushion.
* Polystyrene Beads (Beanbag Filling): These are the classic choice for beanbag chairs and offer excellent conformity. They are lightweight and allow the cushion to
Conclusion
So, there you have it! Creating your own DIY floor puff cushion isn’t just a fun project; it’s a game-changer for your home comfort and style. Forget those expensive store-bought options that often lack personality and don’t quite fit your space. This method empowers you to craft a cushion that’s perfectly tailored to your needs, your aesthetic, and your budget.
Why is this a must-try? Because it’s incredibly versatile. Need extra seating for movie night? Done. A cozy spot for reading? Absolutely. A stylish accent piece to tie your room together? You got it. Plus, the satisfaction of creating something beautiful and functional with your own two hands is simply unmatched.
But the best part? The possibilities are endless!
* Fabric Frenzy: Don’t limit yourself to just one fabric. Mix and match patterns and textures for a truly unique and eclectic look. Consider using upcycled materials like old jeans, sweaters, or even curtains for an eco-friendly twist.
* Size Matters: Experiment with different sizes and shapes. A smaller, round puff cushion is perfect for a footrest, while a larger, rectangular one can serve as a makeshift floor couch.
* Filling Fun: While we’ve suggested specific fillings, feel free to get creative. Shredded foam, old blankets, or even beanbag filling can all work well. Just be sure to choose a filling that’s comfortable and supportive.
* Embellishment Extravaganza: Add tassels, pom-poms, embroidery, or even paint to personalize your floor puff cushion and make it truly your own.
This DIY project is more than just a craft; it’s an investment in your comfort and creativity. It’s a chance to express your personal style and create a space that truly reflects who you are.
We wholeheartedly encourage you to give this DIY floor puff cushion project a try. It’s easier than you think, and the results are incredibly rewarding. Once you’ve created your masterpiece, we’d love to see it! Share your photos and experiences with us in the comments below or on social media using #DIYFloorPuffCushion. Let’s inspire each other and create a community of cozy, creative home decorators! We can’t wait to see what you come up with!
Frequently Asked Questions (FAQ)
What kind of fabric is best for a DIY floor puff cushion?
The best fabric for your DIY floor puff cushion depends on your desired aesthetic, durability needs, and budget. For high-traffic areas or homes with pets and children, consider durable fabrics like canvas, denim, or upholstery-grade cotton. These fabrics are resistant to wear and tear and easy to clean. If you’re looking for a softer, more luxurious feel, consider velvet, corduroy, or faux fur. These fabrics are more delicate but can add a touch of elegance to your space. For a more bohemian or eclectic look, consider using fabrics with bold patterns, textures, or embellishments. Ultimately, the best fabric is one that you love and that fits your personal style.
How much filling do I need for my floor puff cushion?
The amount of filling you need will depend on the size and shape of your cushion, as well as the type of filling you’re using. As a general rule, it’s better to start with less filling and add more as needed. You want the cushion to be firm enough to provide support but not so overstuffed that it’s uncomfortable. For a medium-sized floor puff cushion (approximately 24 inches in diameter), you’ll likely need between 5 and 10 pounds of filling. If you’re using shredded foam, you may need more than if you’re using beanbag filling. Experiment with different amounts of filling until you achieve the desired level of comfort and support.
Can I use recycled materials for the filling?
Absolutely! Using recycled materials for the filling of your DIY floor puff cushion is a great way to reduce waste and save money. Old blankets, towels, clothing, and even plastic grocery bags can all be shredded and used as filling. Just be sure to clean and dry the materials thoroughly before using them to prevent mold and mildew growth. You can also use shredded foam from old mattresses or furniture cushions. This is a great way to give these materials a new life and create a comfortable and eco-friendly floor puff cushion.
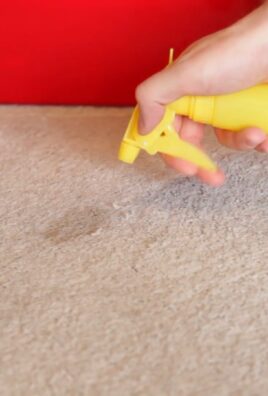
How do I clean my DIY floor puff cushion?
The best way to clean your DIY floor puff cushion will depend on the type of fabric and filling you’ve used. If the fabric is removable and machine-washable, you can simply remove the cover and wash it according to the manufacturer’s instructions. If the fabric is not removable or machine-washable, you can spot-clean it with a mild detergent and water. Be sure to test the detergent on a small, inconspicuous area of the fabric first to ensure that it doesn’t cause any discoloration or damage. For stubborn stains, you may need to use a specialized stain remover. If the filling gets wet, it’s important to dry it thoroughly to prevent mold and mildew growth. You can do this by placing the cushion in a well-ventilated area or using a dehumidifier.
What if I don’t know how to sew?
Don’t worry! While sewing skills are helpful for this project, they’re not absolutely essential. There are several no-sew methods you can use to create a DIY floor puff cushion. One option is to use fabric glue or fusible interfacing to attach the fabric pieces together. Another option is to repurpose an existing pillowcase or duvet cover. Simply fill the case with your chosen filling and tie it off at the corners to create a simple and comfortable floor puff cushion. There are also many tutorials available online that demonstrate no-sew methods for creating floor cushions. With a little creativity and resourcefulness, you can create a beautiful and functional floor puff cushion without ever picking up a needle and thread.
How can I make my floor puff cushion more durable?
To make your floor puff cushion more durable, start by choosing a durable fabric like canvas, denim, or upholstery-grade cotton. Reinforce the seams by using a strong thread and sewing multiple rows of stitching. You can also add a layer of interfacing to the fabric to provide extra support and prevent it from stretching or tearing. When choosing a filling, opt for materials that are resistant to compression and wear and tear, such as shredded foam or beanbag filling. Avoid using materials that are likely to break down or flatten over time, such as cotton batting or feathers. Finally, protect your floor puff cushion from dirt, stains, and moisture by using a fabric protector spray or covering it with a removable, washable cover.
Can I add a handle to my floor puff cushion for easy carrying?
Yes, absolutely! Adding a handle to your floor puff cushion is a great way to make it more portable and convenient to move around. You can create a handle by cutting a strip of fabric and folding it in half lengthwise, then sewing the edges together to create a sturdy loop. Attach the handle to the cushion by sewing it securely to the top or side. For added durability, you can reinforce the handle attachment points with extra stitching or metal rivets. You can also purchase pre-made handles from a fabric store or online retailer. Choose a handle that is comfortable to grip and strong enough to support the weight of the cushion.

Leave a Comment