

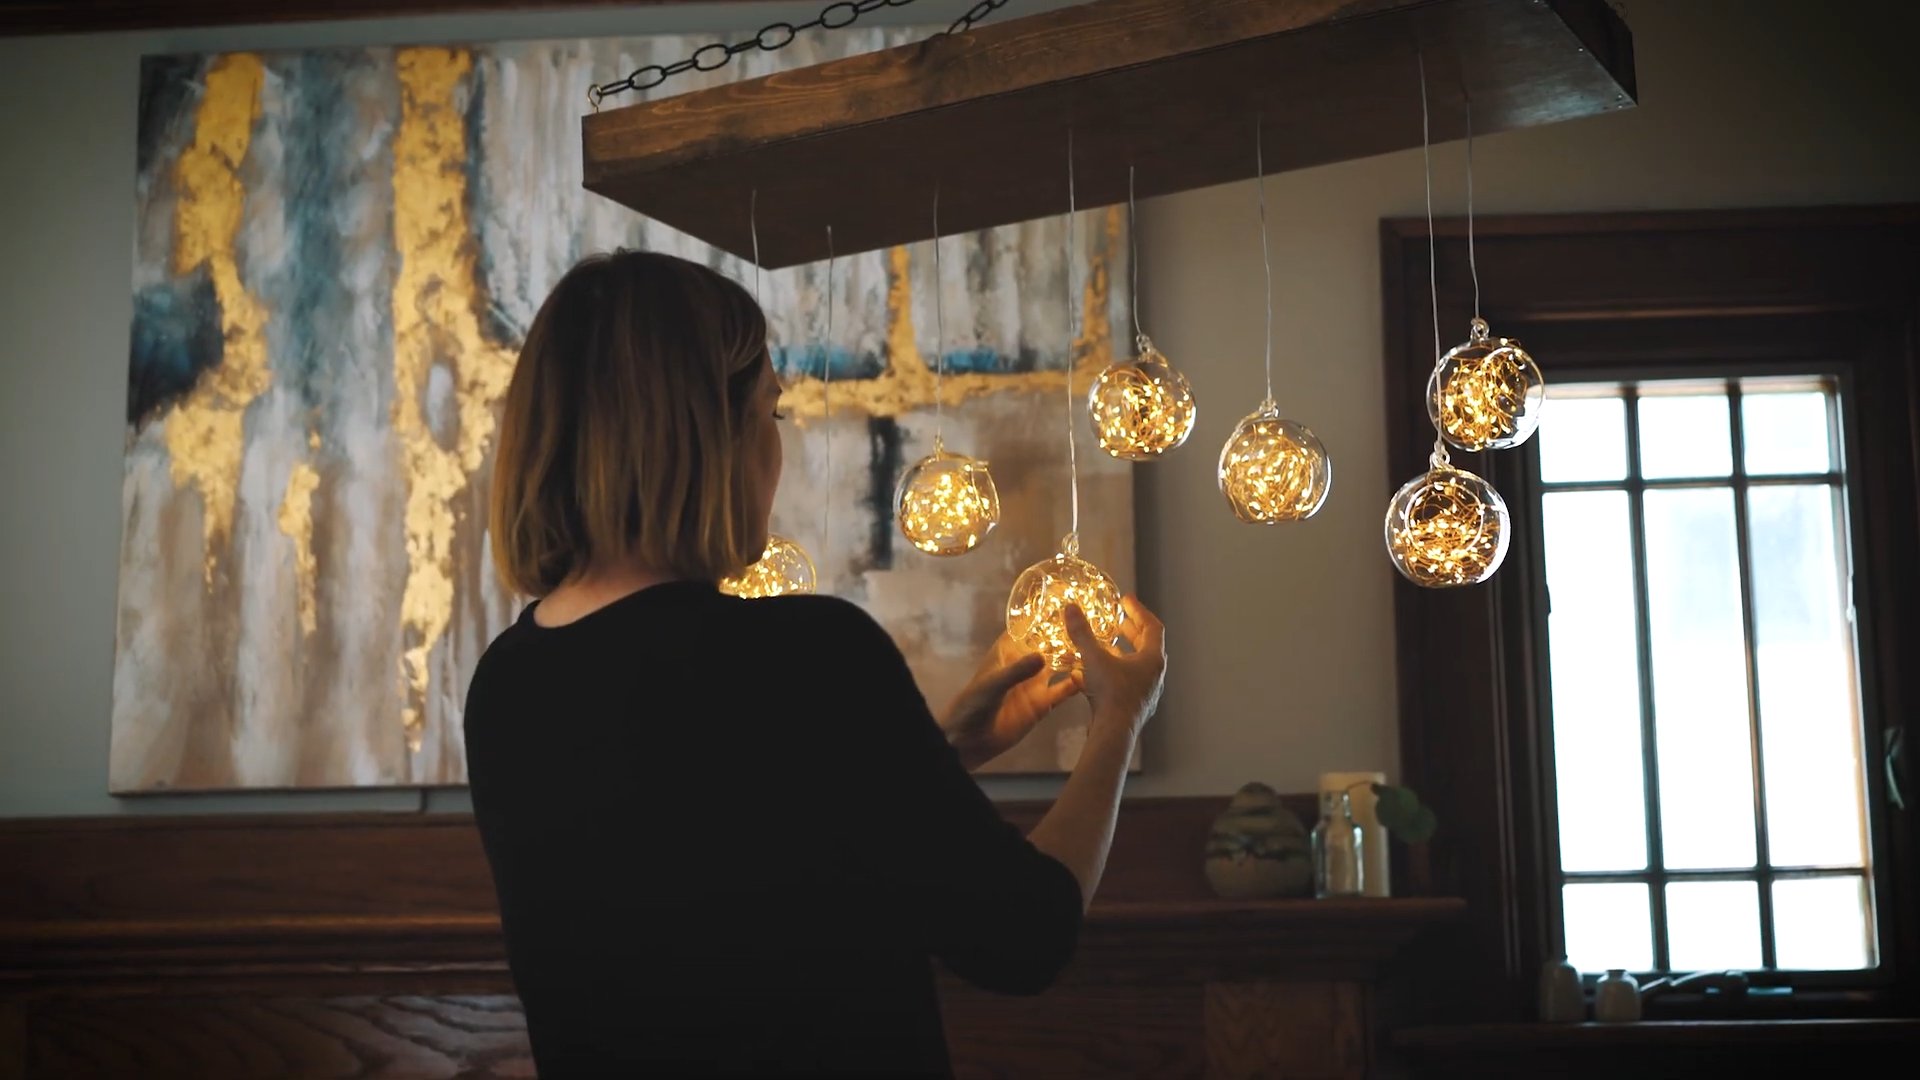
DIY Globe Chandelier: Ever dreamed of illuminating your space with a touch of wanderlust and a whole lot of personality? I know I have! Forget those generic, mass-produced light fixtures; we’re diving headfirst into a project that’s as unique as your travel bucket list. This isn’t just about adding light; it’s about crafting a conversation starter, a piece of art that reflects your adventurous spirit.
Globes, in their essence, have always been symbols of exploration and discovery. From ancient cartographers meticulously mapping the world to modern-day classrooms inspiring young minds, they represent our innate desire to understand and connect with the world around us. Now, imagine transforming that iconic sphere into a stunning focal point in your home!
Let’s be honest, finding the perfect lighting can be a real struggle. Store-bought options often lack character or come with a hefty price tag. That’s where this DIY Globe Chandelier project comes in. I’m going to show you how to create a breathtaking light fixture that’s not only budget-friendly but also a reflection of your own personal style. It’s a fantastic way to upcycle an old globe, add a touch of vintage charm, and impress your guests with your crafting skills. So, grab your tools, and let’s embark on this illuminating adventure together!
DIY Globe Chandelier: Light Up Your World!
Hey everyone! I’m so excited to share this project with you. I’ve always loved globes – the vintage charm, the promise of adventure, and the sheer beauty of cartography. So, when I stumbled upon a few old globes at a flea market, I knew I had to turn them into something special. And what’s more special than a unique, eye-catching chandelier? This DIY globe chandelier is surprisingly easy to make, and the result is absolutely stunning. Get ready to add a touch of wanderlust and global flair to your home!
Materials You’ll Need
Before we dive in, let’s gather all the necessary supplies. Trust me, having everything organized beforehand will make the process much smoother.
* Globes: Obviously! I used three globes of varying sizes for a more dynamic look. You can find them at thrift stores, antique shops, flea markets, or even online. Make sure they’re not too heavy, as the weight will be a factor.
* Chandelier Kit: You can purchase a complete chandelier kit online or at most home improvement stores. This will include the canopy (the part that attaches to the ceiling), chain, wiring, sockets, and all the necessary hardware.
* Light Bulbs: Choose bulbs that complement the style of your chandelier. I went with Edison-style bulbs for a vintage feel, but you can use any type you prefer. Consider the wattage and color temperature to create the desired ambiance.
* Drill and Drill Bits: You’ll need a drill to create holes in the globes for the wiring and sockets. Make sure you have a variety of drill bit sizes, including a larger one for the socket opening. A step drill bit is highly recommended for clean, round holes.
* Wire Strippers: Essential for safely stripping the insulation from the electrical wires.
* Wire Connectors (Wire Nuts): Used to securely connect the wires together.
* Pliers: Helpful for bending and manipulating wires.
* Safety Glasses: Always protect your eyes when drilling!
* Gloves: To protect your hands.
* Measuring Tape: For accurate measurements.
* Pencil or Marker: For marking the drilling points.
* Sandpaper (Optional): If your globes have any rough edges after drilling, you can use sandpaper to smooth them out.
* Spray Paint (Optional): If you want to change the color of the chandelier kit components (like the canopy and chain), spray paint is your friend!
* Drop Cloth or Newspaper: To protect your work surface.
Preparing the Globes
This is arguably the most delicate part of the project, so take your time and be careful!
1. Mark the Drilling Points: Decide where you want the light sockets to be positioned on each globe. I chose the North Pole for one globe, the South Pole for another, and a random point on the equator for the third. Use a pencil or marker to clearly mark these points. Also, mark a point near the top of each globe for the chain to pass through. This hole should be large enough to accommodate the chain links.
2. Drill the Holes: Put on your safety glasses and gloves! Start with a small drill bit to create a pilot hole at each marked point. This will help prevent the drill bit from slipping. Gradually increase the size of the drill bit until you reach the desired diameter for the socket opening and the chain hole. Remember to drill slowly and apply gentle pressure. If you’re using a step drill bit, this process will be much easier and cleaner.
3. Smooth the Edges (Optional): After drilling, check the edges of the holes for any roughness or sharp points. If necessary, use sandpaper to smooth them out. This will prevent the wires from being damaged and make the globes look more polished.
4. Clean the Globes: Wipe down the globes with a damp cloth to remove any dust or debris from the drilling process.
Assembling the Chandelier
Now for the fun part – putting it all together!
1. Prepare the Chandelier Kit: Unpack your chandelier kit and familiarize yourself with all the components. Read the instructions that came with the kit carefully.
2. Customize the Kit (Optional): If you want to change the color of the canopy or chain, now is the time to spray paint them. Make sure to use a paint that is suitable for metal and follow the manufacturer’s instructions. Allow the paint to dry completely before proceeding.
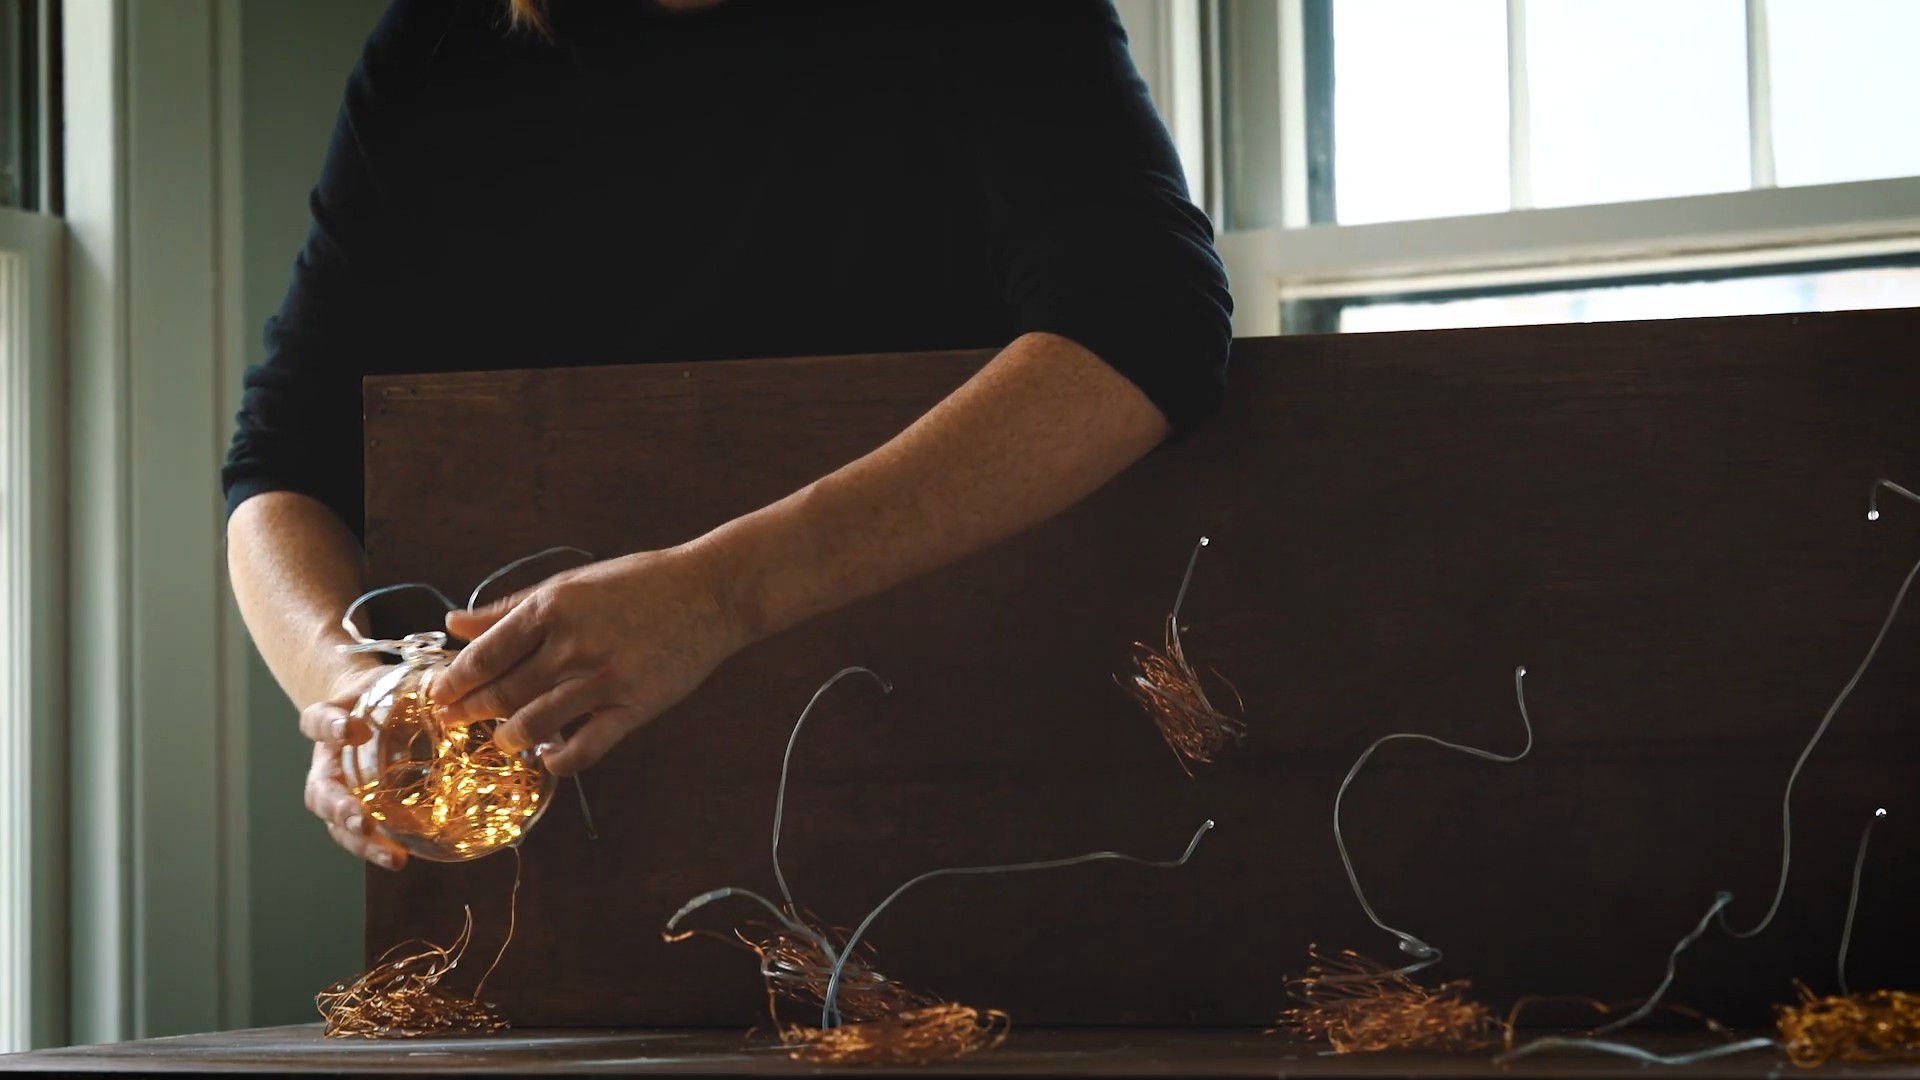
3. Wire the Sockets: This is where things get a little technical, so pay close attention. Thread the wires from the chandelier kit through the holes you drilled in the globes. Attach the wires to the light sockets according to the instructions that came with the kit. Typically, you’ll need to strip the ends of the wires and connect them to the terminals on the socket using wire connectors (wire nuts). Make sure the connections are secure and that no bare wire is exposed.
4. Attach the Globes to the Chain: Thread the chain through the holes at the top of each globe. Adjust the length of the chain for each globe to create the desired arrangement. I staggered the globes at different heights for a more visually appealing effect.
5. Connect the Wires to the Canopy: This is the final wiring step. Connect the wires from the sockets to the wires in the canopy according to the instructions that came with the chandelier kit. Again, make sure the connections are secure and that no bare wire is exposed.
6. Attach the Canopy to the Ceiling: This step will vary depending on your ceiling and the type of electrical box you have. Consult the instructions that came with the chandelier kit for specific guidance. If you’re not comfortable working with electricity, it’s always best to hire a qualified electrician to handle this part.
7. Install the Light Bulbs: Once the canopy is securely attached to the ceiling, install the light bulbs.
8. Test the Chandelier: Turn on the power and admire your handiwork! If the chandelier doesn’t light up, double-check all the wiring connections.
Tips and Tricks
* Safety First: Always turn off the power at the breaker box before working with electrical wiring.
* Practice Drilling: If you’re nervous about drilling into the globes, practice on a scrap piece of material first.
* Use a Level: When attaching the canopy to the ceiling, use a level to ensure that the chandelier hangs straight.
* Get Creative with the Globes: Don’t be afraid to experiment with different types of globes, sizes, and arrangements. You can even add embellishments like paint or decoupage.
* Consider the Weight: Make sure your ceiling can support the weight of the chandelier. If you’re unsure, consult a professional.
* Take Your Time: This project is not a race. Take your time and enjoy the process.
Troubleshooting
* Chandelier Doesn’t Light Up: Double-check all the wiring connections. Make sure the light bulbs are working. Check the breaker box to see if a breaker has tripped.
* Globes are Cracked: If you accidentally crack a globe while drilling, don’t panic! You can try to repair it with glue or epoxy. Alternatively, you can replace the globe with another one.
* Chain is Too Short or Too Long: You can easily adjust the length of the chain by adding or removing links.
Enjoy Your New Globe Chandelier!
I hope you enjoyed this tutorial and that you’re inspired to create your own globe chandelier. It’s a fantastic way to add a unique and personal touch to your home decor. Happy crafting! I absolutely love how mine turned out, and I get compliments on it all the time. It’s a real conversation starter and a beautiful reminder of the world we live in. Remember to be patient, take your time, and most importantly, have fun! You’ve got this!
Conclusion
So, there you have it! Transforming an ordinary globe into a stunning, personalized chandelier is not only achievable but also incredibly rewarding. This DIY globe chandelier project is more than just a craft; it’s a statement piece, a conversation starter, and a testament to your creativity. Forget those mass-produced, cookie-cutter lighting fixtures – this project allows you to inject your personality and style into your home décor in a truly unique way.
Why is this DIY trick a must-try? Because it offers a trifecta of benefits: affordability, customization, and sustainability. Store-bought chandeliers can be incredibly expensive, often costing hundreds or even thousands of dollars. By repurposing a globe (which you might already own or can find at a thrift store for a pittance), you drastically reduce the cost. Furthermore, you have complete control over the design. Choose the globe that best reflects your interests – a vintage world map, a celestial sphere, or even a modern, abstract design. Select the hardware and lighting elements that complement your existing décor. The possibilities are truly endless. Finally, this project promotes sustainability by giving a new life to an object that might otherwise end up in a landfill.
Variations and Suggestions:
Don’t feel limited by the instructions. This project is a springboard for your imagination! Consider these variations:
* Mini Globe Chandelier: Use smaller globes to create a cluster chandelier, perfect for a reading nook or a child’s bedroom.
* Themed Globes: Create a themed chandelier based on your interests. For example, use globes depicting different countries for a travel-themed room, or globes with constellations for a celestial-inspired space.
* Mixed Media: Incorporate other materials into your chandelier design. Add beads, crystals, or even small figurines to personalize it further.
* Color Palette: Paint the globe with your favorite colors or use decoupage techniques to add patterns and textures.
* Lighting Options: Experiment with different types of lighting. Use Edison bulbs for a vintage look, LED strip lights for a modern feel, or even colored bulbs to create a specific ambiance.
* Hanging Style: Instead of a traditional chain, consider using rope, wire, or even fabric to hang your chandelier.
We are confident that you’ll find this DIY globe chandelier project to be a fun, fulfilling, and ultimately rewarding experience. It’s a chance to unleash your inner artist, create something truly unique, and add a touch of personality to your home.
So, what are you waiting for? Gather your supplies, roll up your sleeves, and get ready to transform an ordinary globe into a stunning work of art. We can’t wait to see what you create!
Share Your Experience!
We encourage you to try this DIY globe chandelier project and share your creations with us. Post photos of your finished chandeliers on social media using #DIYGlobeChandelier and tag us so we can see your amazing work. We’d also love to hear about your experiences, challenges, and successes in the comments section below. Your feedback will help other readers and inspire even more creative variations. Let’s build a community of DIY enthusiasts and share the joy of creating beautiful, personalized lighting!
FAQ
Frequently Asked Questions About Your DIY Globe Chandelier
Q: What type of globe is best for this project?
A: The best type of globe depends on your desired aesthetic and budget. Vintage globes offer a classic, antique look, while modern globes provide a sleek, contemporary feel. Consider the size and material of the globe as well. Larger globes will create a more dramatic statement, while smaller globes are better suited for smaller spaces or cluster chandeliers. As for material, paper globes are easier to cut and drill, but plastic globes are more durable and water-resistant. Ultimately, the choice is yours!
Q: Where can I find a globe for this project?
A: Globes can be found in a variety of places. Thrift stores and antique shops are great sources for vintage globes at affordable prices. Online marketplaces like eBay and Etsy also offer a wide selection of globes, both new and used. You might even have an old globe tucked away in your attic or basement! If you’re looking for a specific type of globe, such as a celestial globe or a globe with a particular map, you may need to visit a specialty store or search online.
Q: What tools do I need for this project?
A: The essential tools for this project include a drill, a saw (a jigsaw or rotary tool is recommended), safety glasses, a measuring tape, a pencil, and wire strippers. You may also need pliers, a screwdriver, and a hot glue gun, depending on your specific design. Always wear safety glasses when using power tools to protect your eyes from debris.
Q: What type of lighting fixture should I use?
A: The type of lighting fixture you use will depend on your desired aesthetic and the size of your globe. A pendant light kit is a popular choice, as it includes all the necessary hardware for hanging the chandelier and wiring the light. You can also use a chandelier kit or create your own custom lighting fixture using individual components. Consider the wattage of the bulb and the type of bulb socket when selecting your lighting fixture.
Q: How do I drill a hole in the globe without cracking it?
A: Drilling a hole in a globe requires patience and care. Start by marking the desired location of the hole with a pencil. Use a drill bit that is slightly smaller than the diameter of the hole you need. Apply gentle pressure and drill slowly, allowing the drill bit to do the work. If you’re drilling through a plastic globe, you can use a lubricant like WD-40 to prevent the plastic from cracking. For paper globes, use a sharp drill bit and drill slowly to avoid tearing the paper.
Q: How do I hang the chandelier safely?
A: Hanging the chandelier safely is crucial. Ensure that the ceiling junction box is properly installed and can support the weight of the chandelier. Use a chain or wire that is strong enough to hold the globe and lighting fixture. If you’re unsure about the wiring or installation process, consult a qualified electrician. Always turn off the power to the circuit before working on any electrical wiring.
Q: Can I paint the globe?
A: Yes, you can paint the globe to customize its appearance. Use acrylic paint or spray paint that is suitable for the material of the globe. Before painting, clean the globe thoroughly and lightly sand the surface to improve adhesion. Apply multiple thin coats of paint, allowing each coat to dry completely before applying the next. You can also use stencils or masking tape to create patterns and designs.
Q: How do I clean the globe chandelier?
A: To clean the globe chandelier, dust it regularly with a soft cloth or feather duster. For more stubborn dirt or grime, use a damp cloth and a mild detergent. Avoid using harsh chemicals or abrasive cleaners, as they can damage the globe’s surface. Be careful not to get water inside the globe, as this can damage the electrical components.
Q: What if I don’t have a globe? Can I use something else?
A: While the project focuses on using a globe, you can certainly adapt the concept to other spherical objects. Consider using a paper lantern, a wicker ball, or even a repurposed beach ball (deflated, of course!). The key is to find a spherical object that is lightweight and easy to work with. You may need to adjust the instructions and materials depending on the object you choose.
Q: Is this project suitable for beginners?
A: This project is suitable for beginners with some basic DIY skills. However, it does require the use of power tools and some electrical wiring knowledge. If you’re not comfortable using power tools or working with electricity, it’s best to seek assistance from a more experienced DIYer or a qualified electrician. Always prioritize safety and follow the instructions carefully.


Leave a Comment