

DIY Grout Stain Remover: Is your bathroom grout looking less than sparkling? Are you tired of those dingy, discolored lines that seem impossible to clean? I totally get it! We’ve all been there, scrubbing away with store-bought cleaners that promise the world but deliver… well, not much. But don’t despair! You don’t need to spend a fortune on professional cleaning services or harsh chemicals.
Grout, that porous material between your tiles, has been a staple in construction for centuries, dating back to ancient civilizations. While its purpose is functional – to bind and seal – it’s also incredibly susceptible to stains from everyday spills, mildew, and grime. Over time, these stains can build up, making your beautiful tiles look dull and neglected.
That’s where this DIY grout stain remover comes in! I’m going to share a simple, effective, and budget-friendly recipe that uses ingredients you probably already have in your pantry. Why spend money on expensive, potentially harmful chemicals when you can create a powerful cleaning solution yourself? This DIY grout stain remover is not only cost-effective but also allows you to control exactly what goes into your cleaning products, making it a safer option for your family and the environment. Let’s get that grout sparkling again!
DIY Grout Stain Remover: Bring Your Tiles Back to Life!
Okay, let’s face it: grout is a magnet for dirt, grime, and all sorts of nasty stuff. No matter how diligently you clean your tiles, that grout always seems to stubbornly hold onto stains. Store-bought grout cleaners can be harsh and expensive, so I’m going to share my go-to DIY grout stain remover recipe that’s both effective and budget-friendly. Plus, you probably already have most of the ingredients in your pantry!
What You’ll Need: The Arsenal Against Grime
Before we dive in, let’s gather our supplies. This will make the whole process smoother and prevent you from running around mid-cleaning frenzy.
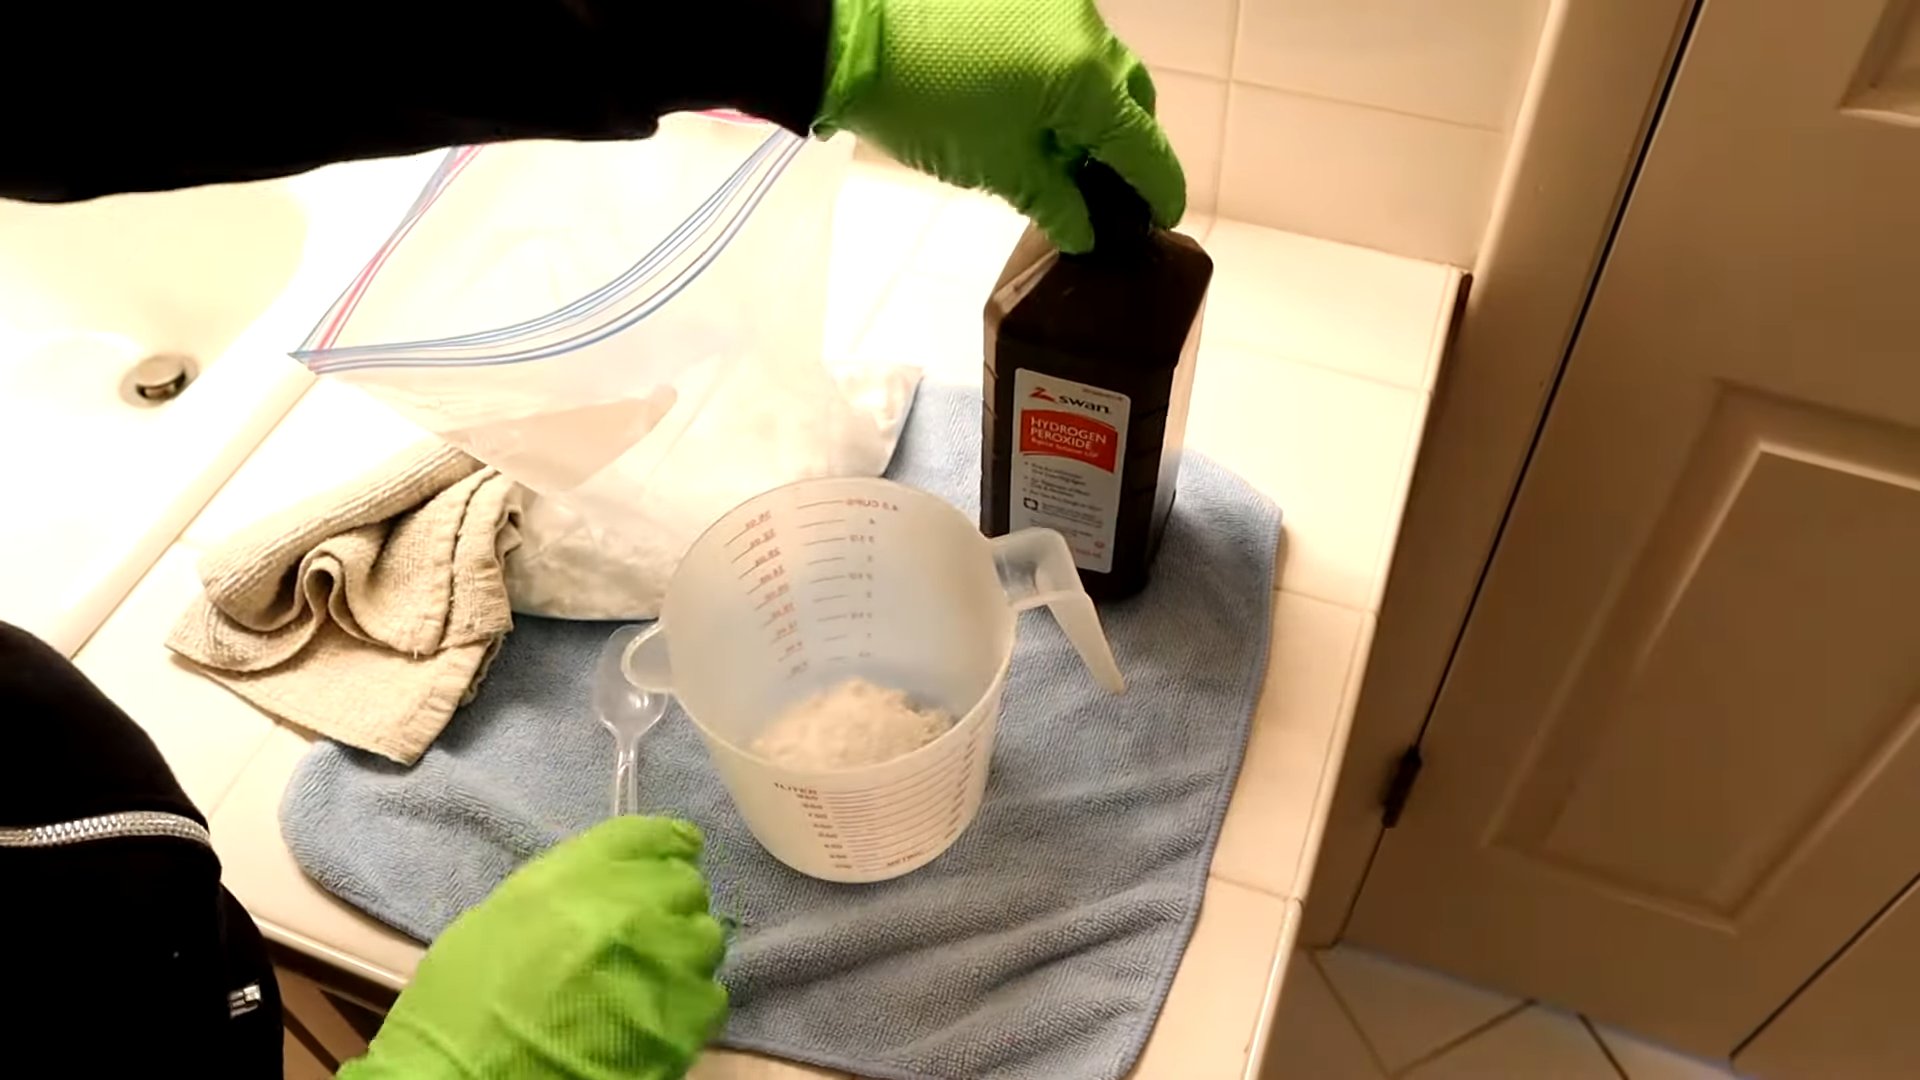
* **Baking Soda:** This is our gentle abrasive. It helps lift stains without scratching your tiles.
* **Hydrogen Peroxide (3%):** A mild bleaching agent that tackles discoloration and kills mold and mildew.
* **Dish Soap (Optional):** A degreaser to help break down stubborn grease and grime. I prefer using a natural, unscented dish soap.
* **White Vinegar (Optional, Use with Caution):** Vinegar is a powerful cleaner, but it can damage certain types of stone tiles. Always test it in an inconspicuous area first! *Never mix vinegar and bleach.*
* **Spray Bottle:** For easy application of the cleaning solution.
* **Old Toothbrush or Grout Brush:** The key to scrubbing those narrow grout lines.
* **Sponge or Cloth:** For wiping away the cleaning solution and rinsing the tiles.
* **Gloves:** To protect your hands from the cleaning solution.
* **Eye Protection (Optional):** Just in case of splashes.
* **Small Bowl or Container:** For mixing the cleaning paste.
* **Paper Towels:** For blotting up excess moisture.
The Basic Baking Soda and Hydrogen Peroxide Paste: My Go-To Solution
This is my tried-and-true method for tackling most grout stains. It’s simple, effective, and relatively gentle.
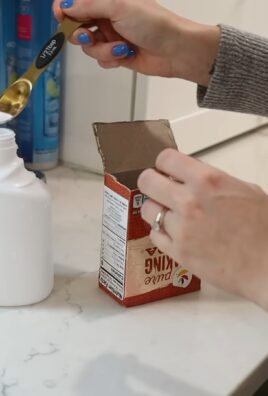
1. **Mix the Paste:** In your small bowl, combine baking soda and hydrogen peroxide to form a thick paste. I usually start with about 1/2 cup of baking soda and slowly add hydrogen peroxide until I get the right consistency. You want it to be thick enough to stick to the grout lines.
2. **Apply the Paste:** Using your fingers (with gloves on, of course!) or a small spatula, apply the paste generously to the stained grout lines. Make sure to cover the entire area.
3. **Let it Sit:** This is the crucial part! Allow the paste to sit on the grout for at least 5-10 minutes. For tougher stains, you can let it sit for up to 30 minutes. The longer it sits, the more time the hydrogen peroxide has to work its magic.
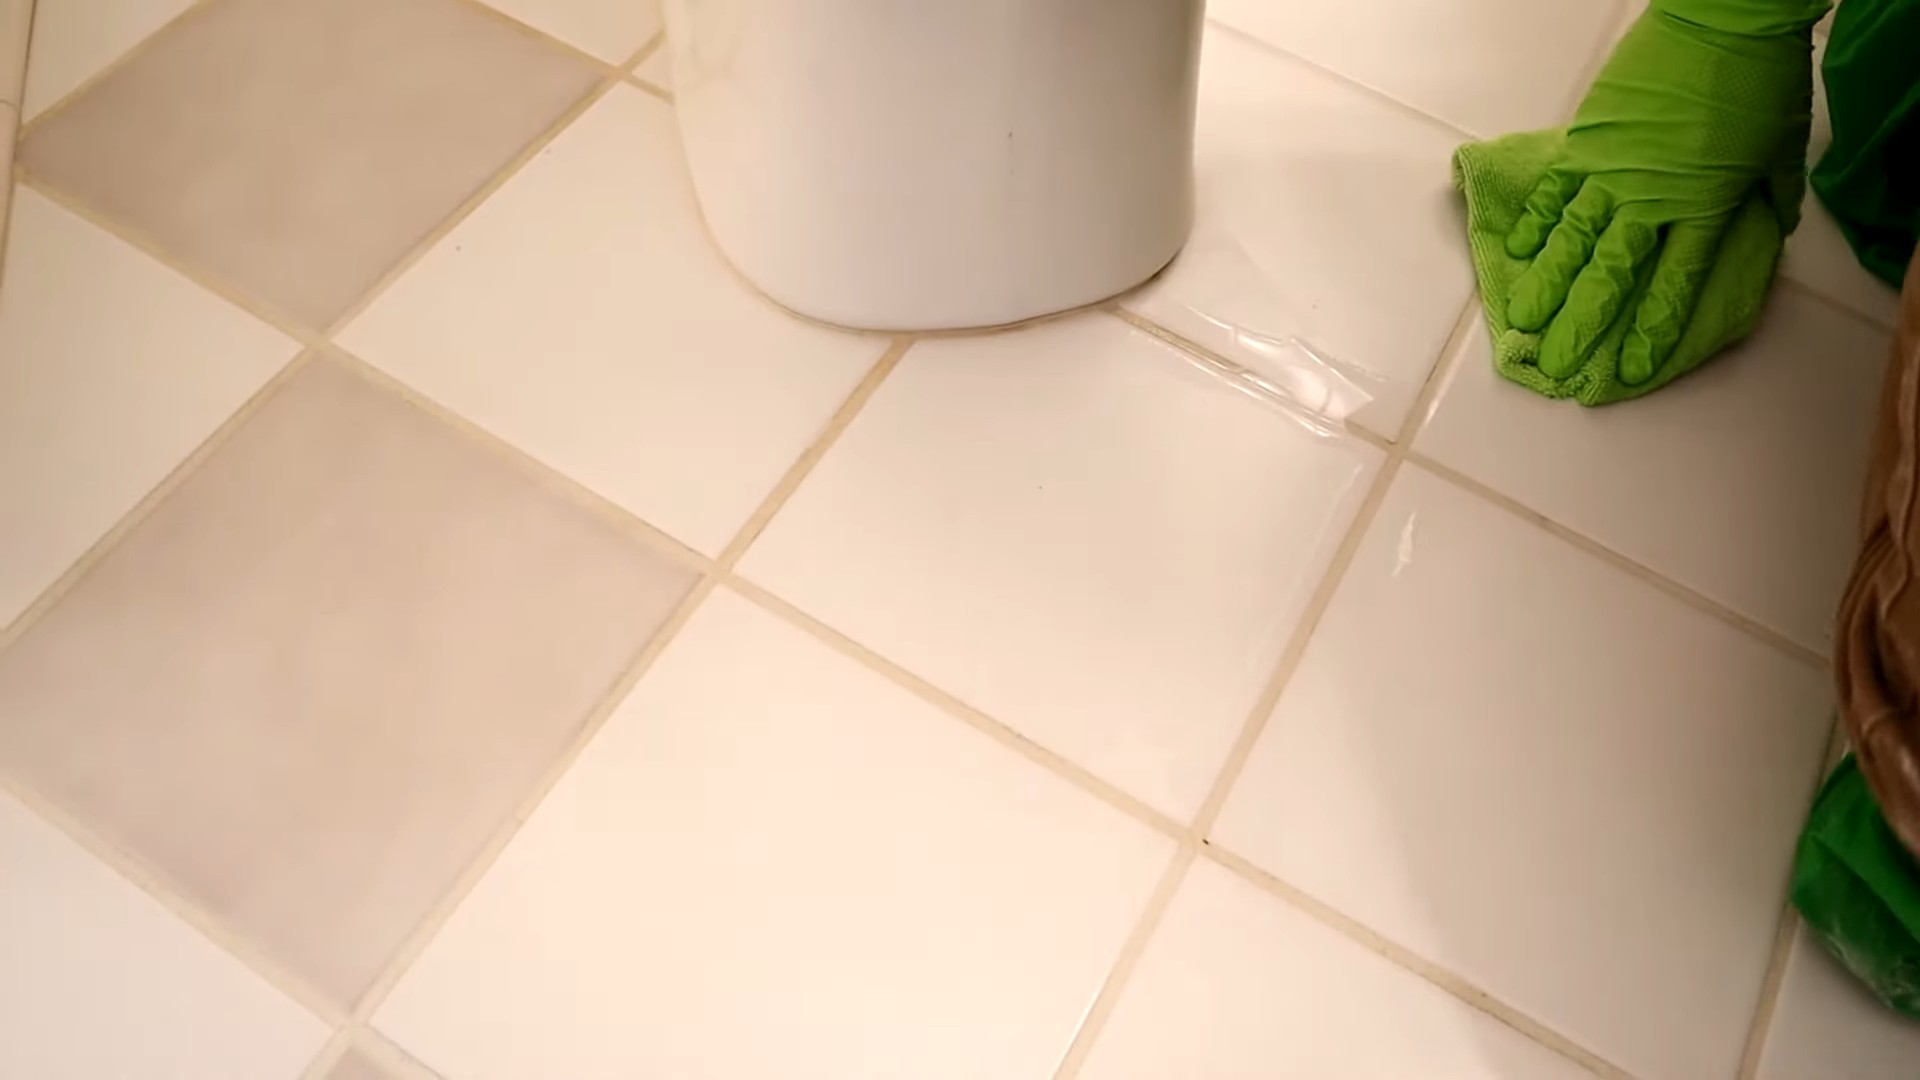
4. **Scrub, Scrub, Scrub:** Grab your old toothbrush or grout brush and start scrubbing! Use firm, circular motions to loosen the dirt and grime. You’ll probably see the paste start to turn a bit gray or brown as it lifts the stains.
5. **Rinse and Wipe:** Once you’ve scrubbed thoroughly, rinse the area with clean water. Use a sponge or cloth to wipe away the remaining paste and any loosened dirt.
6. **Dry:** Use a clean towel or paper towels to dry the area. This will help prevent water spots and further staining.
Tackling Stubborn Stains: Leveling Up Your Cleaning Game
Sometimes, the basic paste just isn’t enough. For those extra-stubborn stains, we need to bring in the big guns (well, slightly bigger guns!).
Adding Dish Soap for Grease and Grime
If you’re dealing with greasy or grimy grout, adding a little dish soap to the baking soda and hydrogen peroxide paste can make a big difference.
1. **Mix the Enhanced Paste:** Follow the same steps as above for the basic paste, but add about a teaspoon of dish soap to the mixture.
2. **Apply, Let Sit, Scrub, Rinse, and Dry:** Follow the same application, waiting, scrubbing, rinsing, and drying steps as outlined above. The dish soap will help break down the grease and grime, making it easier to remove.
Vinegar Power: Use with Extreme Caution!
Vinegar is a powerful cleaner, but it’s also acidic and can damage certain types of stone tiles, like marble, limestone, and travertine. **Always test vinegar in an inconspicuous area first to make sure it doesn’t etch or discolor your tiles.** If your tiles are safe for vinegar, proceed with caution. *Never mix vinegar and bleach.*
1. **Dilute the Vinegar:** Mix equal parts white vinegar and water in a spray bottle.
2. **Spray and Let Sit:** Spray the vinegar solution onto the stained grout lines and let it sit for 5-10 minutes.
3. **Scrub:** Use your toothbrush or grout brush to scrub the grout lines.
4. **Rinse Thoroughly:** Rinse the area thoroughly with clean water to remove all traces of vinegar.
5. **Dry:** Dry the area with a clean towel or paper towels.
A Powerful Paste: Baking Soda, Dish Soap, and Hydrogen Peroxide
This is my go-to for really tough stains. It combines the abrasive power of baking soda, the degreasing action of dish soap, and the bleaching properties of hydrogen peroxide.
1. **Mix the Super Paste:** In a bowl, mix 1/2 cup of baking soda, 1 teaspoon of dish soap, and enough hydrogen peroxide to form a thick paste.
2. **Apply the Paste:** Apply the paste to the stained grout lines.
3. **Let it Sit:** Let the paste sit for 15-30 minutes.
4. **Scrub Vigorously:** Scrub the grout lines with a toothbrush or grout brush.
5. **Rinse and Wipe:** Rinse the area thoroughly with clean water and wipe away any residue.
6. **Dry:** Dry the area with a clean towel or paper towels.
Preventing Future Stains: A Proactive Approach
Cleaning grout is a chore, so let’s try to prevent it from getting too dirty in the first place!
* **Seal Your Grout:** Applying a grout sealer after cleaning will help protect it from future stains. Grout sealers create a barrier that prevents dirt and liquids from penetrating the grout.
* **Wipe Up Spills Immediately:** Don’t let spills sit on your tiles and grout. Wipe them up as soon as possible to prevent staining.
* **Regular Cleaning:** Regularly clean your tiles and grout with a mild cleaner to prevent dirt and grime from building up.
* **Ventilation:** Ensure proper ventilation in your bathroom and kitchen to prevent mold and mildew growth.
* **Use Bath Mats and Rugs:** Place bath mats and rugs in high-traffic areas to protect your tiles and grout from dirt and wear.
Important Considerations: Safety First!
* **Always wear gloves** when working with cleaning solutions to protect your skin.
* **Test any cleaning solution** in an inconspicuous area before applying it to the entire surface.
* **Never mix bleach with vinegar or ammonia,** as this can create dangerous fumes.
* **Ensure proper ventilation** when cleaning to avoid inhaling fumes.
* **Keep cleaning solutions out of reach of children and pets.**
Troubleshooting: What to Do When Things Go Wrong
* **Grout is still stained:** Repeat the cleaning process, allowing the cleaning solution to sit for a longer period of time. You may also need to try a stronger cleaning solution.
* **Tiles are discolored:** If your tiles are discolored after cleaning, it may be due to the cleaning solution being too harsh. Try diluting the cleaning solution or using a gentler cleaner.
* **Grout is crumbling:** If your grout is crumbling, it may be damaged and need to be repaired or replaced.
I hope these tips and tricks help you get your grout sparkling clean! Remember to be patient, persistent, and always prioritize safety. Happy cleaning!
Conclusion
So, there you have it! A simple, effective, and budget-friendly way to tackle those stubborn grout stains without resorting to harsh chemicals or expensive professional cleaning services. This DIY grout stain remover method is a game-changer for anyone looking to brighten up their tile surfaces and restore that fresh, clean look to their bathrooms, kitchens, and beyond.
Why is this a must-try? Because it combines readily available household ingredients – ingredients you likely already have in your pantry – to create a powerful cleaning solution. It’s safer for your family and pets than many commercial cleaners, and it’s significantly gentler on your wallet. Plus, the satisfaction of seeing those dingy grout lines transform before your eyes is incredibly rewarding.
But don’t just take our word for it! We encourage you to experiment and find what works best for your specific situation. For instance, if you’re dealing with particularly stubborn stains, you might try letting the paste sit for a longer period, perhaps even overnight, before scrubbing. Alternatively, for lighter stains or regular maintenance, a slightly diluted solution might be all you need.
Consider these variations to personalize your DIY grout stain remover:
* Essential Oil Boost: Add a few drops of your favorite essential oil, like tea tree or lemon, for an extra antibacterial boost and a pleasant scent. Just be sure the oil is safe for the surfaces you’re cleaning.
* Baking Soda Power: For extra scrubbing power, mix a small amount of baking soda directly into the paste before applying it to the grout. The gentle abrasive action of the baking soda can help lift away stubborn grime.
* Vinegar Alternative: If you’re sensitive to the smell of vinegar, try using lemon juice instead. It has similar acidic properties and a refreshing scent.
We’re confident that this DIY grout stain remover will become a staple in your cleaning routine. It’s a simple, effective, and eco-friendly way to keep your tile surfaces looking their best.
Now, it’s your turn! Give this DIY trick a try and see the amazing results for yourself. We’re eager to hear about your experiences. Share your before-and-after photos and any variations you tried in the comments below. Let’s build a community of clean grout enthusiasts! We believe in the power of shared knowledge and the satisfaction of a sparkling clean home. So, grab your ingredients, put on your cleaning gloves, and get ready to say goodbye to those unsightly grout stains. Happy cleaning!
Frequently Asked Questions (FAQ)
What exactly is grout and why does it get so dirty?
Grout is a dense material used to fill the gaps between tiles. It’s typically made from a mixture of cement, water, and sometimes sand. Its porous nature makes it susceptible to absorbing spills, dirt, grease, and mildew, leading to discoloration and staining over time. Regular foot traffic and moisture exposure exacerbate the problem, making grout cleaning a necessary chore.
Is this DIY grout stain remover safe for all types of tile?
While this DIY grout stain remover is generally safe for most types of tile, it’s always a good idea to test it in an inconspicuous area first, especially if you have natural stone tiles like marble or granite. The acidity of vinegar or lemon juice could potentially etch or damage certain delicate surfaces. If you’re unsure, consult the tile manufacturer’s recommendations or a professional tile cleaner.
How often should I use this DIY grout stain remover?
The frequency of cleaning depends on the amount of traffic and exposure to dirt and moisture in the area. For high-traffic areas like bathrooms and kitchens, cleaning every 1-2 weeks may be necessary. For less frequently used areas, cleaning every month or two may suffice. Regular maintenance will prevent stains from becoming deeply embedded and make cleaning easier in the long run.
What kind of brush should I use to scrub the grout?
A stiff-bristled brush is ideal for scrubbing grout. You can use a dedicated grout brush, a toothbrush, or even a small scrub brush. Look for a brush with a narrow head that can easily reach into the grout lines. Avoid using abrasive brushes or scouring pads, as they can scratch the tile surface.
Can I use this DIY grout stain remover on colored grout?
Yes, you can use this DIY grout stain remover on colored grout, but it’s crucial to test it in an inconspicuous area first to ensure it doesn’t fade or discolor the grout. The acidity of vinegar or lemon juice could potentially affect the color of some types of grout. If you notice any color change, dilute the solution further or try a different cleaning method.
What if the stains are really stubborn and don’t come out easily?
For particularly stubborn stains, you can try a few different approaches:
* Increase the concentration of the cleaning solution. Use a higher ratio of vinegar or lemon juice to water.
* Let the paste sit for a longer period. Allow the paste to sit on the grout for several hours or even overnight before scrubbing.
* Apply heat. Use a hairdryer to gently warm the grout before applying the paste. This can help loosen the stains.
* Try a commercial grout cleaner. If all else fails, you may need to resort to a commercial grout cleaner specifically designed for stubborn stains. Be sure to follow the manufacturer’s instructions carefully.
How can I prevent grout stains in the future?
Preventing grout stains is much easier than removing them. Here are a few tips:
* Seal your grout. Applying a grout sealer creates a protective barrier that prevents dirt and moisture from penetrating the grout. Reapply the sealer every 6-12 months, or as recommended by the manufacturer.
* Wipe up spills immediately. Don’t let spills sit on the grout for extended periods. Wipe them up as soon as possible to prevent them from soaking in.
* Ventilate your bathroom. Proper ventilation helps to reduce moisture buildup, which can contribute to mildew growth.
* Clean regularly. Regular cleaning with a mild detergent and water will help to prevent dirt and grime from accumulating.
Is there a natural alternative to vinegar for this DIY grout stain remover?
Yes, lemon juice is a great natural alternative to vinegar. It has similar acidic properties and a refreshing scent. You can use lemon juice in the same way you would use vinegar in this DIY grout stain remover recipe.
Can I use baking soda and vinegar together for grout cleaning?
While baking soda and vinegar can be used together for cleaning, it’s important to note that the combination creates a chemical reaction that neutralizes both substances. This means that the cleaning power of both ingredients is reduced. However, the fizzing action can help to loosen dirt and grime. If you choose to use baking soda and vinegar together, apply the baking soda first, then pour the vinegar over it. Let it fizz for a few minutes, then scrub with a brush.
What safety precautions should I take when using this DIY grout stain remover?
While this DIY grout stain remover is generally safe, it’s always a good idea to take a few safety precautions:
* Wear gloves. Gloves will protect your hands from irritation and potential exposure to bacteria.
* Ventilate the area. Open windows or turn on a fan to ensure proper ventilation.
* Avoid contact with eyes. If the solution gets in your eyes, rinse them immediately with plenty of water.
* Keep out of reach of children and pets. Store the cleaning solution in a safe place where children and pets cannot access it.

Leave a Comment