

DIY pot and pan protectors are a game-changer for anyone who wants to keep their cookware looking its best! Let’s be honest, who *hasn’t* cringed at the sight of their favorite non-stick pan getting scratched and scuffed in the cupboard? I know I have! It’s like watching your hard-earned money slowly circling the drain. But fear not, fellow kitchen enthusiasts, because this article is your ultimate guide to creating simple, effective, and budget-friendly protectors that will keep your pots and pans gleaming for years to come.
The idea of protecting cookware isn’t exactly new. Think back to our grandmothers, carefully wrapping their prized china in layers of newspaper or fabric. While the materials have evolved, the principle remains the same: safeguarding valuable items from damage. In many cultures, cookware represents an investment and a symbol of home and hearth, making its preservation all the more important.
Why do you need these DIY pot and pan protectors? Because replacing scratched and damaged cookware is expensive and wasteful! Plus, those scratches can actually affect the performance of your pans, leading to uneven cooking and food sticking. By investing a little time and effort into making these simple protectors, you’ll not only save money in the long run but also extend the life of your beloved kitchen tools. So, grab your scissors, gather your materials, and let’s get crafting! I promise, your pots and pans will thank you.
DIY Pot and Pan Protectors: Say Goodbye to Scratches!
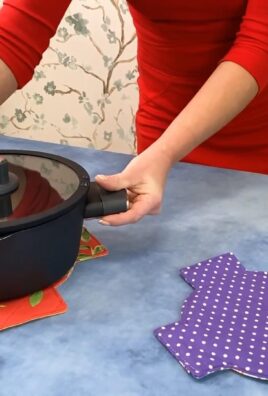
Okay, friends, let’s talk about something that probably annoys you as much as it annoys me: scratched pots and pans. You invest in good cookware, you take care of it, and yet, somehow, those dreaded scratches appear. Stacking them is often the culprit, but fear not! I’m going to show you how to make super easy and effective pot and pan protectors using felt. This project is budget-friendly, customizable, and will keep your precious cookware looking newer for longer.
Materials You’ll Need
Before we dive in, let’s gather our supplies. This is a pretty simple project, so you probably have some of these items already!
* Felt Sheets: I recommend getting a variety of colors and thicknesses. Thicker felt provides more cushioning, but thinner felt is easier to cut and work with. You can find felt sheets at most craft stores or online. I usually buy a big pack of assorted colors so I can color-code my protectors by pan size.
* Scissors: A good pair of sharp scissors is essential for clean cuts. Fabric scissors are ideal, but regular scissors will work in a pinch.
* Pencil or Fabric Marker: For tracing the shapes of your pots and pans. A fabric marker is great if you’re worried about pencil marks showing.
* Ruler or Measuring Tape: To measure the diameter of your pots and pans for accurate sizing.
* Compass (Optional): If you want perfectly round protectors, a compass is your best friend.
* Hot Glue Gun and Glue Sticks (Optional): For adding extra layers of felt or embellishments. I sometimes use this to reinforce the center of the protector.
* Sewing Machine or Needle and Thread (Optional): For a more durable and professional finish. You can sew the edges of the felt circles together.
* Cardboard (Optional): To create templates for different sized pots and pans. This makes the process faster if you have multiple pans of the same size.
Choosing Your Felt
The type of felt you choose will impact the durability and effectiveness of your pot and pan protectors. Here’s a quick rundown:
* Acrylic Felt: This is the most common and affordable type of felt. It’s easy to cut and comes in a wide range of colors. However, it’s not as durable as other options.
* Wool Felt: Wool felt is more expensive but also more durable and resistant to wear and tear. It’s a great choice if you want your protectors to last a long time.
* Wool Blend Felt: A good compromise between acrylic and wool felt. It’s more durable than acrylic but less expensive than pure wool.
I usually opt for a mix of acrylic and wool blend felt, depending on the size and weight of the pans I’m protecting. For heavy cast iron skillets, I definitely go with wool blend!
Creating Your Pot and Pan Protectors: Step-by-Step
Alright, let’s get down to business! Here’s how to make your own pot and pan protectors:
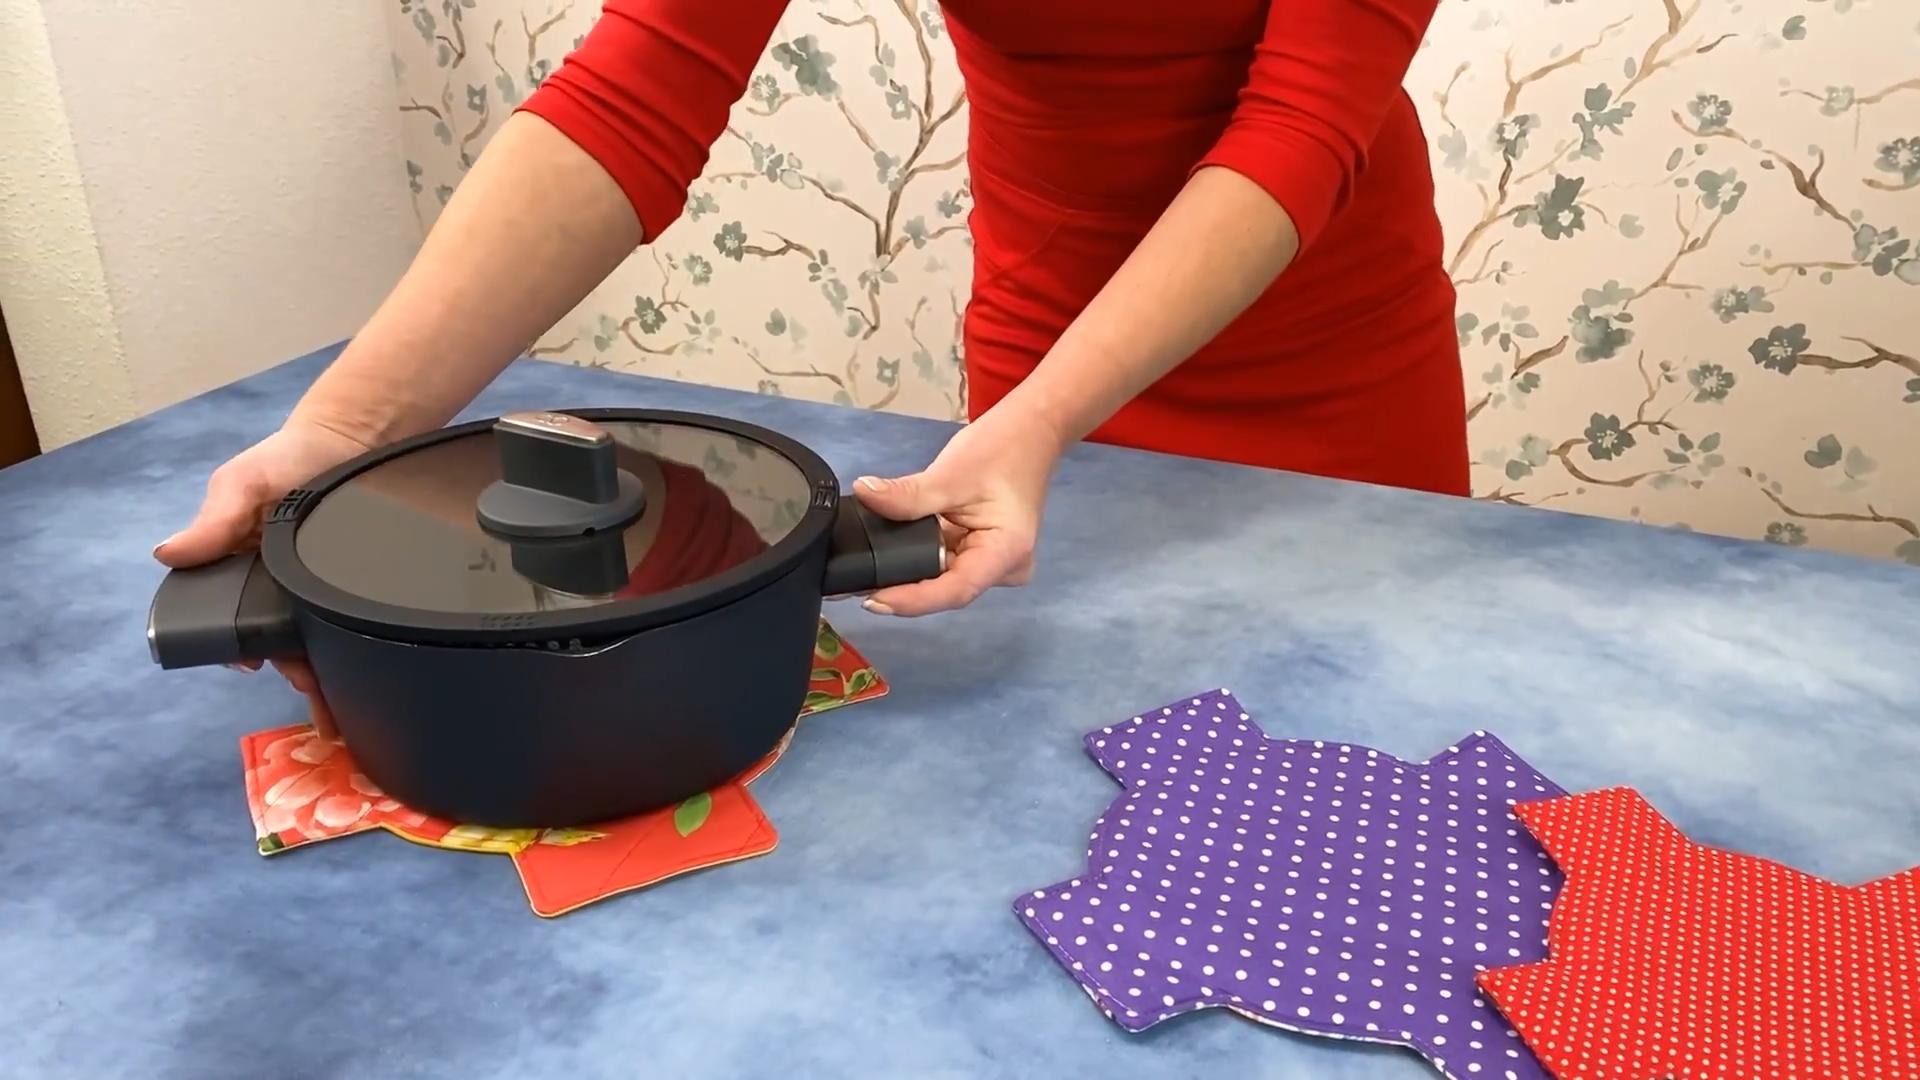
1. Measure Your Pots and Pans: The first step is to measure the diameter of your pots and pans. Use a ruler or measuring tape to measure across the widest part of the pan. Write down the measurements for each pan. This will help you determine the size of the felt circles you need to cut.
2. Create Templates (Optional): If you have multiple pans of the same size, creating a template will save you time. Cut a circle out of cardboard that matches the diameter of the pan. You can use a compass to draw a perfect circle or simply trace around a plate or bowl that’s the right size.
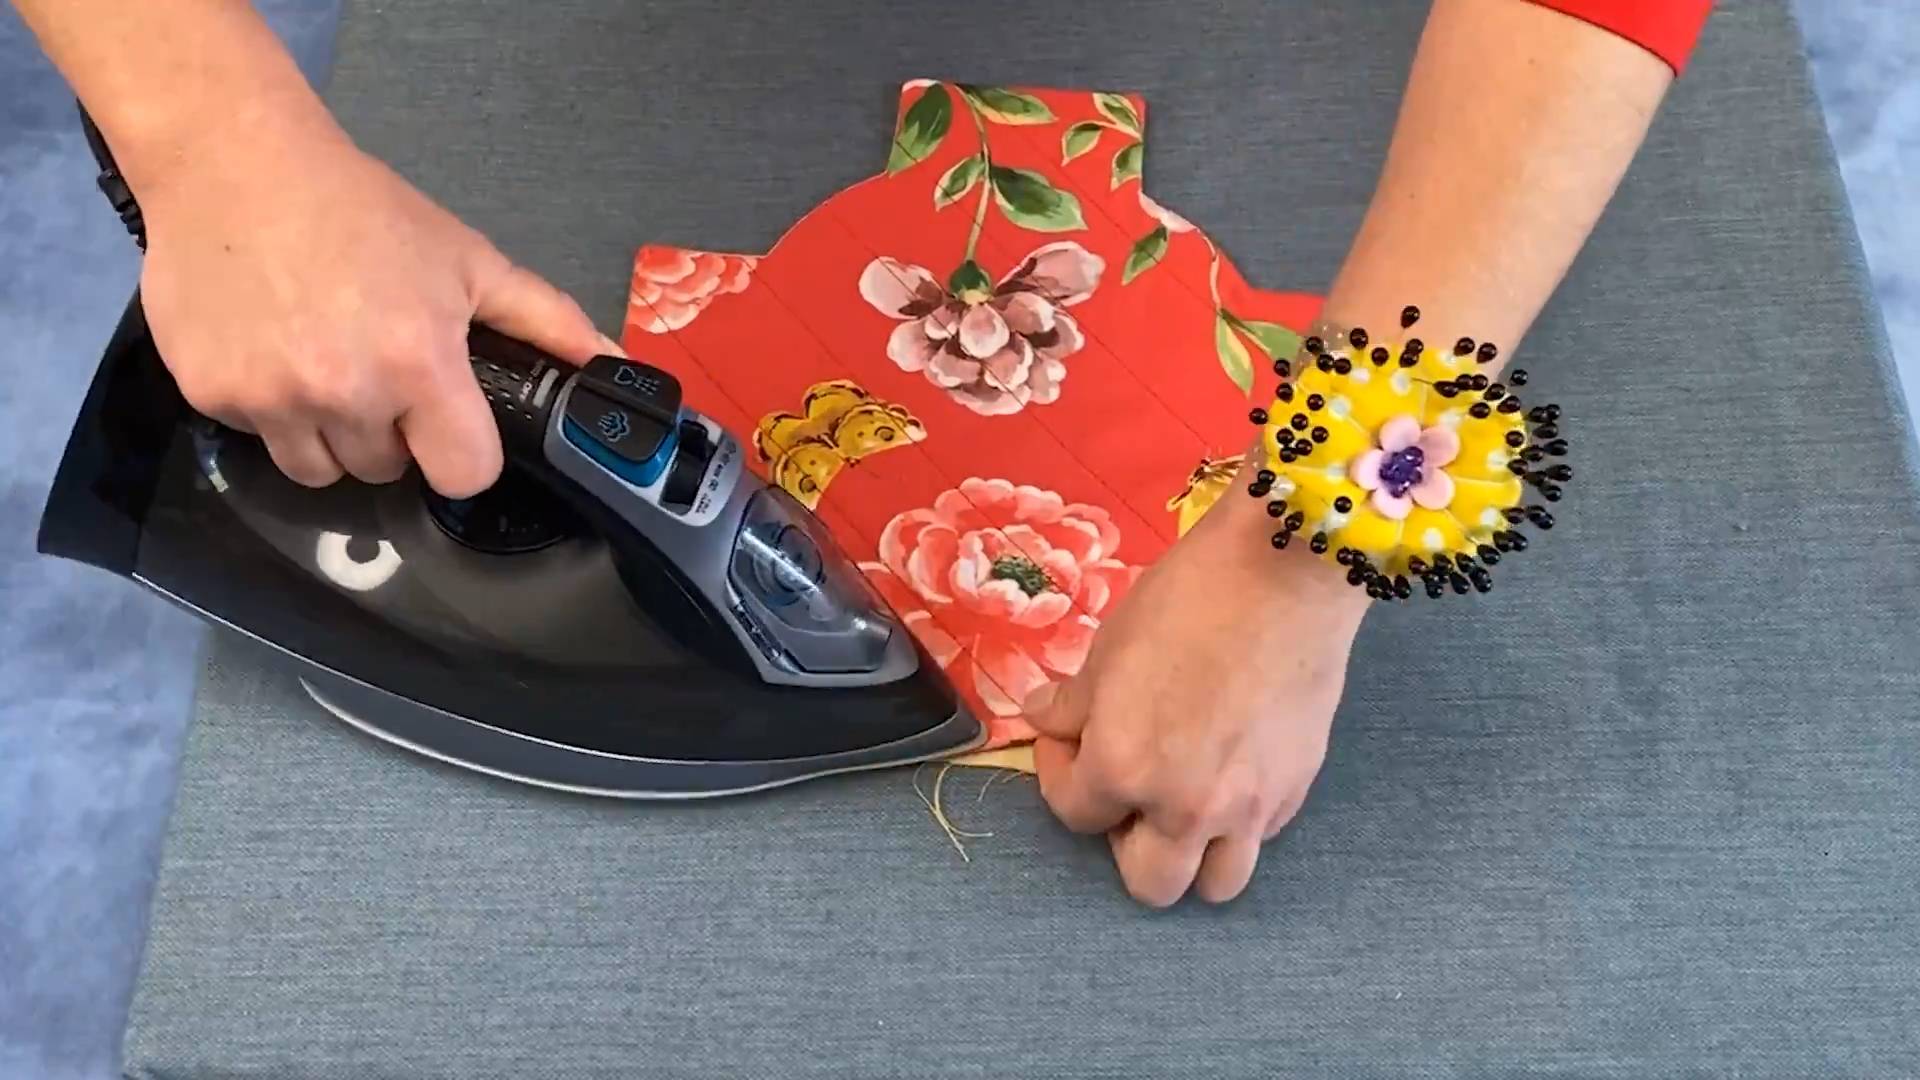
3. Trace and Cut the Felt: Place your template (or the pot/pan itself) on a sheet of felt. Trace around the template with a pencil or fabric marker. Carefully cut out the felt circle using your scissors.
4. Repeat for Multiple Layers (Recommended): For extra cushioning, I recommend cutting out multiple layers of felt for each protector. I usually do at least three layers, but you can do more if you want. Stack the felt circles on top of each other.
5. Secure the Layers (Optional): You can leave the felt layers unattached, but I find that securing them together makes the protectors more durable and prevents them from shifting around. You have a few options here:
* Hot Glue: Apply a small amount of hot glue to the center of the felt circles and press them together. Be careful not to use too much glue, as it can make the protector stiff.
* Sewing: Use a sewing machine or needle and thread to stitch around the edge of the felt circles. This will create a more secure and professional finish. A simple running stitch will do the trick.
* Fabric Glue: Fabric glue is another option for securing the layers together. Apply a thin layer of glue to the felt circles and press them together.
6. Customize and Embellish (Optional): This is where you can get creative! You can add embellishments to your pot and pan protectors to make them more personalized. Here are a few ideas:
* Different Colors: Use different colors of felt for each layer to create a fun and colorful effect.
* Appliqués: Cut out shapes from felt and glue or sew them onto the protectors.
* Embroidery: Add embroidered details to the protectors.
* Labels: Label the protectors with the size of the pan they’re intended for.
Making Different Types of Protectors
While simple felt circles are great, you can also create different types of protectors for specific needs.
Protectors for Skillets with Handles
For skillets with long handles, you can create protectors that cover the entire pan, including the handle.
1. Measure the Length of the Pan and Handle: Measure the total length of the pan, including the handle.
2. Cut a Rectangle of Felt: Cut a rectangle of felt that’s long enough to cover the entire pan and wide enough to wrap around it.
3. Cut a Slit for the Handle: Cut a slit in the felt rectangle to accommodate the handle.
4. Wrap the Felt Around the Pan: Wrap the felt around the pan and secure it with Velcro or snaps. You can sew these on for a more secure hold.
Protectors for Stackable Pots
For pots that stack inside each other, you can create protectors that fit snugly inside the pots.
1. Measure the Inside Diameter of the Pots: Measure the inside diameter of each pot.
2. Cut Felt Circles: Cut felt circles that are slightly larger than the inside diameter of the pots.
3. Place the Protectors Inside the Pots: Place the felt circles inside the pots to prevent them from scratching each other.
Tips and Tricks for Success
Here are a few extra tips to help you make the best pot and pan protectors possible:
* Use Sharp Scissors: Sharp scissors will make it easier to cut clean lines and prevent the felt from fraying.
* Don’t Be Afraid to Experiment: Try different colors, thicknesses, and embellishments to create protectors that are unique to you.
* Wash Your Felt Before Cutting: Some felt can shrink when washed, so it’s a good idea to wash it before cutting it to size.
* Store Your Protectors Properly: Store your protectors in a dry place to prevent them from getting moldy or mildewed.
* Replace Protectors When Needed: Over time, your protectors may become worn or damaged. Replace them as needed to ensure that your pots and pans are properly protected.
* Consider the Weight of Your Pans: For heavier pans like cast iron, use thicker felt or multiple layers for extra cushioning.
* Color-Code Your Protectors: Use different colors of felt for different sized pans to easily identify the correct protector.
* Use Recycled Felt: If you’re looking for a more sustainable option, use recycled felt made from plastic bottles.
Maintaining Your Pot and Pan Protectors
To keep your protectors in good condition, here’s what I recommend:
* Hand Wash Gently: If your protectors get dirty, hand wash them gently with mild soap and water.
* Air Dry: Allow the protectors to air dry completely before using them again.
* Avoid Harsh Chemicals: Don’t use harsh chemicals or bleach to clean your protectors, as this can damage the felt.
* Replace When Worn: As with anything, your protectors will eventually wear out. Replace them when they start to lose their shape or cushioning.
Enjoy Your Scratch-Free Cookware!
And there you have it! With a little bit of felt and some simple steps, you can create your own pot and pan protectors and say goodbye to those annoying scratches. I hope you found this tutorial helpful. Happy crafting!
Conclusion
So, there you have it! Creating your own DIY pot and pan protectors is not just a cost-effective alternative to store-bought versions; it’s a game-changer for anyone who values their cookware and wants to extend its lifespan. Think about it: no more cringing every time you stack your favorite non-stick skillet on top of that cast iron beast. No more worrying about unsightly scratches and dents that slowly but surely degrade the performance and appearance of your beloved pots and pans.
This simple DIY project offers a level of customization you simply can’t get from pre-made protectors. You can tailor the size, shape, and even the fabric to perfectly suit your specific cookware collection. Imagine protectors made from a vibrant, patterned felt that adds a pop of color to your kitchen cabinets, or perhaps a set crafted from recycled materials for an eco-friendly touch. The possibilities are truly endless!
Beyond the aesthetic appeal and cost savings, these DIY protectors offer superior protection. The soft, cushioning material acts as a buffer, preventing direct contact between your pots and pans and minimizing the risk of scratches, chips, and other damage. This is especially crucial for delicate non-stick surfaces, which are notoriously prone to scratching.
But the benefits don’t stop there. These protectors also help to reduce noise when stacking cookware, creating a more peaceful and organized kitchen environment. No more clanging and banging every time you reach for a pan!
Ready to take the plunge? We highly encourage you to give this DIY project a try. It’s incredibly easy, requires minimal materials and effort, and delivers significant results. You’ll be amazed at how much of a difference these simple protectors can make in preserving the quality and appearance of your cookware.
Looking for variations? Consider using different fabrics to create protectors with varying levels of thickness and cushioning. For heavier pots and pans, opt for a thicker felt or even a double layer of fabric. You can also experiment with different shapes and sizes to accommodate oddly shaped cookware. Another great idea is to add a loop or tab to each protector for easy hanging and storage.
Don’t just take our word for it – try it out for yourself and see the difference! We’re confident that you’ll be thrilled with the results. And most importantly, don’t forget to share your creations and experiences with us! We’d love to see your unique DIY pot and pan protectors and hear how they’ve helped you protect your precious cookware. Share your photos and tips in the comments below, or tag us on social media using #DIYCooKwareProtection. Let’s inspire each other to create beautiful and functional kitchens!
Frequently Asked Questions (FAQ)
What materials are best for making DIY pot and pan protectors?
The best materials for DIY pot and pan protectors are soft, non-abrasive fabrics that provide cushioning and protection. Felt is a popular choice due to its affordability, availability, and ease of use. It comes in a variety of colors and thicknesses, allowing you to customize your protectors to your liking. Other suitable options include fleece, flannel, and even repurposed fabric scraps from old clothing or blankets. Avoid using materials that are too rough or abrasive, as they could potentially scratch your cookware. Consider the heat resistance of the fabric if you plan to store hot pans with the protectors in place.
How do I determine the right size for my pot and pan protectors?
Measuring your pots and pans is crucial for creating protectors that fit properly and provide adequate coverage. Start by measuring the diameter of each pot and pan, including the bottom and the rim. Add a few extra inches to each measurement to allow for overlap and ensure that the protector fully covers the surface. For oddly shaped cookware, trace the outline of the bottom onto a piece of paper and use that as a template for cutting your fabric. Remember, it’s always better to err on the side of caution and make the protectors slightly larger than necessary, as you can always trim them down if needed.
Can I wash my DIY pot and pan protectors?
The washability of your DIY pot and pan protectors depends on the type of fabric you use. Felt, for example, can shrink or become misshapen if washed in a machine. If you choose to use felt, spot cleaning is generally recommended. For fabrics like fleece or flannel, you can typically machine wash them on a gentle cycle with cold water and mild detergent. However, it’s always best to check the care instructions for the specific fabric you’re using. To prevent shrinking or damage, consider air drying your protectors instead of using a dryer.
How do I store my DIY pot and pan protectors when they’re not in use?
Proper storage is essential for keeping your DIY pot and pan protectors clean and organized. You can store them flat in a drawer or cabinet, or you can roll them up and secure them with a rubber band or ribbon. If you have limited storage space, consider hanging them on hooks or pegs using loops or tabs that you’ve added to the protectors. Avoid storing them in damp or humid environments, as this can lead to mold or mildew growth. Regularly inspect your protectors for any signs of wear and tear, and replace them as needed.
Are DIY pot and pan protectors effective for all types of cookware?
DIY pot and pan protectors are generally effective for protecting most types of cookware, including non-stick, stainless steel, cast iron, and ceramic. However, it’s important to choose the right materials and construction methods to ensure optimal protection. For delicate non-stick surfaces, use a soft, non-abrasive fabric like fleece or flannel. For heavier pots and pans, consider using a thicker felt or a double layer of fabric. When storing cast iron cookware, make sure the protectors are completely dry to prevent rust.
Can I use recycled materials to make my DIY pot and pan protectors?
Absolutely! Using recycled materials is a great way to reduce waste and create eco-friendly pot and pan protectors. Old t-shirts, towels, blankets, and even felt scraps can be repurposed into functional and stylish protectors. Simply cut the fabric into the desired shapes and sizes, and sew or glue the pieces together. Not only is this a sustainable option, but it also allows you to personalize your protectors and give them a unique, upcycled look.
How do I prevent my DIY pot and pan protectors from slipping?
To prevent your DIY pot and pan protectors from slipping, consider adding a non-slip backing to the fabric. You can purchase non-slip fabric or apply a non-slip spray to the bottom of the protectors. Another option is to use a textured fabric that provides better grip. For example, you could use a felt with a slightly rougher surface or add small silicone dots to the bottom of the protectors. Experiment with different methods to find what works best for your cookware and storage setup.
How long will my DIY pot and pan protectors last?
The lifespan of your DIY pot and pan protectors depends on the quality of the materials you use, how frequently you use them, and how well you care for them. With proper care and maintenance, they can last for several years. Regularly inspect your protectors for any signs of wear and tear, such as fraying edges, thinning fabric, or damage from heat or moisture. Replace them as needed to ensure that your cookware remains protected.
Leave a Comment