

DIY rust removal baking soda – sounds like a science experiment gone right, doesn’t it? But trust me, it’s less about bubbling beakers and more about breathing new life into your beloved metal treasures! We’ve all been there: that favorite garden tool, the vintage patio furniture, or even just a stubborn bolt, all succumbing to the dreaded orange plague – rust. It’s a frustrating sight, and often feels like a death sentence for these items.
But before you resign yourself to tossing them out, let’s rewind a bit. Rust, or iron oxide, has been a nemesis of civilizations for centuries. From ancient Roman tools to modern-day machinery, its corrosive power has always posed a challenge. Thankfully, resourceful folks have always sought ways to combat it, and that’s where our simple, yet effective, DIY rust removal baking soda trick comes in!
Why baking soda, you ask? Well, it’s a readily available, non-toxic, and surprisingly potent weapon against rust. In this article, I’m going to share my favorite method for using baking soda to tackle rust, saving you money on harsh chemicals and giving your rusty items a second chance. So, grab your baking soda, a few household supplies, and let’s get ready to say goodbye to rust and hello to revitalized treasures!
DIY Rust Removal with Baking Soda: A Comprehensive Guide
Hey there, fellow DIY enthusiasts! Rust, that pesky orange menace, can ruin the look and functionality of your favorite tools, garden furniture, and even your car. But don’t despair! Before you rush out to buy expensive rust removers, let’s try a simple, effective, and budget-friendly solution: baking soda! Yes, that humble box in your pantry is a surprisingly powerful rust-busting agent. I’m going to walk you through everything you need to know to remove rust using baking soda, from prepping your items to applying the paste and cleaning up. Let’s get started!
What You’ll Need
Before we dive in, let’s gather our supplies. This is a pretty straightforward project, so you probably have most of these items already:
* Baking Soda: The star of the show! A fresh box is always a good idea.
* Water: Tap water works just fine.
* Mixing Bowl or Container: To create our rust-removing paste.
* Spoon or Stirring Stick: For mixing the baking soda and water.
* Scrub Brush or Sponge: Choose a brush with stiff bristles for tougher rust, or a sponge for more delicate surfaces. An old toothbrush is great for small, intricate areas.
* Gloves: To protect your hands from the rust and cleaning process.
* Safety Glasses: Especially important if you’re dealing with loose rust particles.
* Clean Rags or Towels: For wiping away the baking soda paste and drying the item.
* Sandpaper (Optional): For heavily rusted areas, sandpaper can help speed up the process. Start with a coarser grit (around 80-120) and move to a finer grit (around 220-320) for smoothing.
* Wire Brush (Optional): Another option for removing loose rust, especially on larger surfaces.
* Rust Inhibitor or Protective Coating (Optional): To prevent future rust formation.
* Vinegar (Optional): For soaking heavily rusted items.
Preparing Your Rusty Item
Proper preparation is key to successful rust removal. Here’s what you need to do:
1. Assess the Rust: Take a good look at the item you’re working on. How extensive is the rust? Is it just surface rust, or has it penetrated deeper? This will help you determine how much elbow grease you’ll need to apply.
2. Clean the Surface: Remove any dirt, grease, or loose debris from the item. You can use soap and water, a degreaser, or even just a dry cloth. A clean surface will allow the baking soda paste to work more effectively.
3. Remove Loose Rust (Optional): If there’s a lot of loose, flaky rust, use a wire brush or sandpaper to remove as much as possible before applying the baking soda paste. This will save you time and effort later on. Be sure to wear your safety glasses during this step!
4. Protect Surrounding Areas (Optional): If you’re working on an item with areas you don’t want to treat (like painted surfaces), use masking tape to protect them.
Making and Applying the Baking Soda Paste
Now for the fun part! Let’s mix up our rust-busting concoction:
1. Mix the Paste: In your mixing bowl, combine baking soda and water. Start with a ratio of about 2 parts baking soda to 1 part water. Add water gradually until you achieve a thick, spreadable paste. The consistency should be similar to toothpaste. If it’s too runny, add more baking soda. If it’s too thick, add a little more water.
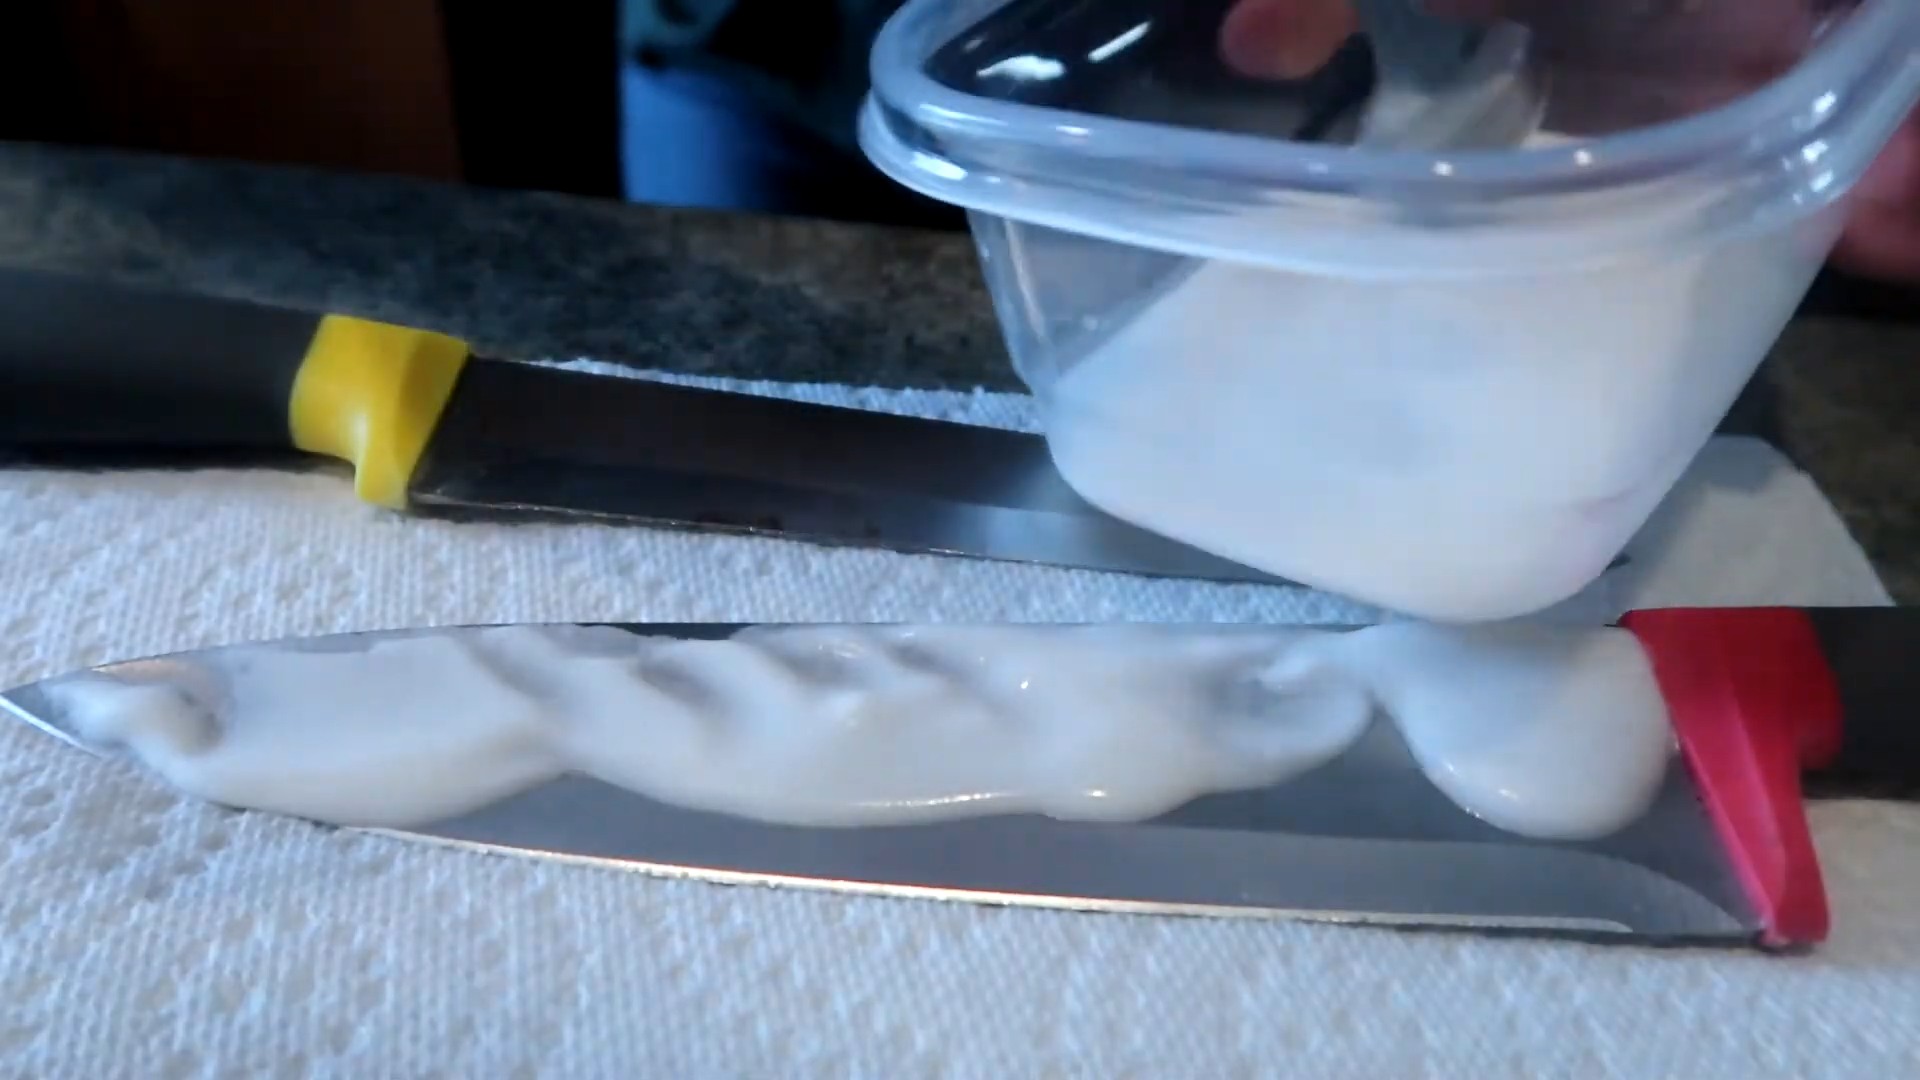
2. Apply the Paste: Using your fingers, a spoon, or a brush, apply a generous layer of the baking soda paste to the rusted areas. Make sure to cover the rust completely. Don’t be shy – the more paste you apply, the better it will work.
3. Let it Sit: This is where patience comes in. Allow the baking soda paste to sit on the rust for at least 30 minutes. For heavily rusted items, you can let it sit for several hours, or even overnight. The longer it sits, the more time the baking soda has to break down the rust.
4. Scrub Away the Rust: After the paste has had time to work its magic, it’s time to scrub! Use your scrub brush, sponge, or toothbrush to scrub the rusted areas. Apply firm, even pressure. You should start to see the rust lifting away.
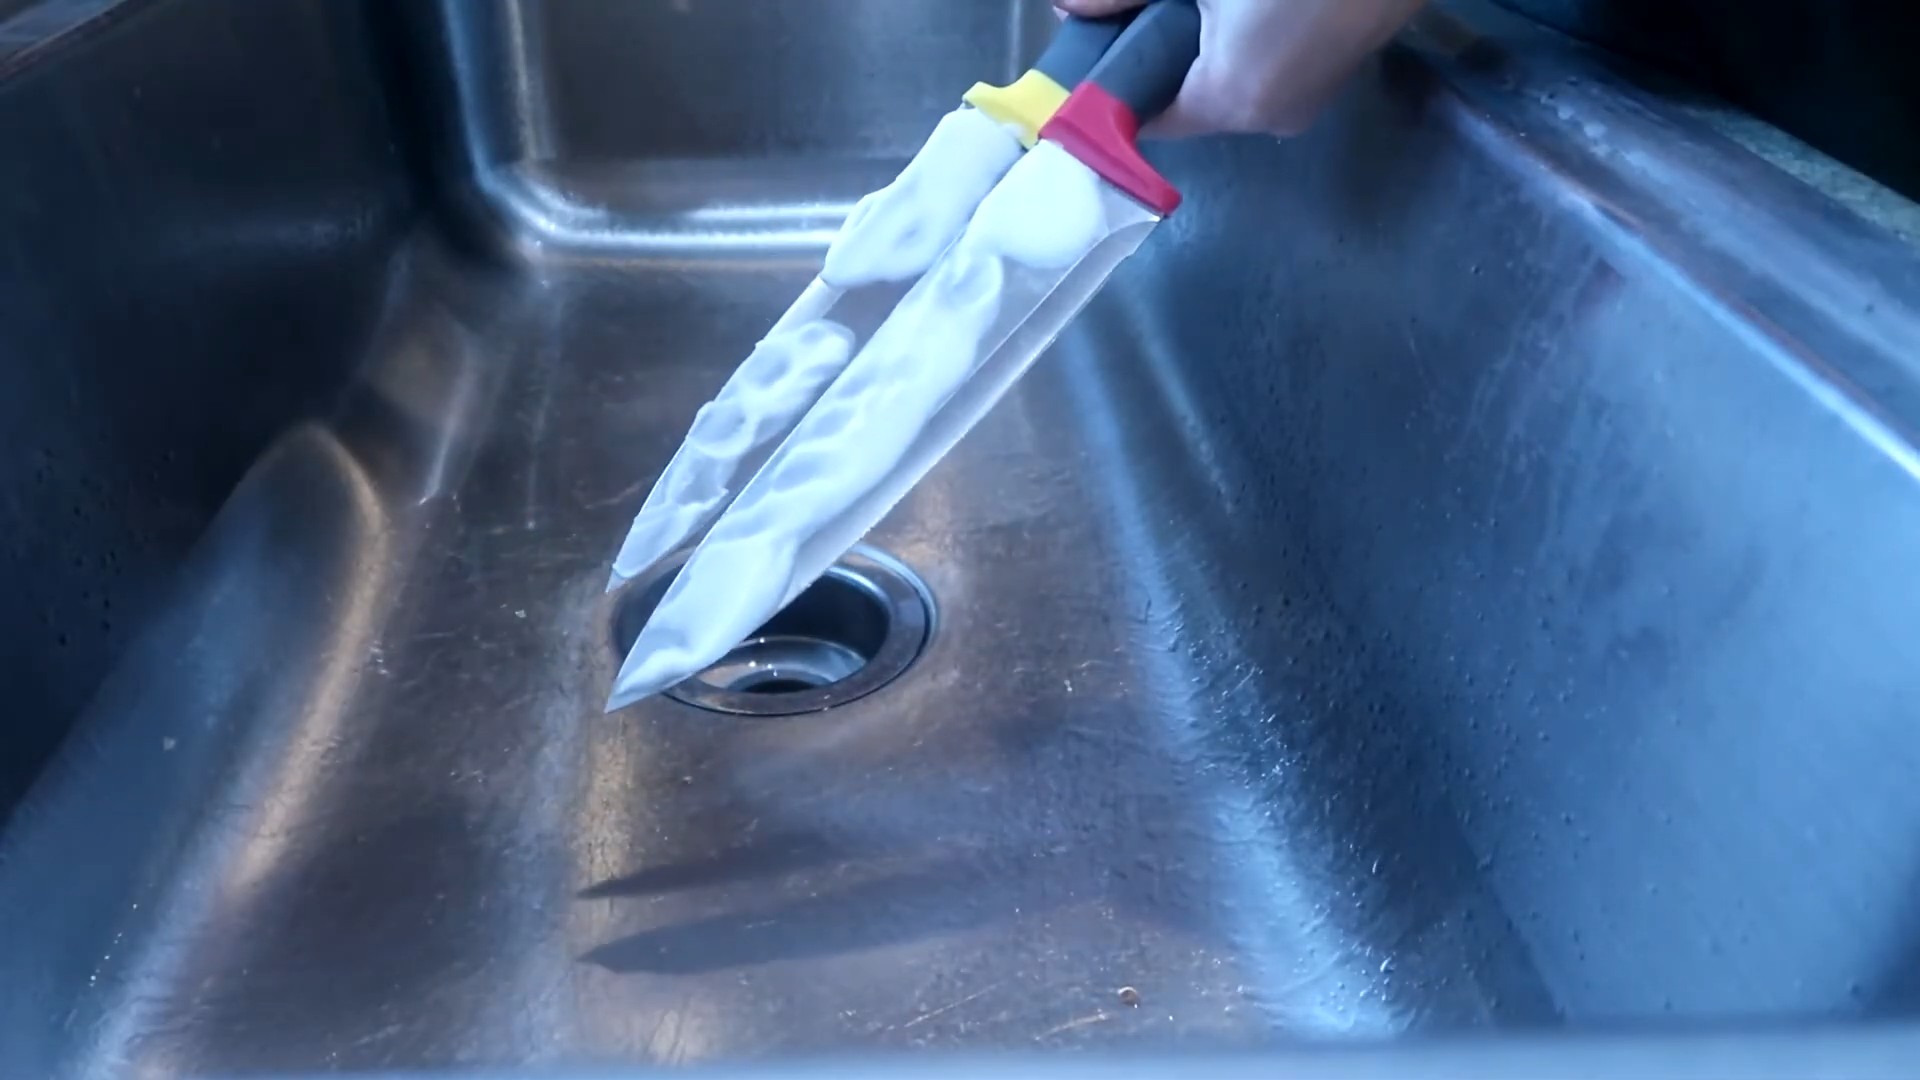
5. Rinse and Repeat (If Necessary): Rinse the item with water to remove the baking soda paste and loosened rust. Inspect the area to see if any rust remains. If so, repeat steps 2-4. You may need to apply the paste and scrub multiple times, especially for stubborn rust.
Dealing with Heavily Rusted Items
Sometimes, baking soda alone isn’t enough to tackle really tough rust. Here are a few extra tricks you can try:
* Soaking in Vinegar: For smaller items, you can soak them in white vinegar for several hours or overnight before applying the baking soda paste. Vinegar is a mild acid that helps to dissolve rust. After soaking, rinse the item thoroughly and proceed with the baking soda treatment.
* Baking Soda and Vinegar Paste: Instead of using water, try mixing baking soda with vinegar to create a fizzy paste. The fizzing action can help to loosen the rust. Be careful, though – this mixture can be a bit messy!
* Sandpaper or Wire Brush: As mentioned earlier, sandpaper or a wire brush can be used to remove loose rust before applying the baking soda paste. For heavily rusted areas, you may need to use sandpaper or a wire brush even after applying the paste.
* Electrolysis: For very stubborn rust, you might consider electrolysis. This involves using an electric current to remove the rust. However, electrolysis can be a bit more complicated and requires some specialized equipment. I’d recommend researching this method thoroughly before attempting it.
Cleaning Up and Protecting Your Item
Once you’ve removed the rust, it’s important to clean up and protect your item to prevent future rust formation:
1. Final Rinse: Give the item a final rinse with clean water to remove any remaining baking soda residue.
2. Dry Thoroughly: Use a clean rag or towel to dry the item completely. Moisture is the enemy of metal, so it’s crucial to remove all traces of water. You can even use a hairdryer to speed up the drying process.
3. Apply a Rust Inhibitor or Protective Coating: To prevent future rust, apply a rust inhibitor or protective coating to the item. There are many different products available, such as rust-preventative sprays, paints, and oils. Choose a product that is appropriate for the type of metal and the intended use of the item. For example, you might use a rust-preventative spray on garden tools or a protective paint on metal furniture.
4. Regular Maintenance: To keep your items rust-free, perform regular maintenance. This might involve cleaning them regularly, applying a protective coating periodically, and storing them in a dry place.
Tips and Tricks for Success
Here are a few extra tips and tricks to help you get the best results:
* Work in a Well-Ventilated Area: When working with rust removers or protective coatings, always work in a well-ventilated area to avoid inhaling harmful fumes.
* Test in an Inconspicuous Area: Before applying baking soda paste to the entire item, test it in an inconspicuous area to make sure it doesn’t damage the surface.
* Be Patient: Rust removal can take time and effort, especially for heavily rusted items. Don’t get discouraged if you don’t see results immediately. Just keep scrubbing and repeating the process as needed.
* Use the Right Tools: Using the right tools can make the job much easier. A stiff-bristled brush is essential for scrubbing away rust, and sandpaper or a wire brush can be helpful for removing loose rust.
* Consider the Environment: Baking soda is a relatively environmentally friendly rust remover, but some rust inhibitors and protective coatings can contain harmful chemicals. Choose environmentally friendly products whenever possible.
* Safety First: Always wear gloves and safety glasses when working with rust removers and tools.
Alternative Rust Removal Methods
While baking soda is a great option, there are other DIY rust removal methods you might want to consider:
* Lemon Juice and Salt: The citric acid in lemon juice can help to dissolve rust. Sprinkle salt on the rusted area, then squeeze lemon juice over it. Let it sit for a few hours, then scrub with a brush.
* Potato and Dish Soap: The oxalic acid in potatoes can help to remove rust. Cut a potato in half, dip it in dish soap, and scrub the rusted area.
* Citric Acid: You can buy citric acid powder and mix it with water to create a rust
Conclusion
So, there you have it! This simple, yet incredibly effective, DIY rust removal baking soda method is a game-changer for anyone battling unsightly rust stains. Forget expensive commercial rust removers filled with harsh chemicals. This solution is not only budget-friendly but also environmentally conscious, utilizing ingredients you likely already have in your pantry.
Why is this a must-try? Because it works! It’s a gentle abrasive that lifts rust without damaging the underlying surface. It’s versatile, tackling rust on everything from tools and garden equipment to car parts and household fixtures. And, perhaps most importantly, it’s safe to use around your family and pets, unlike many harsh chemical alternatives.
But don’t just take our word for it. Experiment with variations to find what works best for your specific rust removal needs. For instance, for heavily rusted items, try combining the baking soda with a stronger acid like lemon juice or white vinegar. The fizzing action helps to break down the rust more effectively. You can also create a thicker paste for vertical surfaces, ensuring the baking soda stays in contact with the rust for longer. Consider adding a touch of dish soap to your paste for extra cleaning power, especially if the rusted item is also greasy or oily.
Remember, patience is key. Allow the baking soda paste to sit on the rust for a sufficient amount of time – at least 30 minutes, and even longer for stubborn rust – to allow it to work its magic. And don’t be afraid to repeat the process if necessary. Multiple applications are often more effective than one aggressive scrubbing session.
We are confident that this DIY rust removal baking soda trick will become your go-to solution for tackling rust. It’s easy, affordable, and effective. So, ditch the harsh chemicals and embrace the power of baking soda!
We encourage you to try this method and share your experiences with us. Let us know what worked best for you, what variations you tried, and what kind of rust you successfully removed. Your feedback will not only help us improve this guide but also inspire others to embrace the power of DIY solutions. Share your before-and-after photos and tips in the comments below! We can’t wait to see your rust-free results!
Frequently Asked Questions (FAQs)
What kind of baking soda should I use?
Plain, ordinary baking soda (sodium bicarbonate) is all you need. There’s no need to buy anything fancy or specialized. The baking soda you use for baking cakes and cookies is perfectly suitable for rust removal. Make sure it’s not baking powder, as that contains other ingredients that aren’t necessary for this process.
Can I use this method on all types of metal?
This method is generally safe for most metals, including iron, steel, chrome, and stainless steel. However, it’s always a good idea to test it on a small, inconspicuous area first, especially if you’re dealing with delicate or antique items. Avoid using baking soda on aluminum, as it can cause discoloration. For precious metals like silver or gold, consult a professional cleaner.
How long should I leave the baking soda paste on the rust?
The amount of time depends on the severity of the rust. For light rust, 30 minutes to an hour may be sufficient. For heavier rust, you may need to leave the paste on for several hours, or even overnight. Check the paste periodically to ensure it hasn’t dried out completely. If it does, you can lightly dampen it with water.
What’s the best way to scrub off the rust after the baking soda has sat?
Use a non-abrasive scrubbing pad, a stiff-bristled brush (like an old toothbrush), or even a damp cloth. Avoid using steel wool or other highly abrasive materials, as they can scratch the metal surface. Apply gentle pressure and scrub in a circular motion. Rinse the area thoroughly with water after scrubbing.
What if the rust is really stubborn and doesn’t come off easily?
For stubborn rust, try these tips:
* Increase the concentration of baking soda in the paste. Use less water to create a thicker, more potent paste.
* Add an acid. Mix baking soda with lemon juice or white vinegar to create a fizzing action that helps break down the rust. Be careful when using acids, and always wear gloves.
* Apply heat. If possible, gently heat the rusted item with a hairdryer or heat gun before applying the baking soda paste. The heat can help to loosen the rust.
* Repeat the process. Multiple applications of the baking soda paste may be necessary to completely remove the rust.
How can I prevent rust from returning after cleaning?
After removing the rust, it’s important to protect the metal surface to prevent rust from returning. Here are some tips:
* Dry the item thoroughly. Moisture is a major contributor to rust, so make sure the item is completely dry after cleaning.
* Apply a protective coating. Apply a layer of oil, wax, or paint to the metal surface to create a barrier against moisture and oxygen. WD-40 is a popular choice for protecting tools and equipment.
* Store items in a dry place. Store metal items in a dry, well-ventilated area to prevent moisture buildup.
* Regularly inspect and maintain items. Periodically inspect metal items for signs of rust and address them promptly.
Can I use this method on painted surfaces?
Baking soda is generally safe for painted surfaces, but it’s always a good idea to test it on a small, inconspicuous area first. Avoid scrubbing too vigorously, as this can damage the paint. If you’re concerned about damaging the paint, try using a very diluted baking soda solution and a soft cloth.
Is baking soda safe to use?
Baking soda is generally considered safe to use. It’s non-toxic and doesn’t produce harmful fumes. However, it’s always a good idea to wear gloves when working with baking soda, especially if you have sensitive skin. Avoid getting baking soda in your eyes, and if you do, rinse them thoroughly with water.
Can I use this method to remove rust from clothing?
While baking soda can be helpful for removing some stains from clothing, it’s not the most effective solution for rust stains. There are specialized rust stain removers available that are designed for fabrics. Always test any cleaning solution on a small, inconspicuous area of the fabric first to ensure it doesn’t cause discoloration or damage.
What other DIY rust removal methods are there?
Besides baking soda, other DIY rust removal methods include using vinegar, lemon juice, potatoes, and oxalic acid. Each method has its own advantages and disadvantages, so it’s worth researching different options to find the one that works best for your specific needs. However, for a gentle, readily available, and effective solution, DIY rust removal baking soda is hard to beat.

Leave a Comment