

Dusting hacks for clean home – sounds like a dream, right? I know, I know, dusting is probably *the* chore we all love to hate. It’s like the hydra of housework; you conquer one area, and more dust magically appears somewhere else! But what if I told you there are clever, easy ways to keep your home sparkling without spending hours wielding a feather duster (which, let’s be honest, often just redistributes the dust anyway)?
The quest for a dust-free home isn’t new. Throughout history, cultures have developed various methods for keeping their living spaces clean. From ancient civilizations using natural fibers to sweep floors to the Victorian era’s elaborate cleaning rituals, the desire for a tidy home has always been present. Today, we’re armed with modern tools and a better understanding of dust composition, allowing us to be more effective than ever.
But why is mastering these dusting hacks for clean home so important? Beyond the obvious aesthetic benefits, reducing dust improves air quality, which is crucial for our health, especially for those with allergies or asthma. Plus, let’s face it, a clean home is a happy home! It’s a space where you can relax, recharge, and feel proud of your surroundings. In this article, I’m going to share my favorite DIY tricks and hacks that will transform your dusting routine from a dreaded task into a quick and satisfying win. Get ready to say goodbye to dust bunnies and hello to a cleaner, healthier, and happier home!
DIY Dusting Hacks for a Sparkling Clean Home
Okay, let’s face it, dusting is nobody’s favorite chore. But a dusty home just feels…blah. So, I’m going to share some of my favorite DIY dusting hacks that will make the process easier, faster, and even a little bit fun (okay, maybe not fun, but definitely less dreadful!). These tips cover everything from everyday dusting to tackling those hard-to-reach spots. Get ready to say goodbye to dust bunnies!
General Dusting Tips & Tricks
Before we dive into specific projects, let’s cover some essential dusting principles. These will make all the difference in how effective your dusting efforts are.
* Dust from Top to Bottom: Gravity is your friend (or enemy, depending on how you look at it!). Always start dusting from the highest surfaces and work your way down. This way, any dust that falls will land on surfaces you haven’t cleaned yet.
* Dampen Your Cloth: A slightly damp microfiber cloth is your best weapon against dust. Dry cloths tend to just push dust around, while a damp cloth traps it. Just make sure it’s not too wet, or you’ll end up with streaks.
* Washable Duster Heads: Invest in duster heads that you can throw in the washing machine. This will save you money in the long run and is much more eco-friendly than disposable options.
* Vacuum First: If you have a lot of dust buildup, especially on floors or upholstery, vacuum before you start dusting. This will remove the bulk of the dust and prevent you from just spreading it around with your cloth.
* Air Purifier: Consider investing in an air purifier. These devices can significantly reduce the amount of dust in your home by filtering out airborne particles.
* Regularity is Key: The more often you dust, the less dust will accumulate. Aim to dust high-traffic areas at least once a week.
DIY Dusting Spray
Commercial dusting sprays can be expensive and often contain harsh chemicals. Here’s a simple and effective DIY dusting spray recipe that uses ingredients you probably already have at home.
What you’ll need:
* Spray bottle
* 1 cup water
* 1/4 cup white vinegar
* 2 teaspoons olive oil
* 10-15 drops of your favorite essential oil (lemon, lavender, or tea tree are great choices)
* Microfiber cloth
Step-by-step instructions:
1. Combine Ingredients: In your spray bottle, combine the water, white vinegar, olive oil, and essential oil.
2. Shake Well: Secure the lid tightly and shake the bottle vigorously to ensure all the ingredients are well mixed. The olive oil will help to condition wood surfaces, while the vinegar acts as a natural disinfectant.
3. Test in an Inconspicuous Area: Before spraying on a large surface, test the spray in a small, hidden area to make sure it doesn’t damage the finish.
4. Spray and Wipe: Lightly spray the dusting spray onto your microfiber cloth. Avoid spraying directly onto furniture, as this can cause buildup.
5. Wipe Surfaces: Wipe down all surfaces with the damp cloth, following the grain of the wood if applicable.
6. Buff Dry (Optional): If you notice any streaks, buff the surface with a clean, dry microfiber cloth.
Dusting Blinds Like a Pro
Blinds can be a real pain to dust. Here’s a quick and easy method that will have them sparkling in no time.
What you’ll need:
* Old sock (clean, of course!)
* White vinegar
* Water
* Spray bottle (optional)
* Bowl
Step-by-step instructions:
1. Prepare Your Solution: In a bowl, mix equal parts white vinegar and water. Alternatively, you can put the mixture in a spray bottle.
2. Dampen the Sock: Put the sock on your hand like a glove. Dip the sock-covered hand into the vinegar and water solution, or spray the solution onto the sock until it’s damp but not dripping.
3. Dust the Blinds: Pinch each slat of the blind between your thumb and forefinger (covered by the sock, of course!). Slide your hand along the slat to remove the dust.
4. Rinse and Repeat: Rinse the sock in clean water as needed to remove accumulated dust. Repeat the process until all the blinds are clean.
5. Dry the Blinds: Leave the blinds open to air dry. You can also use a clean, dry cloth to wipe them down if you want to speed up the process.
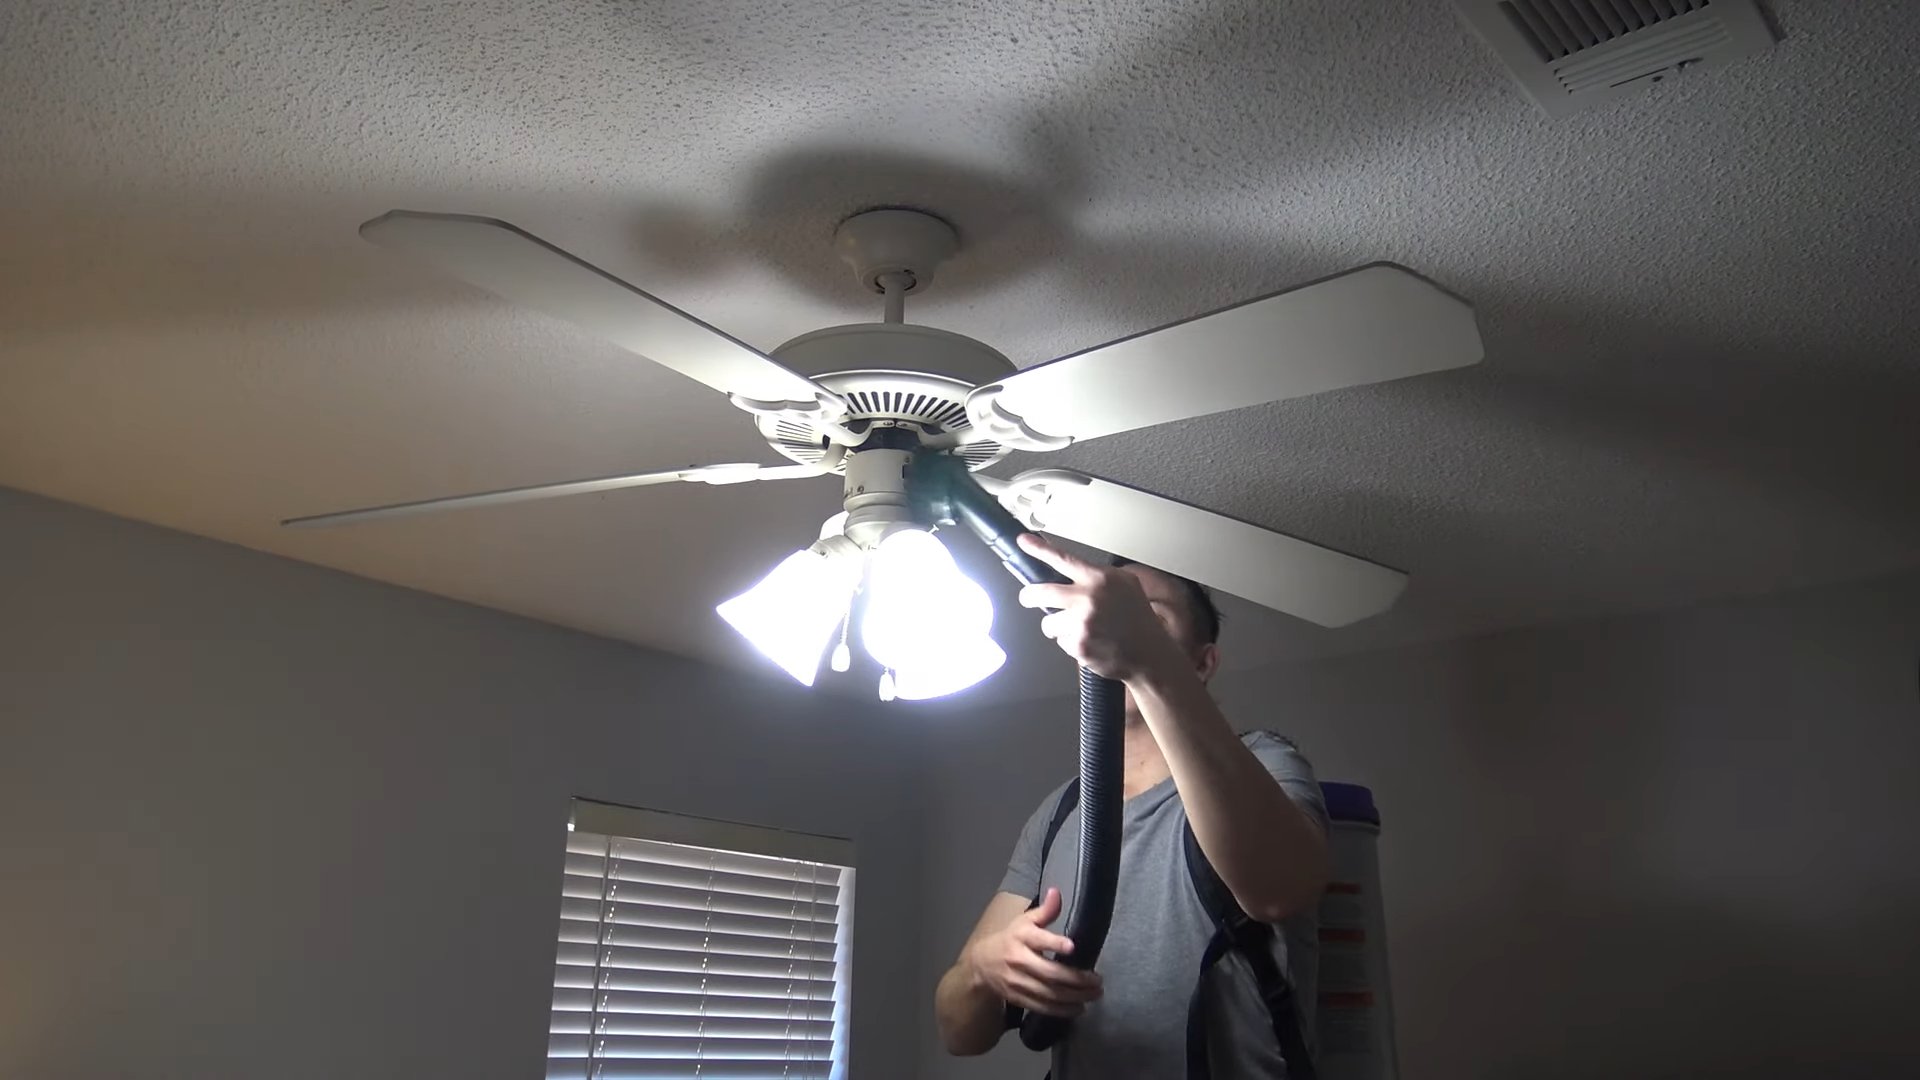
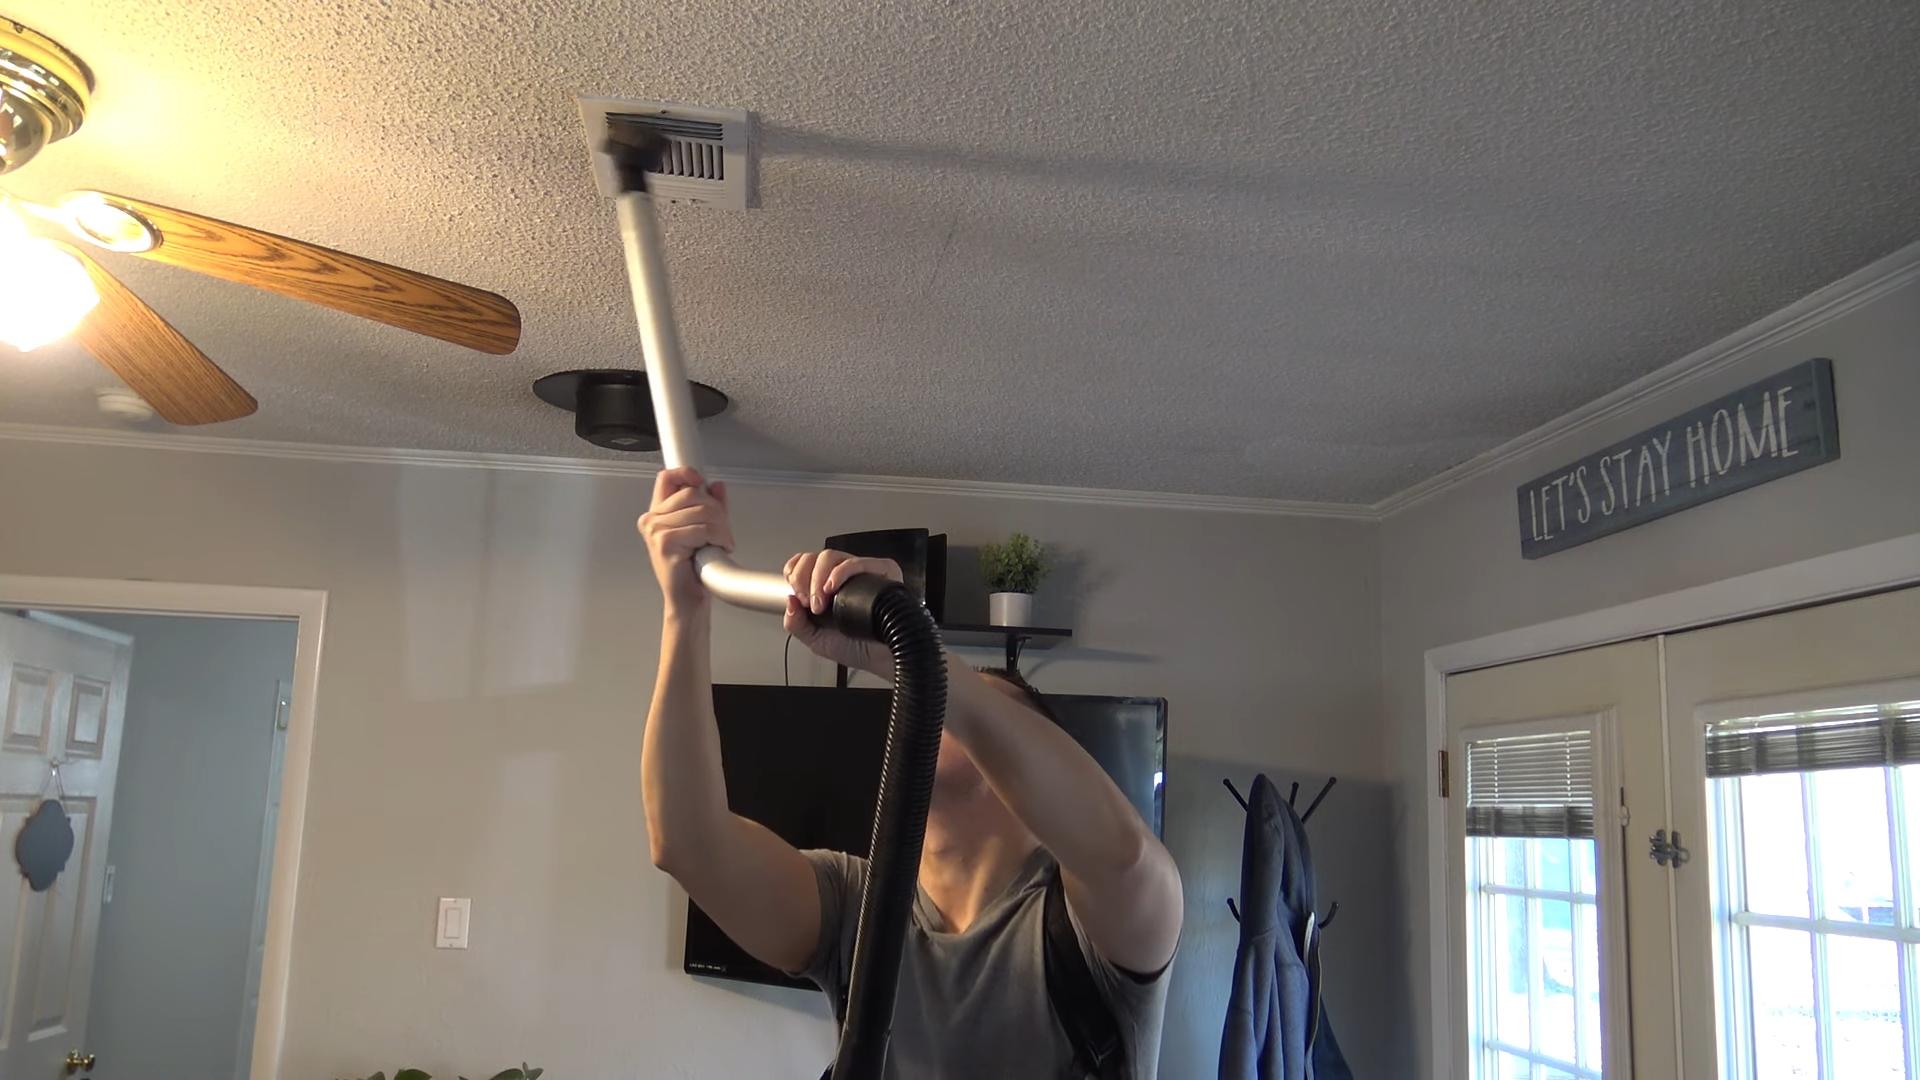
Cleaning Ceiling Fans Without Making a Mess
Ceiling fans are notorious for spreading dust everywhere when you try to clean them. This hack will prevent that from happening.
What you’ll need:
* Old pillowcase
* Ladder or step stool
* All-purpose cleaner (optional)
Step-by-step instructions:
1. Prepare the Pillowcase: If your ceiling fan is particularly dirty, you can lightly spray the inside of the pillowcase with an all-purpose cleaner.
2. Cover the Blade: Carefully slide the pillowcase over one of the fan blades, encasing it completely.
3. Wipe the Blade: Press the pillowcase against the blade and slowly pull it off, trapping the dust inside.
4. Repeat for Each Blade: Repeat the process for each fan blade, using a clean section of the pillowcase each time.
5. Clean the Pillowcase: Once you’ve cleaned all the blades, turn the pillowcase inside out and shake it out over a trash can. Then, wash the pillowcase as usual.
6. Wipe the Fan Base: Use a damp cloth to wipe down the fan base and any other exposed parts of the fan.
Dusting Electronics Safely
Electronics are dust magnets, but you need to be careful when cleaning them to avoid damage.
What you’ll need:
* Microfiber cloth
* Compressed air
* Cotton swabs
* Isopropyl alcohol (optional)
Step-by-step instructions:
1. Unplug Electronics: Always unplug electronics before cleaning them to prevent electric shock.
2. Dust with Microfiber Cloth: Use a dry microfiber cloth to gently wipe down the surfaces of your electronics.
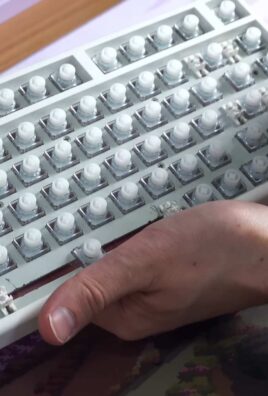
3. Use Compressed Air: Use compressed air to blow dust out of hard-to-reach areas, such as keyboards, vents, and ports. Hold the can upright and use short bursts to avoid damaging the components.
4. Clean Screens Carefully: For screens, use a clean, dry microfiber cloth. Avoid using harsh chemicals or abrasive cleaners, as these can damage the screen. If necessary, you can lightly dampen the cloth with distilled water.
5. Clean Ports and Crevices: Use cotton swabs dipped in isopropyl alcohol to clean ports and crevices. Make sure to squeeze out any excess alcohol before using the swab.
6. Allow to Dry: Allow all surfaces to dry completely before plugging the electronics back in.
Dusting Plants
Yes, even your plants need dusting! Dust can block sunlight and hinder their ability to photosynthesize.
What you’ll need:
* Soft cloth or sponge
* Water
* Spray bottle (optional)
Step-by-step instructions:
1. Wipe Down Leaves: Gently wipe down each leaf with a soft, damp cloth or sponge. Support the leaf with your other hand to prevent it from breaking.
2. Spray with Water (Optional): For plants with small leaves, you can spray them with water from a spray bottle. This will help to dislodge dust and debris.
3. Allow to Dry: Allow the leaves to air dry.
4. Consider a Shower: For larger plants, you can occasionally take them into the shower and give them a gentle rinse. Just make sure to let them drain thoroughly before putting them back in their pots.
Dusting Bookshelves
Bookshelves are notorious dust collectors. Here’s how to tackle them efficiently.
What you’ll need:
* Microfiber cloth
* Vacuum with brush attachment
* Empty boxes or containers
Step-by-step instructions:
1. Remove Books: Remove all the books from the shelves. This will make it easier to clean the shelves and the books themselves. Place the books in empty boxes or containers to keep them organized.
2. Vacuum the Shelves: Use a vacuum with a brush attachment to vacuum the shelves, removing any loose dust and debris.
3. Wipe Down the Shelves: Wipe down the shelves with a damp microfiber cloth.
4. Dust the Books: Use a dry microfiber cloth to dust each book individually. Pay attention to the top edges, as these tend to collect the most dust.
5. Replace the Books
Conclusion
So, there you have it! Mastering these simple yet incredibly effective DIY dusting hacks is a game-changer for anyone striving for a cleaner, healthier home. Forget spending a fortune on expensive, chemical-laden dusting products that often just push dust around. These methods are not only budget-friendly and eco-conscious, but they also deliver superior results, leaving your surfaces sparkling and your air fresher.
The beauty of these dusting hacks lies in their versatility. Feel free to experiment and adapt them to your specific needs and preferences. For instance, if you’re dealing with particularly stubborn dust buildup on wooden furniture, consider adding a few drops of lemon essential oil to your DIY dusting spray for an extra boost of cleaning power and a delightful citrus scent. For delicate surfaces like electronics, the microfiber cloth and compressed air combination is your best friend, ensuring a gentle yet thorough clean without the risk of scratching or damage.
Don’t underestimate the power of a simple, homemade dusting solution. It’s not just about removing dust; it’s about creating a healthier living environment for you and your family. By incorporating these DIY dusting hacks into your regular cleaning routine, you’ll notice a significant reduction in allergens, improved air quality, and a generally more pleasant and inviting home.
Why is this a must-try? Because it’s effective, affordable, eco-friendly, and customizable. It empowers you to take control of your cleaning routine and achieve professional-level results without breaking the bank or exposing yourself to harsh chemicals. Plus, the satisfaction of creating your own cleaning solutions and seeing the immediate impact on your home is incredibly rewarding.
We wholeheartedly encourage you to give these DIY dusting hacks a try. Start with the method that resonates most with you and see the difference it makes. And most importantly, we want to hear about your experience! Share your tips, variations, and before-and-after photos in the comments below. Let’s create a community of clean home enthusiasts who are passionate about sharing their knowledge and helping each other achieve a dust-free haven. Your insights could be invaluable to someone else who’s struggling with dust, so don’t hesitate to contribute! Let’s conquer dust, one DIY hack at a time!
Frequently Asked Questions (FAQs)
What are the benefits of using DIY dusting hacks compared to commercial dusting products?
DIY dusting hacks offer a multitude of advantages over commercial dusting products. Firstly, they are significantly more cost-effective. You likely already have many of the necessary ingredients in your pantry or cleaning supplies, such as vinegar, olive oil, and microfiber cloths. This eliminates the need to constantly repurchase expensive dusting sprays and wipes. Secondly, DIY solutions are generally much safer for your health and the environment. Commercial products often contain harsh chemicals, fragrances, and volatile organic compounds (VOCs) that can irritate your skin, eyes, and respiratory system. DIY solutions, on the other hand, allow you to control the ingredients and avoid potentially harmful substances. Finally, DIY dusting hacks are often more effective at actually removing dust rather than just spreading it around. Many commercial products contain silicones or waxes that can leave a residue on surfaces, attracting more dust in the long run.
Can I use these DIY dusting hacks on all types of surfaces?
While many of these DIY dusting hacks are versatile, it’s essential to exercise caution and test them on an inconspicuous area first, especially when dealing with delicate or valuable surfaces. For example, vinegar-based solutions should be used sparingly on natural stone surfaces like marble or granite, as the acidity can etch the stone over time. Similarly, oil-based solutions should be used sparingly on wood furniture to avoid buildup. Microfiber cloths are generally safe for most surfaces, but always check the manufacturer’s instructions for specific cleaning recommendations. For electronics, always use a dry microfiber cloth or compressed air to avoid damaging the internal components. When in doubt, consult a professional cleaner or furniture restorer for advice on cleaning specific surfaces.
How often should I be dusting my home?
The frequency of dusting depends on several factors, including the size of your home, the number of occupants, the presence of pets, and your personal tolerance for dust. As a general guideline, aim to dust high-traffic areas like living rooms and bedrooms at least once a week. Less frequently used areas like guest rooms or home offices can be dusted every two weeks. If you have pets, you may need to dust more frequently to remove pet dander and hair. Additionally, consider dusting more often during allergy season or if you have allergies or asthma. Regular dusting not only improves the appearance of your home but also helps to reduce allergens and improve air quality.
What are some common mistakes people make when dusting?
One of the most common mistakes is using a dry cloth to dust. This simply pushes the dust around, scattering it into the air and onto other surfaces. Instead, always use a slightly damp cloth or a dusting spray to trap the dust particles. Another mistake is neglecting to dust high-up areas like ceiling fans, light fixtures, and shelves. These areas tend to accumulate dust over time and can contribute to poor air quality. Finally, many people forget to dust items like lampshades, picture frames, and decorative objects. These items can also harbor dust and should be included in your regular dusting routine.
How can I prevent dust from accumulating in my home?
While it’s impossible to completely eliminate dust, there are several steps you can take to minimize its accumulation. Regularly vacuum or sweep your floors, paying attention to corners and edges. Use a vacuum cleaner with a HEPA filter to trap dust and allergens. Wash your bedding regularly in hot water to kill dust mites. Use air purifiers with HEPA filters to remove dust and allergens from the air. Keep windows and doors closed as much as possible to prevent dust from entering your home. Change your HVAC filters regularly to improve air quality. Finally, declutter your home to reduce the number of surfaces where dust can accumulate.
What is the best way to clean dust from electronics?
Cleaning dust from electronics requires a gentle approach to avoid damaging sensitive components. Always turn off and unplug the device before cleaning. Use a can of compressed air to blow dust out of crevices and vents. Wipe the screen and exterior surfaces with a dry microfiber cloth. Avoid using liquid cleaners or harsh chemicals, as they can damage the screen or internal components. For keyboards, you can use a small brush or cotton swab to remove dust from between the keys. If necessary, you can lightly dampen a microfiber cloth with water and wipe the keys, but be sure to dry them thoroughly afterward.
Are there any natural alternatives to commercial dusting sprays?
Yes, there are several natural alternatives to commercial dusting sprays that are just as effective and much safer for your health and the environment. One popular option is a simple solution of equal parts water and white vinegar. You can also add a few drops of essential oil for fragrance. Another option is to mix water with a small amount of olive oil and lemon juice. The olive oil helps to condition wood furniture, while the lemon juice adds a refreshing scent and helps to cut through grease and grime. You can also use a microfiber cloth dampened with plain water for light dusting.
How do I clean dust from delicate items like antiques or artwork?
Cleaning dust from delicate items requires extra care and attention. Start by using a soft brush, such as a sable brush or a makeup brush, to gently remove loose dust. Avoid using harsh chemicals or abrasive cleaners, as they can damage the surface. For antiques, consult a professional restorer for advice on cleaning specific materials. For artwork, use a dry microfiber cloth to gently wipe the surface. If necessary, you can lightly dampen the cloth with distilled water, but be sure to dry the surface thoroughly afterward. Avoid using any type of cleaner on artwork unless you are absolutely sure it is safe.
What essential oils are best for adding to DIY dusting solutions?
Several essential oils can be added to DIY dusting solutions for their cleaning and aromatherapy benefits. Lemon essential oil is a popular choice for its refreshing scent and degreasing properties. Lavender essential oil has a calming scent and is known for its antibacterial properties. Tea tree essential oil is a powerful antiseptic and can help to kill mold and mildew. Eucalyptus essential oil has a refreshing scent and can help to clear congestion. When adding essential oils to your dusting solution, start with a few drops and adjust the amount to your preference. Always test the solution on an inconspicuous area first to ensure it doesn’t damage the surface.
Leave a Comment