

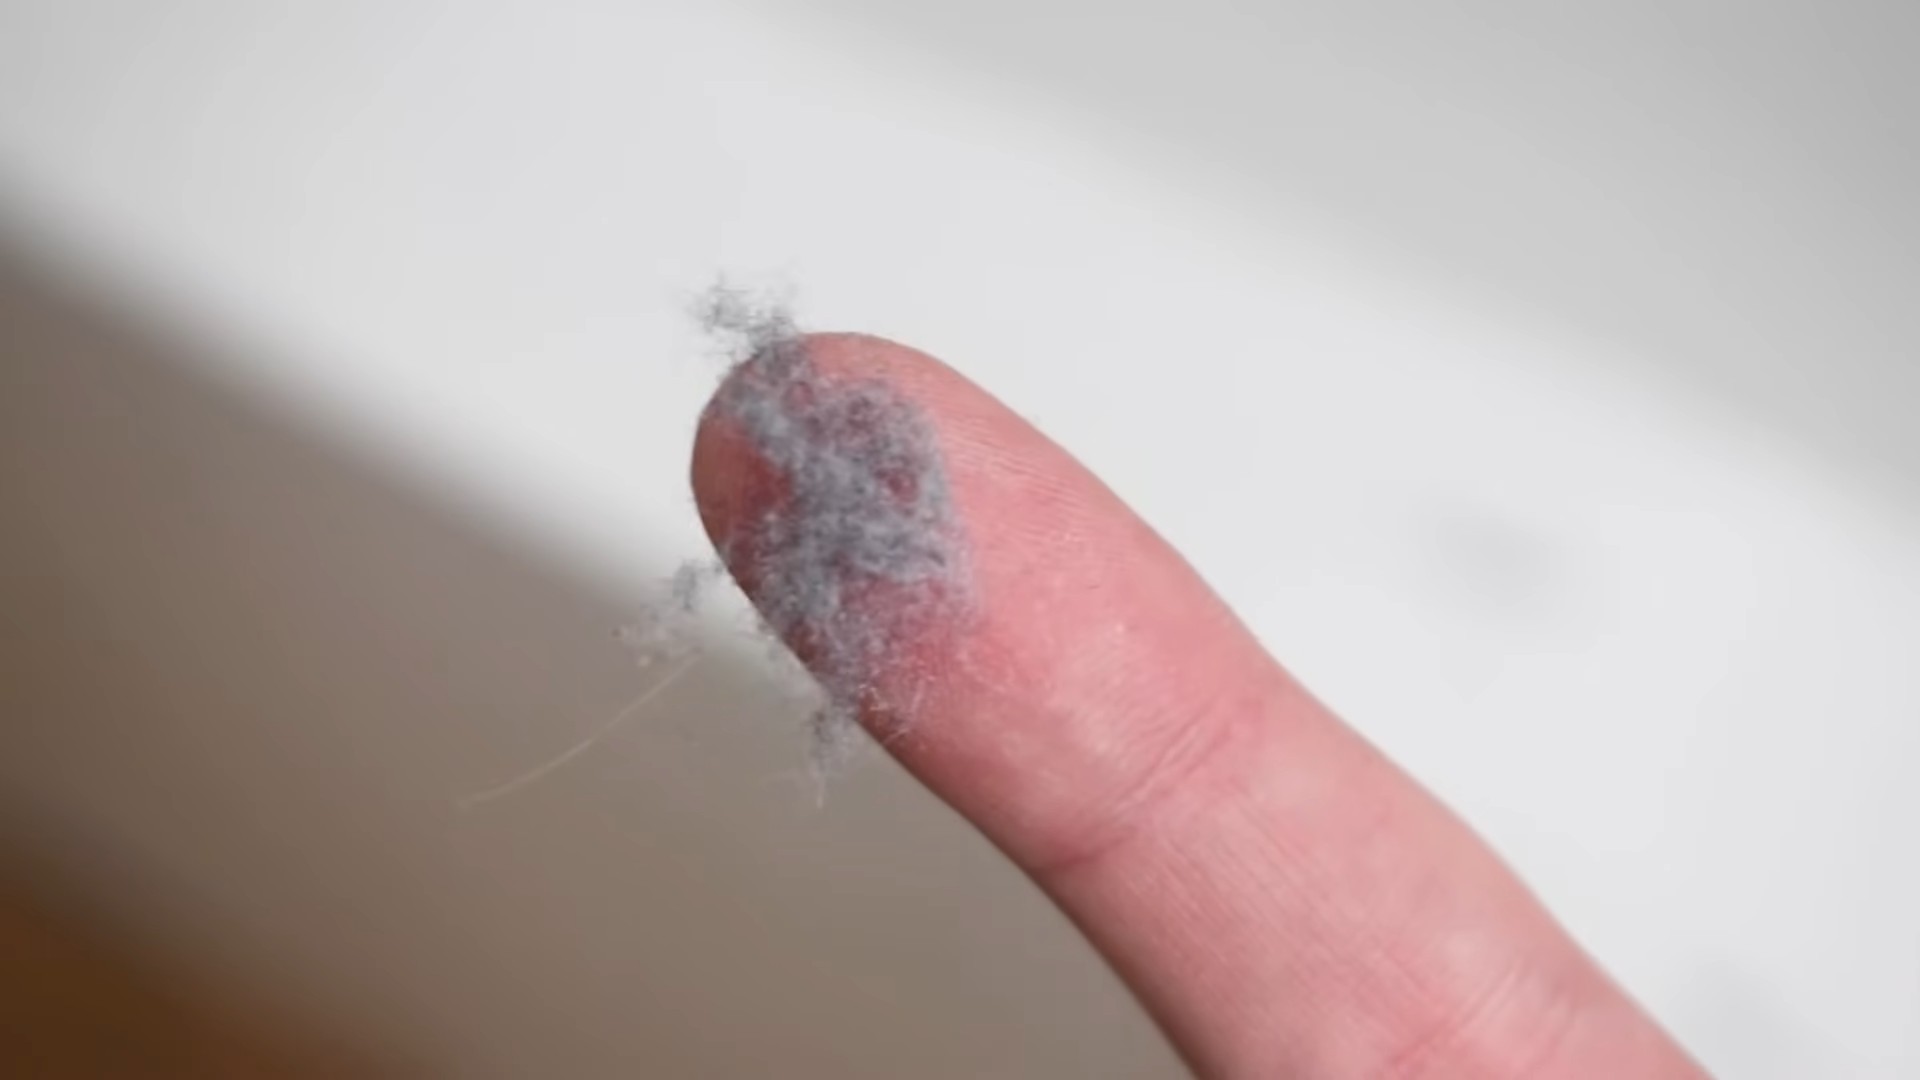
Dusting Hacks for Home: Are you tired of battling dust bunnies that seem to multiply overnight? Do you feel like you’re constantly waging war against the never-ending accumulation of grime on your furniture and surfaces? I know the feeling! It’s a common struggle for homeowners everywhere, and it can feel like a never-ending chore. But what if I told you there are simple, effective, and even fun ways to conquer the dust and reclaim your clean, happy home?
Dusting, while seemingly a modern-day nuisance, has roots that stretch back centuries. In ancient civilizations, keeping homes clean was a sign of prosperity and order. While they didn’t have our modern tools, the principle remained the same: a clean home is a healthy and happy home. Today, the need for effective dusting hacks for home is more crucial than ever. Allergies are on the rise, and indoor air quality is a growing concern. Dust isn’t just unsightly; it can harbor allergens, dust mites, and other irritants that can impact your health and well-being.
This article is your ultimate guide to DIY dusting solutions that will not only save you time and money but also transform your cleaning routine. We’ll explore clever tricks, homemade cleaning solutions, and preventative measures that will keep your home sparkling and dust-free for longer. Get ready to say goodbye to those pesky dust bunnies and hello to a cleaner, healthier, and more enjoyable living space! Let’s dive in and discover the secrets to effortless dusting!
Dusting Like a Pro: Easy DIY Hacks for a Sparkling Home
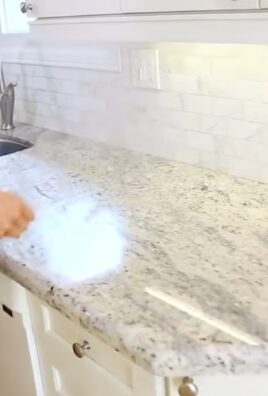
Okay, let’s be honest, dusting is nobody’s favorite chore. But a dust-free home is a happy home, right? I’m going to share some of my favorite DIY dusting hacks that will make the process quicker, easier, and maybe even a little bit… enjoyable? (Okay, maybe not *enjoyable*, but definitely less painful!). We’ll cover everything from making your own dusting spray to tackling those hard-to-reach spots. Let’s get started!
DIY Dusting Spray: Natural and Effective
Forget those expensive, chemical-laden dusting sprays from the store. You can whip up your own effective and eco-friendly version with just a few simple ingredients. This recipe is gentle on your furniture and smells amazing!
What you’ll need:
* Spray bottle (a clean, empty one, of course!)
* 1 cup water
* 1/4 cup white vinegar (the cleaning powerhouse!)
* 2 tablespoons olive oil (for a little shine and conditioning)
* 10-15 drops of your favorite essential oil (lemon, lavender, or eucalyptus are great choices)
* Microfiber cloth
Step-by-step instructions:
1. Combine the ingredients: In your spray bottle, pour in the water, white vinegar, and olive oil.
2. Add the essential oil: Now, add your chosen essential oil. This not only adds a pleasant scent but also provides some extra cleaning power (lemon is a natural degreaser!).
3. Shake it up: Secure the spray nozzle and shake the bottle well to combine all the ingredients.
4. Test it out: Before spraying all over your furniture, test a small, inconspicuous area to make sure it doesn’t react negatively.
5. Spray and wipe: Lightly spray the dusting spray onto your microfiber cloth (not directly onto the furniture).
6. Wipe away the dust: Wipe down your furniture, paying attention to corners and crevices.
7. Buff to a shine: Use a clean, dry section of the microfiber cloth to buff the surface to a nice shine.
Why this works: The vinegar helps to cut through grime and grease, the olive oil conditions the wood and adds shine, and the essential oil provides a pleasant scent and extra cleaning power.
Dusting Those Tricky Spots: Reaching the Unreachable
Okay, now that we have our amazing dusting spray, let’s tackle those areas that always seem to get neglected. These are the spots that are either too high, too narrow, or just plain awkward to reach.
What you’ll need:
* Old sock (clean, please!)
* Tongs or a yardstick
* Paintbrush (for delicate items)
* Vacuum cleaner with hose attachment
* Cotton swabs
* Compressed air (optional)
Step-by-step instructions:
1. Dusting blinds:
* The sock trick: Grab an old sock and slip it over your hand. Lightly dampen the sock with your DIY dusting spray. Now, pinch each slat of the blind between your thumb and forefinger and slide the sock along the length of the slat. This is so much faster and easier than wiping each slat individually!
* For stubborn dust: If the dust is really caked on, you can use a slightly damp microfiber cloth wrapped around a butter knife to get into those tight spaces.
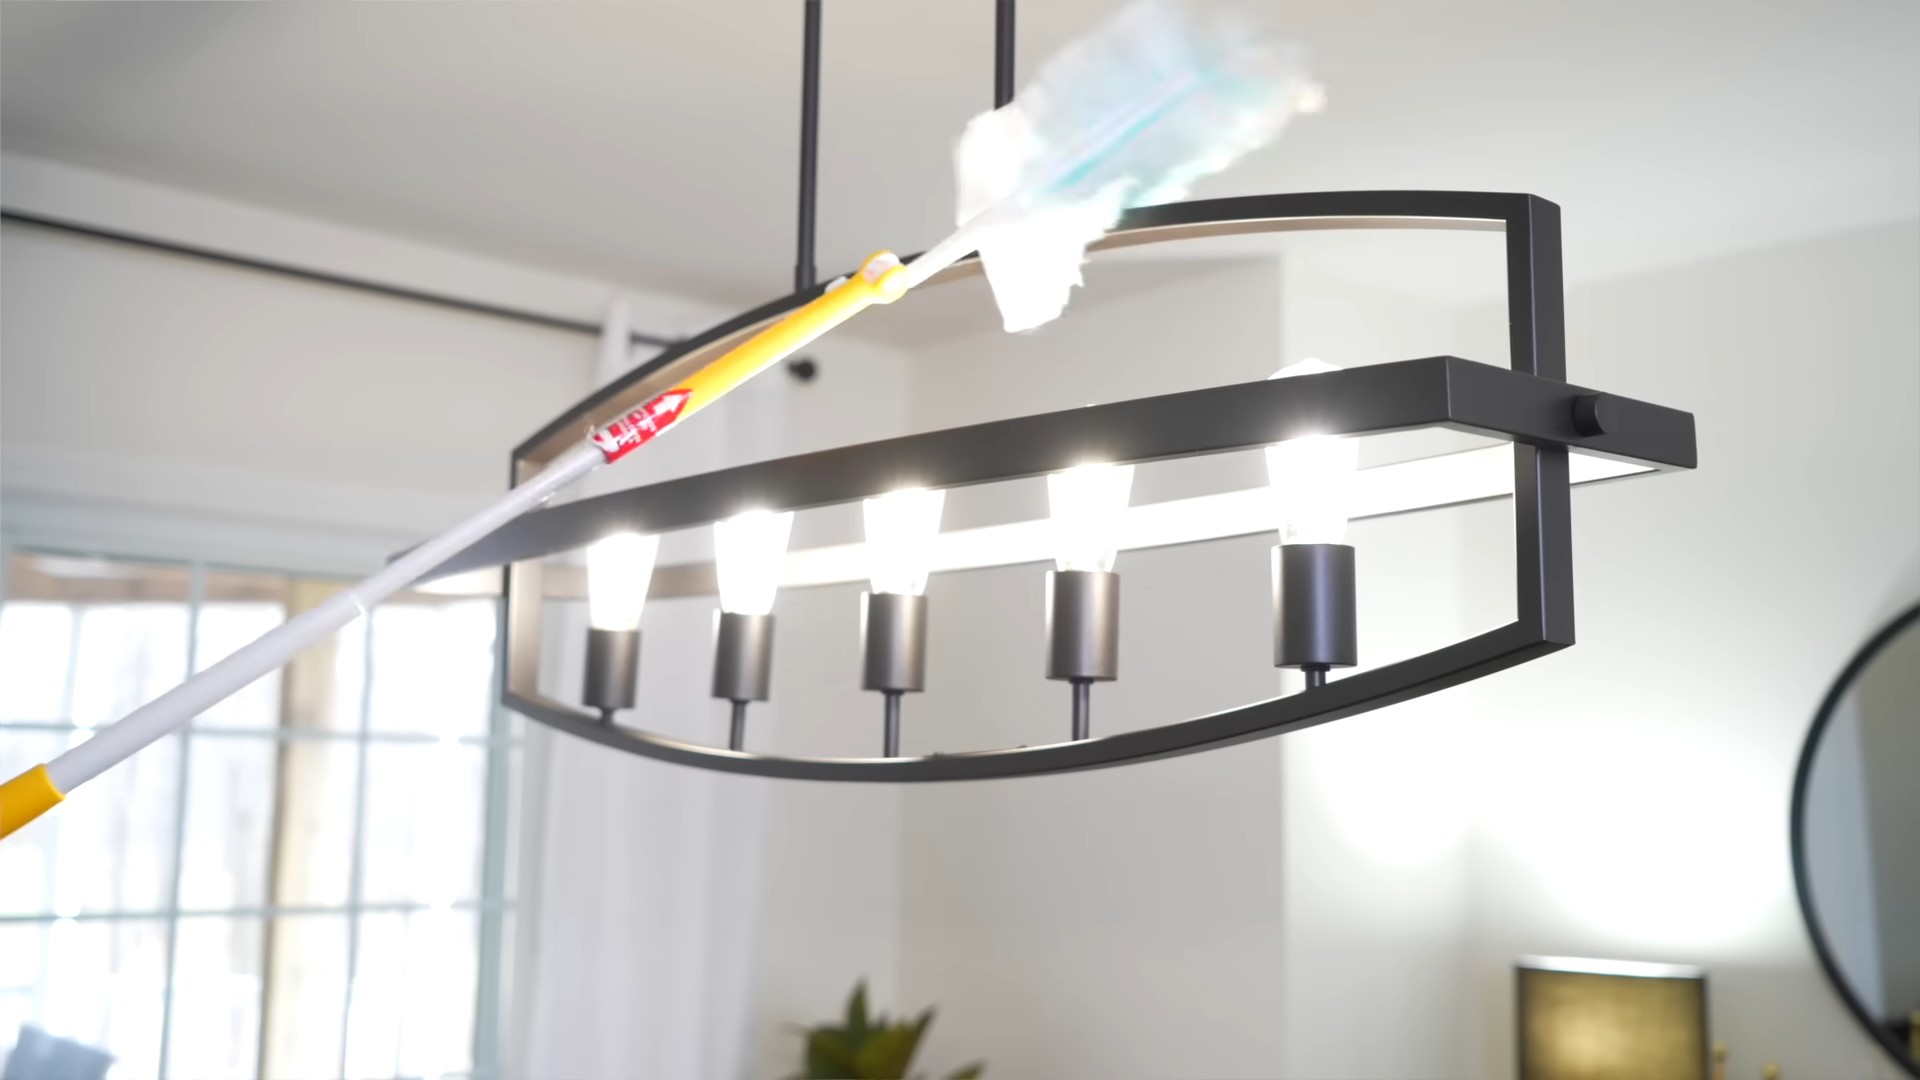
2. Dusting ceiling fans:
* The pillowcase method: This is a game-changer! Take an old pillowcase and carefully slip it over one of the fan blades. Gently slide the pillowcase off the blade, trapping the dust inside. Repeat for each blade. This prevents the dust from falling all over your furniture.
* Wipe down: Once you’ve removed the bulk of the dust, wipe down the blades with a damp microfiber cloth.
3. Dusting baseboards:
* The sock on tongs: Attach a clean sock to the end of tongs or a yardstick with a rubber band. Lightly dampen the sock with your dusting spray and run it along the baseboards. This saves your back and knees!
* Vacuum first: For really dusty baseboards, vacuum them first with the brush attachment to remove loose debris.
4. Dusting electronics:
* Turn it off: Always turn off and unplug electronic devices before dusting them.
* Compressed air: Use compressed air to blow dust out of keyboards, vents, and other hard-to-reach areas.
* Microfiber cloth: Gently wipe down screens and surfaces with a dry microfiber cloth. Avoid using liquids on screens unless specifically designed for that purpose.
* Cotton swabs: Use cotton swabs to clean around buttons and ports.
5. Dusting plants:
* Shower time: Give your plants a gentle shower to remove dust from their leaves. This also helps them to absorb sunlight more efficiently.
* Wipe down: For larger plants, wipe down the leaves with a damp cloth.
6. Dusting picture frames and artwork:
* Paintbrush power: Use a soft-bristled paintbrush to gently dust picture frames and artwork. This is especially helpful for removing dust from textured surfaces.
* Vacuum attachment: For larger pieces, you can use the brush attachment on your vacuum cleaner to remove dust.
Preventing Dust Buildup: Staying Ahead of the Game
The best way to deal with dust is to prevent it from accumulating in the first place. Here are a few tips to help you keep your home dust-free for longer.
What you’ll need:
* High-quality air filter
* Doormats
* Regular vacuuming schedule
* Decluttering habits
Step-by-step instructions:
1. Invest in a good air filter: A high-quality air filter can trap dust, pollen, and other allergens, preventing them from circulating throughout your home. Change the filter regularly according to the manufacturer’s instructions.
2. Use doormats: Place doormats at all entrances to your home to trap dirt and debris before they get tracked inside.
3. Vacuum regularly: Vacuum your carpets and rugs at least once a week, and more often in high-traffic areas. Use a vacuum cleaner with a HEPA filter to trap dust and allergens.
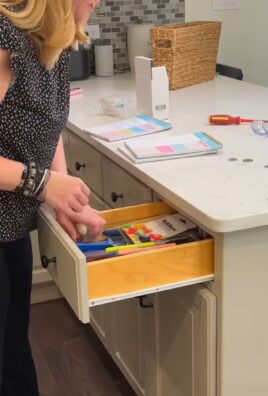
4. Declutter your home: The less stuff you have, the less dust will accumulate. Get rid of items you don’t need or use, and store the rest in closed containers.
5. Wash bedding frequently: Wash your bedding at least once a week to remove dust mites and allergens.
6. Dust regularly: Even with preventative measures, dust will still accumulate. Make dusting a part of your regular cleaning routine to keep it under control.
7. Control humidity: High humidity can promote dust mite growth. Use a dehumidifier to keep the humidity level in your home below 50%.
8. Seal cracks and crevices: Seal any cracks or crevices in your walls, floors, and windows to prevent dust from entering your home.
9. Consider hardwood or tile flooring: Hard surfaces are easier to clean and don’t trap dust and allergens like carpets do.
10. Groom your pets regularly: Brush your pets regularly to remove loose fur and dander, which can contribute to dust buildup.
Extra Tips and Tricks for Dusting Success
Here are a few more tips and tricks that I’ve learned over the years that can make dusting even easier and more effective:
* Use microfiber cloths: Microfiber cloths are much more effective at trapping dust than regular cloths. They also don’t leave behind any lint or residue.
* Dampen your cloth: A slightly damp cloth will pick up dust more effectively than a dry cloth. Just be sure not to use too much water, as this can damage some surfaces.
* Work from top to bottom: Start dusting at the highest point in the room and work your way down. This will prevent dust from falling onto surfaces you’ve already cleaned.
* Don’t forget the details: Pay attention to small details like light fixtures, door frames, and window sills. These areas often get overlooked but can accumulate a lot of dust.
* Make it a habit: The more often you dust, the less dust will accumulate, and the easier the job will be. Try to dust at least once a week to keep your home looking its best.
* Enlist help: If you have family members, get them involved in the dusting process. Many hands make light work!
* Reward yourself: After you’ve finished dusting, treat yourself to something you enjoy. This will make the chore feel less daunting and more rewarding.
So there you have it! My ultimate guide to dusting like a pro. With these DIY
Conclusion
So, there you have it! This simple, yet incredibly effective, DIY dusting hack is a game-changer for anyone looking to streamline their cleaning routine and achieve a truly dust-free home. Forget spending a fortune on expensive dusting sprays and cloths that only seem to push the dust around. This method tackles the problem head-on, leaving your surfaces sparkling and your air cleaner.
Why is this a must-try? Because it’s economical, environmentally friendly, and, most importantly, it works! You’re likely to already have the ingredients in your pantry, saving you a trip to the store and reducing your reliance on harsh chemicals. Plus, the satisfaction of creating your own effective cleaning solution is an added bonus.
But don’t just take our word for it. Experiment with variations to find what works best for your home and your specific needs. For example, if you have particularly stubborn dust buildup, you might consider adding a few drops of lemon essential oil to your solution for its degreasing properties and refreshing scent. Or, if you’re dealing with delicate wood furniture, opt for a microfiber cloth instead of a standard cotton one to prevent scratching. You can also infuse your solution with lavender or eucalyptus essential oils for a calming and aromatic dusting experience.
This DIY dusting hack is more than just a cleaning tip; it’s a step towards a healthier and happier home. Imagine breathing easier, enjoying the beauty of your dust-free furniture, and having more time to spend on the things you love, rather than constantly battling dust bunnies.
We’re confident that once you try this method, you’ll be amazed by the results. It’s a simple, effective, and sustainable way to keep your home clean and healthy. So, ditch the expensive store-bought cleaners and embrace the power of DIY.
We encourage you to give this DIY dusting hack a try and share your experience with us! Let us know in the comments below how it worked for you, what variations you tried, and any tips you discovered along the way. Your feedback will not only help us improve this guide but also inspire others to embrace the joy of DIY cleaning. Let’s create a community of dust-free homes, one DIY hack at a time!
Frequently Asked Questions (FAQ)
What exactly is the “DIY dusting hack” you’re referring to?
The DIY dusting hack involves creating a simple and effective dusting solution using common household ingredients. While the specific recipe can vary, it typically includes water, vinegar (or lemon juice), and a small amount of olive oil. This mixture is then applied to surfaces using a microfiber cloth, effectively trapping dust and leaving a clean, polished finish. The exact proportions will depend on the surface you are cleaning.
Why is this DIY dusting hack better than store-bought dusting sprays?
There are several reasons why this DIY dusting hack is often preferred over store-bought dusting sprays:
* Cost-Effective: The ingredients are typically inexpensive and readily available in your pantry, saving you money in the long run.
* Environmentally Friendly: You’re reducing your reliance on harsh chemicals and plastic packaging, making it a more sustainable option.
* Healthier: You control the ingredients, avoiding potentially harmful chemicals and allergens found in some commercial products.
* Effective: Many users find that this DIY solution cleans just as well, if not better, than store-bought alternatives.
* Customizable: You can easily adjust the recipe to suit your specific needs and preferences, adding essential oils for scent or adjusting the proportions for different surfaces.
Can I use this DIY dusting solution on all surfaces?
While this DIY dusting solution is generally safe for most surfaces, it’s always a good idea to test it on an inconspicuous area first, especially on delicate or antique furniture. Avoid using it on unsealed wood, as the moisture could damage the finish. For surfaces like electronics, use a dry microfiber cloth instead.
What if I don’t have vinegar? Can I use something else?
Yes, you can substitute vinegar with lemon juice. Lemon juice has similar cleaning properties and a pleasant scent. The acidity in both vinegar and lemon juice helps to cut through grime and dirt.
How often should I use this DIY dusting hack?
The frequency of dusting depends on your environment and personal preferences. Generally, dusting once or twice a week is sufficient for most homes. However, if you have pets, allergies, or live in a dusty area, you may need to dust more frequently.
What type of cloth is best for dusting with this solution?
Microfiber cloths are highly recommended for dusting with this DIY solution. They are excellent at trapping dust and dirt without scratching surfaces. Avoid using abrasive cloths or paper towels, as they can damage delicate finishes.
Can I add essential oils to this DIY dusting solution?
Yes, adding a few drops of essential oils can enhance the cleaning experience and leave a pleasant scent. Lavender, lemon, eucalyptus, and tea tree oil are popular choices for their cleaning and aromatherapy benefits. However, be mindful of potential allergies and avoid using essential oils that could damage certain surfaces.
How should I store the leftover DIY dusting solution?
Store any leftover solution in a clean, airtight spray bottle. Label the bottle clearly and keep it in a cool, dark place. The solution should be good for several weeks. If you notice any discoloration or unusual odor, discard it and make a fresh batch.
My DIY dusting solution seems to be leaving a residue on my furniture. What am I doing wrong?
If you’re experiencing residue, it could be due to a few factors:
* Too much olive oil: Reduce the amount of olive oil in your solution. A little goes a long way.
* Not wringing out the cloth properly: Ensure your microfiber cloth is damp, not soaking wet.
* Using the wrong type of cloth: Make sure you’re using a clean microfiber cloth.
* Surface type: Some surfaces may require a lighter touch or a slightly different solution.
Adjust the recipe and technique as needed to achieve the best results.
Can this DIY dusting hack help with allergies?
Yes, by effectively removing dust and allergens from your home, this DIY dusting hack can help reduce allergy symptoms. Regular dusting with this solution can improve air quality and create a healthier living environment. Remember to also vacuum regularly and wash bedding frequently to further minimize allergens.
Leave a Comment