

Easy home cleaning tips are something we all crave, aren’t they? Let’s face it, nobody truly *loves* cleaning, but a sparkling home brings a sense of calm and accomplishment. Imagine this: you walk into your home after a long day, and instead of being greeted by clutter and grime, you’re welcomed by a fresh, inviting space. Sounds dreamy, right? That’s the power of effective cleaning!
The desire for a clean and organized home isn’t new. Throughout history, different cultures have placed varying degrees of emphasis on cleanliness, often linking it to spiritual purity and well-being. From ancient Roman bathhouses to the meticulous cleaning rituals of Japanese households, the pursuit of a tidy living space has been a constant thread in human history. But in our modern, fast-paced world, finding the time and energy for thorough cleaning can feel like an impossible task. That’s where these easy home cleaning tips come in!
I’m here to share some simple yet effective DIY tricks and hacks that will transform your cleaning routine from a dreaded chore into a manageable and even enjoyable activity. These aren’t your grandma’s complicated cleaning methods; these are practical, time-saving solutions designed for busy individuals like you. We’ll explore everything from natural cleaning solutions you can whip up with ingredients you already have in your pantry to clever organizational strategies that will keep your home looking its best with minimal effort. Get ready to unlock the secrets to a cleaner, happier home!
DIY Home Cleaning Hacks: Sparkling Clean the Easy Way!
Okay, let’s be honest, cleaning isn’t exactly anyone’s favorite pastime. But a clean home is a happy home, right? And it doesn’t have to be a huge chore. I’m going to share some of my favorite DIY cleaning hacks that will make your life so much easier and your house sparkle! These are tried and tested, and I promise, they’ll save you time and money.
Cleaning the Kitchen: The Heart of the Home
The kitchen, oh the kitchen! It’s where all the magic happens, but also where a lot of the mess accumulates. Let’s tackle some common kitchen cleaning challenges.
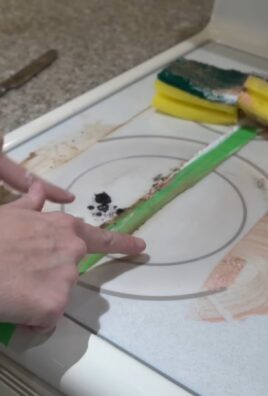
Cleaning a Greasy Stovetop
That greasy stovetop can seem impossible to clean, but trust me, it’s not!
What you’ll need:
* Baking soda
* White vinegar
* Dish soap
* Scrubbing sponge or brush
* Paper towels or a clean cloth
Step-by-step instructions:
1. Sprinkle baking soda: Generously sprinkle baking soda all over the greasy stovetop. Don’t be shy! The baking soda will act as a gentle abrasive.
2. Spray with vinegar: Pour white vinegar into a spray bottle and lightly spray the baking soda-covered stovetop. You’ll see it fizz – that’s the magic happening! The vinegar reacts with the baking soda to loosen the grease.
3. Let it sit: Let the mixture sit for about 15-20 minutes. This gives it time to really break down the grease.
4. Scrub: Using a scrubbing sponge or brush, scrub the stovetop in circular motions. You’ll see the grease lifting away. For really stubborn spots, you might need to apply a little extra elbow grease.
5. Wash with dish soap: Mix a little dish soap with warm water and wash the stovetop to remove any remaining residue.
6. Wipe clean: Wipe the stovetop clean with paper towels or a clean cloth. And voila! A sparkling clean stovetop.
Cleaning a Microwave with Lemon
Microwaves can get pretty gross, pretty quickly. But this lemon trick is a game-changer!
What you’ll need:
* Lemon
* Microwave-safe bowl
* Water
Step-by-step instructions:
1. Prepare the lemon water: Cut a lemon in half and squeeze the juice into a microwave-safe bowl. Add the lemon halves to the bowl and fill it with about a cup of water.
2. Microwave: Place the bowl in the microwave and microwave on high for 3-5 minutes, or until the water is boiling and the microwave is steamy.
3. Let it sit: Leave the bowl in the microwave for another 5-10 minutes without opening the door. The steam will loosen all the grime and splatters.
4. Wipe clean: Carefully remove the bowl (it will be hot!) and wipe down the inside of the microwave with a clean cloth or paper towel. The grime should wipe away easily. The lemon also leaves a fresh, clean scent.
Cleaning a Smelly Dishwasher
A smelly dishwasher is never a good sign. Here’s how to freshen it up.
What you’ll need:
* White vinegar
* Baking soda
Step-by-step instructions:
1. Vinegar rinse: Place a dishwasher-safe cup filled with white vinegar on the top rack of the empty dishwasher.
2. Run a hot cycle: Run the dishwasher on a hot cycle. The vinegar will help to break down grease and grime and neutralize odors.
3. Baking soda boost: After the cycle is complete, sprinkle a cup of baking soda on the bottom of the dishwasher.
4. Let it sit overnight: Let the baking soda sit overnight. It will absorb any remaining odors.
5. Run a short cycle: The next morning, run a short, hot cycle to rinse away the baking soda. Your dishwasher should smell much fresher!
Bathroom Bliss: Cleaning Made Easy
The bathroom can be a breeding ground for germs and grime. Let’s make it sparkle!
Cleaning Showerheads with Vinegar
Hard water can leave mineral deposits on your showerhead, reducing water pressure. Here’s how to fix it.
What you’ll need:
* White vinegar
* Plastic bag
* Rubber band or twist tie
Step-by-step instructions:
1. Fill the bag with vinegar: Fill a plastic bag with white vinegar.
2. Attach the bag to the showerhead: Place the bag over the showerhead, ensuring the showerhead is submerged in the vinegar. Secure the bag with a rubber band or twist tie.
3. Soak overnight: Let the showerhead soak in the vinegar overnight. This will dissolve the mineral deposits.
4. Remove and rinse: Remove the bag and rinse the showerhead thoroughly with water. You can use an old toothbrush to scrub away any remaining residue. Your showerhead should now have better water pressure!
Cleaning Grout with Baking Soda Paste
Grout can get stained and discolored over time. This baking soda paste is a simple and effective solution.
What you’ll need:
* Baking soda
* Water
* Old toothbrush
Step-by-step instructions:
1. Make a paste: Mix baking soda with a little water to form a thick paste.
2. Apply the paste: Apply the paste to the grout lines.
3. Scrub: Use an old toothbrush to scrub the grout lines.
4. Rinse: Rinse the grout lines with water. For stubborn stains, you can let the paste sit for a few minutes before scrubbing.
Cleaning Toilet Bowl with Baking Soda and Vinegar
This is a classic cleaning combo for a reason!
What you’ll need:
* Baking soda
* White vinegar
Step-by-step instructions:
1. Sprinkle baking soda: Sprinkle about a cup of baking soda into the toilet bowl.
2. Pour in vinegar: Pour about two cups of white vinegar into the toilet bowl. It will fizz!
3. Let it sit: Let the mixture sit for about 30 minutes.
4. Scrub: Scrub the toilet bowl with a toilet brush.
5. Flush: Flush the toilet. Your toilet bowl should be cleaner and fresher.
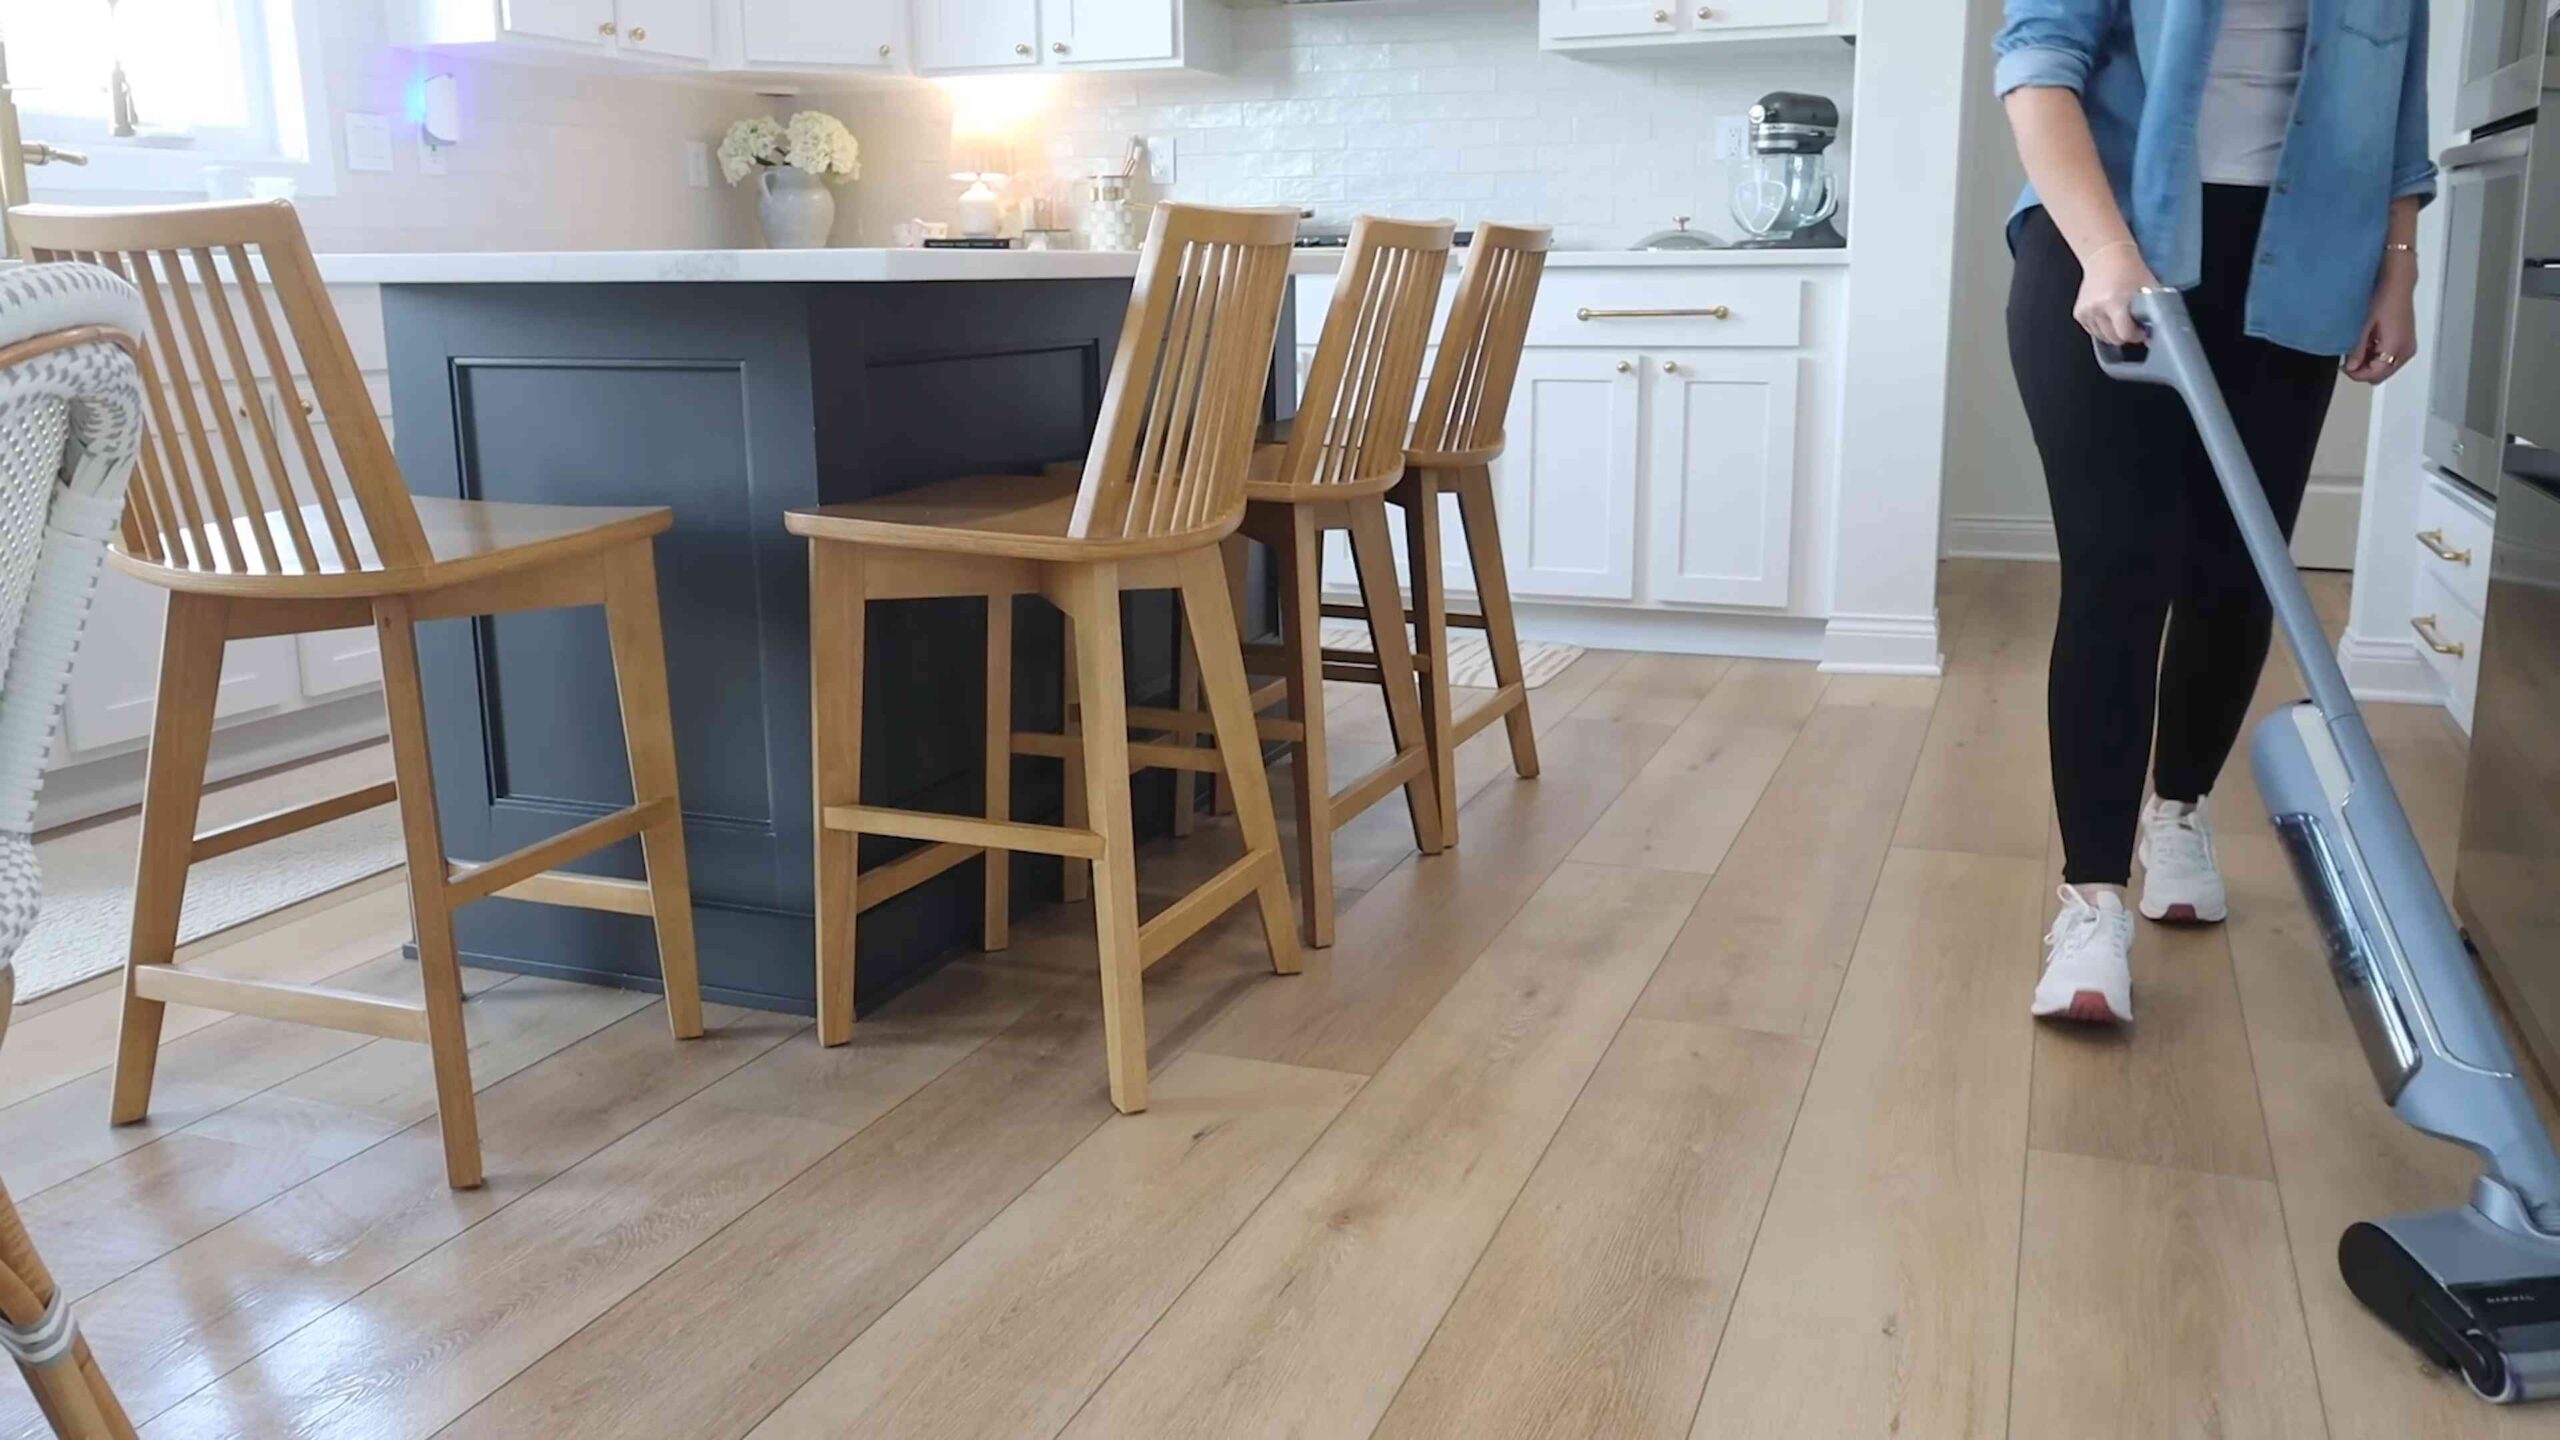
Living Room Love: Dusting and Freshening Up
The living room is where we relax and unwind, so let’s keep it clean and inviting.
Dusting Like a Pro
Dusting can feel like a never-ending battle, but here are some tips to make it more effective.
What you’ll need:
* Microfiber cloths
* Feather duster (optional)
* Furniture polish (optional)
Step-by-step instructions:
1. Start high: Always start dusting from the highest points in the room, such as ceiling fans and shelves, and work your way down. This prevents dust from falling onto already cleaned surfaces.
2. Use microfiber cloths: Microfiber cloths are excellent for trapping dust. Dampen the cloth slightly for better results.
3. Dust electronics carefully: Use a dry microfiber cloth to dust electronics. Avoid spraying cleaning solutions directly onto electronics.
4. Vacuum regularly: Vacuum carpets and rugs regularly to remove dust and allergens.
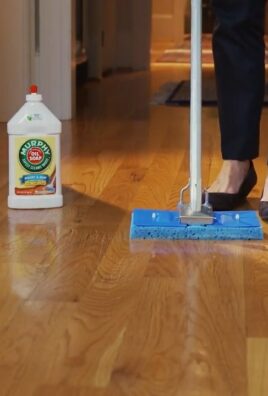
5. Consider furniture polish: For wooden furniture, use a furniture polish to protect the wood and add shine.
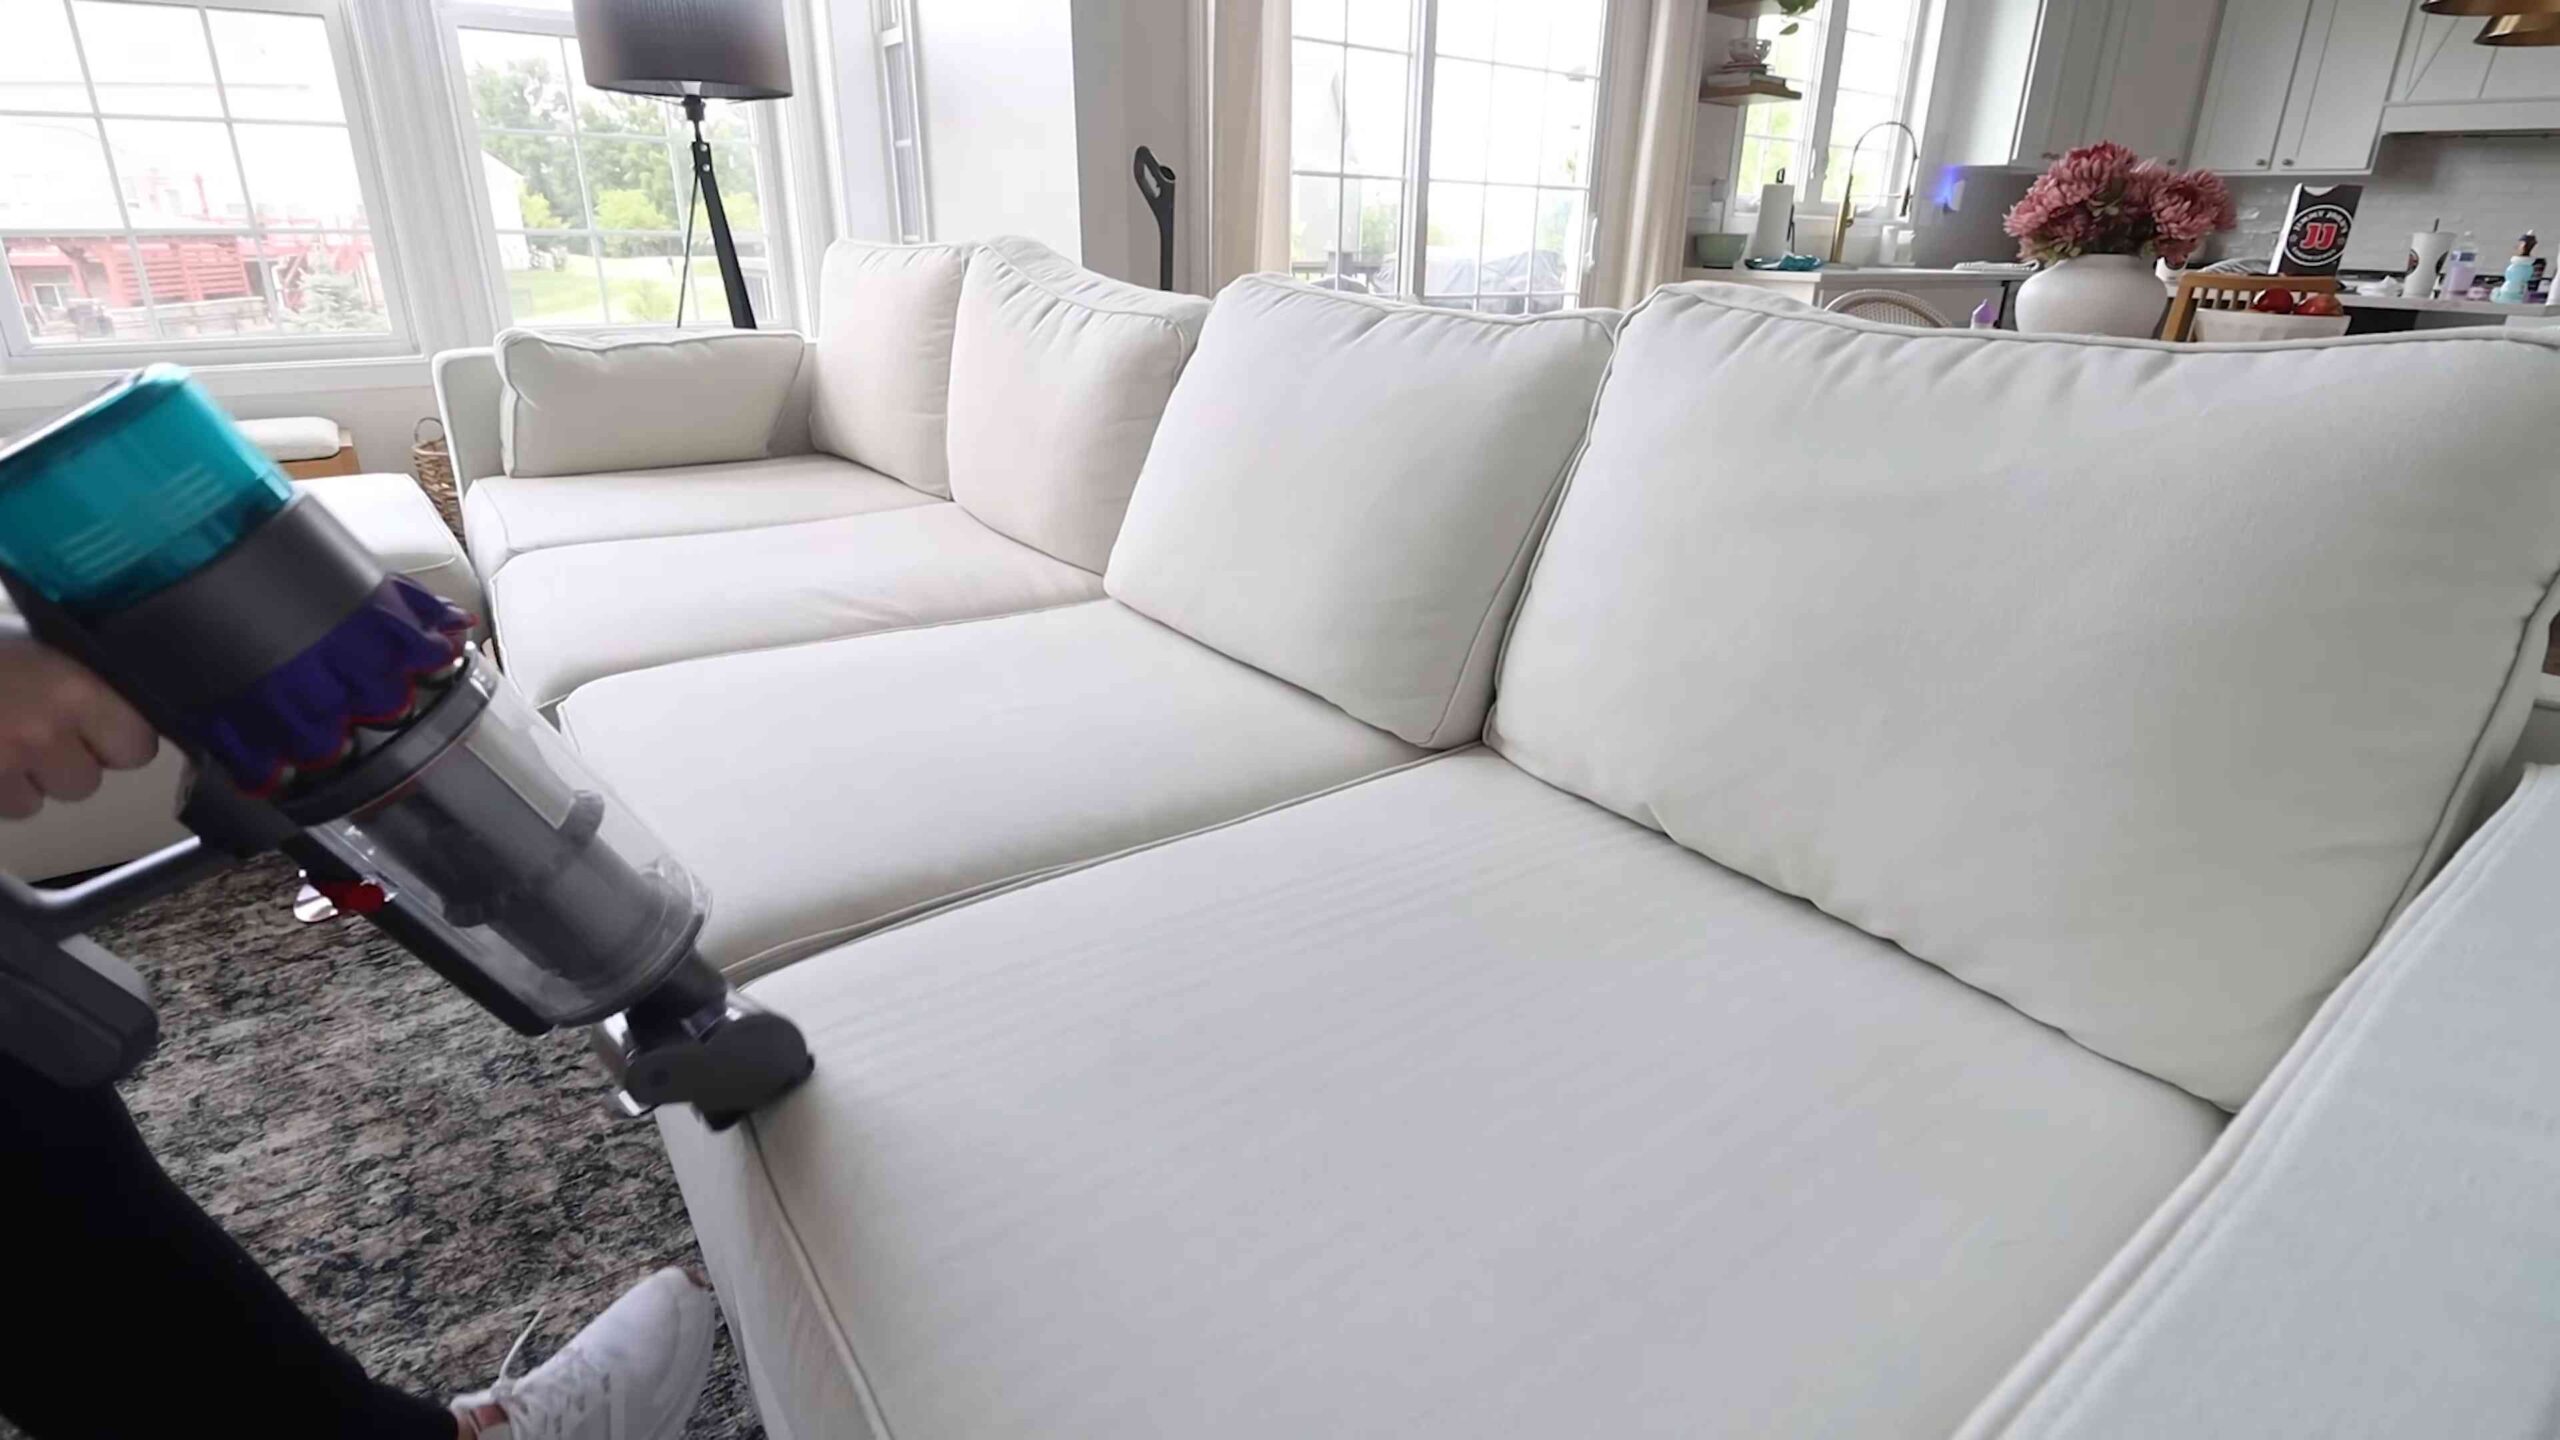
Freshening Up Upholstery
Upholstery can trap odors and dust. Here’s how to freshen it up.
What you’ll need:
* Baking soda
* Vacuum cleaner
Step-by-step instructions:
1. Sprinkle baking soda: Generously sprinkle baking soda over the upholstery.
2. Let it sit: Let the baking soda sit for at least 30 minutes, or even overnight for heavily soiled upholstery.
3. Vacuum: Vacuum the upholstery thoroughly to remove the baking soda. The baking soda will absorb odors and leave your upholstery smelling fresh.
Cleaning Windows for a Sparkling View
Clean windows can make a huge difference in the brightness of your home.
What you’ll need:
* White vinegar
* Water
* Spray bottle
* Microfiber cloths or squeegee
Step-by-step instructions:
1. Mix the cleaning solution: Mix equal parts white vinegar and water in a spray bottle.
2. Spray the windows: Spray the windows with the cleaning solution.
3. Wipe clean: Wipe the windows clean with a microfiber cloth or squee
Conclusion
So, there you have it! These easy home cleaning tips aren’t just about tidying up; they’re about reclaiming your time, saving money, and creating a healthier, happier living space. We’ve explored simple yet effective methods that utilize everyday items you likely already have in your pantry. From the lemon-infused microwave cleaner to the baking soda-powered drain declogger, each tip is designed to be accessible and deliver noticeable results.
Why is this DIY approach a must-try? Because it empowers you to take control of your cleaning routine. You’re no longer reliant on harsh chemicals or expensive store-bought products. You’re crafting your own solutions, tailored to your specific needs and preferences. Plus, you’re contributing to a more sustainable lifestyle by reducing your consumption of packaged goods and minimizing your exposure to potentially harmful ingredients.
But the beauty of these easy home cleaning tips lies in their adaptability. Feel free to experiment and find what works best for you. For instance, if you’re not a fan of the vinegar smell, try adding a few drops of your favorite essential oil to your cleaning solutions. Lavender, lemon, and tea tree oil are all excellent choices, not only for their pleasant scents but also for their antibacterial properties.
Consider these variations:
* **Citrus Power Boost:** Instead of just lemon, use a combination of orange, grapefruit, and lime peels to infuse your cleaning solutions with a vibrant, uplifting fragrance.
* **Herbal Infusion:** Add fresh herbs like rosemary, thyme, or mint to your vinegar-based cleaners for an extra layer of natural cleaning power and a refreshing aroma.
* **DIY Cleaning Paste:** Combine baking soda with a small amount of water to create a paste that’s perfect for scrubbing stubborn stains on sinks, stovetops, and bathroom tiles. For extra cleaning power, add a few drops of dish soap.
* **Essential Oil Blends:** Create custom essential oil blends to target specific cleaning needs. For example, a blend of eucalyptus, tea tree, and peppermint oil can be used to disinfect and deodorize bathrooms.
We’re confident that once you try these easy home cleaning tips, you’ll be amazed by the results. You’ll not only have a cleaner home but also a greater sense of accomplishment and control over your living environment.
So, what are you waiting for? Give these DIY tricks a try and see the difference they can make. We encourage you to share your experiences with us! Let us know which tips worked best for you, any variations you tried, and any other cleaning secrets you’ve discovered along the way. Your feedback will help us continue to refine and improve these methods, making them even more effective and accessible for everyone. Share your before and after photos on social media using #EasyHomeCleaningDIY and inspire others to embrace the power of homemade cleaning solutions. Let’s create a community of clean, green, and happy homes!
FAQ
What if I don’t have all the ingredients listed?
That’s perfectly fine! The beauty of these easy home cleaning tips is their flexibility. Many of the ingredients can be substituted or omitted depending on what you have on hand. For example, if you don’t have white vinegar, you can use apple cider vinegar as a substitute. If you don’t have lemons, you can use other citrus fruits like oranges or limes. The key is to experiment and see what works best for you. However, for disinfecting purposes, vinegar should have at least 5% acidity.
Are these cleaning solutions safe for all surfaces?
While most of these solutions are gentle and safe for a wide range of surfaces, it’s always a good idea to test them in an inconspicuous area first, especially on delicate materials like wood, marble, or granite. Avoid using abrasive cleaners or scrub brushes on these surfaces, as they can cause scratches. For wood surfaces, use a diluted solution and wipe dry immediately. For marble and granite, use a pH-neutral cleaner to prevent etching.
How long will these DIY cleaning solutions last?
Most of these DIY cleaning solutions will last for several weeks when stored properly in airtight containers. However, it’s best to use them within a month for optimal effectiveness. Be sure to label your containers with the date you made the solution so you can keep track of their freshness. Solutions containing fresh ingredients like citrus peels or herbs may have a shorter shelf life. If you notice any changes in color, odor, or consistency, it’s best to discard the solution and make a fresh batch.
Can I use these cleaning solutions if I have allergies or sensitivities?
If you have allergies or sensitivities, it’s important to be cautious when using any cleaning product, whether it’s store-bought or homemade. Always read the ingredient list carefully and avoid using any ingredients that you know you’re allergic to. When making your own cleaning solutions, consider using hypoallergenic ingredients and avoiding strong fragrances. It’s also a good idea to wear gloves and a mask when cleaning to minimize your exposure to potential allergens or irritants. If you experience any adverse reactions, discontinue use immediately and consult with a healthcare professional.
How do I get rid of stubborn stains with these DIY methods?
For stubborn stains, you may need to use a more concentrated solution or apply the cleaning solution for a longer period of time. For example, for tough stains on carpets or upholstery, try making a paste of baking soda and water and applying it to the stain. Let it sit for several hours or even overnight before vacuuming or blotting it up. For grease stains, try using a mixture of dish soap and hot water. For mildew stains, try using a solution of vinegar and water. Remember to always test the solution in an inconspicuous area first to ensure it doesn’t damage the surface.
What are the benefits of using DIY cleaning solutions over store-bought products?
There are many benefits to using DIY cleaning solutions over store-bought products. First, they’re often much cheaper, as you’re using ingredients you likely already have on hand. Second, they’re more environmentally friendly, as you’re reducing your consumption of packaged goods and minimizing your exposure to harsh chemicals. Third, they’re often safer for your health, as you’re avoiding potentially harmful ingredients like bleach, ammonia, and phthalates. Finally, they’re customizable, allowing you to tailor them to your specific needs and preferences.
Can I use these easy home cleaning tips to clean my entire house?
Absolutely! These easy home cleaning tips can be used to clean virtually every area of your house, from the kitchen and bathroom to the living room and bedrooms. You can use them to clean countertops, floors, appliances, windows, mirrors, toilets, showers, and more. With a little creativity and experimentation, you can create a complete DIY cleaning routine that’s effective, affordable, and environmentally friendly.

Leave a Comment