

Grow bigger hibiscus flowers and transform your garden into a vibrant, tropical paradise! Have you ever gazed longingly at those postcard-perfect hibiscus blooms, dreaming of replicating their size and splendor in your own backyard? I know I have! For centuries, the hibiscus has been revered across cultures, from its symbolic representation of delicate beauty in Hawaii to its use in traditional medicine in various parts of Asia. But achieving those show-stopping blooms can sometimes feel like a horticultural mystery.
That’s where these DIY tricks and hacks come in. Let’s face it, a lackluster hibiscus is a sad sight. Maybe your blooms are small, faded, or simply not as abundant as you’d hoped. The good news is, you don’t need a green thumb of steel or a degree in botany to unlock the secrets to bigger, bolder hibiscus flowers. I’m going to share some simple, yet effective, DIY methods that will help you grow bigger hibiscus flowers than you ever thought possible. Get ready to impress your neighbors and enjoy a garden bursting with color!
DIY: Unleash Giant Hibiscus Blooms!
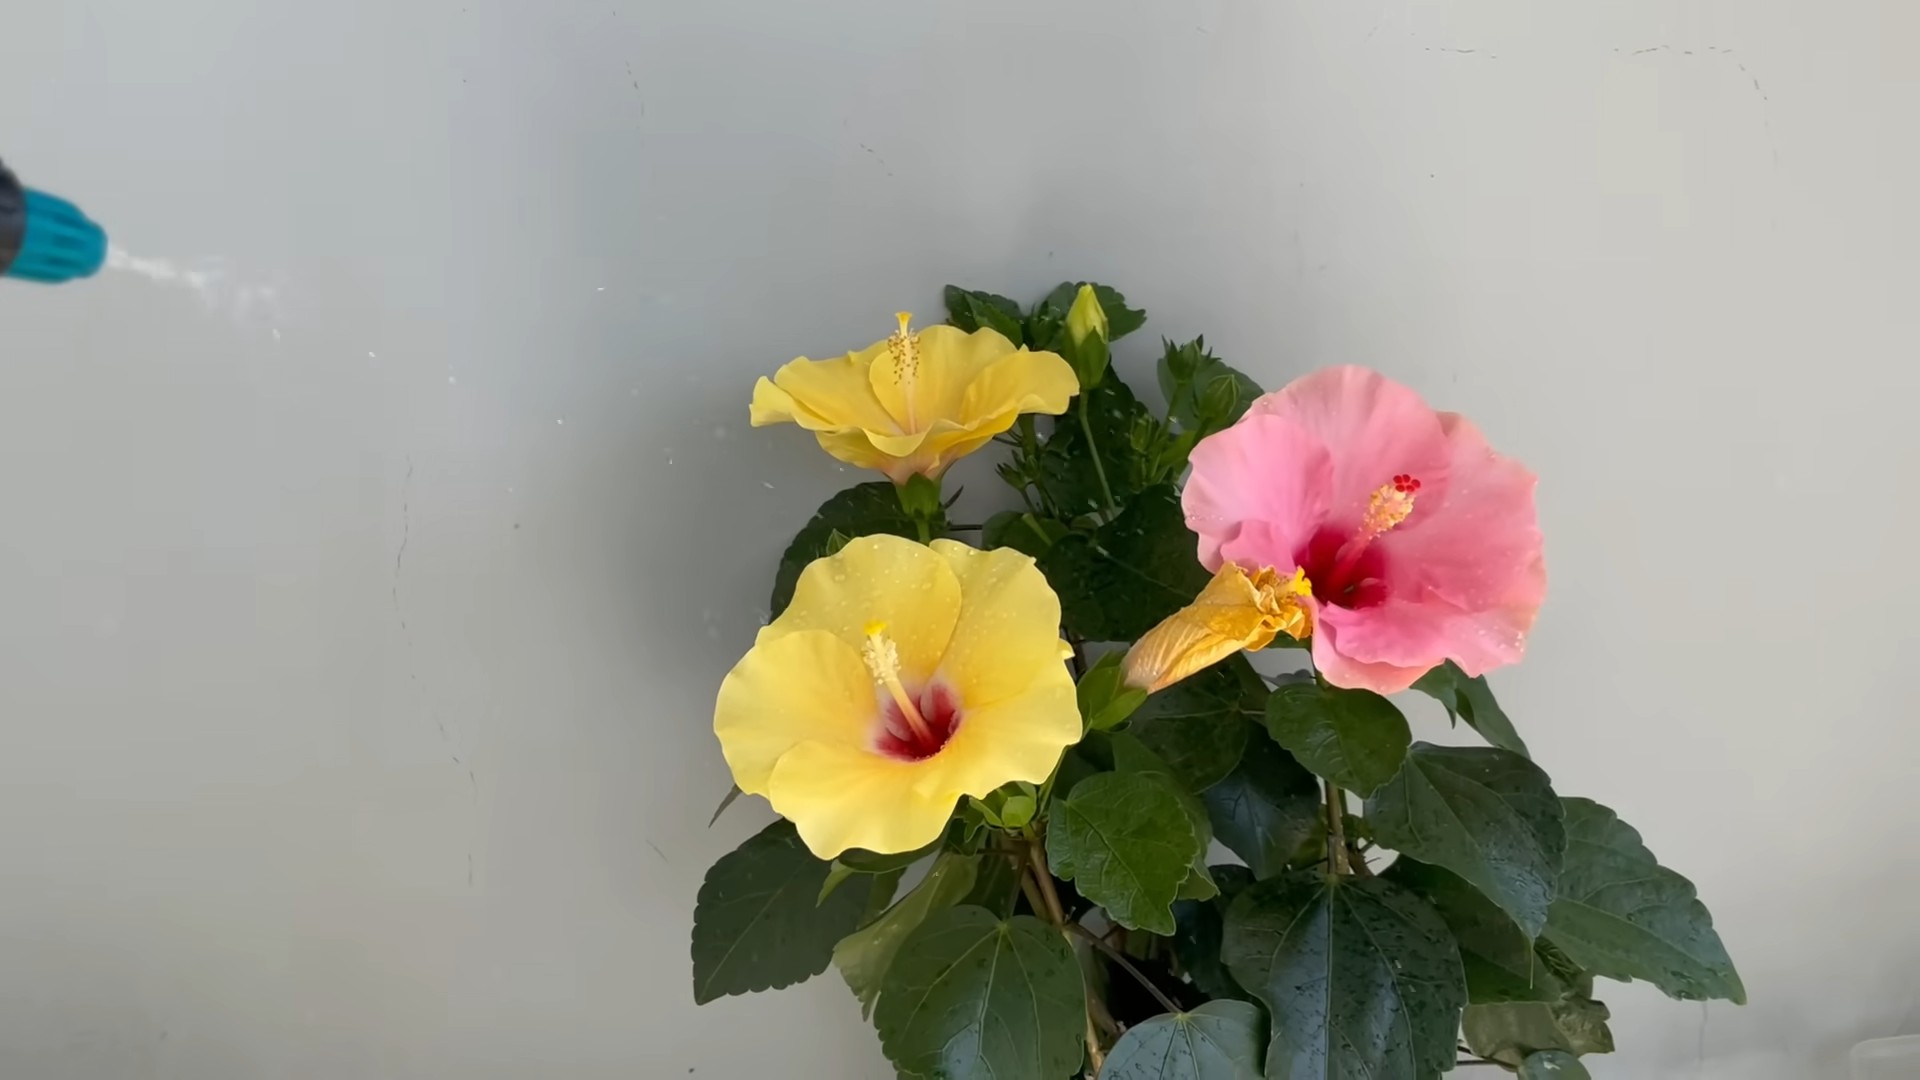
Hey fellow flower fanatics! Are you tired of those puny hibiscus blooms that barely last a day? I was too! That’s why I embarked on a mission to grow hibiscus flowers so big, they’d make the neighbors jealous. And guess what? I cracked the code! This guide shares my secrets to achieving hibiscus flower glory. Get ready for some serious floral bragging rights!
Understanding Hibiscus Needs: The Foundation for Giant Blooms
Before we dive into the nitty-gritty, let’s talk hibiscus basics. These tropical beauties are like divas – they have specific needs. Understanding these needs is crucial for unlocking their full blooming potential.
* Sunlight: Hibiscus are sun worshippers! They need at least 6 hours of direct sunlight per day. More is even better! Think of it as their daily dose of vitamin D.
* Watering: Consistent moisture is key, but avoid soggy soil. Hibiscus hate wet feet! Water deeply when the top inch of soil feels dry.
* Fertilizing: Hibiscus are heavy feeders. They need regular fertilization to fuel those massive blooms.
* Pruning: Don’t be afraid to prune! Pruning encourages branching, which leads to more flowers.
* Soil: Well-draining soil is essential. Hibiscus don’t like to sit in waterlogged conditions.
The Secret Weapon: My DIY Hibiscus Bloom Booster
Okay, now for the fun part! This is my secret recipe for a homemade bloom booster that will supercharge your hibiscus. It’s all-natural, inexpensive, and incredibly effective.
Ingredients:
* 1 gallon of water (non-chlorinated is best)
* 1 tablespoon Epsom salts (magnesium sulfate)
* 1 tablespoon bone meal (phosphorus)
* 1 teaspoon liquid seaweed extract (potassium and micronutrients)
* 1/2 teaspoon unsulfured molasses (for added energy and microbial activity)
Why these ingredients?
* Epsom Salts (Magnesium Sulfate): Magnesium is essential for chlorophyll production, which is vital for photosynthesis and overall plant health. It also helps the plant absorb other nutrients more efficiently.
* Bone Meal (Phosphorus): Phosphorus is crucial for root development and flower production. It’s the “bloom booster” element.
* Liquid Seaweed Extract (Potassium and Micronutrients): Potassium is essential for overall plant health, disease resistance, and flower development. Seaweed extract also contains a wealth of micronutrients that hibiscus love.
* Unsulfured Molasses: Molasses provides a readily available source of energy for the plant and feeds beneficial microbes in the soil, improving nutrient uptake.
Step-by-Step Guide: Creating and Applying the Bloom Booster
Now, let’s get our hands dirty! Here’s how to make and use my DIY hibiscus bloom booster:
1. Gather your ingredients and a large container. I use a clean gallon jug.
2. Fill the container with water. Make sure it’s non-chlorinated if possible. Let tap water sit out for 24 hours to allow chlorine to dissipate.
3. Add the Epsom salts. Stir until completely dissolved. This is important! You don’t want undissolved salts sitting in the bottom of the container.
4. Add the bone meal. Bone meal can be a bit clumpy, so stir vigorously to break it up and ensure it’s well dispersed.
5. Add the liquid seaweed extract. This stuff smells a bit fishy, but trust me, your hibiscus will love it!
6. Add the unsulfured molasses. This will give the mixture a slightly darker color and a sweet smell.
7. Mix everything thoroughly. Make sure all the ingredients are well combined.
8. Apply the bloom booster to your hibiscus. Water your hibiscus as usual, then follow up with the bloom booster. Pour the solution slowly and evenly around the base of the plant, avoiding the foliage.
9. Frequency: I apply this bloom booster every 2-3 weeks during the growing season (spring and summer). Reduce the frequency to once a month during the fall and winter.
Optimizing Sunlight and Watering: The Dynamic Duo
Even with the best bloom booster, your hibiscus won’t thrive without proper sunlight and watering. Here’s how I ensure my hibiscus get the right amount of both:
1. Sunlight:
* Location, Location, Location: Choose a location that receives at least 6 hours of direct sunlight per day. A south-facing location is ideal.
* Moving Potted Hibiscus: If you have potted hibiscus, you can move them to follow the sun throughout the day.
* Supplementing Sunlight: If you live in a cloudy area, consider using grow lights to supplement natural sunlight.
2. Watering:
* The Finger Test: Stick your finger into the top inch of soil. If it feels dry, it’s time to water.
* Deep Watering: When you water, water deeply until water drains out of the bottom of the pot. This encourages deep root growth.
* Avoid Overwatering: Overwatering is a common mistake. Soggy soil can lead to root rot.
* Watering Time: Water in the morning to allow the foliage to dry before nightfall, which can help prevent fungal diseases.
Pruning for Prolific Blooms: Shape Up Your Hibiscus!
Pruning might seem scary, but it’s essential for encouraging more blooms. Here’s my pruning strategy:
1. Timing: The best time to prune hibiscus is in late winter or early spring, before new growth begins.
2. Tools: Use clean, sharp pruning shears to make clean cuts.
3. Deadheading: Regularly remove spent flowers (deadheading) to encourage the plant to produce more blooms.
4. Selective Pruning:
* Remove dead, damaged, or diseased branches.
* Prune back leggy growth to encourage branching.
* Shape the plant to your desired form.
5. Don’t Be Afraid: Don’t be afraid to prune your hibiscus! It will bounce back stronger and more beautiful than ever.
Soil Matters: Creating the Perfect Hibiscus Home
The right soil is crucial for healthy hibiscus growth. Here’s what I look for in a good hibiscus soil mix:
1. Well-Draining: Hibiscus need soil that drains well to prevent root rot.
2. Slightly Acidic: Hibiscus prefer slightly acidic soil (pH 6.0-6.5).
3. Rich in Organic Matter: Organic matter improves drainage, aeration, and nutrient retention.
4. My DIY Soil Mix:
* 1 part potting soil
* 1 part perlite (for drainage)
* 1 part peat moss (for acidity and moisture retention)
* A handful of compost (for organic matter)
Pest and Disease Control: Protecting Your Precious Blooms
Even with the best care, hibiscus can be susceptible to pests and diseases. Here’s how I protect my plants:
1. Common Pests:
* Aphids: Small, sap-sucking insects that can cause distorted growth.
* Spider Mites: Tiny mites that create webbing on the leaves.
* Whiteflies: Small, white, flying insects that suck sap from the leaves.
2. Natural Pest Control:
* Neem Oil: A natural insecticide that is effective against a wide range of pests.
* Insecticidal Soap: A soap-based spray that kills insects on contact.
* Beneficial Insects: Introduce beneficial insects like ladybugs and lacewings to your garden to prey on pests.
3. Common Diseases:
* Root Rot: Caused by overwatering and poor drainage.
* Fungal Leaf Spots: Caused by fungal pathogens.
4. Disease Prevention:
* Proper Watering: Avoid overwatering to prevent root rot.
* Good Air Circulation: Ensure good air circulation around your plants to prevent fungal diseases.
* Fungicide: Use a fungicide if necessary to control fungal diseases.
Extra Tips for Hibiscus Success: The Finishing Touches
Here are a few extra tips that have helped me achieve hibiscus flower perfection:
* Mulching: Apply a layer of mulch around the base of your hibiscus to help retain moisture, suppress weeds, and regulate soil temperature.
* Humidity: Hibiscus love humidity. If you live in a dry climate, consider misting your plants regularly or using a humidifier.
* Repotting: Repot your hibiscus every 1-2 years into a slightly
Conclusion
So, there you have it! Unlocking the secret to truly magnificent hibiscus blooms isn’t about expensive fertilizers or complicated gardening techniques. It’s about understanding your plant’s needs and providing them with a simple, yet powerful boost using this easy DIY trick. We’ve shown you how to create a nutrient-rich solution from readily available ingredients, a solution that will encourage your hibiscus to produce larger, more vibrant flowers than you ever thought possible.
Why is this DIY approach a must-try? Because it’s cost-effective, environmentally friendly, and incredibly rewarding. You’re not just feeding your plant; you’re actively participating in its growth and witnessing the tangible results of your efforts. Store-bought fertilizers can be harsh and often contain chemicals that can harm the environment. This homemade solution allows you to control exactly what your hibiscus is receiving, ensuring a gentle and balanced approach to plant care. Plus, there’s a certain satisfaction that comes from knowing you’ve nurtured your plant with your own two hands.
But the beauty of this DIY trick lies in its adaptability. Feel free to experiment with variations to suit your specific hibiscus variety and growing conditions. For instance, if you live in an area with alkaline soil, consider adding a small amount of vinegar to your solution to help lower the pH. If your hibiscus is already producing buds, you might want to increase the amount of potassium in your mixture to encourage even larger and more colorful blooms. You can also add a tablespoon of Epsom salts to the mixture every other feeding to provide magnesium, which is essential for chlorophyll production and overall plant health. Remember to always observe your plant closely and adjust your approach as needed.
Don’t be afraid to get creative! Some gardeners swear by adding a banana peel to their compost tea for an extra boost of potassium. Others incorporate coffee grounds for a nitrogen-rich amendment. The possibilities are endless, and the best way to discover what works best for your hibiscus is to experiment and observe.
We are confident that this DIY trick will help you grow bigger hibiscus flowers and enjoy a garden filled with stunning blooms. But don’t just take our word for it – try it yourself! We encourage you to give this method a try and see the amazing results firsthand. Once you’ve witnessed the transformation, we’d love to hear about your experience. Share your photos, tips, and variations in the comments below. Let’s create a community of hibiscus enthusiasts who are passionate about nurturing these beautiful plants and sharing their knowledge with others. Your insights could inspire someone else to unlock the full potential of their hibiscus and experience the joy of gardening. So, grab your ingredients, get your hands dirty, and prepare to be amazed by the beauty you can create with this simple, yet effective DIY trick. Happy gardening!
Frequently Asked Questions (FAQ)
What exactly does this DIY trick do for my hibiscus?
This DIY trick provides your hibiscus with a balanced blend of essential nutrients that promote healthy growth and abundant flowering. Specifically, it focuses on providing nitrogen for leafy growth, phosphorus for root development and flower formation, and potassium for overall plant health and vibrant blooms. The ingredients used are rich in these nutrients and are easily absorbed by the plant, leading to noticeable improvements in flower size and color. It also improves the soil structure, allowing for better drainage and aeration, which are crucial for hibiscus health.
How often should I apply this DIY solution to my hibiscus?
The frequency of application depends on several factors, including the age of your plant, its growing conditions, and the time of year. As a general guideline, you can apply the solution every two to four weeks during the active growing season (spring and summer). During the dormant season (fall and winter), reduce the frequency to once every six to eight weeks, or even less if your plant is not actively growing. Always observe your plant closely and adjust the frequency based on its needs. If you notice signs of over-fertilization, such as leaf burn or excessive salt buildup in the soil, reduce the frequency or dilute the solution further.
Can I use this DIY trick on other flowering plants besides hibiscus?
While this DIY trick is specifically formulated to meet the needs of hibiscus plants, it can also be beneficial for other flowering plants that prefer slightly acidic soil and require similar nutrients. Plants like azaleas, camellias, and gardenias may also benefit from this solution. However, it’s important to research the specific nutrient requirements of each plant before applying the solution. Some plants may require different ratios of nutrients or may be sensitive to certain ingredients. Always start with a diluted solution and observe your plants closely for any signs of adverse reactions.
What are the signs of over-fertilizing my hibiscus?
Over-fertilizing can be detrimental to your hibiscus and can manifest in several ways. Common signs include:
* Leaf burn: The tips and edges of the leaves may turn brown and crispy.
* Salt buildup: A white crust may form on the soil surface or around the drainage holes.
* Stunted growth: The plant may stop growing or may exhibit abnormally small leaves.
* Yellowing leaves: While yellowing leaves can also indicate nutrient deficiencies, it can also be a sign of over-fertilization, especially if accompanied by other symptoms.
* Root damage: Excessive fertilizer can damage the roots, leading to poor water absorption and overall plant decline.
If you notice any of these signs, immediately stop fertilizing and flush the soil with plenty of water to remove excess salts.
What if I don’t have all the ingredients listed in the recipe? Can I substitute anything?
While using all the recommended ingredients will yield the best results, you can make some substitutions if necessary. For example, if you don’t have access to a specific type of compost, you can use another type of compost or well-rotted manure. If you don’t have bone meal, you can use rock phosphate as a source of phosphorus. However, it’s important to understand the nutrient content of each ingredient and adjust the amounts accordingly. When in doubt, it’s always better to use a smaller amount of a substitute ingredient than to risk over-fertilizing your plant.
My hibiscus isn’t flowering, even after using this DIY trick. What could be the problem?
If your hibiscus isn’t flowering despite your best efforts, there could be several underlying issues. Here are some common reasons:
* Insufficient sunlight: Hibiscus plants need at least 6 hours of direct sunlight per day to flower properly.
* Improper watering: Overwatering or underwatering can both inhibit flowering. Ensure that the soil is well-draining and that you’re watering deeply but infrequently.
* Incorrect pruning: Pruning at the wrong time of year can remove flower buds. Prune your hibiscus after it has finished flowering.
* Pest infestations: Pests like aphids, spider mites, and whiteflies can weaken the plant and prevent it from flowering.
* Nutrient deficiencies: While this DIY trick addresses some nutrient deficiencies, your plant may be lacking other essential nutrients. Consider conducting a soil test to determine if any other nutrients are deficient.
* Temperature stress: Extreme temperatures can also inhibit flowering. Protect your hibiscus from frost and excessive heat.
How do I know if my hibiscus needs more of a specific nutrient, like potassium?
Observing your hibiscus closely can give you clues about its specific nutrient needs. For example, if your hibiscus has weak stems, small flowers, or yellowing leaves with green veins, it may be deficient in potassium. If the lower leaves are turning yellow and falling off, it may be deficient in nitrogen. If the plant is not producing many flowers or the roots are poorly developed, it may be deficient in phosphorus. While these are just general guidelines, they can help you identify potential nutrient deficiencies and adjust your DIY solution accordingly. A soil test is always the best way to determine the exact nutrient levels in your soil.

Leave a Comment