

Grow Carrots Indoors Container gardening is easier than you think! Have you ever dreamt of plucking fresh, vibrant carrots right from your windowsill, even when the snow is falling outside? I know I have! For centuries, humans have cultivated gardens, finding solace and sustenance in nurturing the earth. While traditionally, carrots were a field crop, modern innovation allows us to enjoy these root vegetables regardless of our outdoor space.
But why should you bother learning how to grow carrots indoors container? Well, imagine having a constant supply of organic, pesticide-free carrots for your salads, soups, and snacks. No more trips to the grocery store for limp, tasteless carrots! Plus, indoor gardening is incredibly therapeutic. It’s a fantastic way to de-stress, connect with nature, and add a touch of green to your living space. This DIY guide will walk you through every step, from choosing the right container and soil to harvesting your delicious, homegrown carrots. Get ready to unleash your inner gardener and enjoy the satisfaction of growing your own food, right in the comfort of your home!
Growing Carrots Indoors: A Beginner’s Guide to Container Gardening
Okay, so you want to grow carrots indoors? Awesome! It’s totally doable, and honestly, there’s something super satisfying about pulling a fresh, homegrown carrot out of a pot in the middle of winter. I’ve done it, and trust me, you can too. This guide will walk you through everything you need to know, from choosing the right container to harvesting your delicious, crunchy carrots.
Choosing the Right Container and Soil
Before we even think about seeds, let’s talk about the home your carrots will be living in. This is crucial for success!
* Container Size: This is probably the most important factor. Carrots need depth to grow properly. We’re not talking about baby carrots here (unless that’s your goal!). You’ll need a container that’s at least 12 inches deep, but 18-24 inches is even better. The wider the container, the more carrots you can grow. I usually opt for a rectangular planter box that’s about 24 inches long, 12 inches wide, and 18 inches deep. This gives me enough space for a decent harvest.
* Drainage: Excellent drainage is non-negotiable. Carrots hate sitting in soggy soil. Make sure your container has plenty of drainage holes. If it doesn’t, you can drill some yourself. I usually add a layer of gravel or small rocks at the bottom of the container to further improve drainage.
* Material: The material of the container isn’t super critical, but some are better than others. Plastic containers are lightweight and inexpensive, but they can dry out quickly. Terracotta pots are more breathable, but they can also dry out faster and are heavier. I personally prefer using fabric pots. They allow for excellent drainage and aeration, and they’re relatively inexpensive.
* Soil: Forget using garden soil! It’s too heavy and compacts easily, which will result in stunted, misshapen carrots. You need a light, loose, and well-draining potting mix. Look for a mix that’s specifically formulated for vegetables or one that contains a good amount of perlite or vermiculite. I like to amend my potting mix with some compost for added nutrients.
Planting Your Carrot Seeds
Alright, now for the fun part – planting!
1. Prepare the Soil: Fill your container with your chosen potting mix, leaving about an inch or two of space at the top. Gently pat down the soil to remove any large air pockets.
2. Sow the Seeds: Carrot seeds are tiny, so be careful not to plant them too densely. I like to sprinkle the seeds evenly across the surface of the soil, spacing them about 1-2 inches apart. You can also create shallow furrows (about ¼ inch deep) and sow the seeds in the furrows.
3. Cover the Seeds: Lightly cover the seeds with a thin layer of potting mix. You can also use vermiculite, which helps retain moisture and prevents the soil from crusting over.
4. Water Gently: Water the soil gently using a watering can with a rose head or a spray bottle. You want to moisten the soil without disturbing the seeds.
5. Maintain Moisture: Keep the soil consistently moist until the seeds germinate. You can cover the container with plastic wrap or a humidity dome to help retain moisture. Just be sure to remove the cover once the seedlings emerge to prevent fungal diseases.
6. Provide Light: Place the container in a bright, sunny location. Carrots need at least 6-8 hours of sunlight per day. If you don’t have enough natural light, you can supplement with grow lights. I use a simple LED grow light that I got online, and it works wonders.
Caring for Your Carrot Plants
Once your seedlings have emerged, it’s time to start caring for them. This involves thinning, watering, fertilizing, and providing adequate light.
* Thinning: This is crucial for giving your carrots enough space to grow. Once the seedlings are about 2 inches tall, thin them out so that they are about 1-2 inches apart. You can use small scissors to snip off the unwanted seedlings at the soil line. Don’t try to pull them out, as this can disturb the roots of the remaining plants.
* Watering: Water your carrots regularly, keeping the soil consistently moist but not soggy. The frequency of watering will depend on the temperature, humidity, and type of container you’re using. Check the soil moisture regularly by sticking your finger into the soil. If the top inch feels dry, it’s time to water.
* Fertilizing: Carrots are heavy feeders, so they need regular fertilization. Use a balanced liquid fertilizer, such as a 10-10-10 or 5-5-5, diluted to half strength. Fertilize every 2-3 weeks. I also like to add some compost tea to the soil every now and then for an extra boost of nutrients.
* Light: As mentioned earlier, carrots need plenty of light. If you’re growing them indoors, you’ll likely need to supplement with grow lights. Position the lights about 6-12 inches above the plants.
* Weeding: Keep the container free of weeds. Weeds compete with your carrots for nutrients and water. Gently pull out any weeds that you see.
* Rotation: Rotate the container regularly to ensure that all sides of the plants receive equal amounts of light. This will help prevent them from leaning towards the light source.
Dealing with Pests and Diseases
Fortunately, carrots grown indoors are less susceptible to pests and diseases than those grown outdoors. However, it’s still important to be vigilant and take action if you notice any problems.
* Pests: Common pests that can affect carrots include aphids, spider mites, and carrot rust flies. Aphids and spider mites can be controlled with insecticidal soap or neem oil. Carrot rust flies are more difficult to control, but you can try using sticky traps to catch the adults.
* Diseases: Common diseases that can affect carrots include leaf blight and root rot. Leaf blight can be prevented by providing good air circulation and avoiding overhead watering. Root rot is caused by overwatering, so make sure your soil is well-draining. If you notice any signs of disease, remove the affected plants immediately to prevent the spread of the disease.
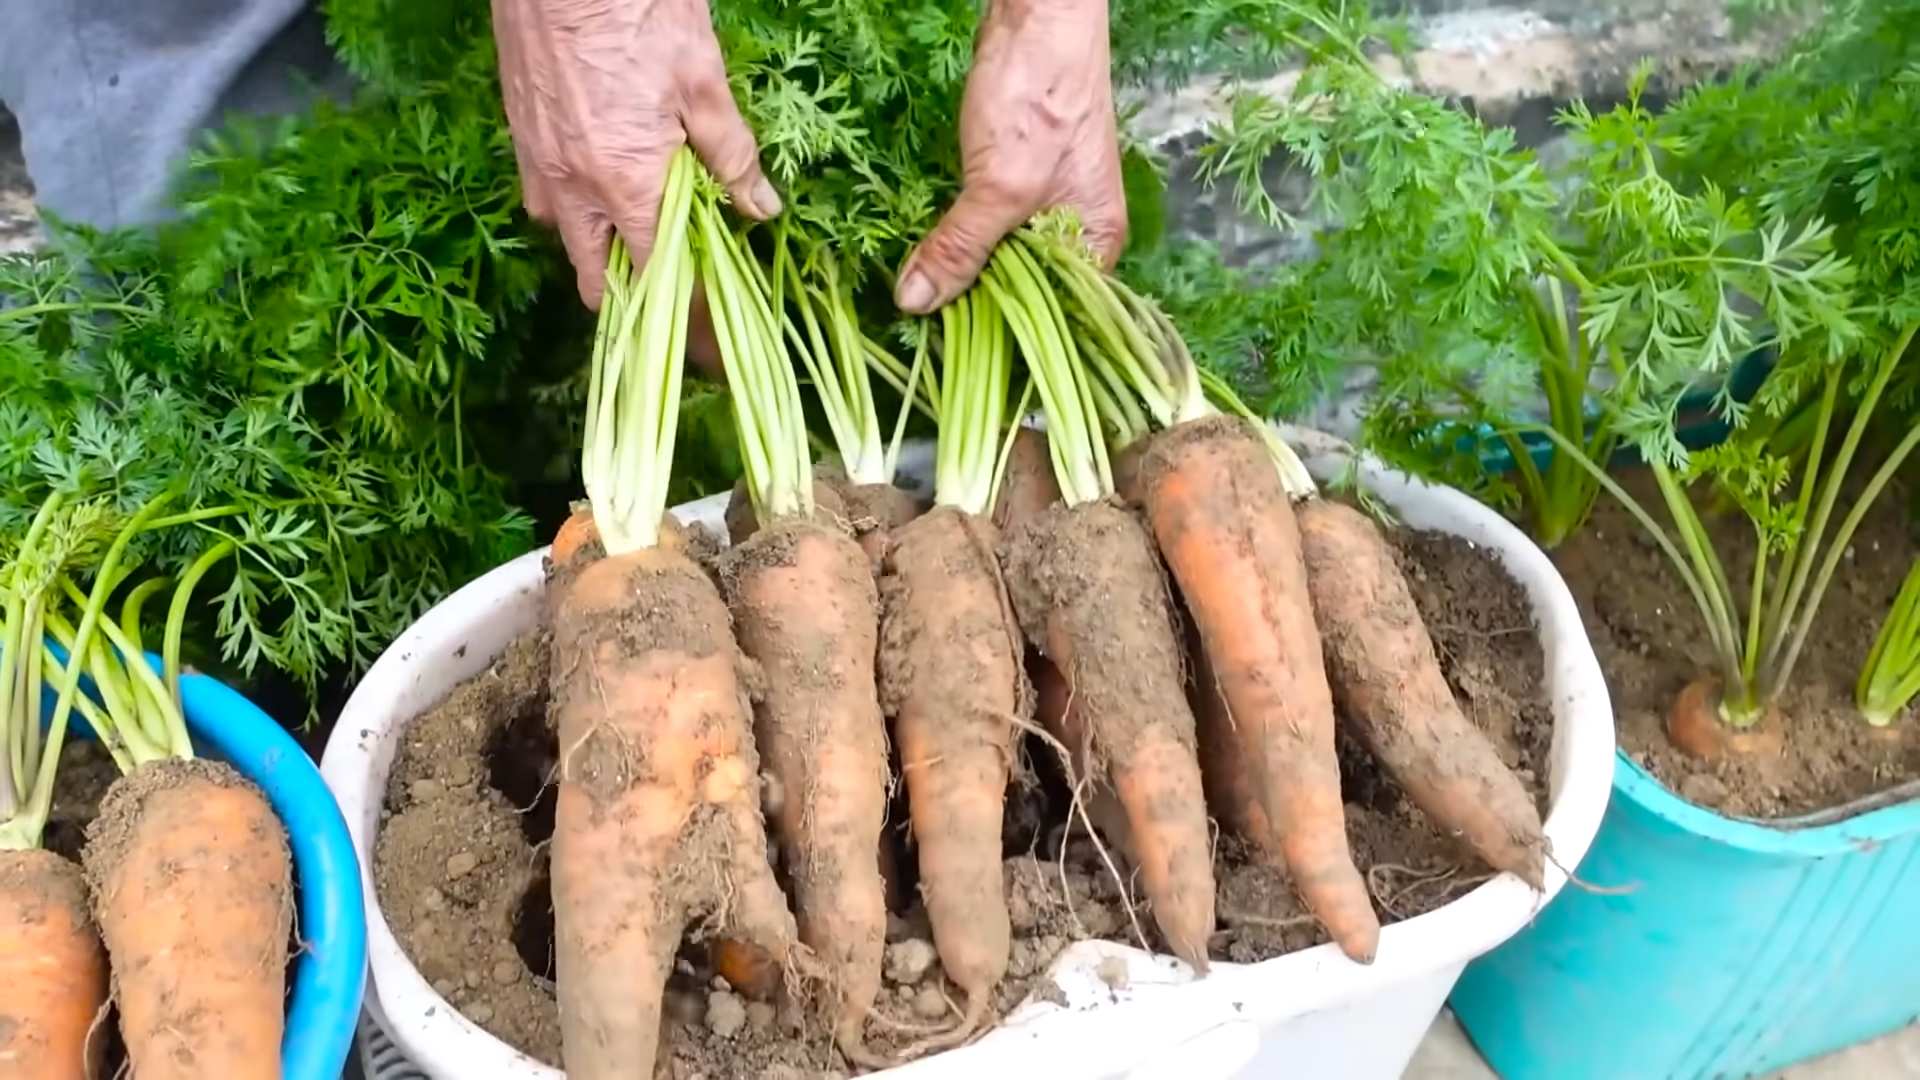
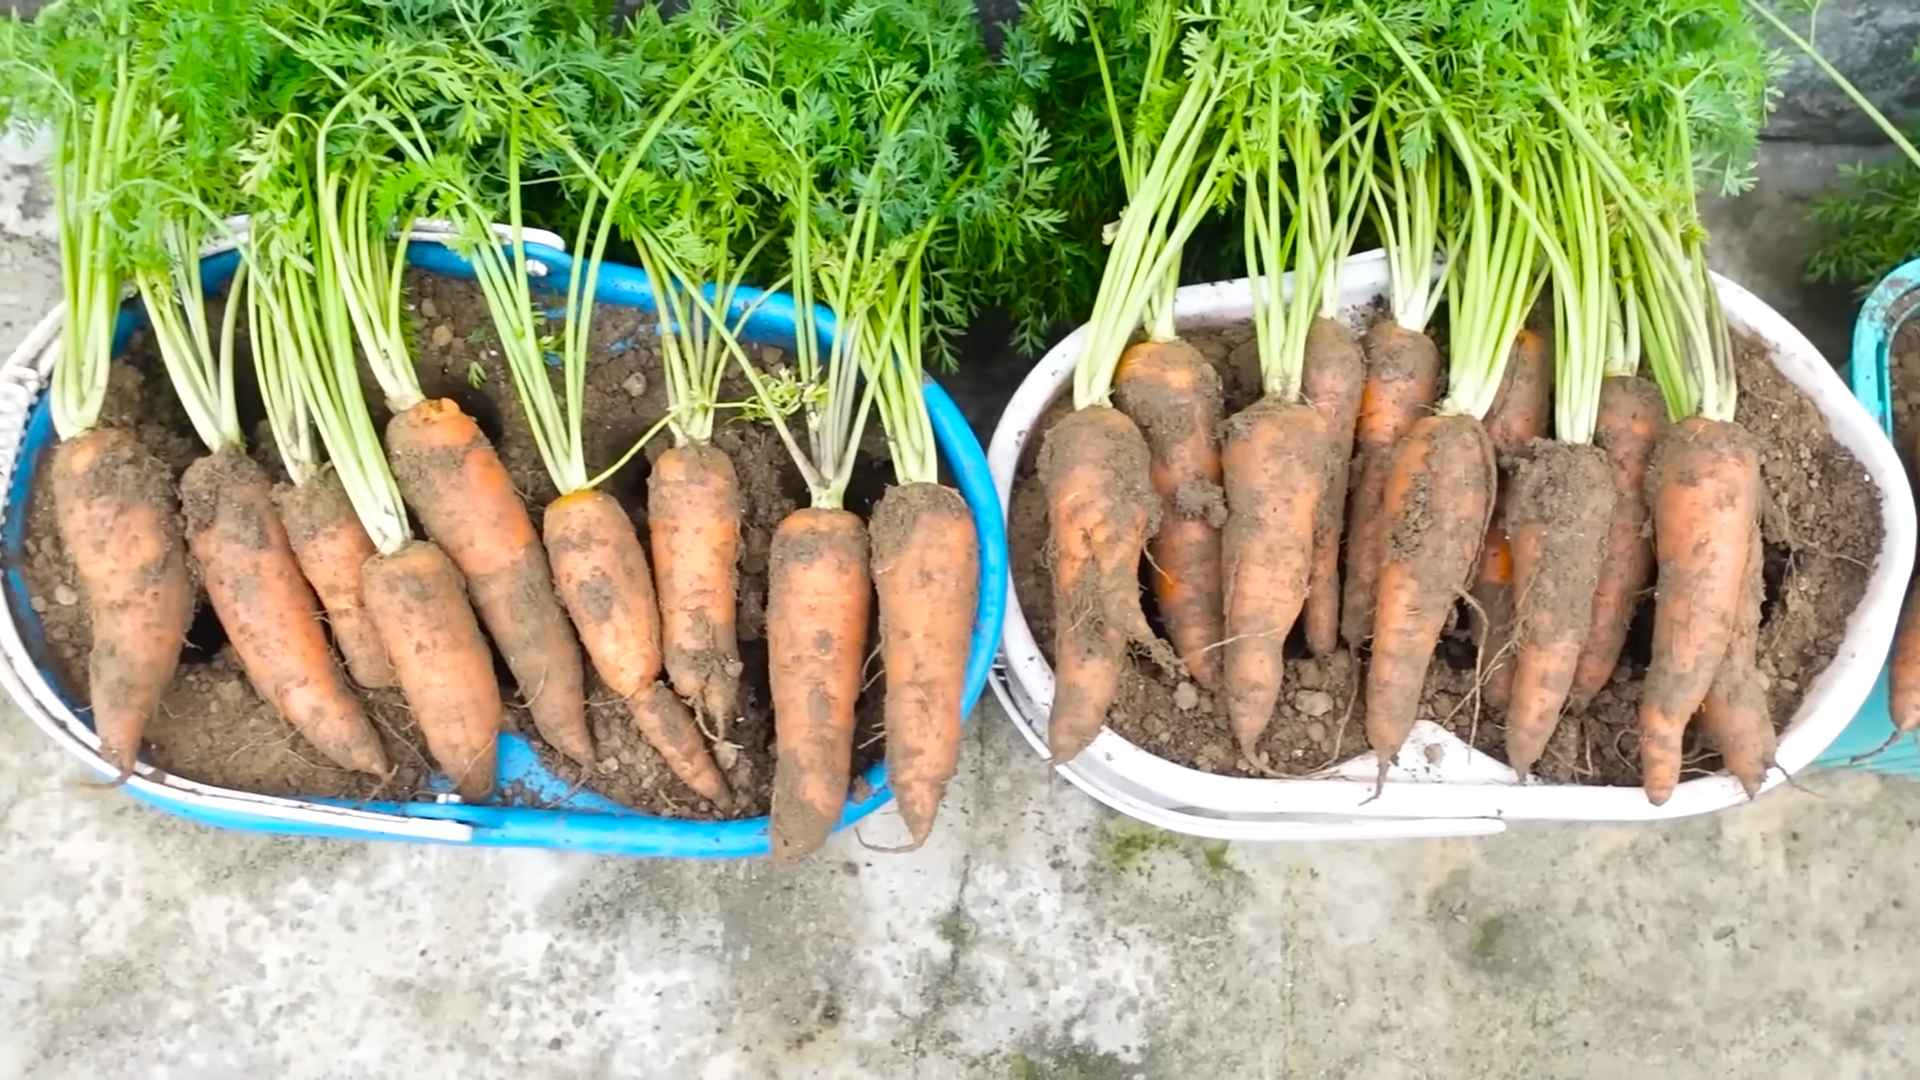
Harvesting Your Carrots
The moment you’ve been waiting for! Harvesting your carrots is the most rewarding part of the process.
1. Check for Maturity: Carrots are typically ready to harvest when they are about ½ to 1 inch in diameter at the top and 6-8 inches long. You can gently brush away some of the soil around the top of the carrot to check its size.
2. Loosen the Soil: Before pulling the carrots, loosen the soil around them with a trowel or garden fork. This will make it easier to pull them out without breaking them.
3. Pull the Carrots: Grasp the carrot firmly at the base of the leaves and gently pull it straight up. If the carrot is difficult to pull, loosen the soil further.
4. Wash and Enjoy: Wash the carrots thoroughly to remove any dirt. You can eat them fresh, cook them, or store them in the refrigerator for later use. I love snacking on them straight from the garden!
Choosing the Right Carrot Variety
Not all carrot varieties are created equal when it comes to container gardening. Some varieties are better suited for growing in pots than others.
* Short and Round Varieties: These are the best choice for container gardening because they don’t require as much depth as longer varieties. Some good options include ‘Thumbelina,’ ‘Parisian,’ and ‘Little Finger.’
* Nantes Varieties: These are medium-length carrots that are also well-suited for container gardening. They are known for their sweet flavor and smooth texture. Some popular Nantes varieties include ‘Nantes Half Long’ and ‘Scarlet Nantes.’
* Avoid Long Varieties: Avoid growing long carrot varieties, such as ‘Imperator’ and ‘Danvers,’ in containers. These varieties require a lot of depth and are unlikely to thrive in pots.
Troubleshooting Common Problems
Even with the best care, you may encounter some problems when growing carrots indoors. Here are some common issues and how to fix them:
* Stunted Growth: This can be caused by several factors, including poor soil, lack of nutrients, and insufficient light. Make sure you’re using a good-quality potting mix, fertilizing regularly, and providing adequate light.
* Forked or Misshapen Carrots: This is usually caused by rocks or other obstacles in the soil. Make sure your soil is free of debris and that the container is deep enough.
* Bitter Taste: This can be caused by stress, such as drought or extreme temperatures. Keep the soil consistently moist and protect the plants from extreme heat or cold.
* Slow Germination: Carrot seeds can be slow to germinate, especially in cool temperatures.
Conclusion
So, there you have it! Growing carrots indoors in containers is not only achievable, but it’s also a surprisingly rewarding experience. Forget relying solely on grocery store produce, especially when you crave that fresh, earthy sweetness of homegrown carrots. This DIY method empowers you to enjoy a continuous supply of these vibrant root vegetables, regardless of the season or your outdoor space limitations.
Why is this a must-try? Because it puts you in control. You dictate the soil quality, the watering schedule, and the overall environment, resulting in carrots that are bursting with flavor and free from unwanted chemicals. Imagine the satisfaction of harvesting your own organic carrots, knowing exactly where they came from and how they were nurtured. Plus, it’s a fantastic way to introduce children to the wonders of gardening and the importance of healthy eating.
But the beauty of this DIY project lies in its adaptability. Feel free to experiment with different carrot varieties. Shorter, rounder varieties like ‘Thumbelina’ or ‘Paris Market’ are particularly well-suited for container gardening, as they require less depth. You can also try interplanting your carrots with companion plants like radishes or onions, which can help deter pests and improve the overall health of your container garden. Consider adding a layer of mulch to help retain moisture and suppress weeds.
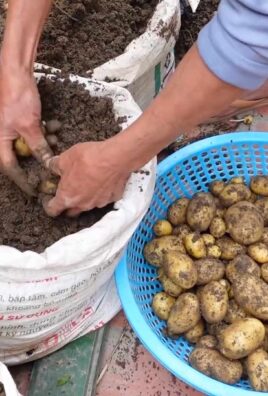
Don’t be afraid to get creative with your container choices too! While a standard pot works perfectly well, you could also repurpose old buckets, crates, or even grow bags. Just ensure that your chosen container has adequate drainage holes to prevent waterlogging.
The key to successful indoor carrot cultivation is consistent care and attention. Regularly check the soil moisture, provide adequate sunlight (or supplement with grow lights), and thin out seedlings as needed. With a little patience and dedication, you’ll be rewarded with a bountiful harvest of delicious, homegrown carrots.
We wholeheartedly encourage you to give this DIY trick a try. It’s a simple, cost-effective, and incredibly satisfying way to enjoy fresh carrots year-round. And most importantly, it’s a fantastic opportunity to connect with nature and experience the joy of growing your own food.
Once you’ve embarked on your indoor carrot growing adventure, we’d love to hear about your experience! Share your tips, tricks, and photos in the comments below. Let’s create a community of indoor carrot enthusiasts and inspire others to embrace the joys of homegrown goodness. Remember, mastering the art of how to grow carrots indoors container style is easier than you think!
Frequently Asked Questions (FAQ)
What type of container is best for growing carrots indoors?
The ideal container should be at least 12 inches deep, preferably deeper for longer carrot varieties. Width is also important; a wider container allows for more carrots to be grown. Ensure the container has drainage holes to prevent waterlogging, which can lead to root rot. Terracotta pots, plastic containers, or even repurposed buckets can work well, as long as they meet these requirements. Grow bags are also a popular option, as they provide good drainage and aeration.
What kind of soil should I use for growing carrots in containers?
Carrots thrive in loose, well-draining soil. A mixture of potting mix, compost, and sand or perlite is ideal. Avoid heavy clay soils, as they can hinder root development and result in misshapen carrots. The soil should be rich in organic matter to provide essential nutrients. You can also add a slow-release fertilizer to the soil mix to ensure a steady supply of nutrients throughout the growing season. A slightly acidic to neutral pH (around 6.0 to 7.0) is optimal for carrot growth.
How much sunlight do indoor carrots need?
Carrots require at least 6-8 hours of direct sunlight per day. If you don’t have a sunny windowsill, you’ll need to supplement with grow lights. LED grow lights are a great option, as they are energy-efficient and provide the full spectrum of light needed for plant growth. Position the grow lights a few inches above the carrot seedlings and adjust the height as they grow. Rotate the container regularly to ensure that all sides of the plants receive adequate light.
How often should I water my indoor carrot plants?
Water your carrot plants regularly, keeping the soil consistently moist but not waterlogged. Check the soil moisture by sticking your finger about an inch deep into the soil. If it feels dry, it’s time to water. Water deeply, allowing the water to drain out of the drainage holes. Avoid overhead watering, as this can promote fungal diseases. Instead, water at the base of the plants. Reduce watering frequency during cooler months or when the plants are not actively growing.
How do I thin out carrot seedlings?
Thinning is crucial for allowing carrots to develop properly. Once the seedlings are a few inches tall, thin them out so that they are about 1-2 inches apart. Use small scissors to snip off the unwanted seedlings at the soil line, rather than pulling them out, which can disturb the roots of the remaining plants. Thinning ensures that each carrot has enough space to grow and develop into a healthy, full-sized root.
What are some common pests and diseases that affect indoor carrots?
Common pests that can affect indoor carrots include aphids, spider mites, and carrot rust flies. Inspect your plants regularly for signs of infestation, such as yellowing leaves, webbing, or small insects. Treat infestations with insecticidal soap or neem oil. Fungal diseases, such as powdery mildew and root rot, can also be a problem. Prevent these diseases by providing good air circulation, avoiding overwatering, and using well-draining soil.
When can I harvest my indoor carrots?
Carrots are typically ready to harvest 60-80 days after planting, depending on the variety. Check the seed packet for specific maturity dates. You can harvest carrots when they reach the desired size, usually around 1-2 inches in diameter at the top. Gently loosen the soil around the carrot and pull it out by the greens. If the soil is too compacted, you may need to use a garden fork to lift the carrots out.
Can I grow carrots indoors year-round?
Yes, you can grow carrots indoors year-round, provided you provide them with adequate light, water, and nutrients. Indoor growing allows you to control the environment and avoid the challenges of outdoor gardening, such as pests, diseases, and weather fluctuations. With proper care, you can enjoy a continuous supply of fresh, homegrown carrots throughout the year.
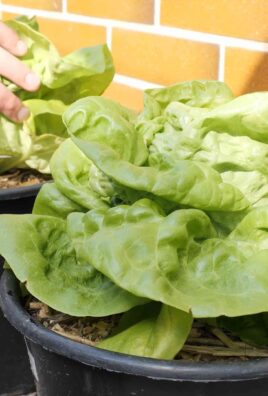
What are some good companion plants for carrots grown in containers?
Companion planting can help improve the health and yield of your carrot plants. Some good companion plants for carrots include radishes, onions, garlic, rosemary, and marigolds. Radishes help to break up the soil and deter pests, while onions and garlic repel carrot rust flies. Rosemary and marigolds also have pest-repelling properties. Planting these companions alongside your carrots can create a more balanced and thriving container garden ecosystem.
How do I store harvested carrots?
After harvesting, remove the greens from the carrots, leaving about an inch of stem. Gently wash the carrots to remove any dirt. Store the carrots in a plastic bag or container in the refrigerator. They should last for several weeks. You can also store carrots in a cool, dark place, such as a root cellar, if you have one. Avoid storing carrots near apples or other ethylene-producing fruits, as this can cause them to become bitter.
Leave a Comment